![[kaneko lab.]](https://www.kkaneko.jp/info/logo_png.png)
A-Frame で3次元オブジェクト表示,アニメーション,パノラマ表示
【概要】
A-Frameは,Google Chrome や Firefox で,3次元コンピュータグラフィックスやバーチャルリアリティ(VR)を扱うためのWebフレームワークである。ここでは,オブジェクトの表示,オブジェクトのアニメーション,360度パノラマ画像の表示,Blenderで作成した3次元オブジェクトの表示を順に説明する。謝辞:ここで紹介しているソフトウェアの作者に感謝する。
【目次】
【関連する外部ページ】
- https://github.com/aframevr/aframe/
- FBX 形式の読み込みについて:https://github.com/c-frame/aframe-extras/tree/master/src/loaders
【サイト内の関連情報】
前準備
Web ブラウザ
前準備として,Firefox か Google Chrome を準備する。
A-Frame のバージョン確認
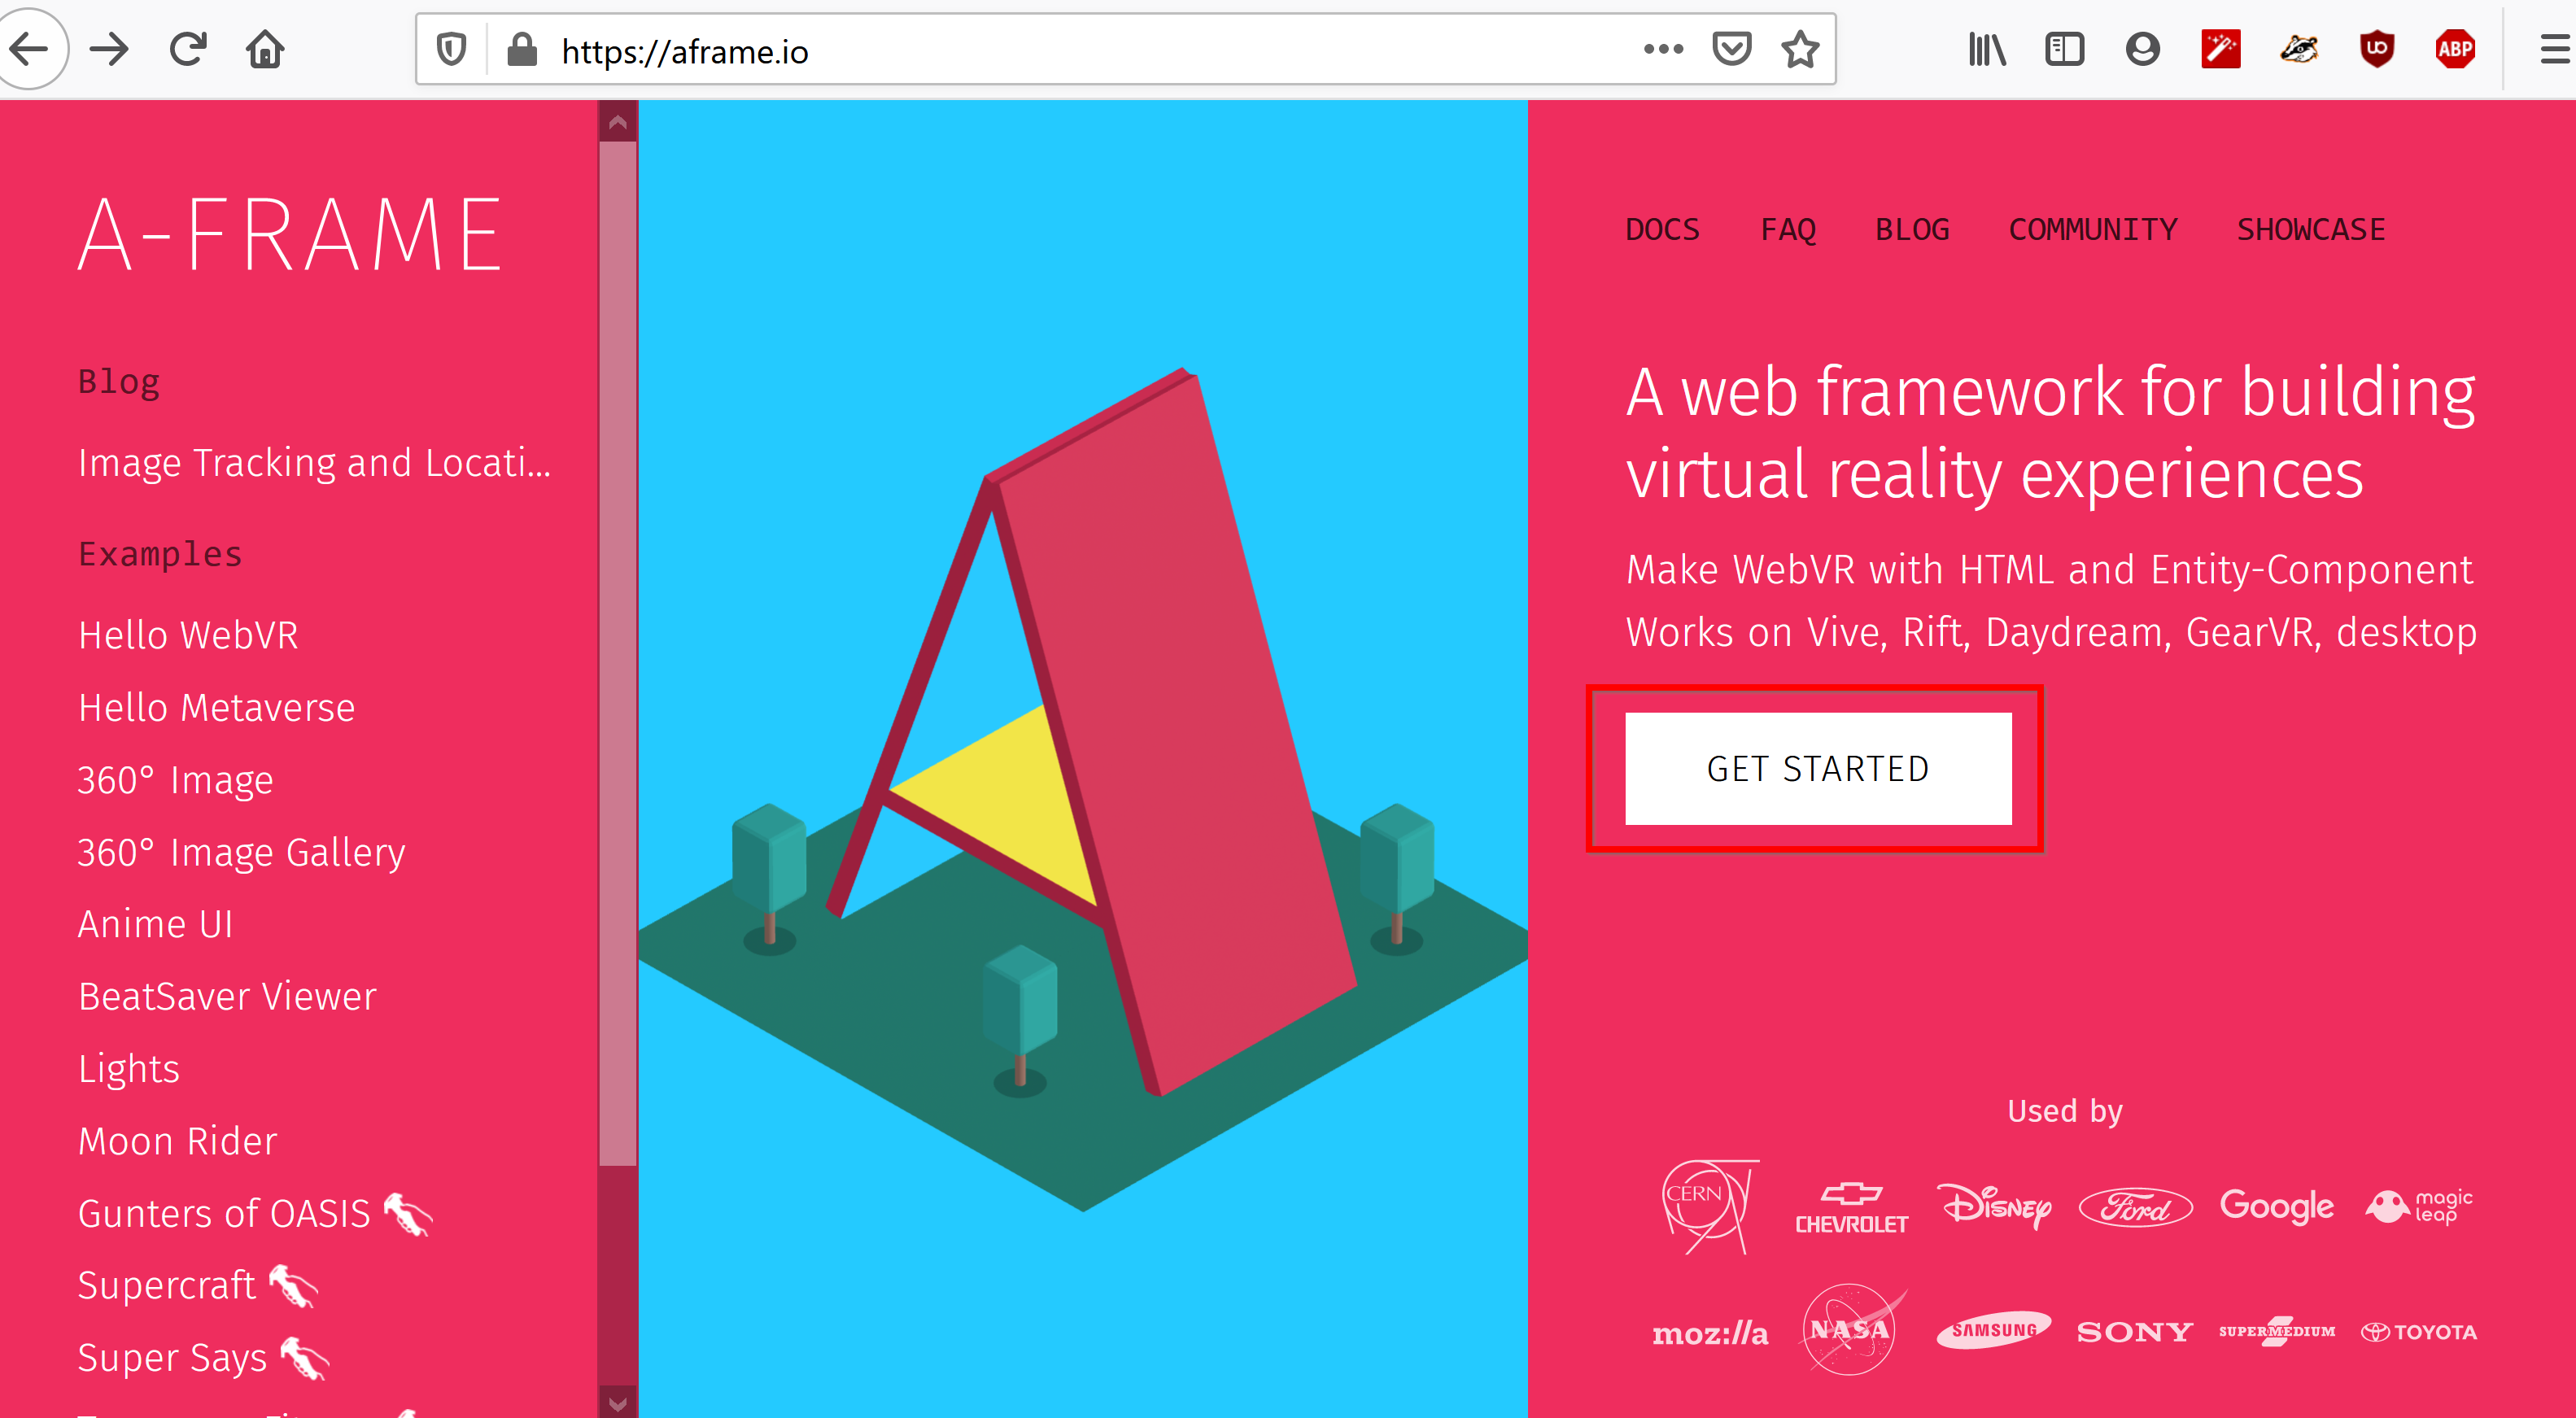
A-Frame のWebページ https://aframe.io/ を開き, 「GET STARTED」をクリックする。
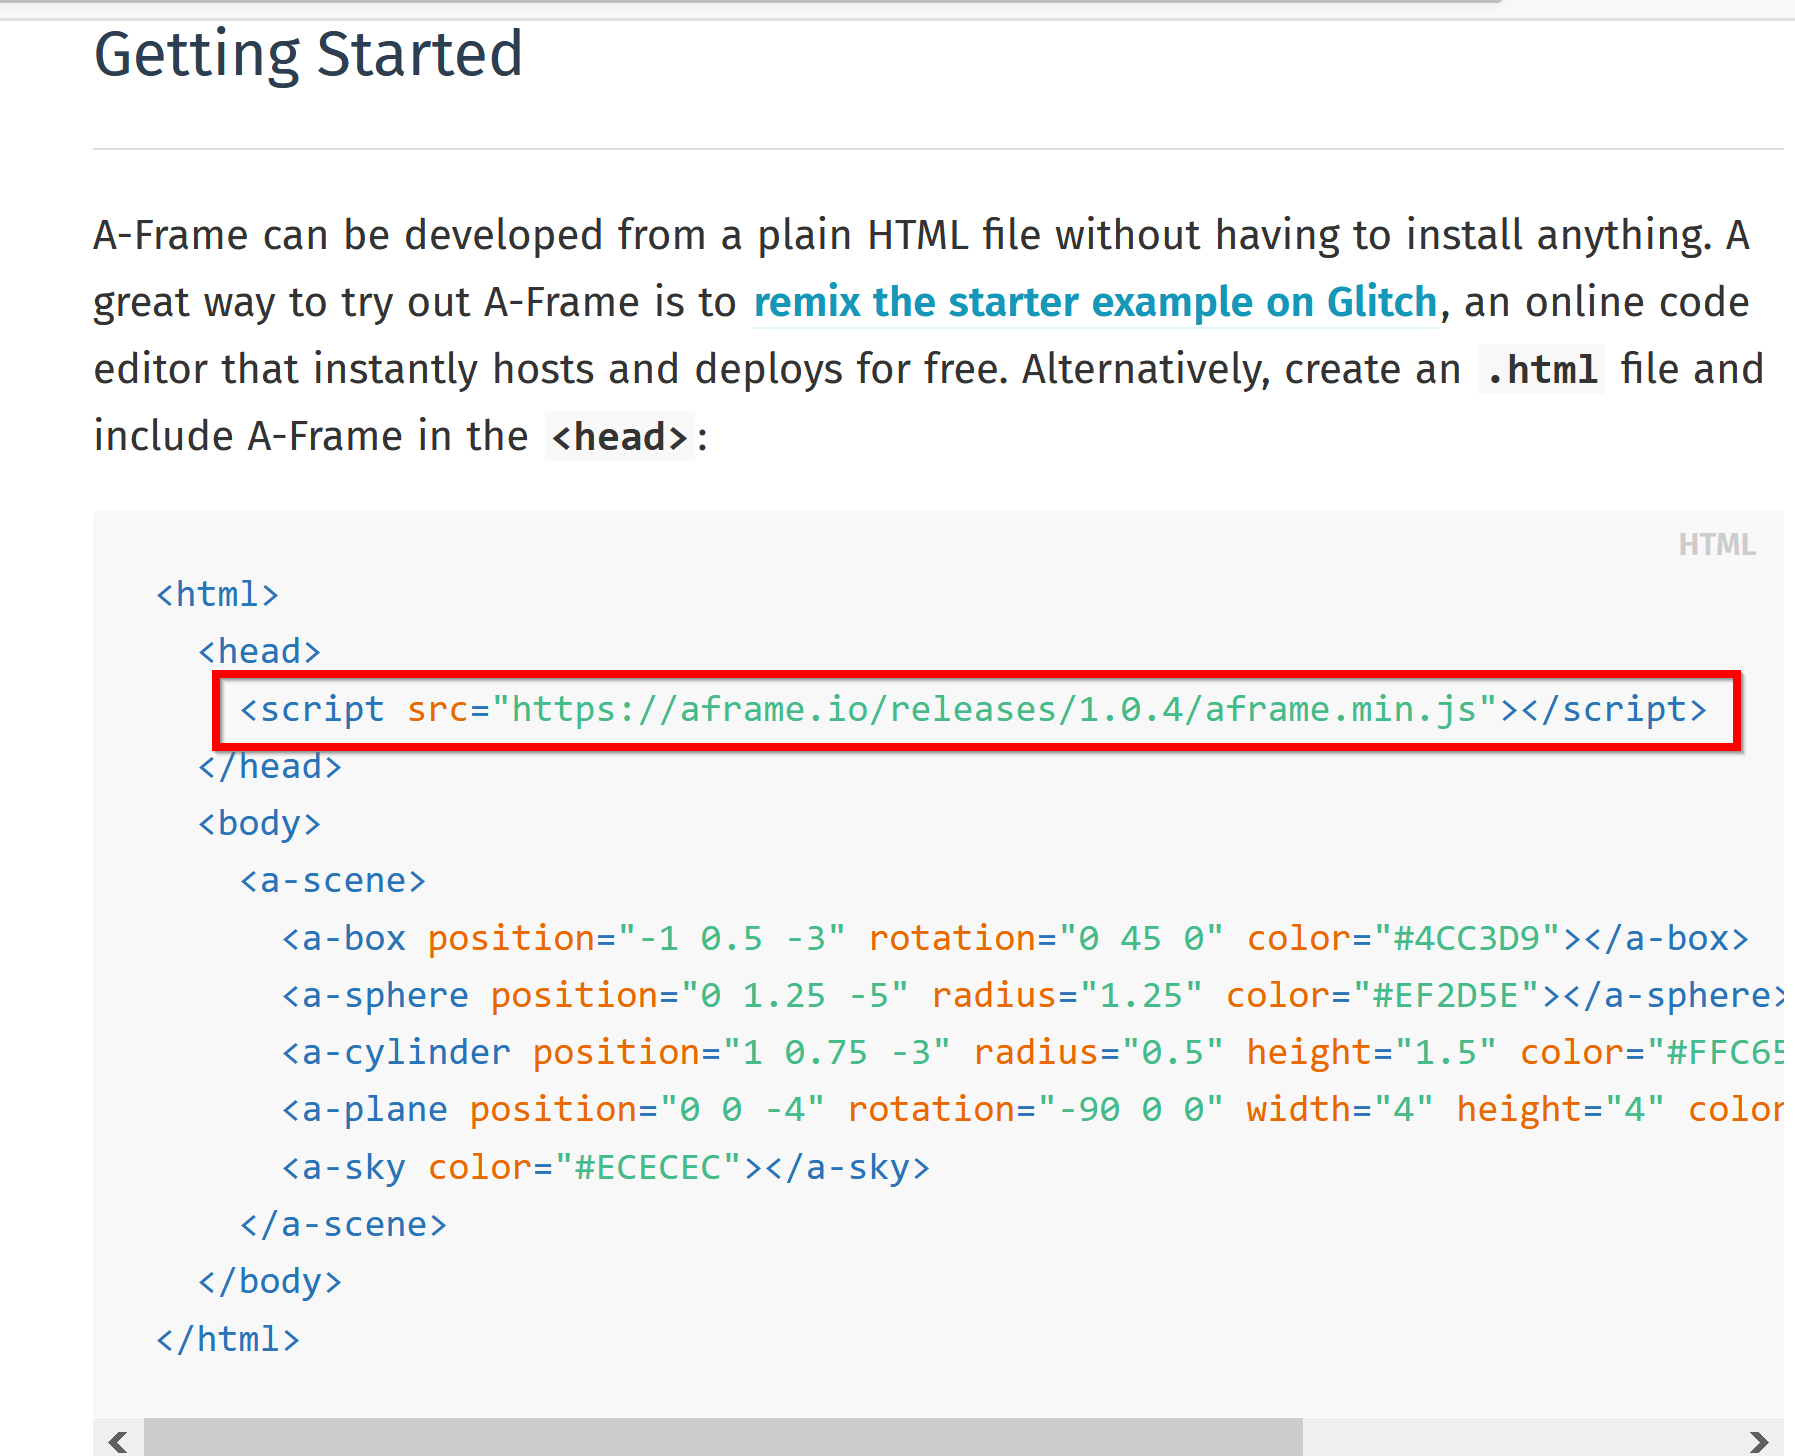
表示されるページで,A-Frame の URL とバージョン番号を確認する。 以下の HTML ファイルでは,A-Frame の バージョン 1.8.0 を読み込んでいる。
A-Frame を動かしてみる
https://aframe.io/releasesで公開されているプログラムを使う。
エディタで次の HTML ファイルを作成する。ファイル名を a.html のような分かりやすい名前で保存する。
- a-box: 立方体
- a-sphere: 球
- a-cylinder: 円柱
- a-plane: 面
- a-sky: 空(背景)
<html>
  <head>
    <meta charset="utf-8">
    <meta name="viewport" content="initial-scale=1.0,user-scalable=no,maximum-scale=1,width=device-width">
    <title>A-Frame</title>
    <script src="https://aframe.io/releases/1.8.0/aframe.min.js"></script>
  </head>
  <body>

    <a-scene>
      <a-box position="-1 0.5 -3" rotation="0 45 0" color="#4CC3D9"></a-box>
      <a-sphere position="0 1.25 -5" radius="1.25" color="#EF2D5E"></a-sphere>
      <a-cylinder position="1 0.75 -3" radius="0.5" height="1.5" color="#FFC65D"></a-cylinder>
      <a-plane position="0 0 -4" rotation="-90 0 0" width="4" height="4" color="#7BC8A4"></a-plane>
      <a-sky color="#ECECEC"></a-sky>
    </a-scene>

  </body>
</html>
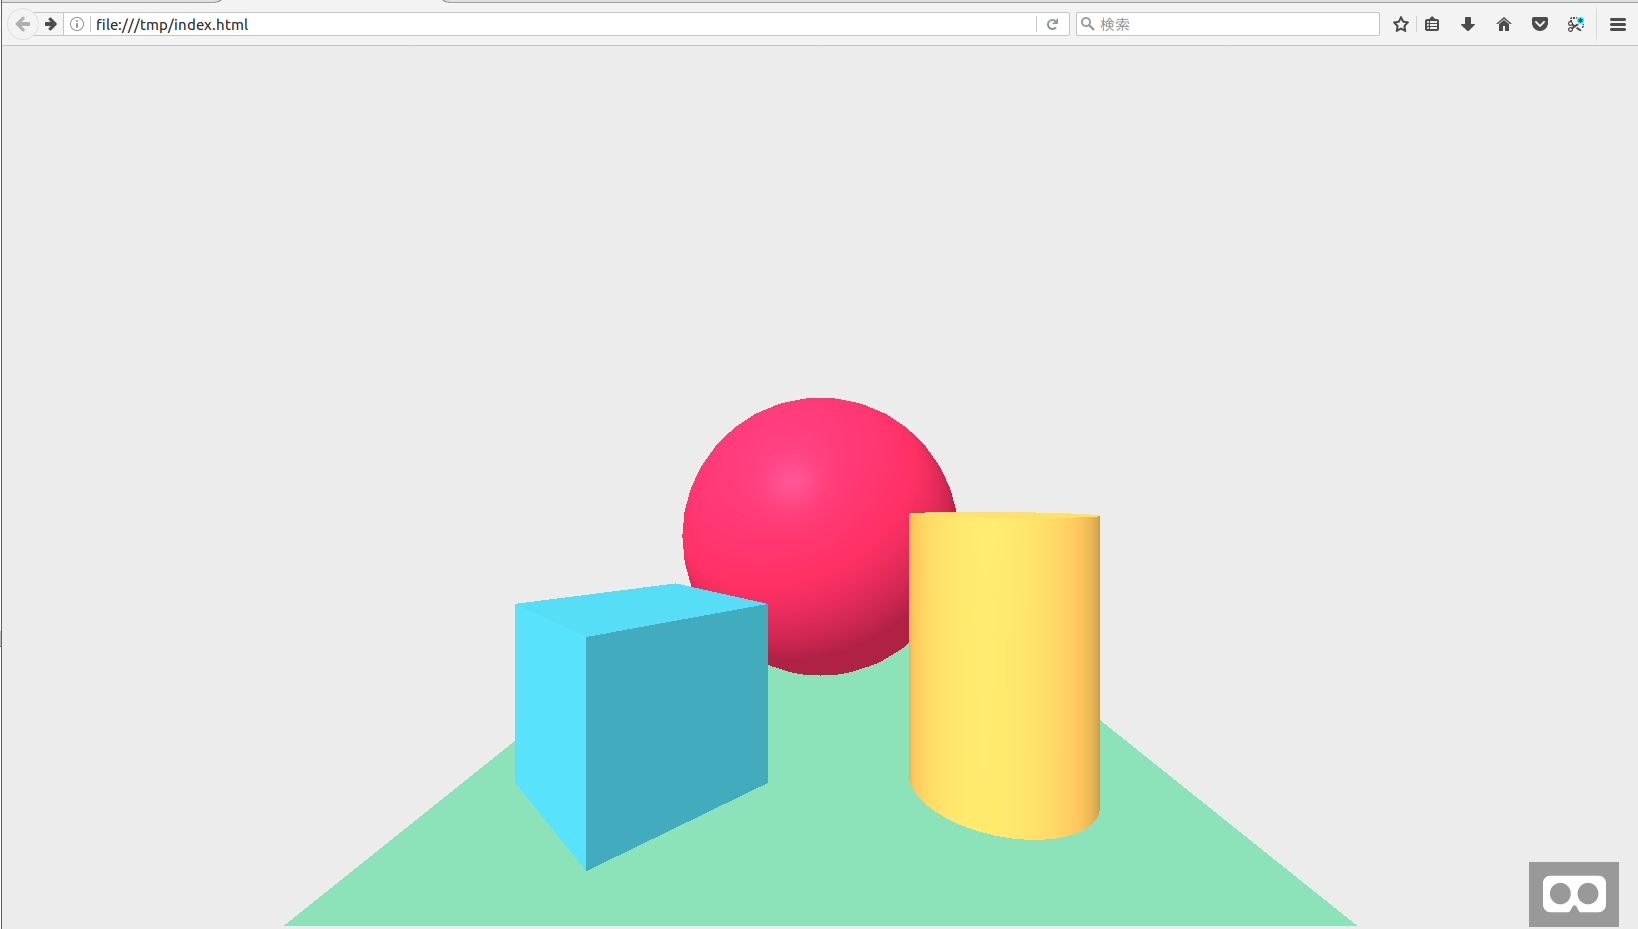
Web ブラウザで表示する。
* 右下の「めがね」ボタン(VRモードの切り替えボタン)をクリックすると,表示モードが切り替わる。
オブジェクトのアニメーション
エディタで次の HTML ファイルを作成する。ファイル名を a.html のようにして保存する。
- animation: 動かしたいオブジェクトに animation 属性を付ける。
<html>
  <head>
    <meta charset="utf-8">
    <meta name="viewport" content="initial-scale=1.0,user-scalable=no,maximum-scale=1,width=device-width">
    <title>A-Frame</title>
    <script src="https://aframe.io/releases/1.8.0/aframe.min.js"></script>
  </head>
  <body>

    <a-scene>
      <a-entity id="sphere" geometry="primitive: sphere"
                material="color: #EFEFEF; shader: flat"
                position="0 0.15 -5"
                light="type: point; intensity: 5"
                animation="property: position; easing: easeInOutQuad; dir: alternate; dur: 1000; to: 0 -0.10 -5; loop: true"></a-entity>
    </a-scene>

  </body>
</html>
Web ブラウザで表示する。
* 右下の「めがね」ボタン(VRモードの切り替えボタン)をクリックすると,表示モードが切り替わる。
360度パノラマ画像
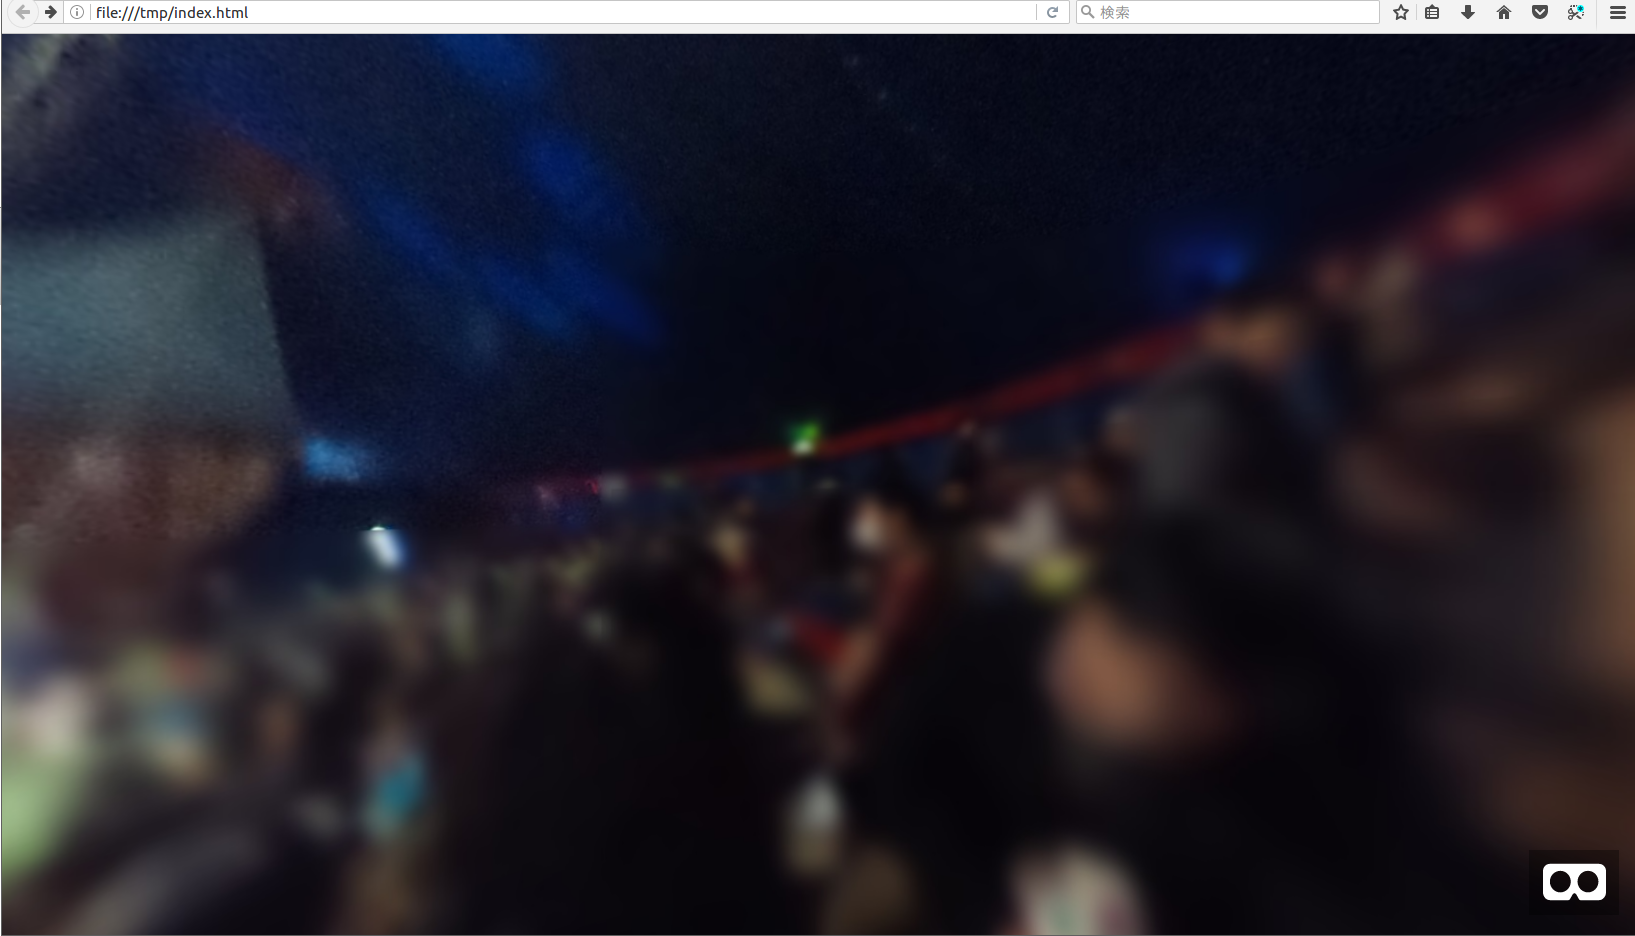
RICOH THETA のようなパノラマカメラで撮影した画像(Equirectangular 投影形式)は,A-Frame で表示できる。
エディタで次の HTML ファイルを作成する。ファイル名を a.html のようにして保存する。
画像ファイルは R0010025.JPG をダウンロードして,HTMLファイルと同じディレクトリに置く。

<html>
  <head>
    <meta charset="utf-8">
    <meta name="viewport" content="initial-scale=1.0,user-scalable=no,maximum-scale=1,width=device-width">
    <title>A-Frame</title>
    <script src="https://aframe.io/releases/1.8.0/aframe.min.js"></script>
  </head>
  <body>

    <a-scene>
        <a-sky src="R0010025.JPG"></a-sky>
        <a-camera wasd-controls-enabled="true"></a-camera>
    </a-scene>

  </body>
</html>
Web ブラウザで表示する。
* 右下の「めがね」ボタン(VRモードの切り替えボタン)をクリックすると,表示モードが切り替わる。
Blender の3次元オブジェクト
A-Frame は,Blenderで作成した3次元オブジェクトのビューワとして使うことができる。
<前準備>
ここでは,Wavefront OBJ形式ファイルと Wavefront MTL形式ファイルを使う。 使用するファイルは,次からダウンロードできる。
エディタで次の HTML ファイルを作成する。ファイル名を a.html のようにして保存する。
<html>
  <head>
    <meta charset="utf-8">
    <meta name="viewport" content="initial-scale=1.0,user-scalable=no,maximum-scale=1,width=device-width">
    <title>A-Frame</title>
    <script src="https://aframe.io/releases/1.8.0/aframe.min.js"></script>
  </head>
  <body>

    <a-scene>

        <a-assets>
            <a-asset-item id="a-obj" src="sample.obj"></a-asset-item>
            <a-asset-item id="a-mtl" src="sample.mtl"></a-asset-item>
        </a-assets>

        <a-entity id="univ" obj-model="obj: #a-obj; mtl: #a-mtl" position="0 0 0" scale="1 1 1" rotation="0 0 0"></a-entity>

    </a-scene>

  </body>
</html>
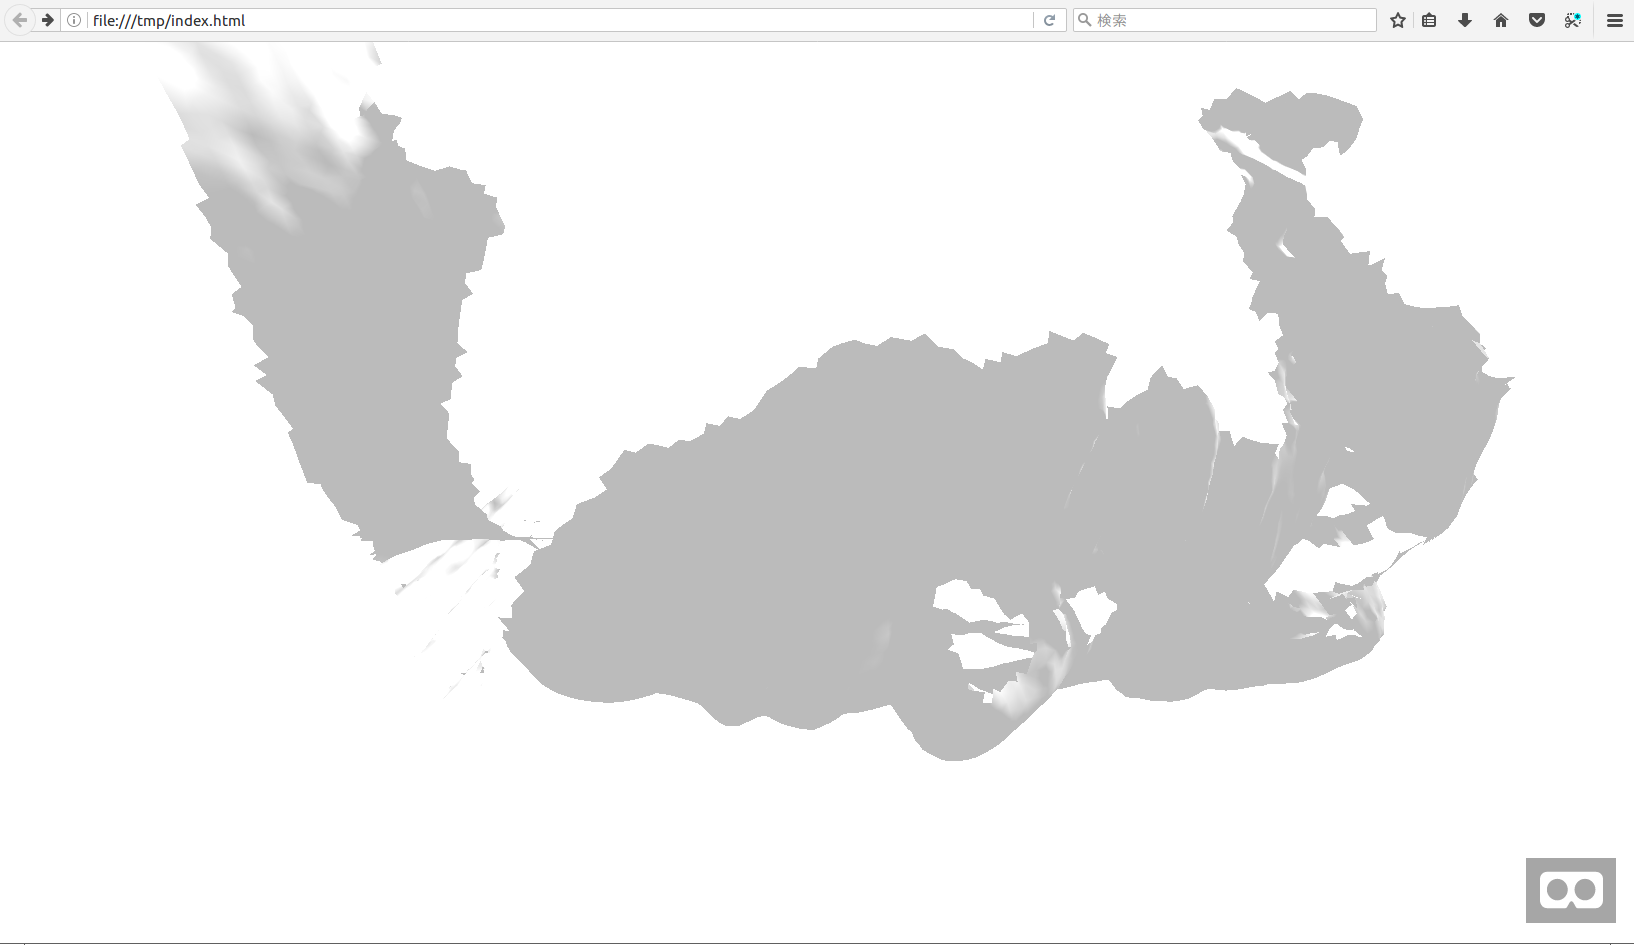
Web ブラウザで表示する。
* 右下の「めがね」ボタン(VRモードの切り替えボタン)をクリックすると,表示モードが切り替わる。