二次索引の応用
問い合わせ計画はSQL文の実行方法を示すもので,SQlite3では,データベース操作の基本的なオペレータの並びで表現されている.SQLite 3ではEXPLAIN文で確認できる.二次索引はテーブルの検索効率を向上させるためのデータ構造で,特定の列の値に基づいて効率よく検索できるようにする.二次索引はCREATE INDEX文を用いて作成し,テーブル名と列名を指定する.例えばCREATE INDEX idx1 ON point3( x, y )のように記述する.EXPLAIN文により,SQL問い合わせの問い合わせ計画を確認でき,二次索引による問い合わせ計画の変化も確認できる.
要点
- 二次索引の生成
CREATE INDEX <index-name> ON <table-name> ( <column-name の並び> )
テーブル名と属性名を指定して,二次索引を生成する.「index-name」とあるのは二次索引の名前のことで,後で二次索引を削除したいときなどに使用する.
Sqliteman で既存のデータベースを開く
すでに作成済みのデータベースを,下記の手順で開くことができる.
以下の手順で,既存のデータベースファイルを開く.
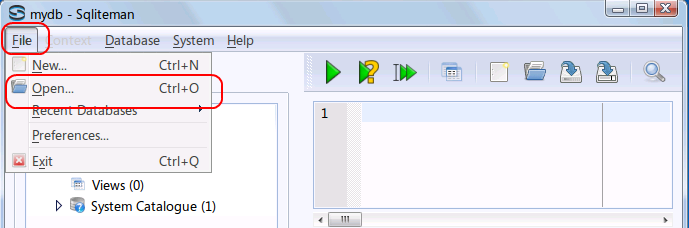
- 「File」→
「Open」
- データベースファイルを開く
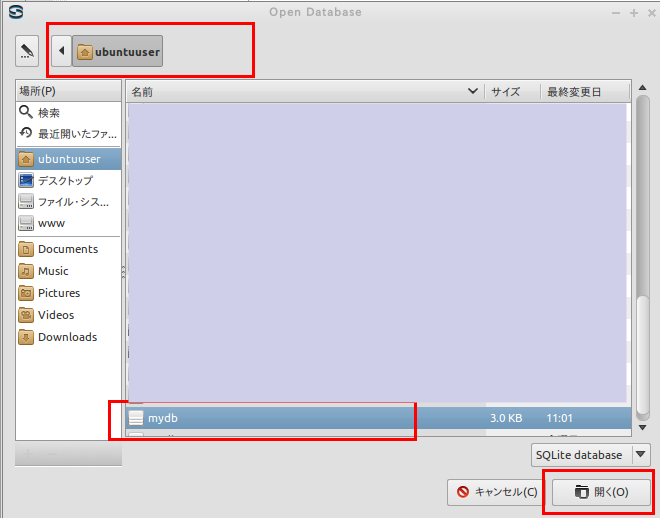
* Ubuntu での実行例(「/home/ubuntuuser/mydb」を開く場合)
データベースファイル /home/ubuntuuser/mydb を選び, 「開く」をクリック
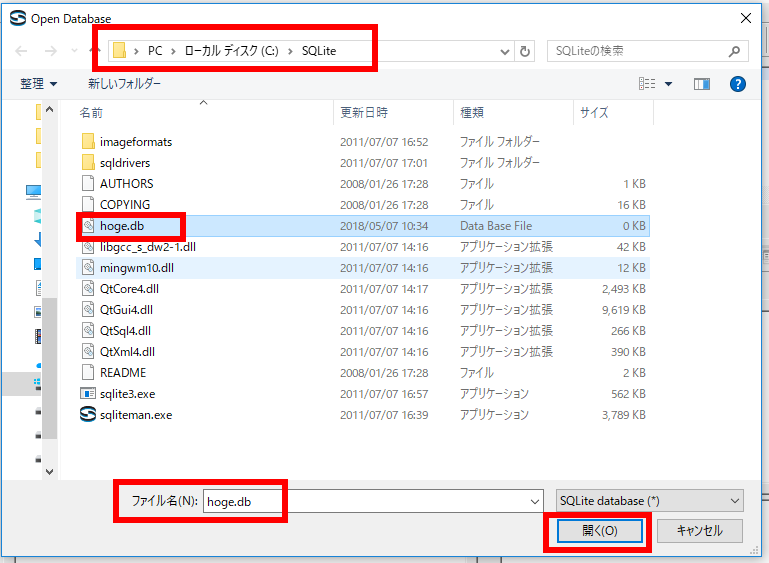
* Windows での実行例(「C:\SQLite\mydb」を開く場合)
データベースファイル C:\SQLite\mydb を選び, 「開く」をクリック
要するに,/home/<ユーザ名>/SQLite 3の下の mydb を選ぶ.
SQL を用いたテーブル定義と一貫性制約の記述
今回の演習では 前回の演習で作成したpoint3テーブルを用いる.
SQL を用いて,point3 テーブルを定義し,一貫性制約を記述する.
リレーショナル・スキーマ (relational schema): point3(id, x, y, z, created_at)
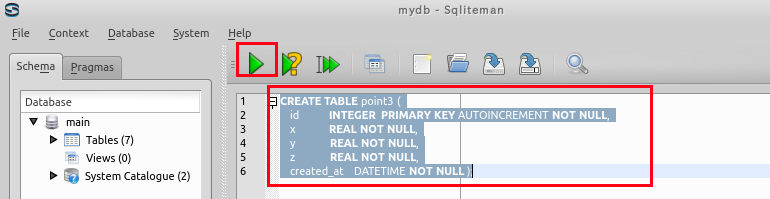
- point3 テーブルの定義
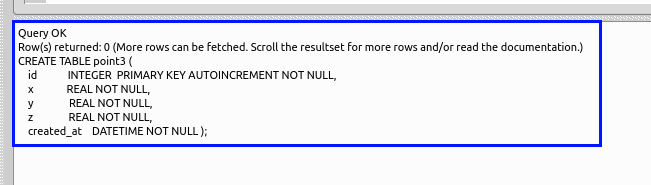
次の SQL を入力し,「Run SQL」のアイコンをクリック
create table point3 (
    id          integer primary key autoincrement not null,
    x           real not null,
    y           real not null,
    z           real not null,
    created_at  datetime not null );
* 「SQL Editor」のウインドウには,SQL プログラムを書くことができる.
- コンソールの確認
エラーメッセージが出ていないことを確認する.
- SQL を用いたテーブルへの行の挿入
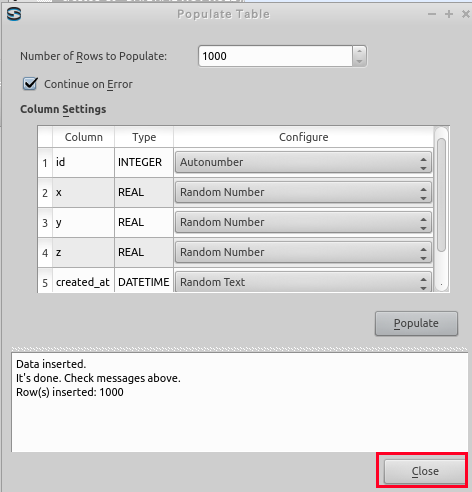
下記の操作により,演習用のデータ(1000行)を,point3 テーブルに格納する.
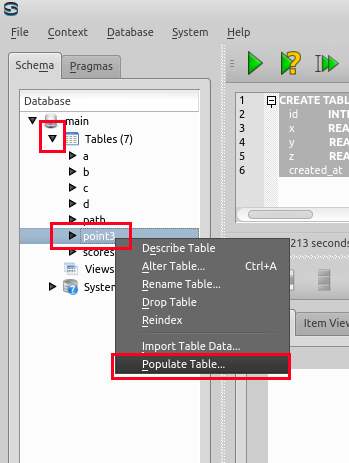
- Sqliteman で,point3 を右クリック (right click) し,「Populate Table...」を選ぶ.
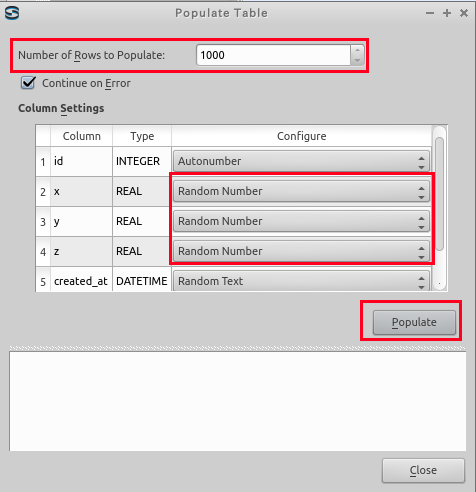
- Number of Rows to Populate に「1000」を設定する.
x の行, y の行, z の行は「Random Number」に設定し,
「Populate」をクリックする.
- 確認
エラーメッセージが出ていないことを確認する.
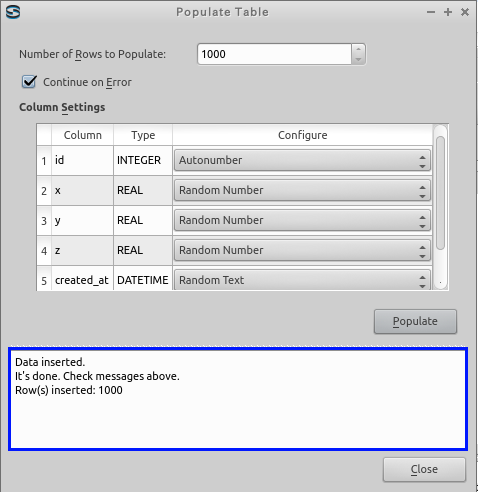
- 「Close」をクリックする.
- Sqliteman で,point3 を右クリック (right click) し,「Populate Table...」を選ぶ.
Sqliteman を用いた SQL 問い合わせ計画の表示
単一テーブルに対する問い合わせの SQL 問い合わせ計画の表示例
ここでは 条件を満足する行のみの表示する SQL のSQL 問い合わせ計画の表示例を示す.
データベース管理システムは, SQL 文をコンパイルし,SQL 問い合わせ計画を作成する. SQL 問い合わせ計画とは,データベースに関する基本的なオペレータの並びである.
SQLite 3の問い合わせ計画については,SQLite Virtual Machine Opcodes の Web ページなどを参照するとよい.
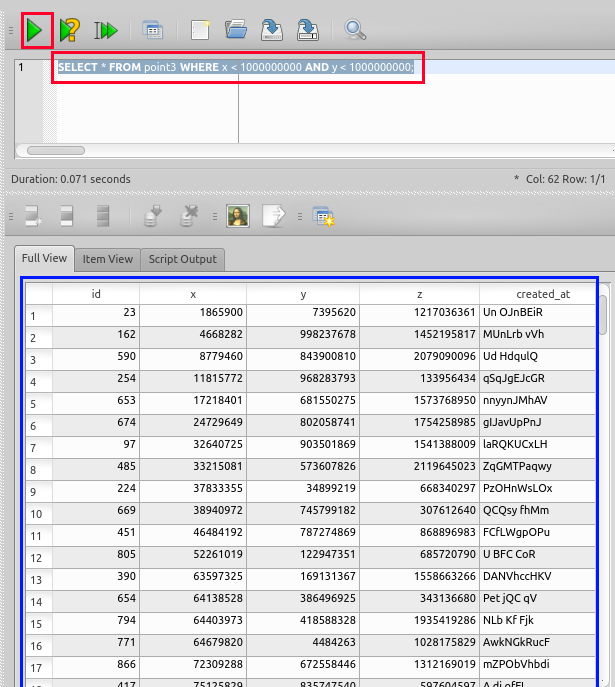
- SQL の問い合わせの発行と評価結果の確認
SELECT * FROM point3 WHERE x < 1000000000 AND y < 1000000000;*「1000000000」では,0 は 9個である.
- SQL 問い合わせ計画の表示
SQL 文の前に「EXPLAIN」を付ける.
EXPLAIN SELECT * FROM point3 WHERE x < 1000000000 AND y < 1000000000;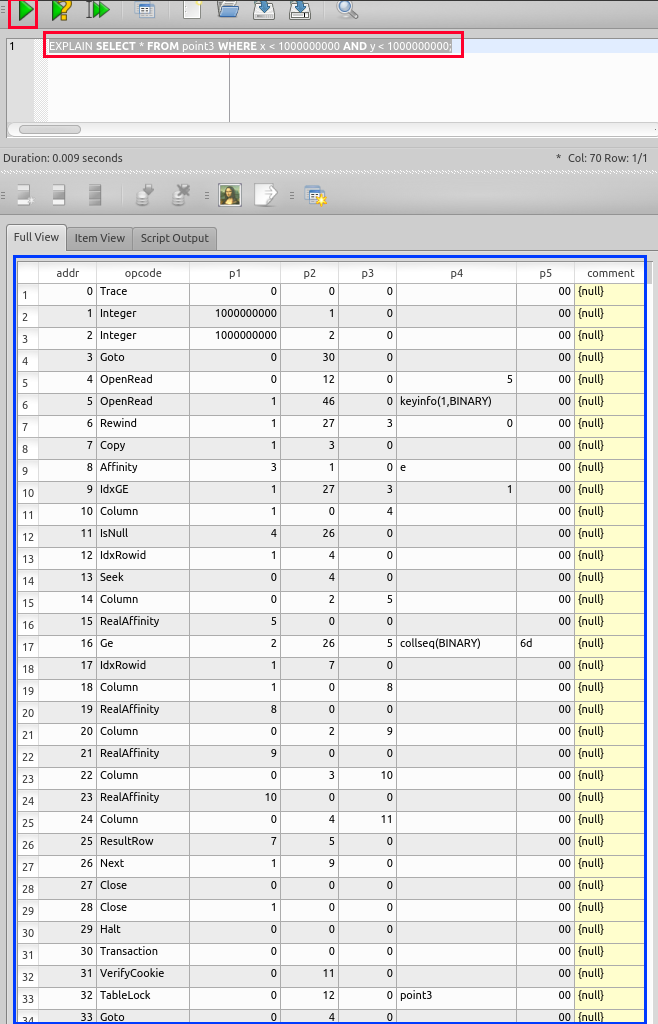
Sqliteman を用いた二次索引の追加
ここでは,テーブル point3 の属性 xの二次索引を作成する.- CREATE INDEX を用いた二次索引の生成
CREATE INDEX idx2 ON point3( x, y );「idx2」は索引名である.索引の管理(索引の削除など)に使用される.
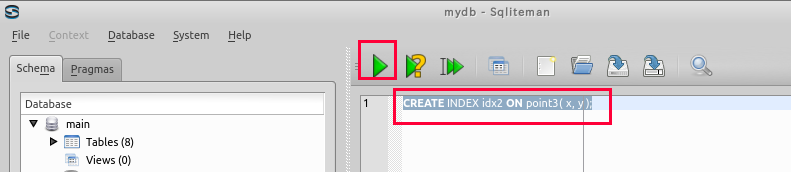
索引は数秒以内で生成される.
- コンソールの確認
エラーメッセージが出ていないことを確認する.

* SQL 問い合わせ計画の表示
- 先ほどと同じ SQL 問い合わせを評価させる.
SQL 文の前に「EXPLAIN」を付けている.
EXPLAIN SELECT * FROM point3 WHERE x < 1000000000 AND y < 1000000000;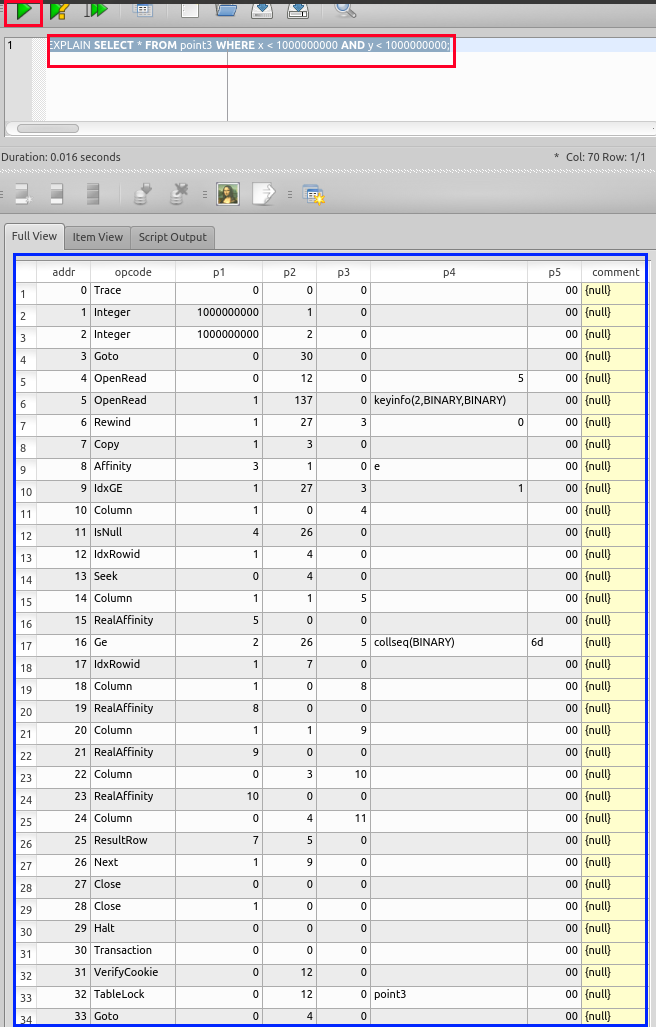
索引を使用するような実行計画になっている.