Android アプリケーションでのボタンの配置法の例
- main.xml の例
<?xml version="1.0" encoding="utf-8"?> <LinearLayout xmlns:android="http://schemas.android.com/apk/res/android" android:layout_width="fill_parent" android:layout_height="fill_parent"> <Button android:layout_width="[fill_parent または wrap_content]" android:layout_height="[fill_parent または wrap_content]" android:text="@string/sample_label" /> </LinearLayout> - strings.xml の例
<?xml version="1.0" encoding="utf-8"?>
<resources>
    <string name="sample_label">[文字列]</string>
</resources>
Buttonオブジェクトの layout_height、layout_width 属性の値を
- wrap_content
- fill_parent」
と変えて,レイアウトの違いを見てみる.
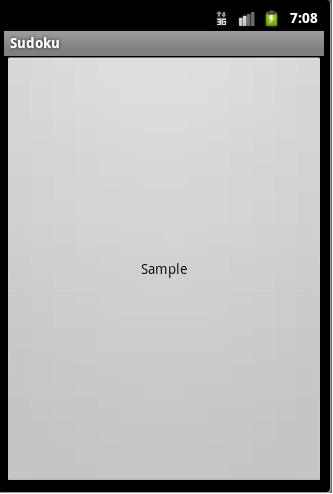
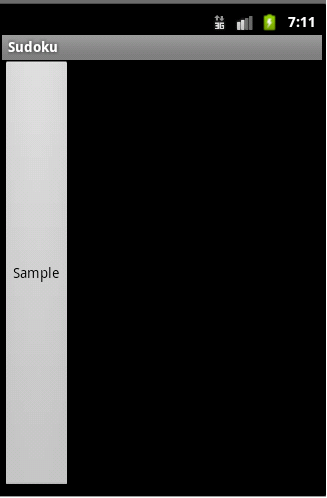
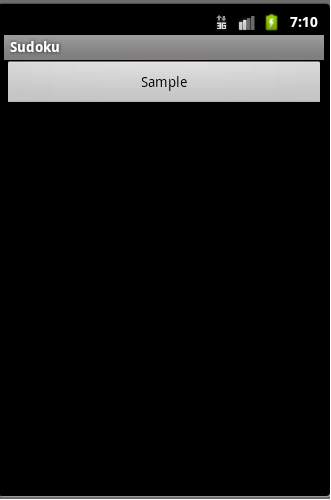
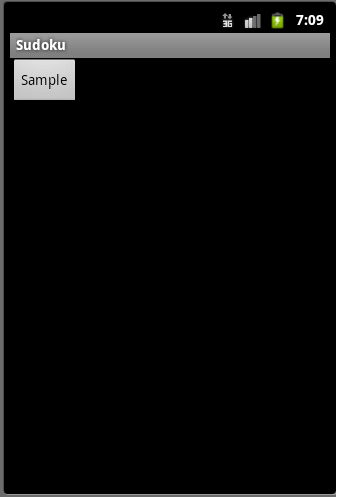
- Button内のテキスト値(文字列)が短い場合
- height=fill_parent, width=fill_parent
- height=fill_parent, width=wrap_content
- height=wrap_content, width=fill_parent
- height=wrap_content, width=wrap_content
- height=fill_parent, width=fill_parent
- Button内のテキスト値(文字列)が長い場合
- height=fill_parent, width=fill_parent

- height=fill_parent, width=wrap_content
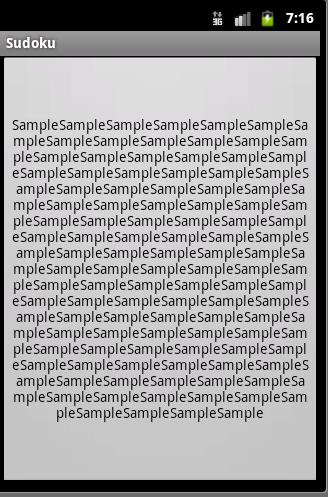
- height=wrap_content, width=fill_parent
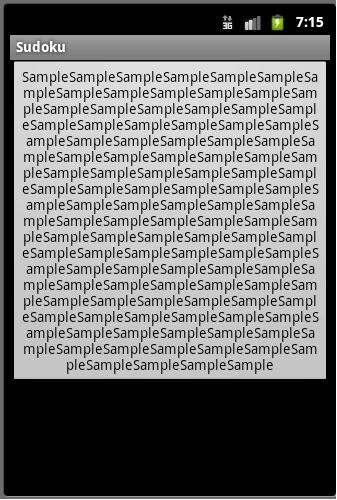
- height=wrap_content, width=wrap_content
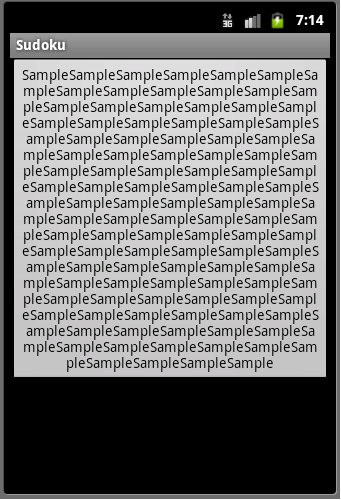
- height=fill_parent, width=fill_parent