OpenPose による姿勢推定(Windows 上)
OpenPose は、人体、顔、手、足の「キーポイント」を検出するソフトウェア。
多数のカメラを配置して、3次元のキーポイントを得る機能もある
OpenPose の利用条件などは、利用者が確認すること。次のWeb ページを活用してください
https://flintbox.com/public/project/47343/
【サイト内の関連ページ】
謝辞:このWebページで紹介する OpenPose ソフトウェアの作者に感謝します
前準備
OpenPose のインストール
Windows での OpenPose のインストール手順は,別ページで説明
OpenPose を使ってみる
Windows のコマンドプロンプトを使う
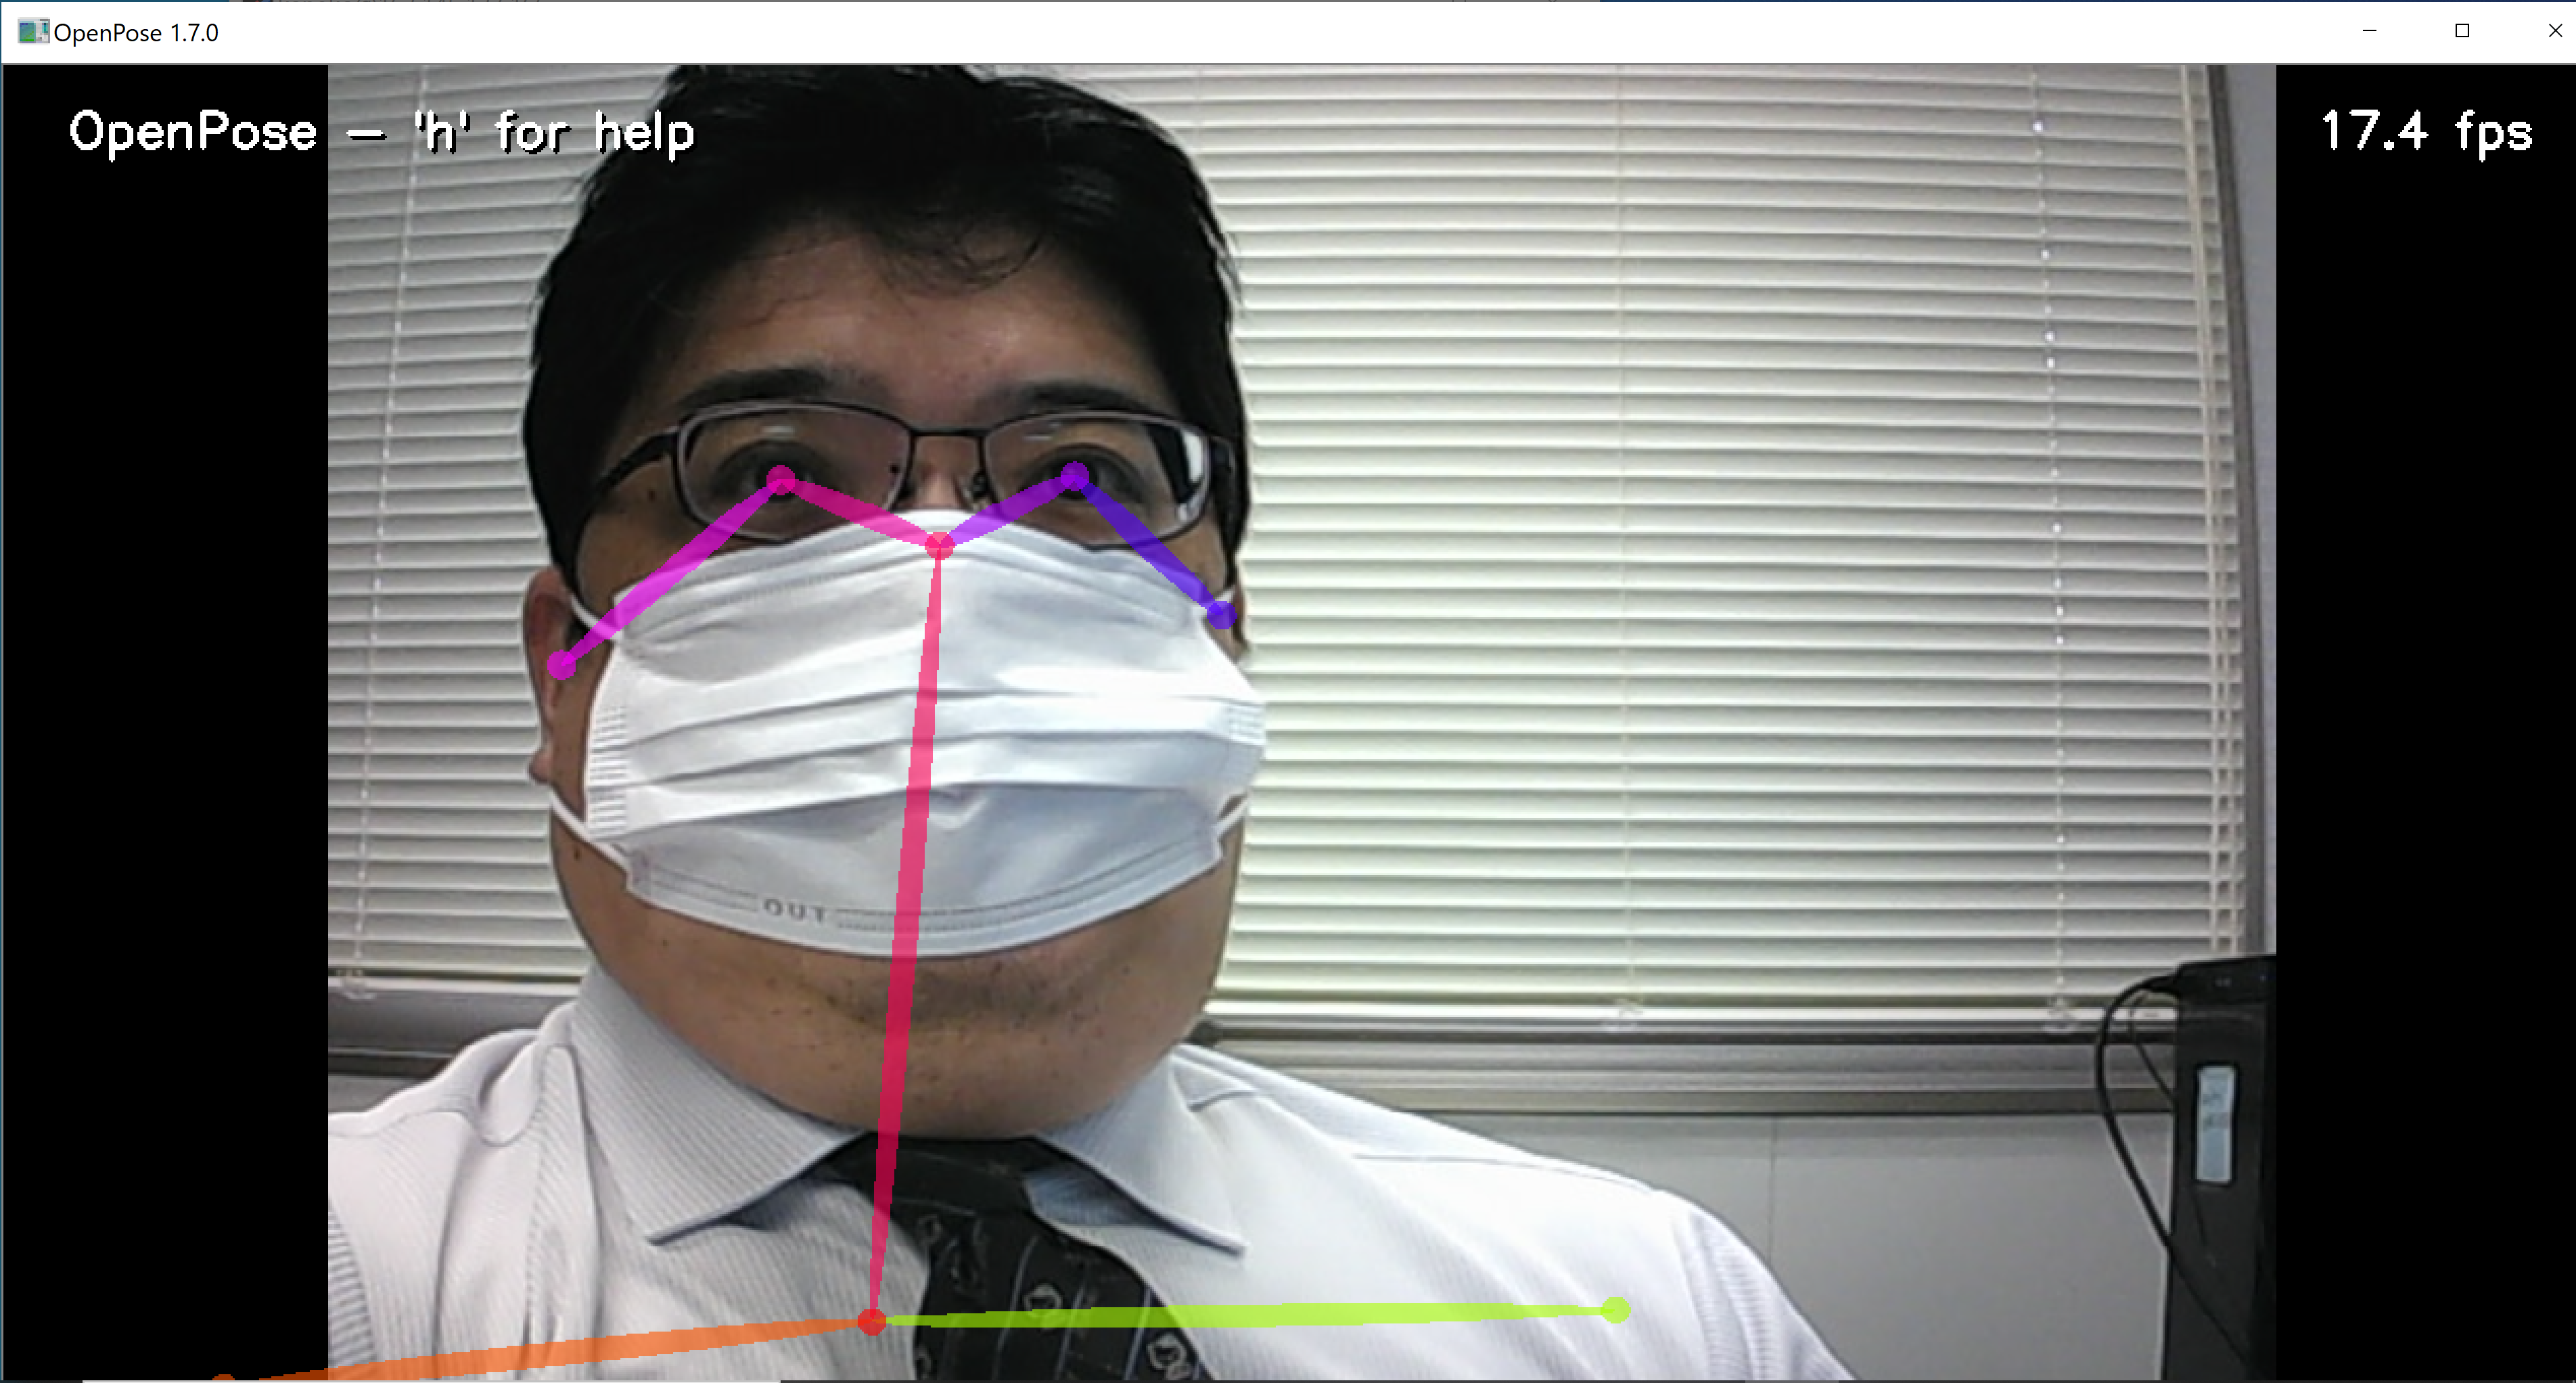
ビデオカメラ
USB接続できるビデオカメラを準備し,パソコンに接続しておく.
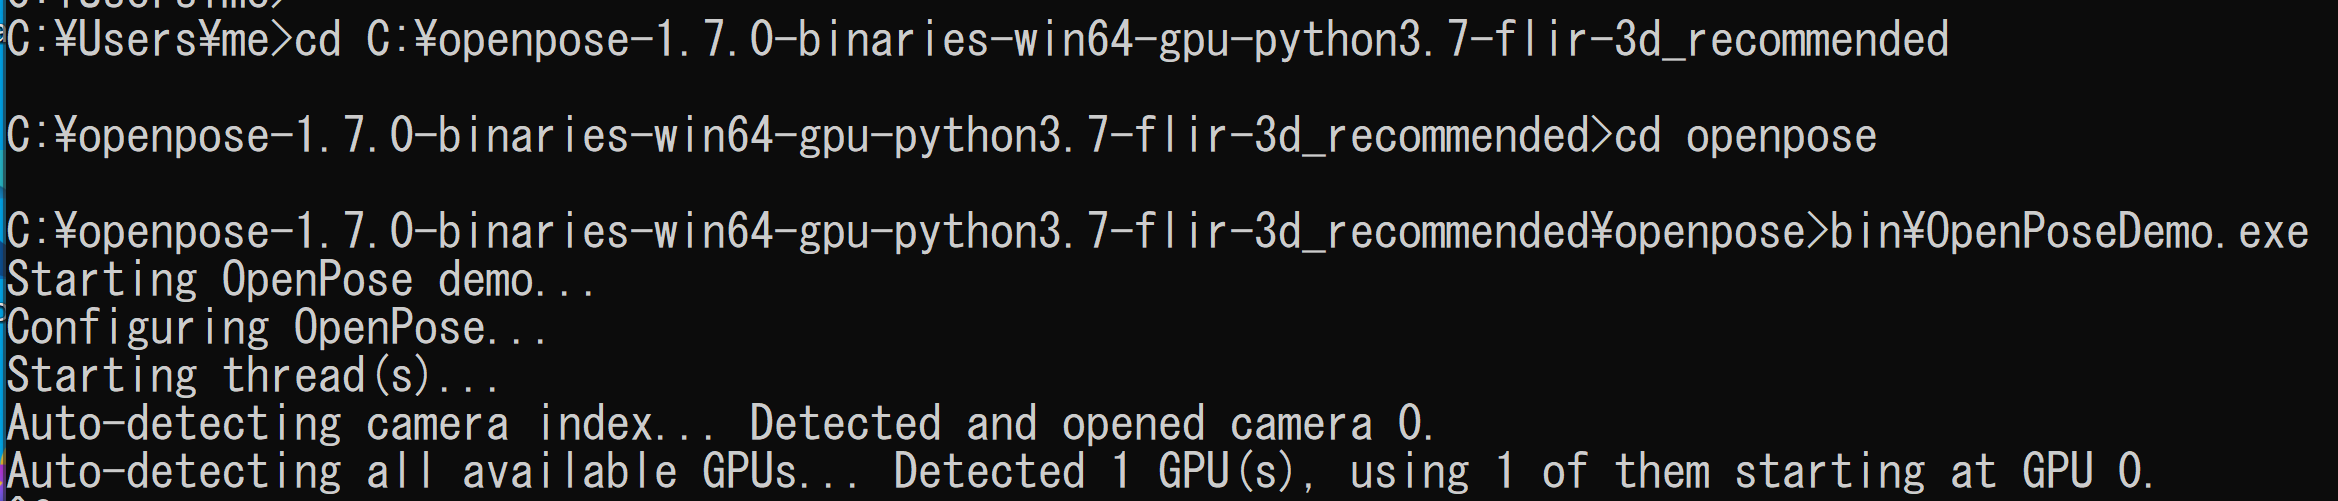
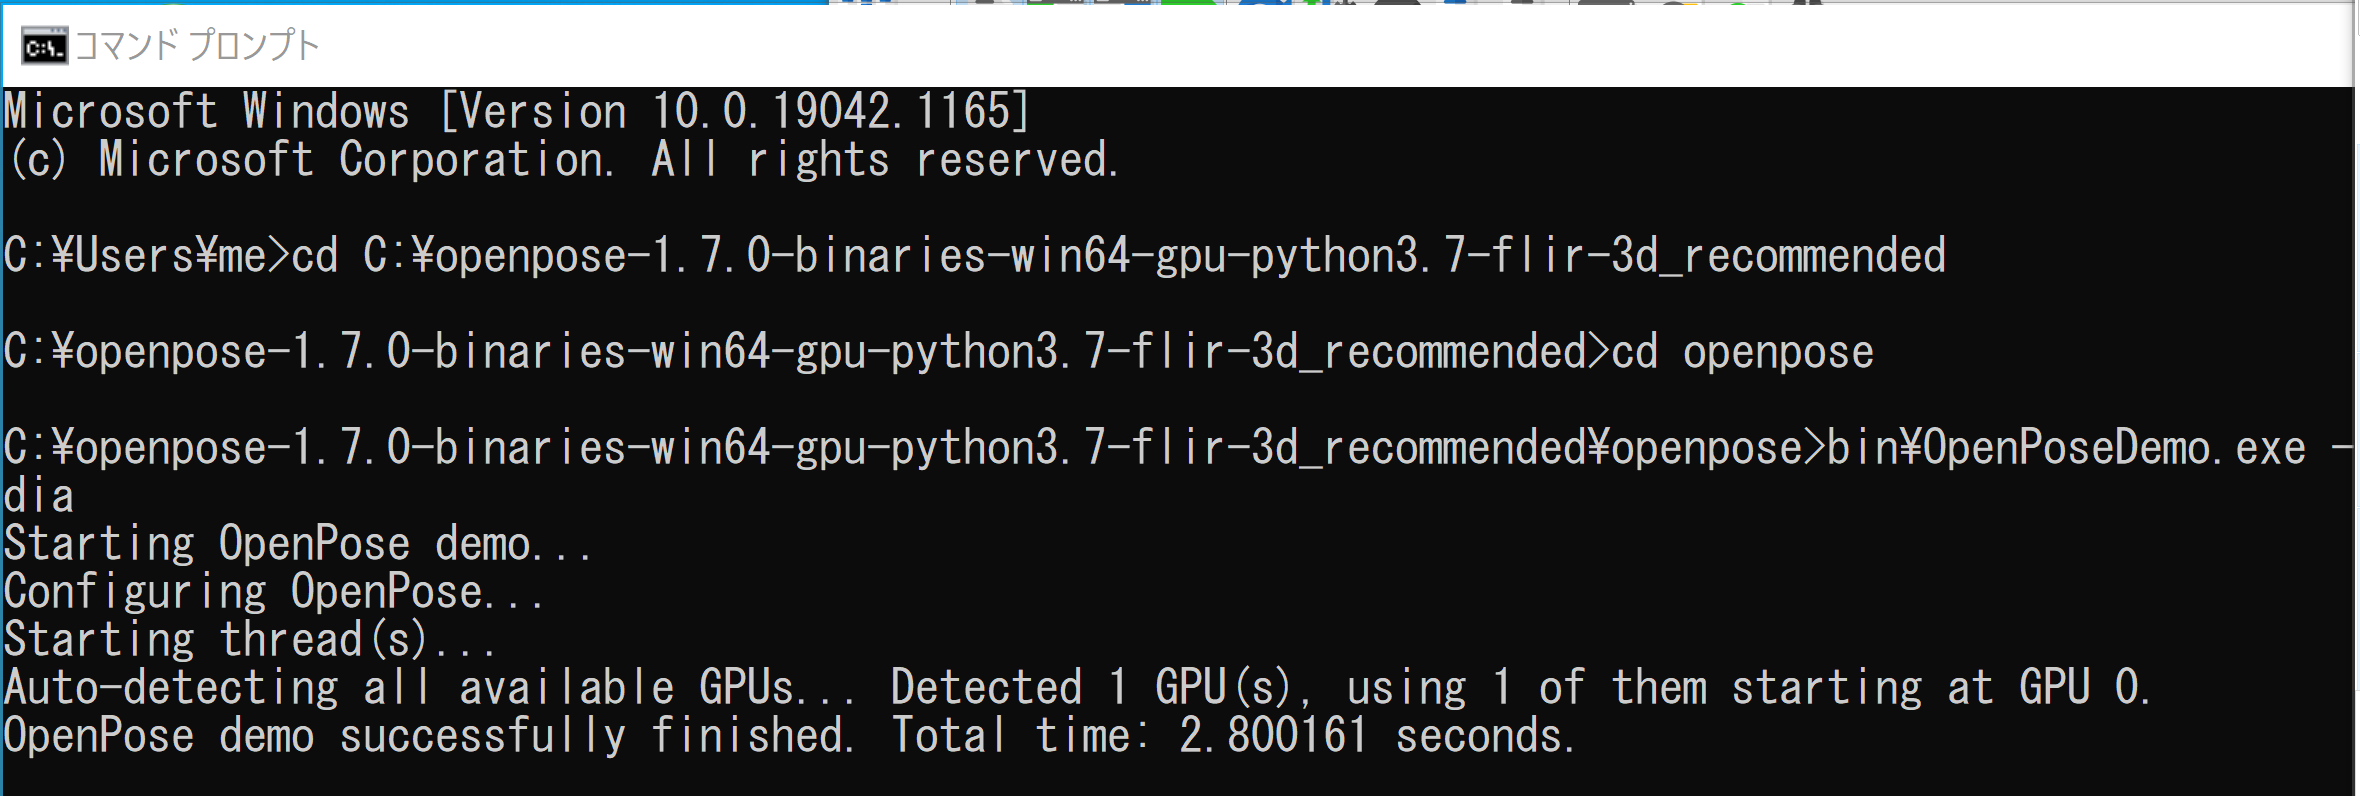
GPU 版を使う場合:
cd C:\openpose-1.7.0-binaries-win64-gpu-python3.7-flir-3d_recommended
cd openpose
bin\OpenPoseDemo.exe
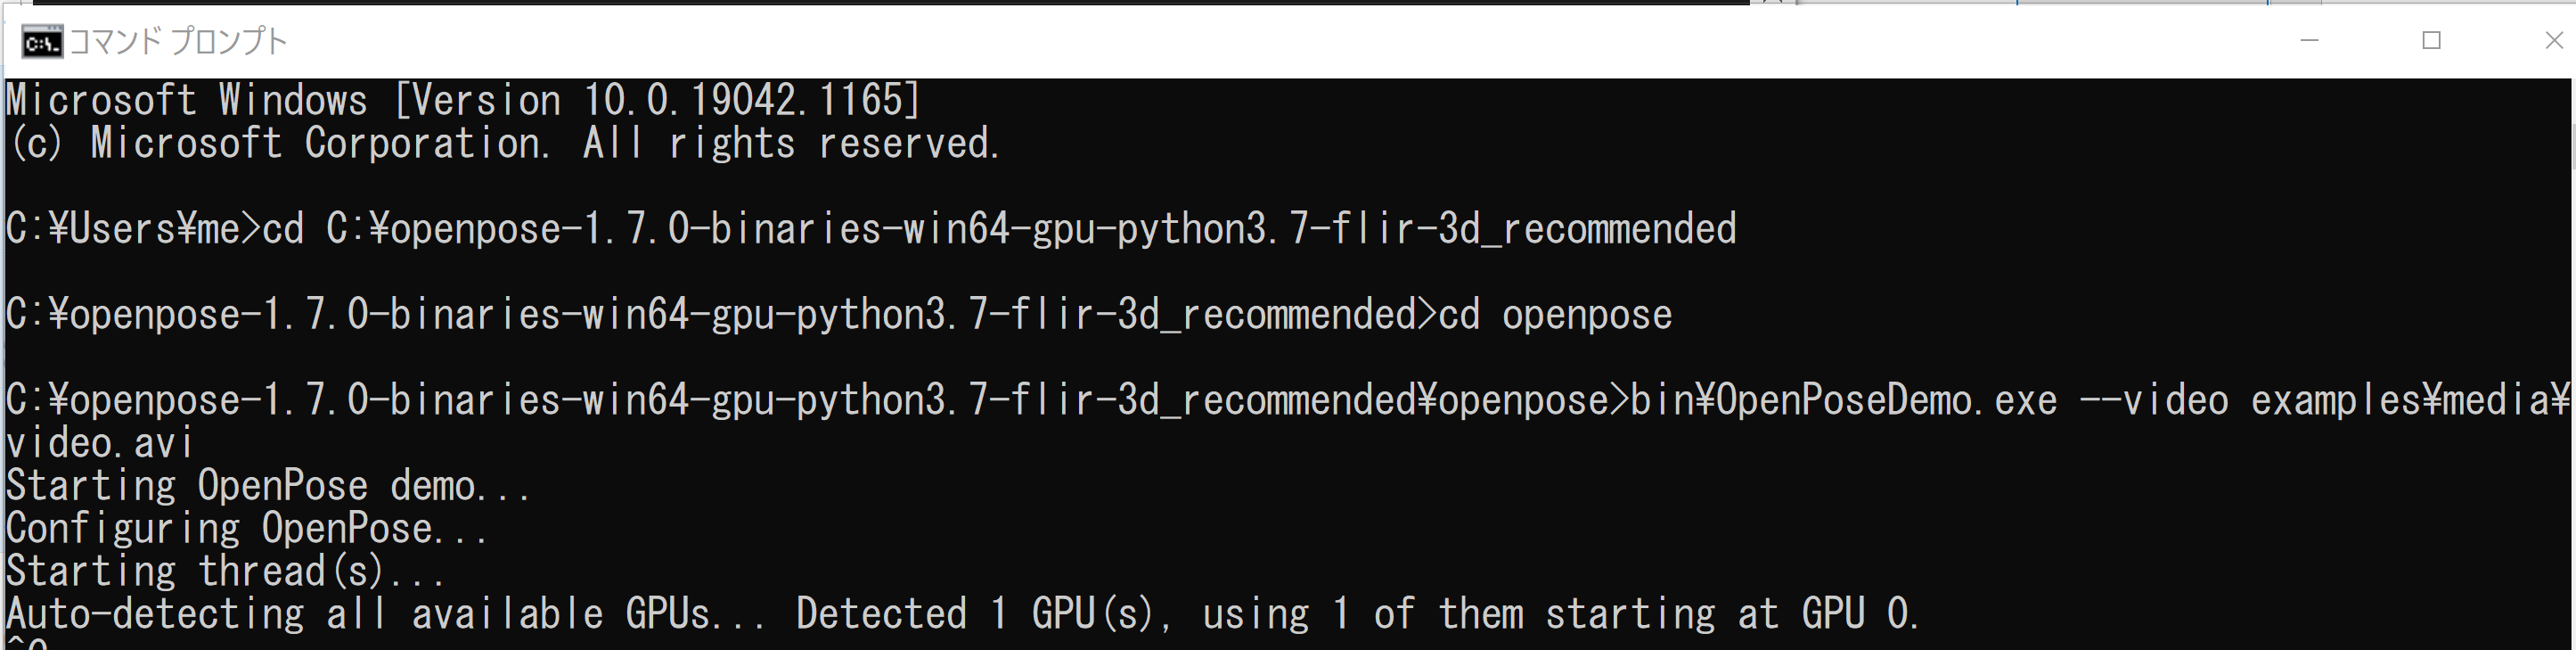
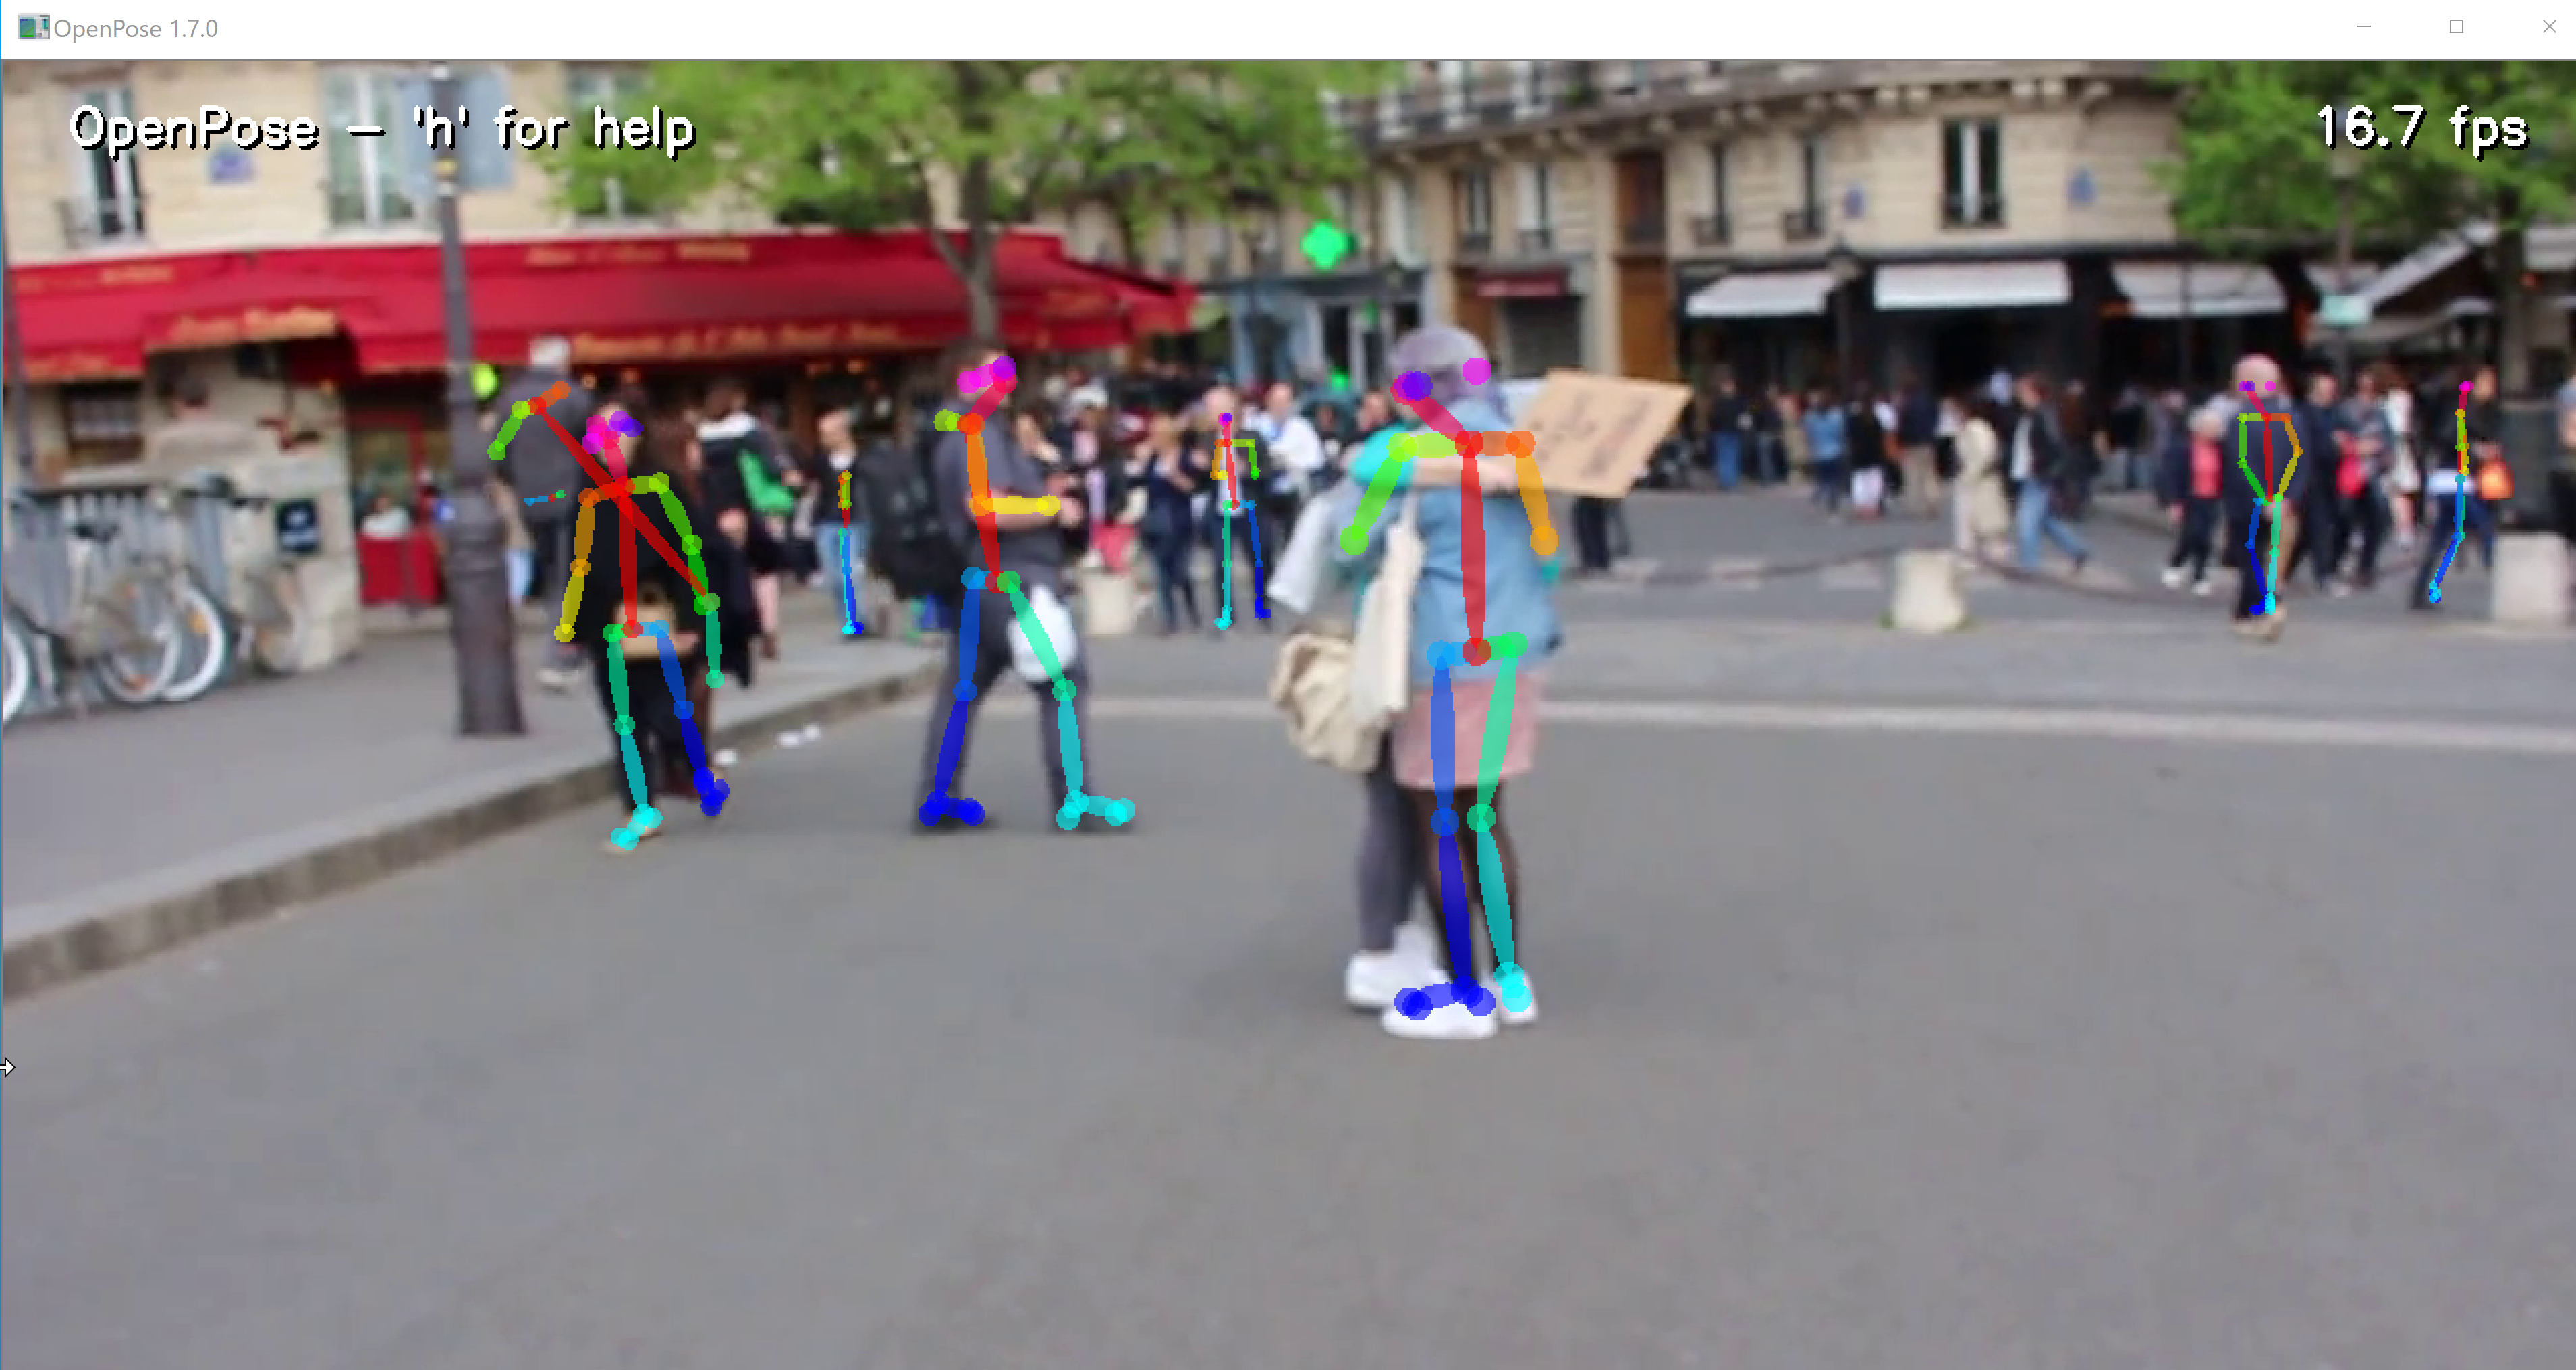
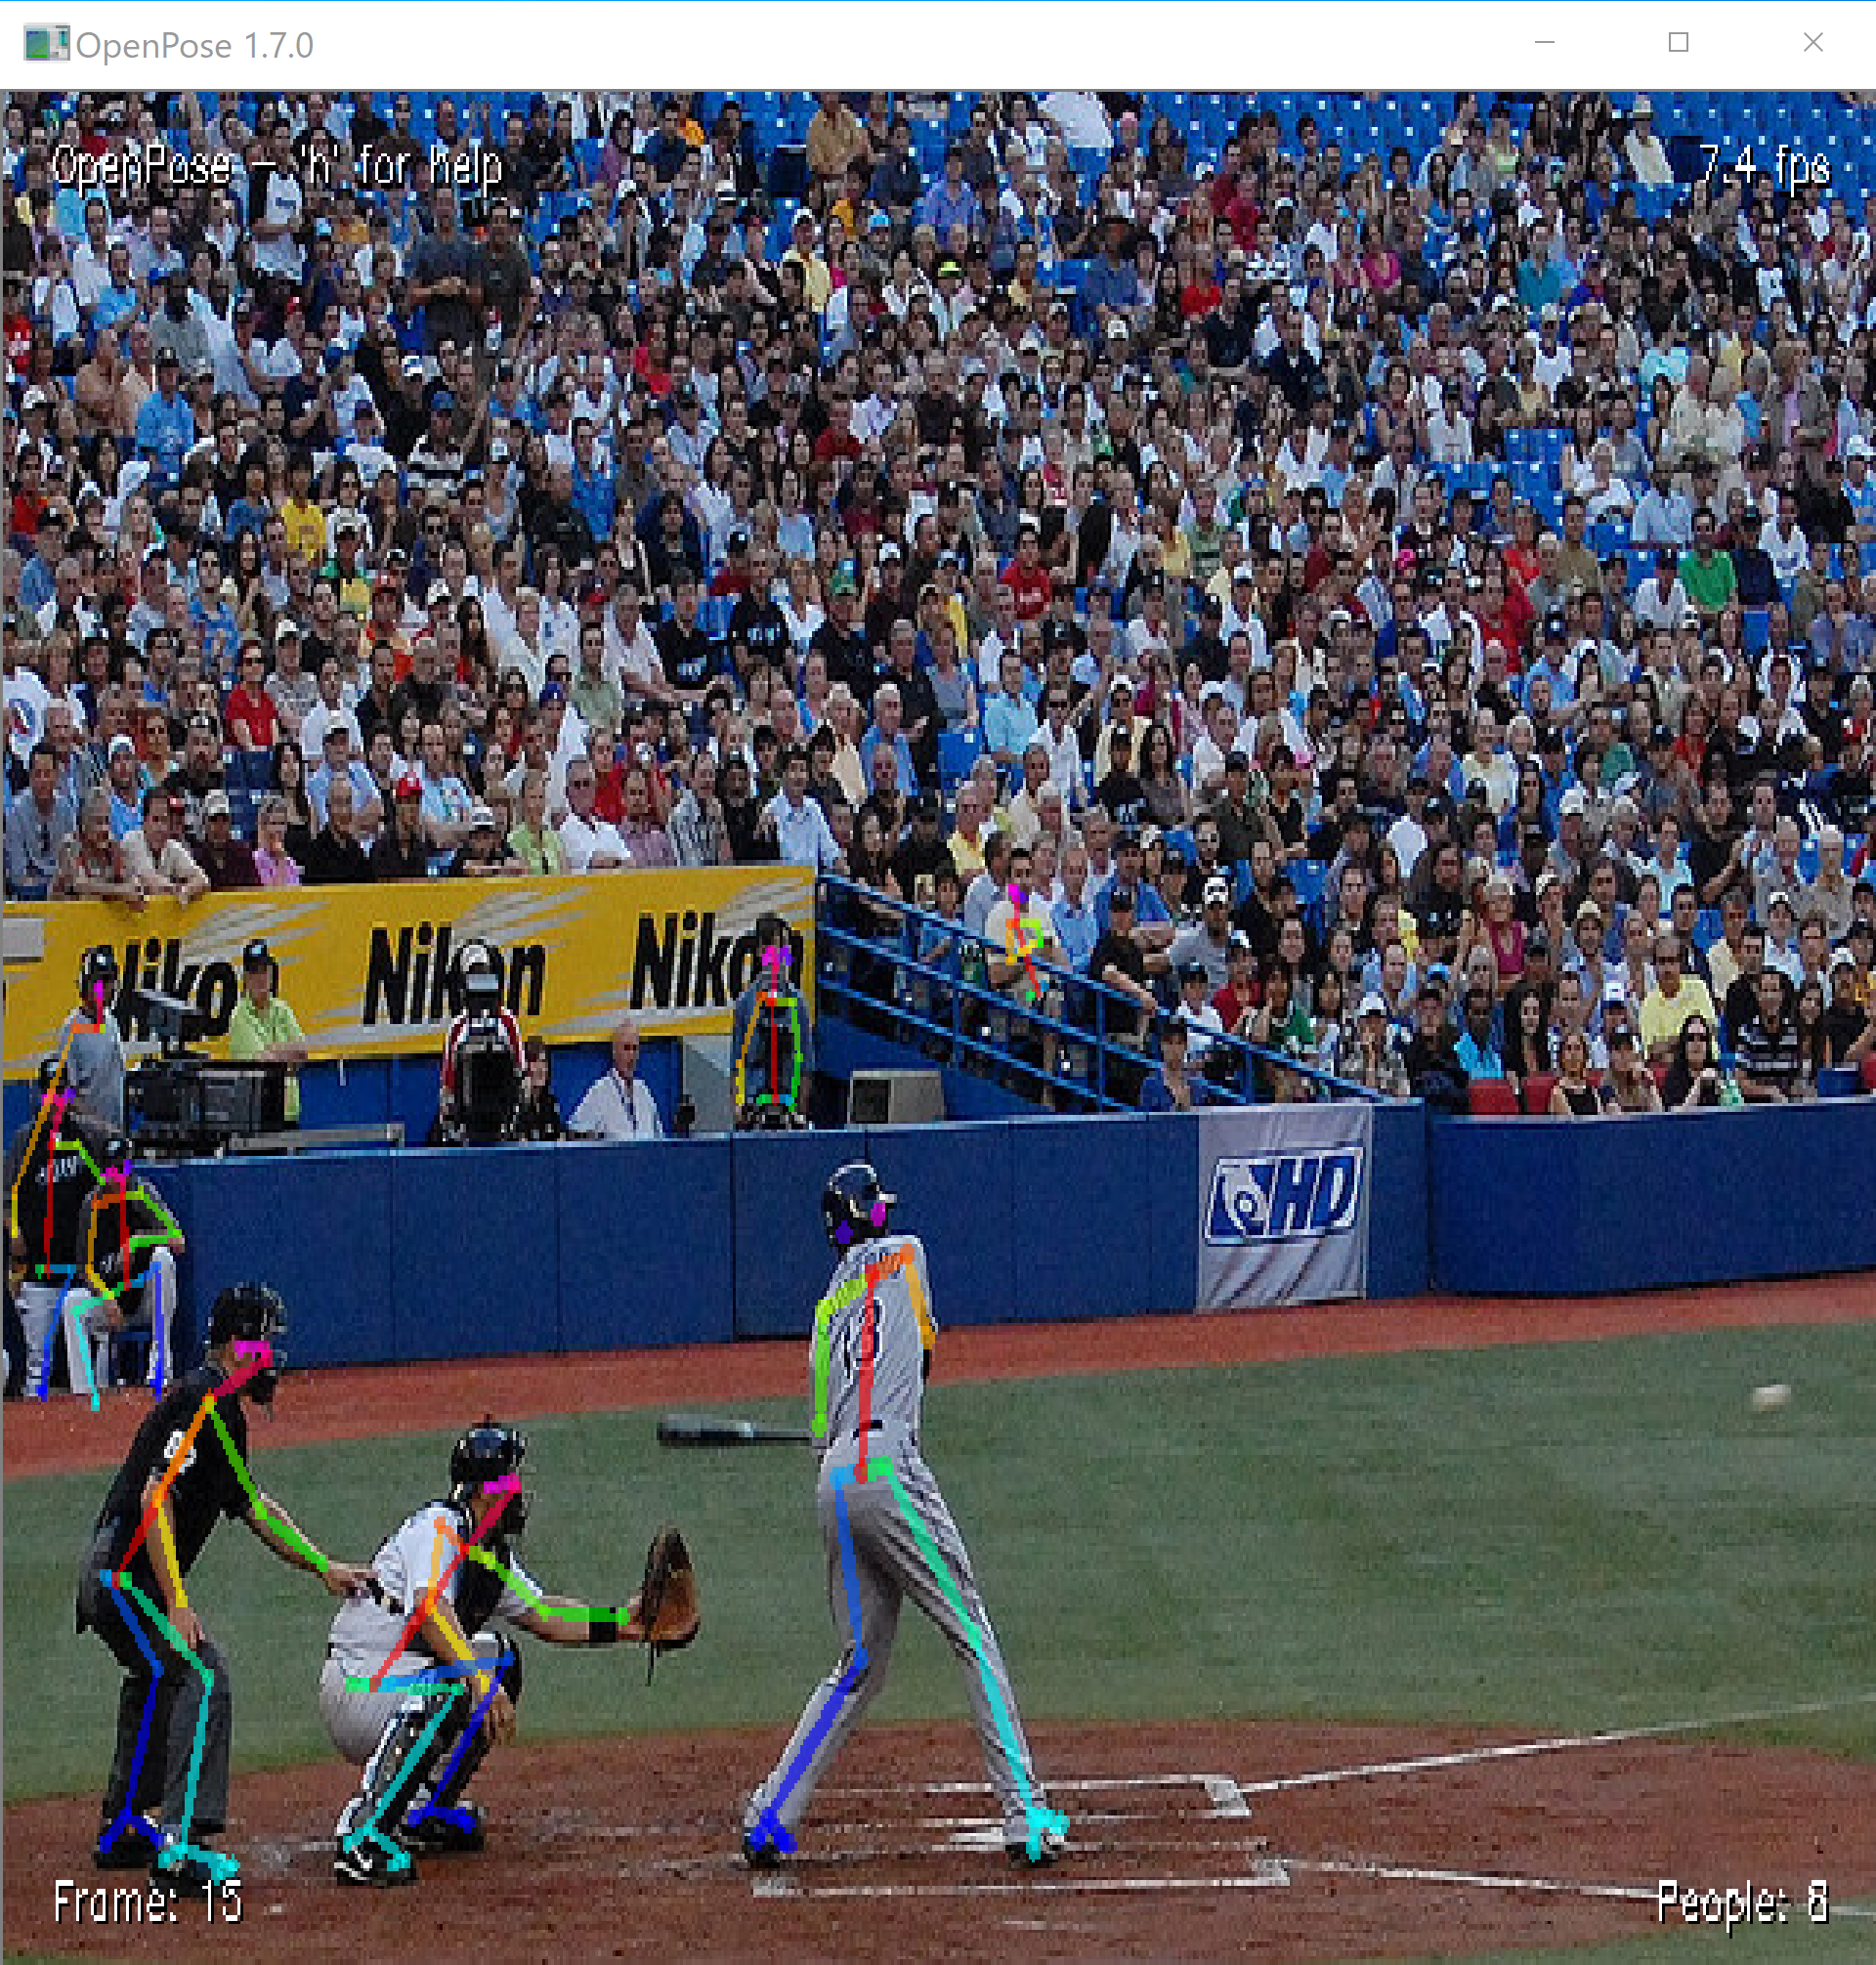
付属の動画ファイルを使用
GPU 版を使う場合:
cd C:\openpose-1.7.0-binaries-win64-gpu-python3.7-flir-3d_recommended
cd openpose
bin\OpenPoseDemo.exe --video examples\media\video.avi
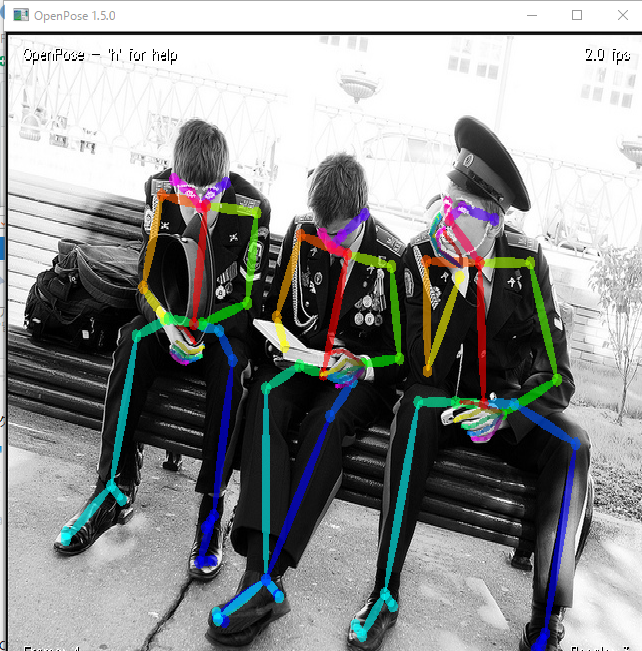
付属の画像ファイル
GPU 版を使う場合:
cd C:\openpose-1.7.0-binaries-win64-gpu-python3.7-flir-3d_recommended
cd openpose
bin\OpenPoseDemo.exe --image_dir examples\media
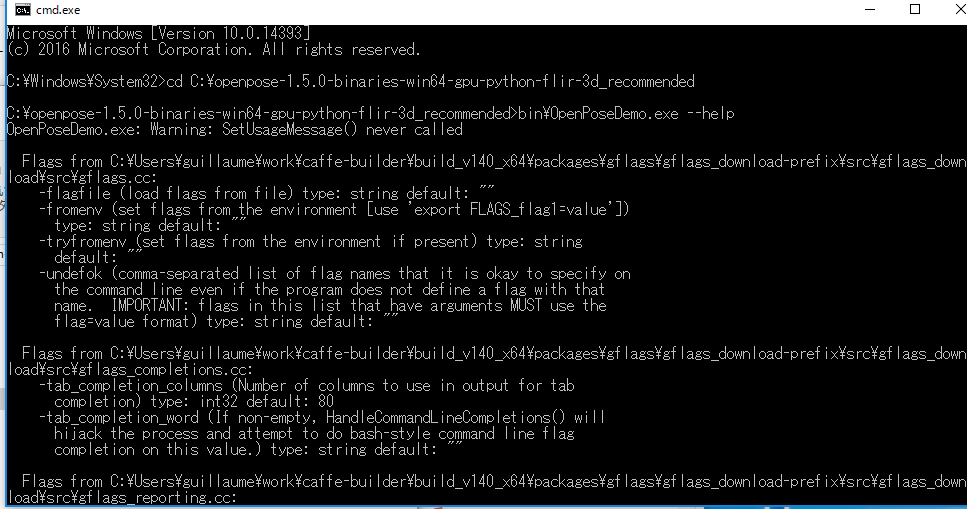
オプションの確認
GPU 版を使う場合:
cd C:\openpose-1.7.0-binaries-win64-gpu-python3.7-flir-3d_recommended
cd openpose
bin\OpenPoseDemo.exe --help
--face, --hand オプションを試してみる
顔と手の情報も得られる
【関連する外部ページ】: https://github.com/jrkwon/openpose/blob/master/doc/quick_start.md
GPU 版を使う場合:
cd C:\openpose-1.7.0-binaries-win64-gpu-python3.7-flir-3d_recommended
cd openpose
bin\OpenPoseDemo.exe --image_dir examples\media -face --hand

--write_json オプションを試してみる
* 末尾の「.」(半角ピリオド』はディレクトリの指定
GPU 版を使う場合:
cd C:\openpose-1.7.0-binaries-win64-gpu-python3.7-flir-3d_recommended
cd openpose
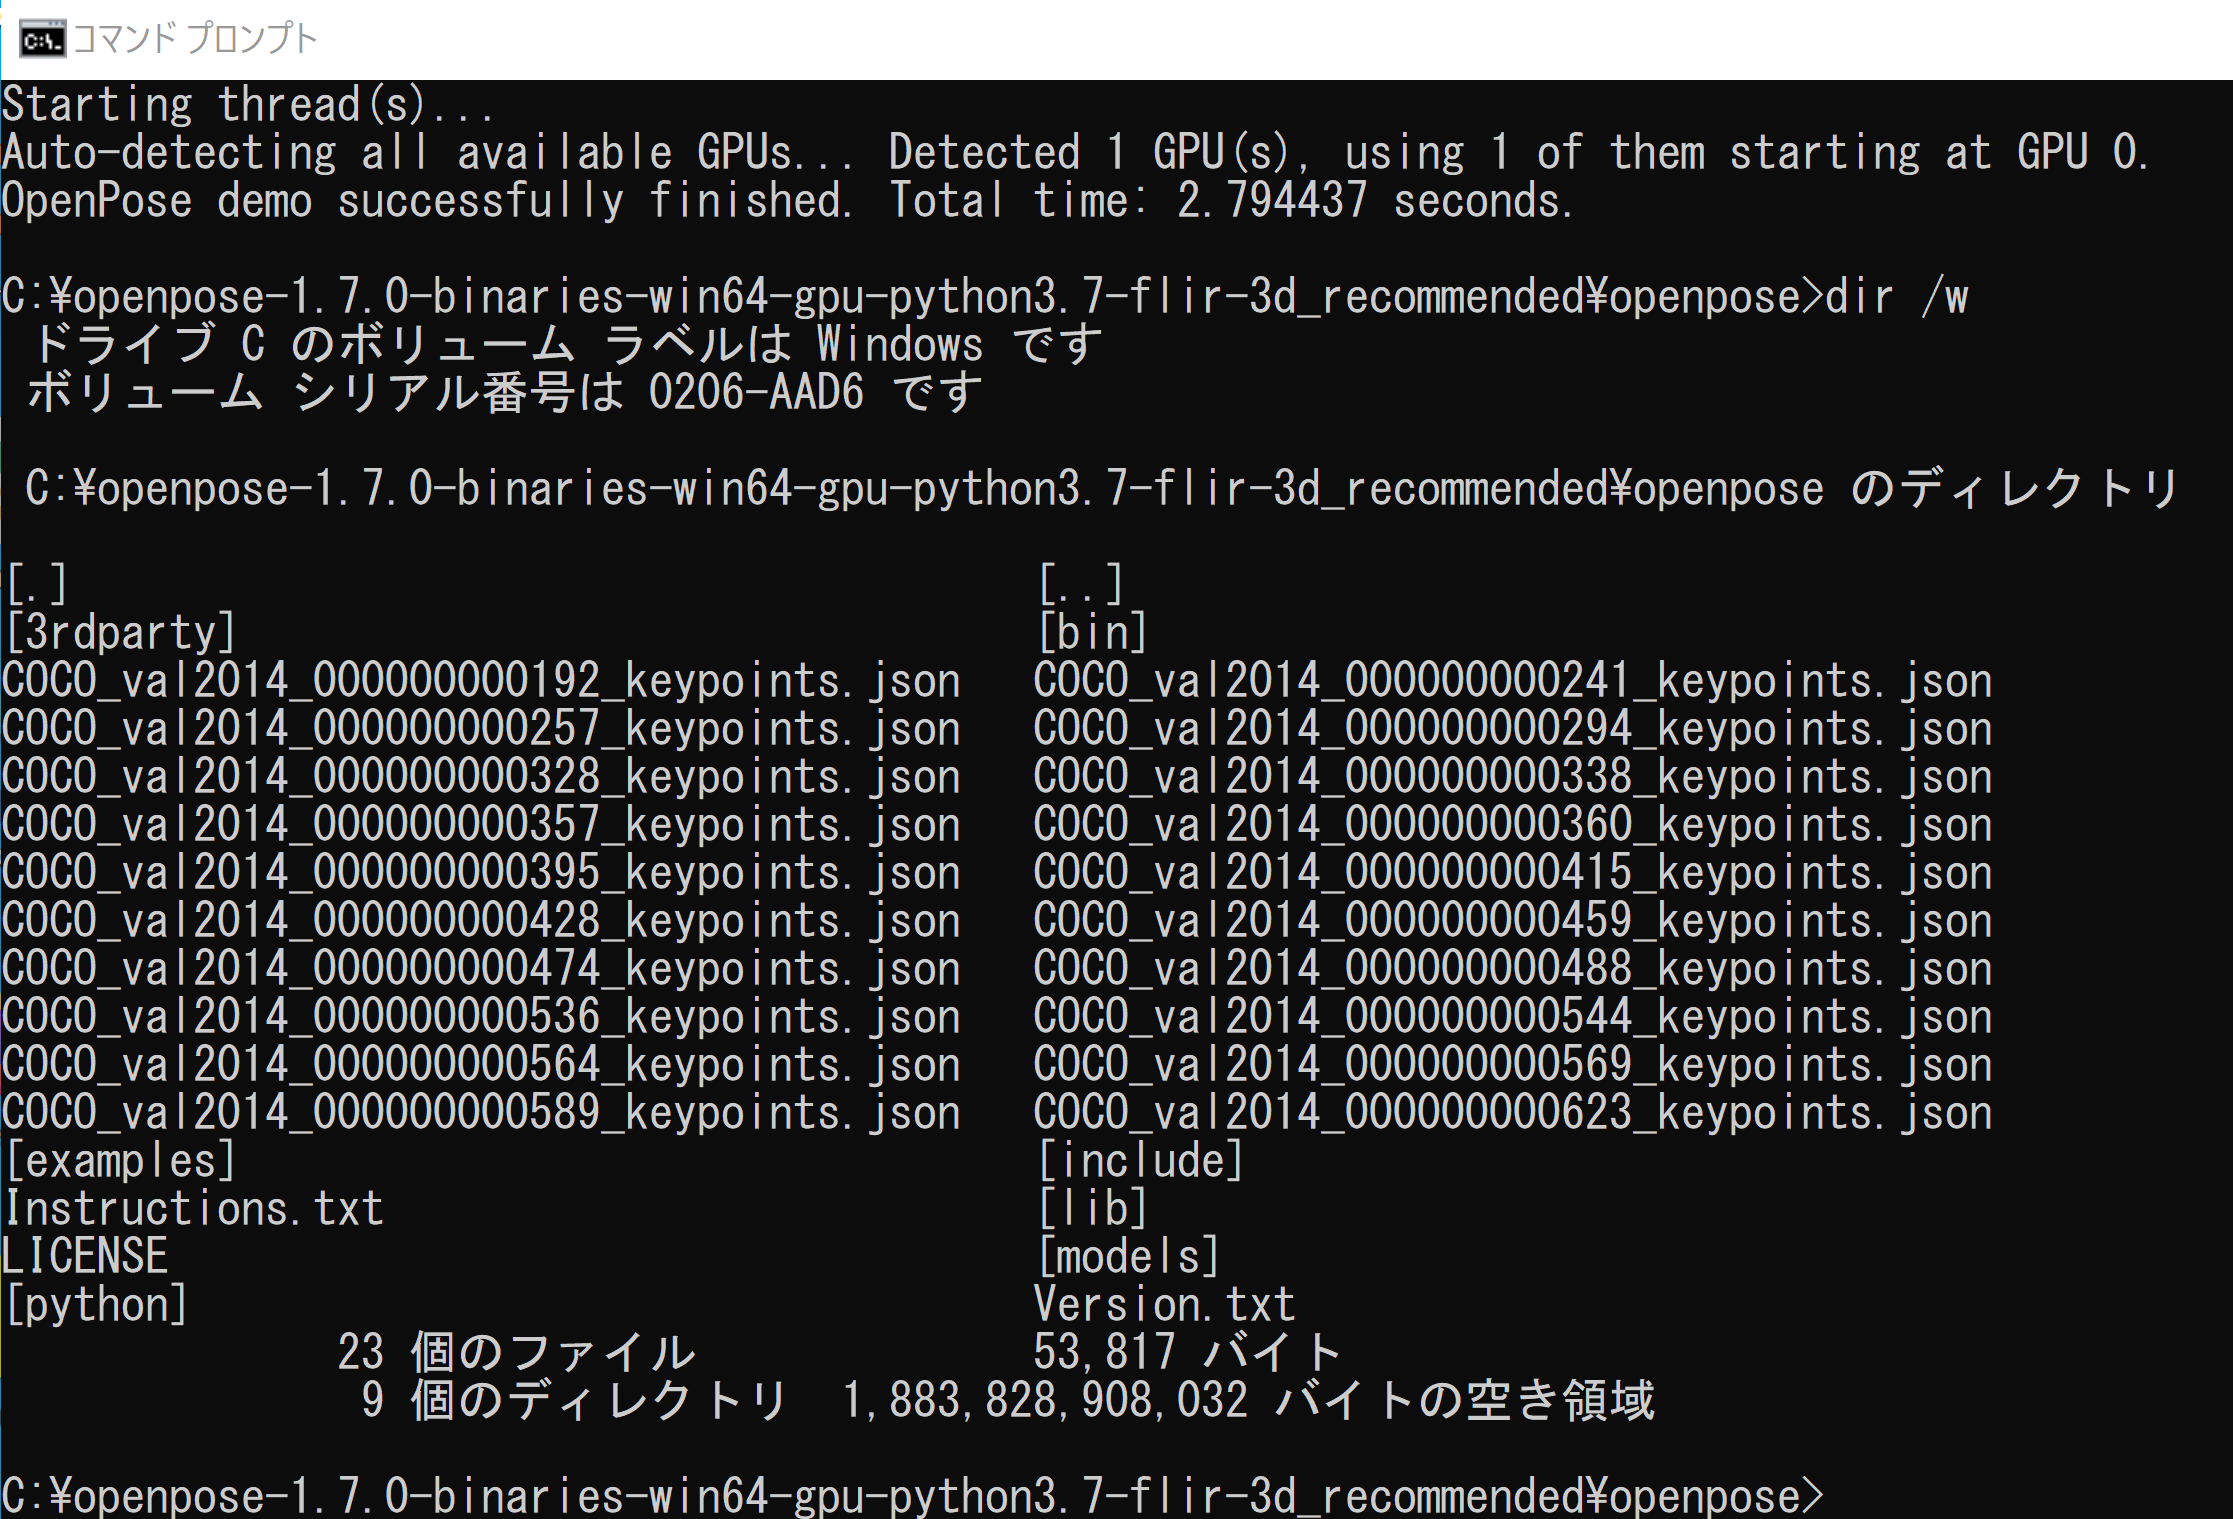
bin\OpenPoseDemo.exe --image_dir examples\media --write_json .
.json ファイルができていることがわかる
dir /w
Python から扱ってみる(書きかけ)
次のプログラムを動かす.
import sys
import cv2
import os
from sys import platform

# Remember to add your installation path here
# Option
sys.path.append('C:/openpose-1.7.0-binaries-win64-gpu-python3.7-flir-3d_recommended/openpose/bin/python');

import openpose

params = dict()
params["logging_level"] = 3
params["output_resolution"] = "-1x-1"
params["net_resolution"] = "-1x368"
params["model_pose"] = "BODY_25"
params["alpha_pose"] = 0.6
params["scale_gap"] = 0.25
params["scale_number"] = 1
params["render_threshold"] = 0.05
# If GPU version is built, and multiple GPUs are available, set the ID here
params["num_gpu_start"] = 0
params["disable_blending"] = False
# Ensure you point to the correct path where models are located
params["default_model_folder"] = "C:/openpose/models/"
# Construct OpenPose object allocates GPU memory
op = OpenPose(params)

while 1:
    # Read new image
    img = cv2.imread("C:/openpose/examples/media/COCO_val2014_000000000192.jpg")
    # Output keypoints and the image with the human skeleton blended on it
    keypoints, output_image = op.forward(img, True)
    # Print the human pose keypoints, i.e., a [#people x #keypoints x 3]-dimensional numpy object with the keypoints of all the people on that image
    print(keypoints)
    # Display the image
    cv2.imshow("output", output_image)
    cv2.waitKey(15)