【目次】
AIタスク
AIエージェント
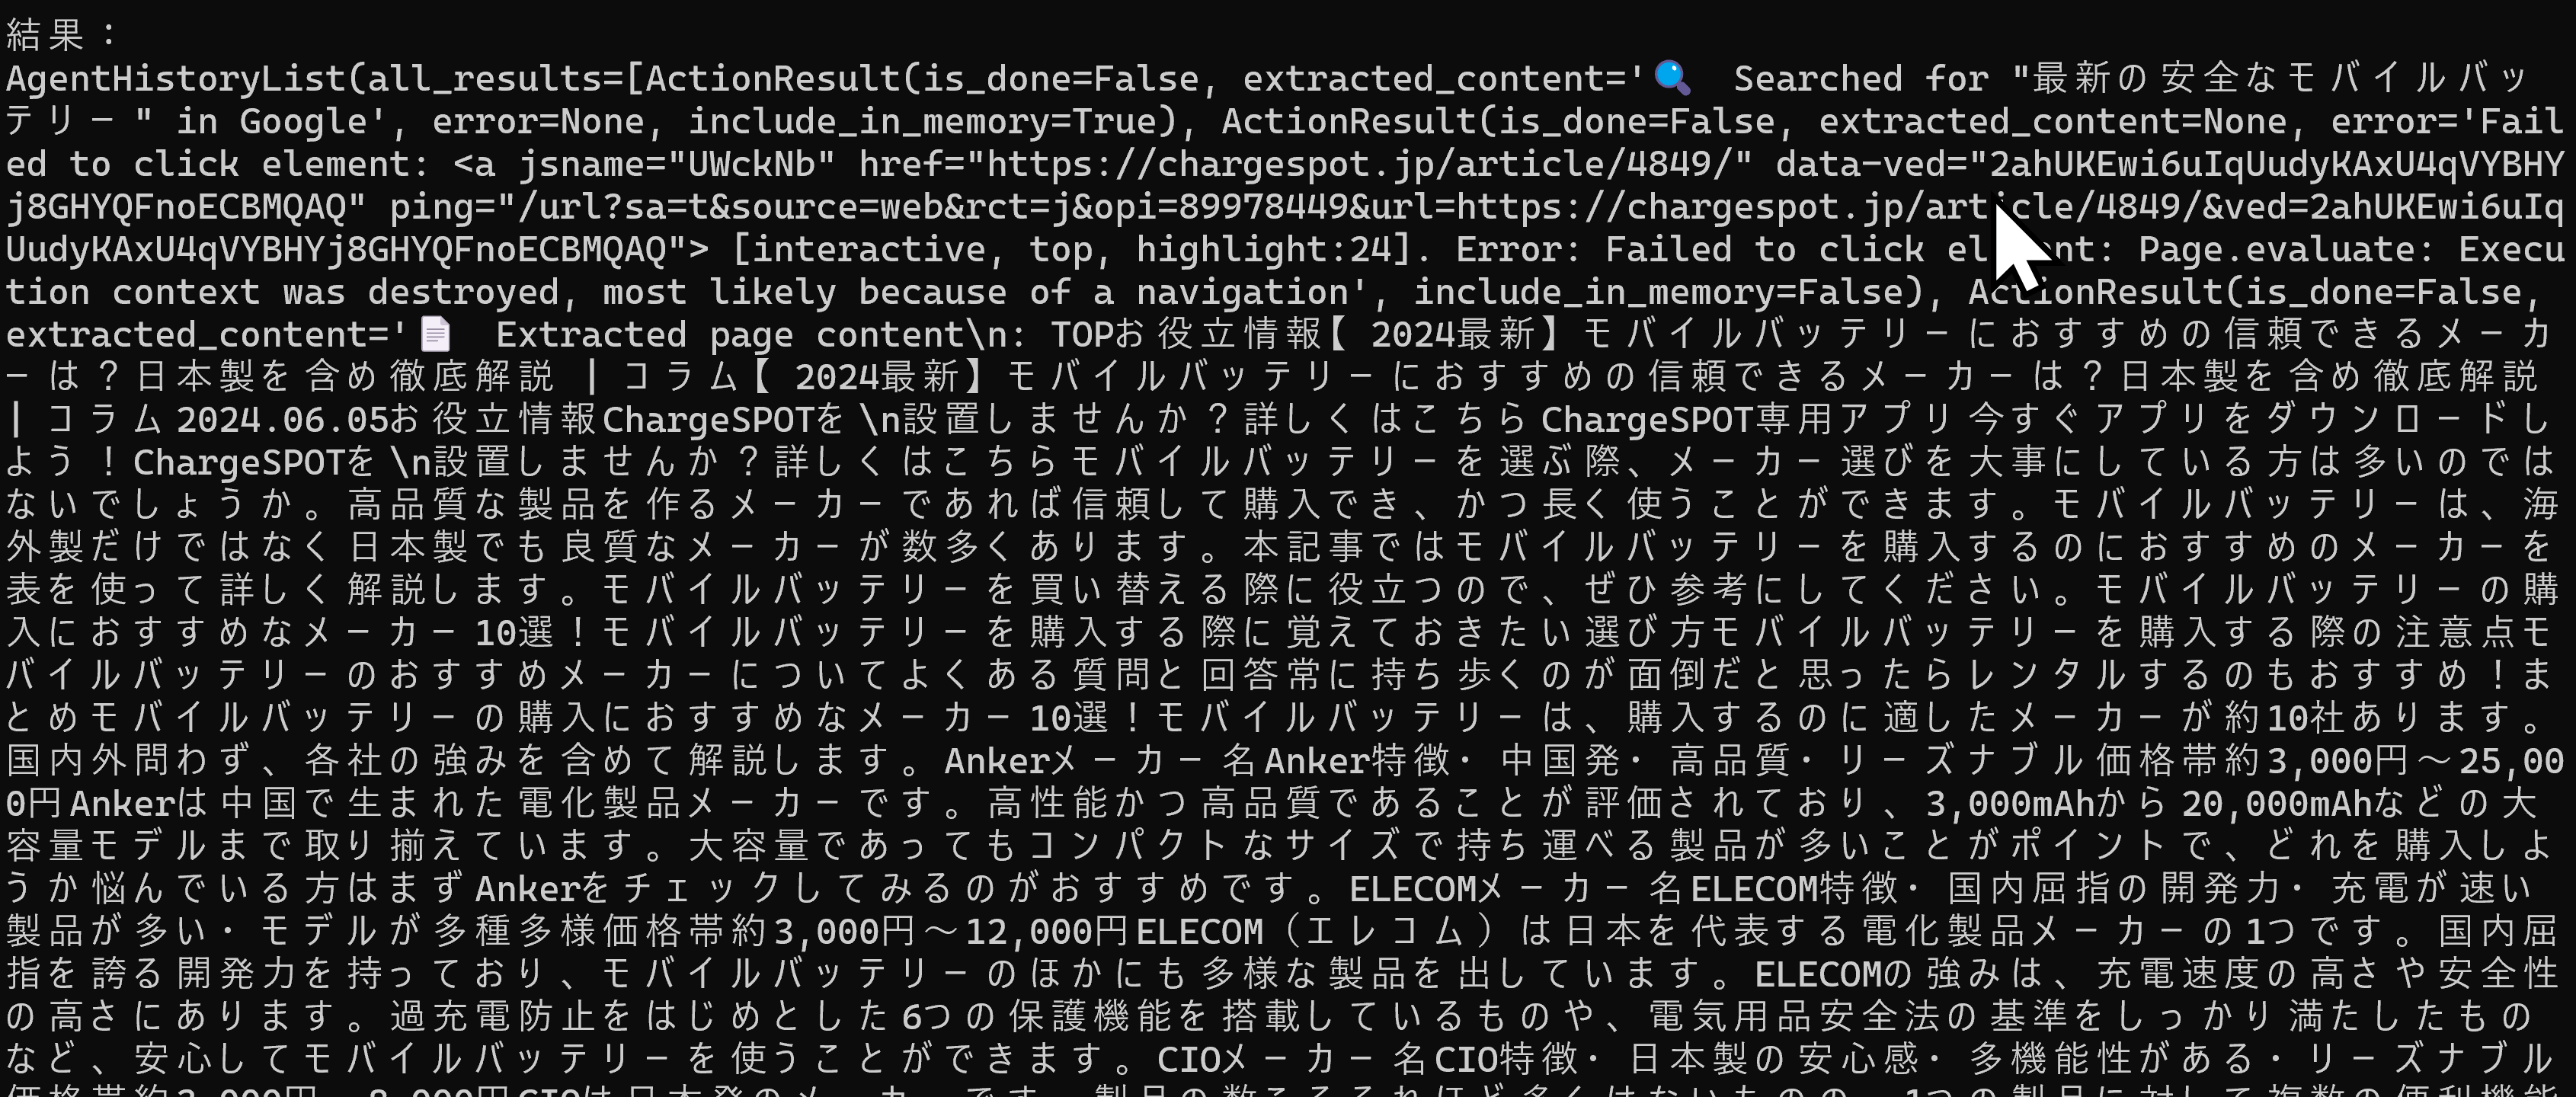
- AIブラウザエージェント browser-use 実行プログラム
ユーザーガイド・詳細仕様書: README.md
ソースコード: app.py
利用法:コマンドによる実行.コマンドプロンプトで「python app.py <入力ファイル名>」を実行する.
【概要】 browser-use(AIエージェントによるWebブラウザ操作を実現するPythonパッケージ)を活用し,AIエージェントによるWebブラウザの自動操作を実現する.LangChain(言語モデルを活用するためのフレームワーク)とPlaywright(Webブラウザの自動化ツール)を利用し,browser-useのビジョン機能とHTML抽出機能により,Webページの視覚的・構造的な理解に基づく操作を実現する.プログラム実行には OpenAI の APIキーを使用する.

Webブラウザで動作するAIプログラム集(Google Colaboratory版)
- MediaPipe顔検出プログラム(Google Colaboratory版)
Google Colaboratory へのリンク: https://colab.research.google.com/drive/18bN3_pLhAnGAJnvQljZoUUjVhVqI_MLe?usp=sharing
【概要】 MediaPipeの顔検出モデルを使用し,画像から顔を検出して可視化するプログラムである.検出した顔の位置を緑色の矩形で囲み,顔の特徴点を青い点で表示する.検出信頼度を数値で表示し,検出された顔の総数も表示する.Google Colab環境で動作し,画像ファイルのアップロードから結果表示までを自動で処理する.
- リアルタイムMediaPipe顔検出プログラム(パソコンカメラ使用)(Google Colaboratory版)
Google Colaboratory へのリンク: https://colab.research.google.com/drive/1ij-_3fQlZIw82r8lv2xzX0MFtsobIDT2?usp=sharing
【概要】 MediaPipeとOpenCVを使用し,カメラからリアルタイムで顔検出を行うGoogle Colab上で動作するプログラムである.検出した顔を緑色の矩形で囲み,特徴点を青色の点で表示する.検出信頼度を数値で表示する.
- 顔検出・感情分析AIシステム(Google Colaboratory版)
Google Colaboratory へのリンク: https://colab.research.google.com/drive/1t8YlRamyYij40wND--k1NHTDR5fMXvHq?usp=sharing
【概要】 このプログラムは,画像内の人物の顔を検出し,感情分析を行うAIシステムである.MediaPipeとDeepFaceを組み合わせることで,高精度な顔検出と7種類の感情分析を実現している.検出結果は,顔の位置,検出スコア,感情の種類を画像上に視覚的に表示し,直感的な理解を可能にしている.Google Colaboratory環境で動作する.7種類の感情は,angry(怒り),disgust(嫌悪),fear(恐れ),happy(幸せ),sad(悲しみ),surprise(驚き),neutral(中立)である.
- リアルタイム顔検出・感情分析AIシステム(パソコンカメラ使用)(Google Colaboratory版)
Google Colaboratory へのリンク: https://colab.research.google.com/drive/11JxfeS_V-xO6ihy38rwNpTWalhQxyysy?usp=sharing
【概要】 このプログラムは,画像内の人物の顔を検出し,感情分析を行うAIシステムである.MediaPipeとDeepFaceを組み合わせることで,高精度な顔検出と7種類の感情分析を実現している.検出結果は,顔の位置,検出スコア,感情の種類を画像上に視覚的に表示し,直感的な理解を可能にしている.Google Colaboratory環境で動作する.7種類の感情は,angry(怒り),disgust(嫌悪),fear(恐れ),happy(幸せ),sad(悲しみ),surprise(驚き),neutral(中立)である.
- Gazelle デモプログラム
Gazalle 作成者によるプログラムを紹介
日本語AIチャット
- ArrowPro-7B-KUJIRA 日本語AIチャットプログラム
ユーザーガイド・詳細仕様書: README.md
ソースコード: app.py
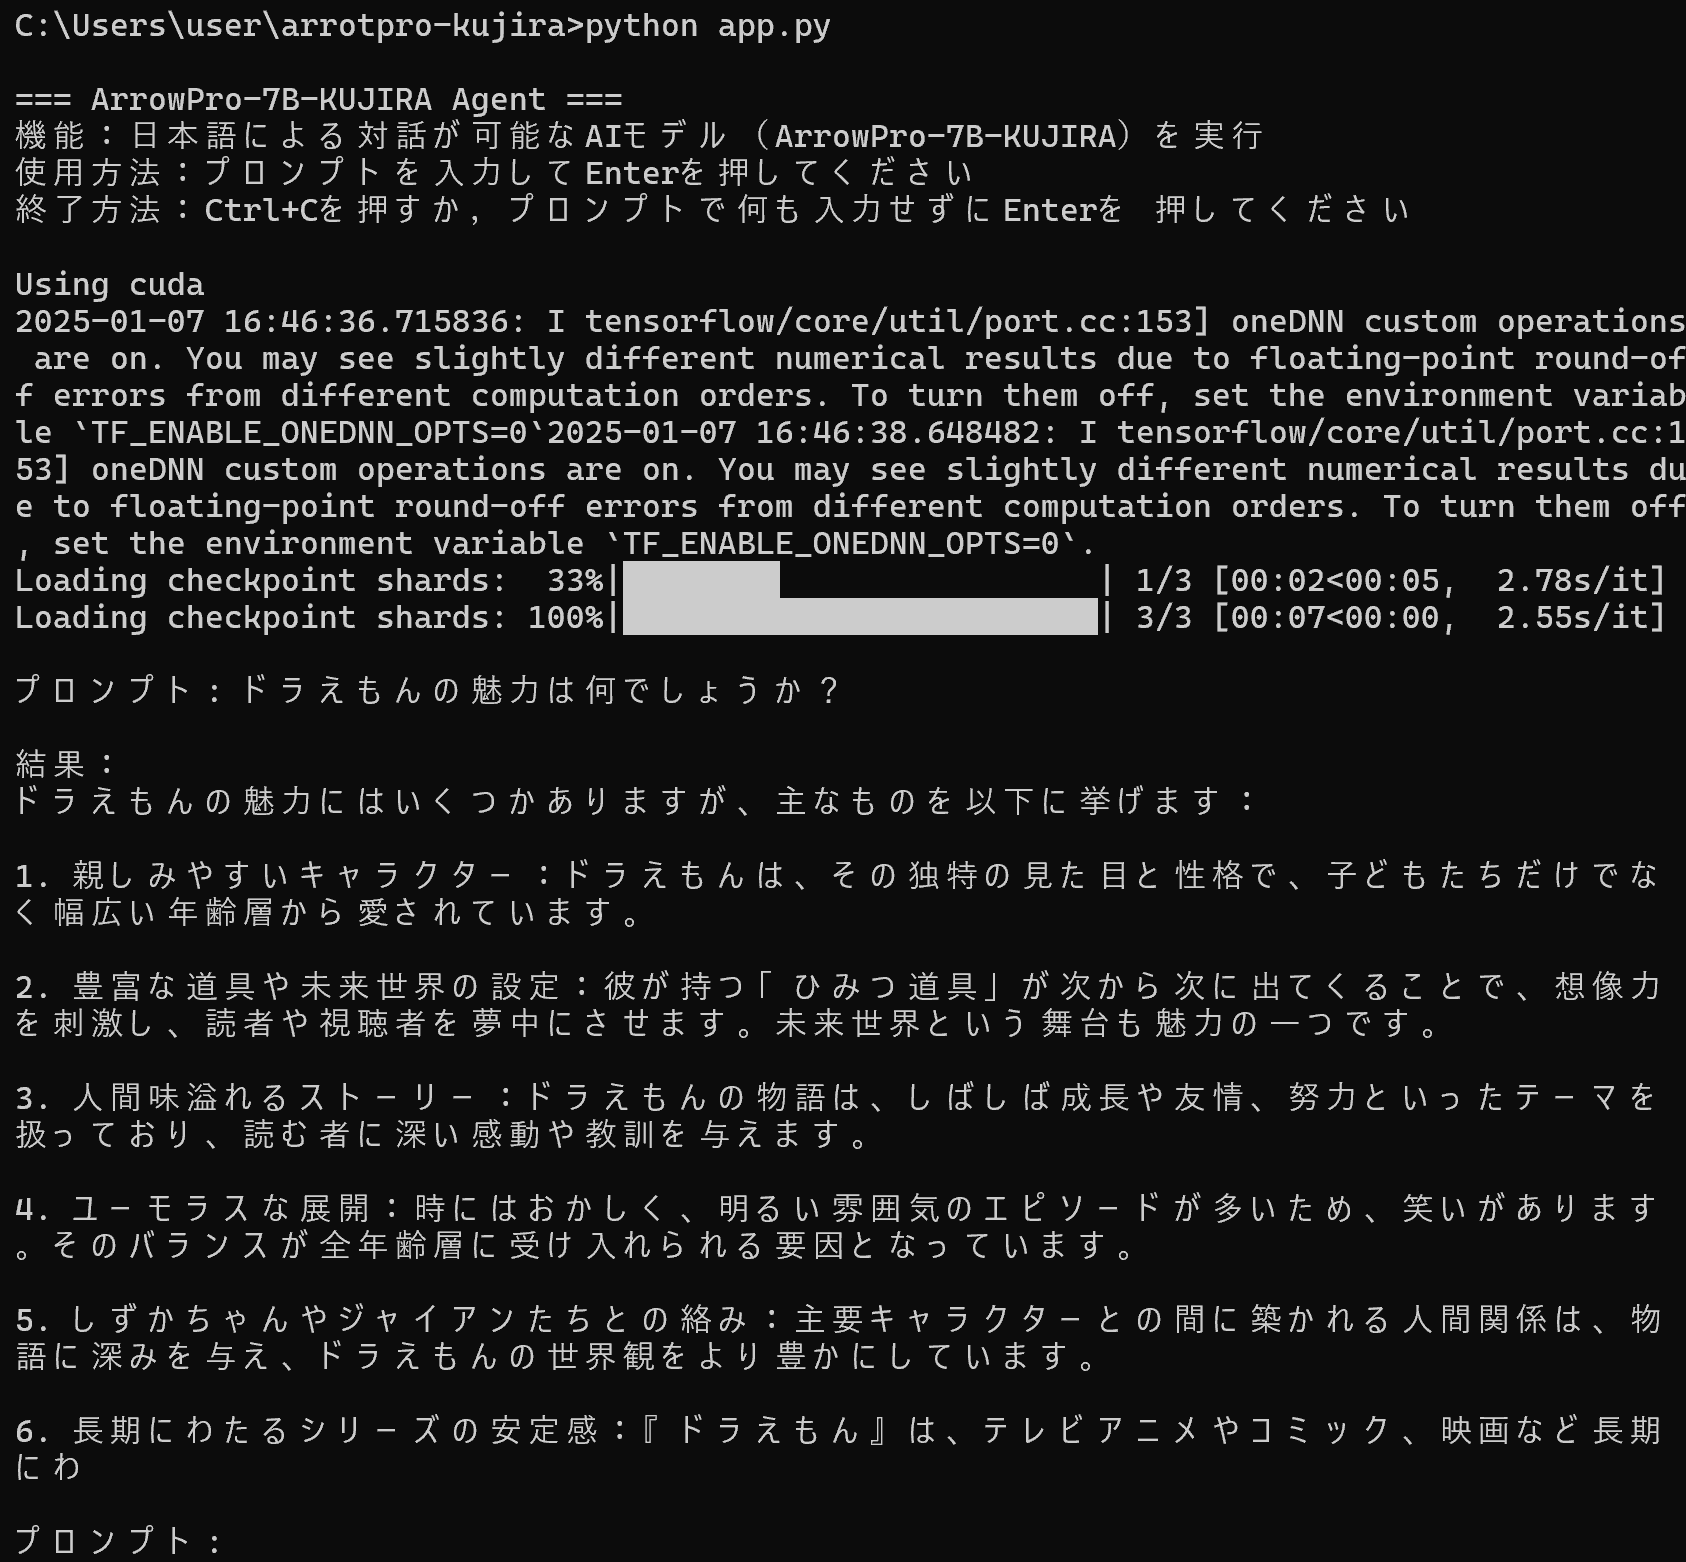
利用法:コマンドによる実行.コマンドプロンプトで「python app.py」を実行する.
【概要】 ArrowPro-7B-KUJIRA(日本語大規模言語モデル)を用いて,日本語による対話を実現するプログラムである.PyTorch(深層学習用のソフトウェアフレームワーク)とTransformers(深層学習モデルを扱うためのライブラリ)を使用し,GPUまたはCPUでの実行に対応している.対話の際は最新のプロンプト(対話内容の指示)のみを使用する.
日本語 LLM Mamba-Codestral-7
Mistral AIがコード生成特化型AI「Codestral Mamba」 オープンソースライセンスでのリリース、商用利用可能
Hugging Face: https://huggingface.co/mistralai/mamba-codestral-7B-v0.1
GitHub: https://github.com/mistralai/mistral-inference
install: pip install mistral_inference>=1 mamba-ssm causal-conv1d
from huggingface_hub import snapshot_download
from pathlib import Path

mistral_models_path = Path.home().joinpath('mistral_models', 'mamba-codestral-7B-v0.1')
mistral_models_path.mkdir(parents=True, exist_ok=True)
snapshot_download(repo_id="mistralai/mamba-codestral-7B-v0.1", allow_patterns=["params.json", "consolidated.safetensors", "tokenizer.model.v3"], local_dir=mistral_models_path)

mistral-chat $HOME/mistral_models/mamba-codestral-7B-v0.1 --instruct  --max_tokens 256
マルチGPUでの実行
torchrun --nproc-per-node 2 --no-python mistral-demo $M8x7B_DIR

Code

Instruction Following:
from mistral_inference.transformer import Transformer
from mistral_inference.generate import generate

from mistral_common.tokens.tokenizers.mistral import MistralTokenizer
from mistral_common.protocol.instruct.messages import UserMessage
from mistral_common.protocol.instruct.request import ChatCompletionRequest


tokenizer = MistralTokenizer.from_file("./mistral_7b_instruct/tokenizer.model.v3")  # change to extracted tokenizer file
model = Transformer.from_folder("./mistral_7b_instruct")  # change to extracted model dir

completion_request = ChatCompletionRequest(messages=[UserMessage(content="Explain Machine Learning to me in a nutshell.")])

tokens = tokenizer.encode_chat_completion(completion_request).tokens

out_tokens, _ = generate([tokens], model, max_tokens=64, temperature=0.0, eos_id=tokenizer.instruct_tokenizer.tokenizer.eos_id)
result = tokenizer.instruct_tokenizer.tokenizer.decode(out_tokens[0])

print(result)


Function Calling:
from mistral_common.protocol.instruct.tool_calls import Function, Tool

completion_request = ChatCompletionRequest(
    tools=[
        Tool(
            function=Function(
                name="get_current_weather",
                description="Get the current weather",
                parameters={
                    "type": "object",
                    "properties": {
                        "location": {
                            "type": "string",
                            "description": "The city and state, e.g. San Francisco, CA",
                        },
                        "format": {
                            "type": "string",
                            "enum": ["celsius", "fahrenheit"],
                            "description": "The temperature unit to use. Infer this from the users location.",
                        },
                    },
                    "required": ["location", "format"],
                },
            )
        )
    ],
    messages=[
        UserMessage(content="What's the weather like today in Paris?"),
        ],
)

tokens = tokenizer.encode_chat_completion(completion_request).tokens

out_tokens, _ = generate([tokens], model, max_tokens=64, temperature=0.0, eos_id=tokenizer.instruct_tokenizer.tokenizer.eos_id)
result = tokenizer.instruct_tokenizer.tokenizer.decode(out_tokens[0])

print(result)
ChatGPT, Claude.ai, Command R+ ローカル実行もできるかも(https://dashboard.cohere.com)
動画生成AI
- NoLang
関連タスク(データ処理など)
オンライン・コニュニケーション
- X投稿コマンドプログラム
ユーザーガイド・詳細仕様書: README.md
ソースコード: app.py
利用法:コマンドによる実行.コマンドプロンプトで「python app.py "投稿したい内容"」を実行する
【概要】 X API(ソーシャルメディアプラットフォームのプログラム操作インターフェース)とtweepy(X APIを簡単に利用できるPythonライブラリ)を使用して,コマンドラインからXへの投稿を実現する.OAuth認証(Open Authorizationによる安全な認証方式)により,API接続を行う.システムは,X Developer Portalでの認証情報取得から投稿までを自動化する.
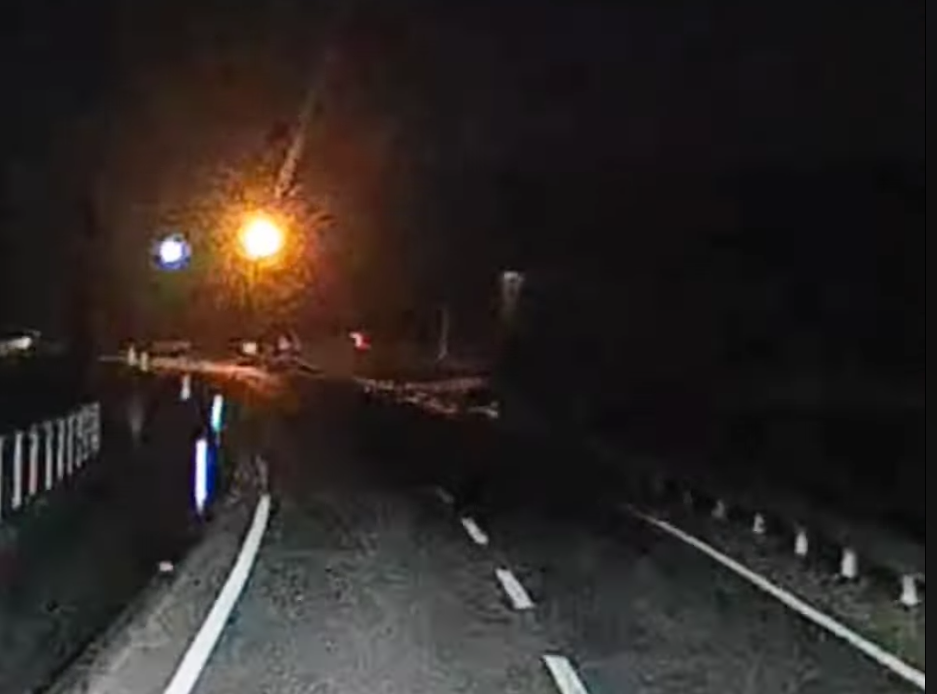
夜間画像の画質改善
- 夜間画像の改善 app.py

マークダウンへの変換
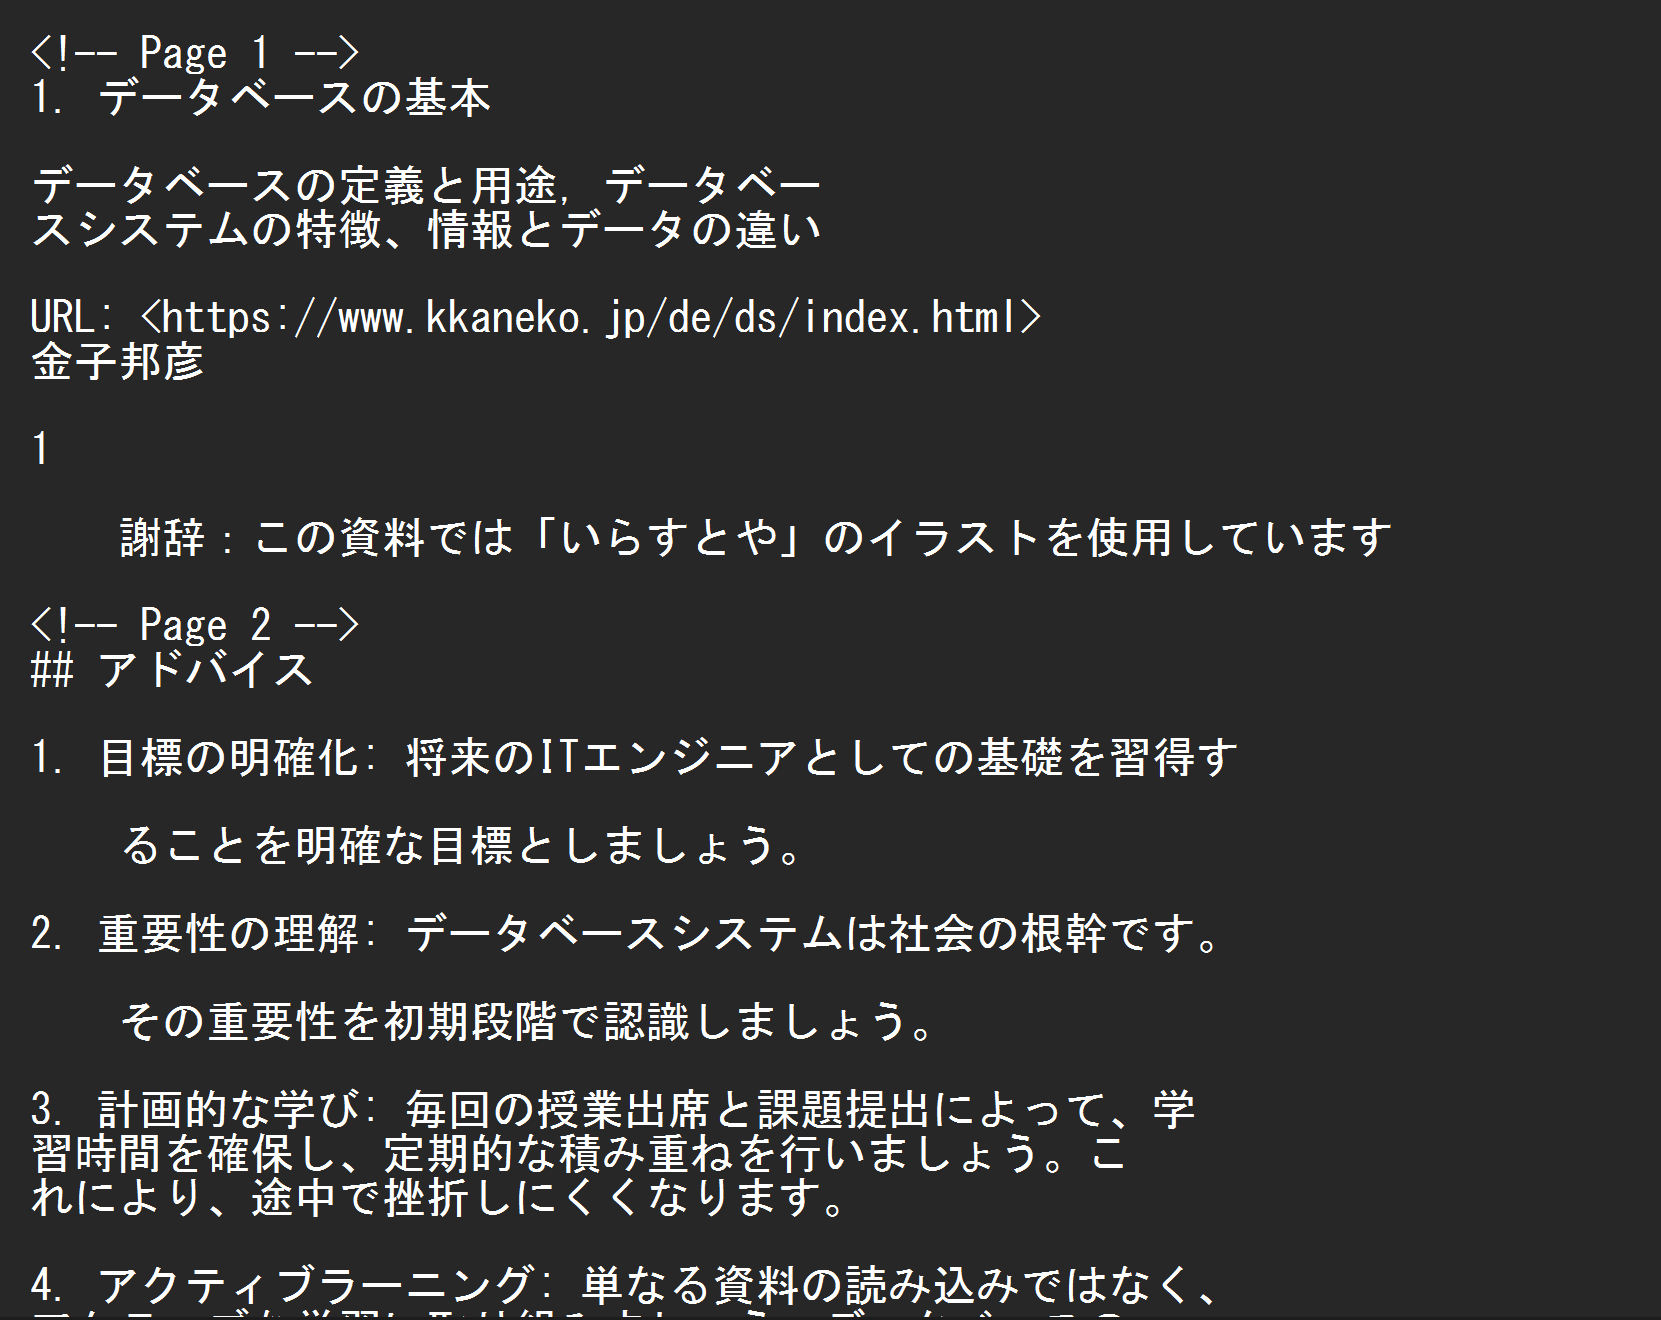
- PDFマークダウン変換プログラム
ユーザーガイド・詳細仕様書: README.md
ソースコード: app.py
Windows 11 実行形式ファイル: app.exe (PyInstaller を用いて作成)
【概要】本プログラムは,PDFファイルを解析し,テキスト要素とその書式情報を抽出して,マークダウン形式に変換するプログラムである.PDFMinerライブラリ(PDFファイルからテキストを抽出するための高度なライブラリ)を使用し,PDFファイルのテキスト要素,スタイル情報,レイアウト情報を抽出する.PowerPointから生成されたPDFとその他のPDFでは異なる変換基準を適用することにより,文書の階層構造を保持した変換を実現する.また,もとのページ番号をコメントとして含める.

- MarkItDownマークダウン変換プログラム
ユーザーガイド・詳細仕様書: README.md
ソースコード: app.py
Windows 11 実行形式ファイル: app.exe (PyInstaller を用いて作成)
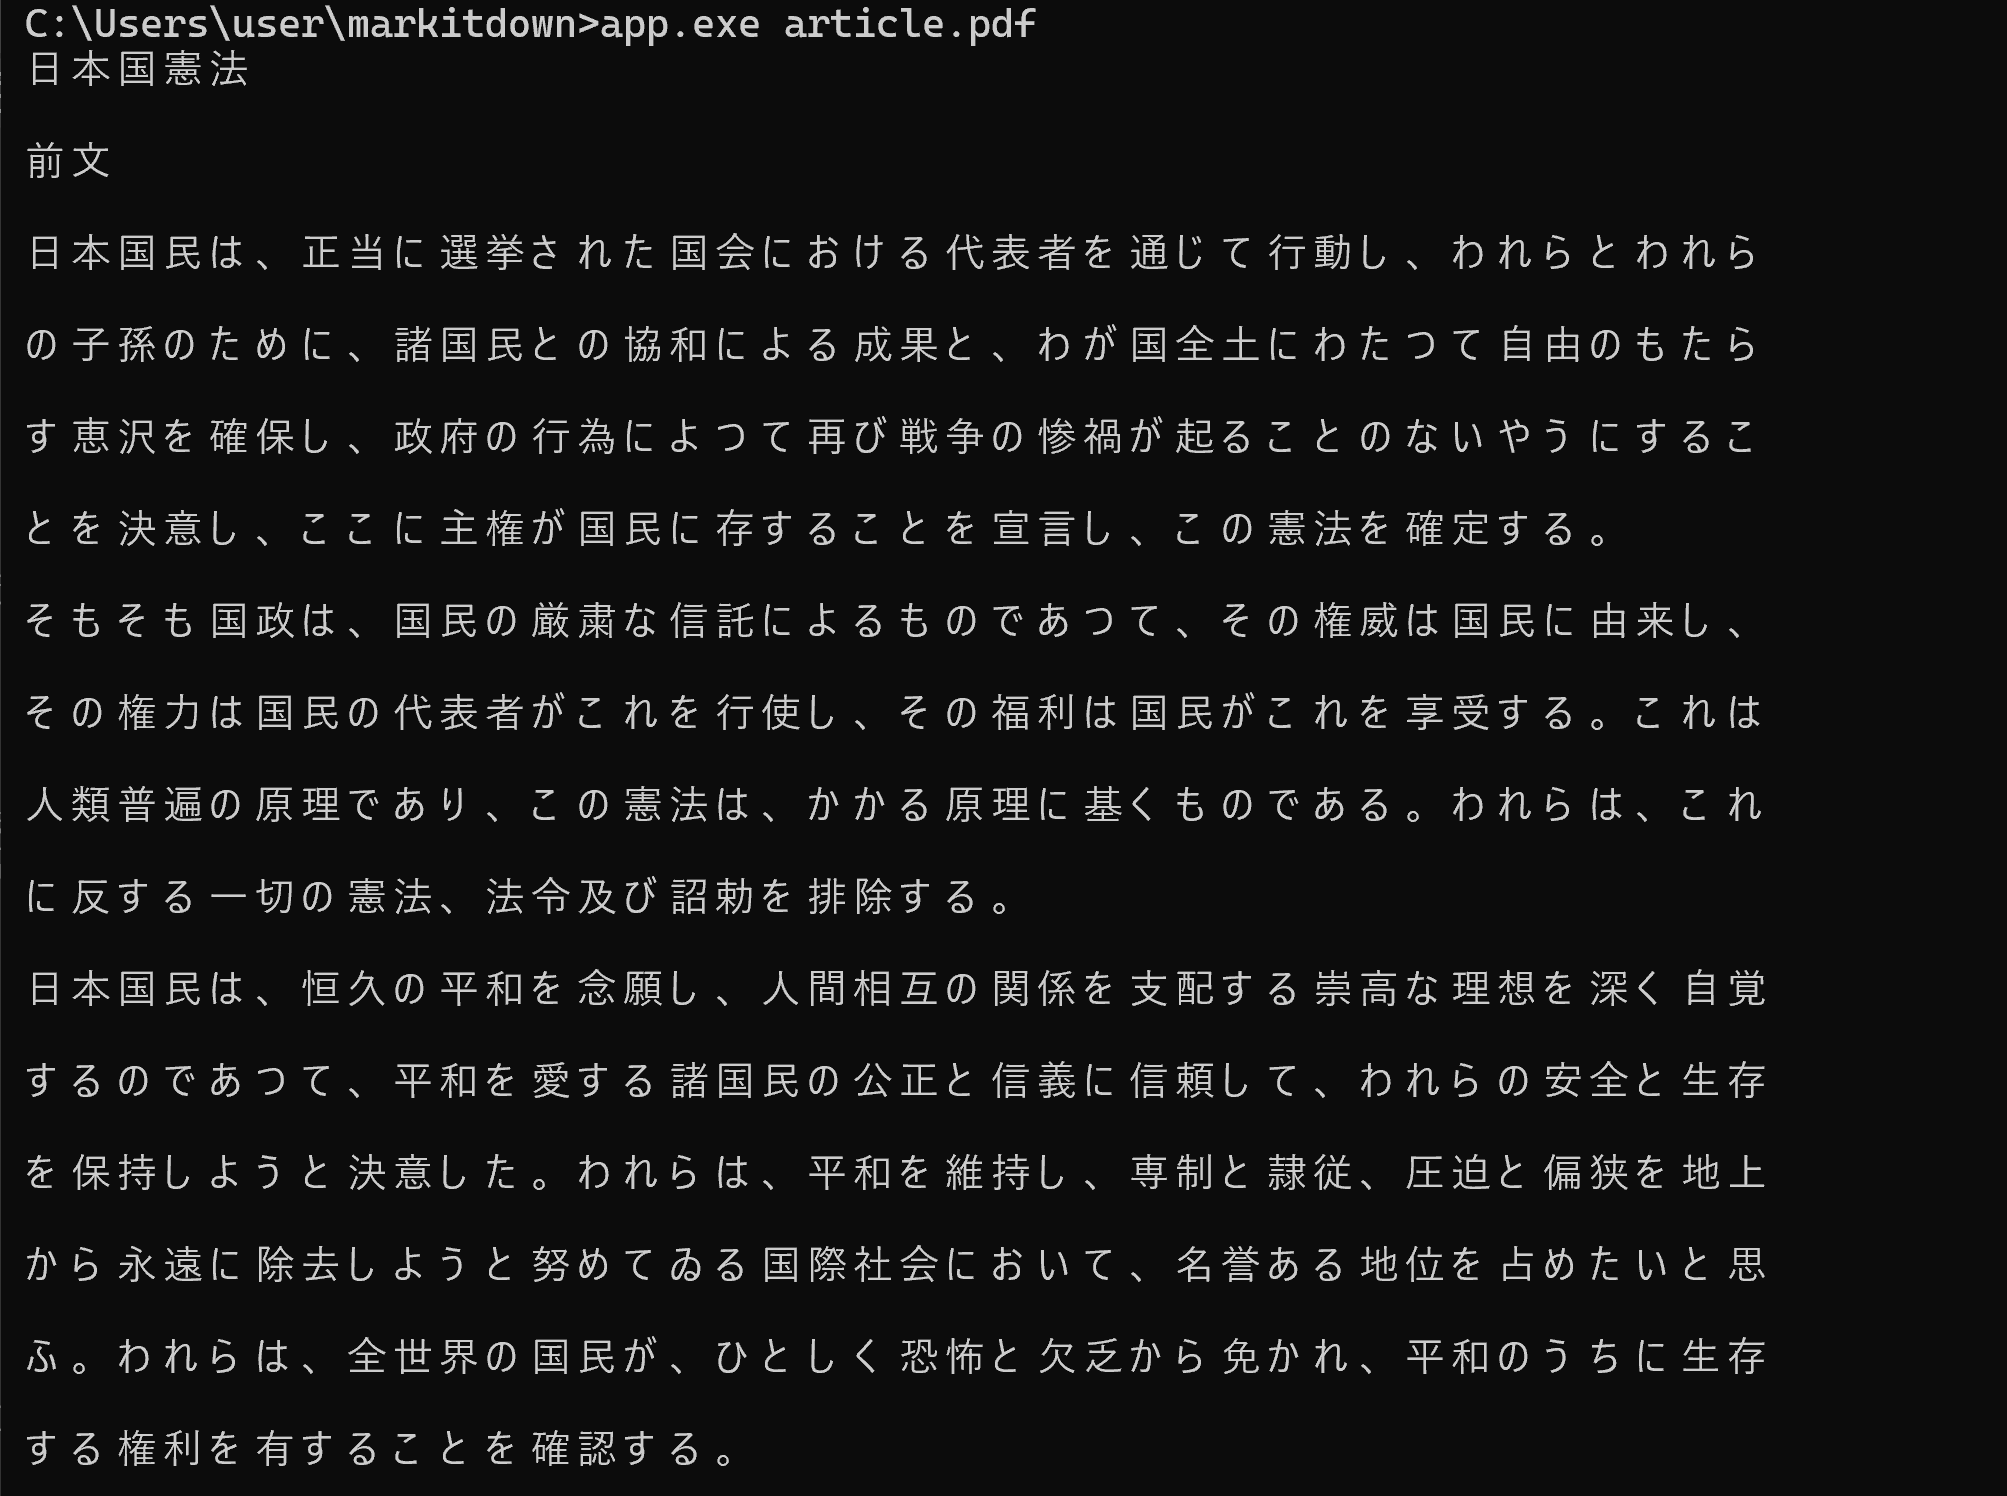
利用法:コマンドによる実行.コマンドプロンプトで「app.exe <入力ファイル名> -o <出力ファイル名>」を実行する.「-o <出力ファイル名>」は省略可能.
【概要】 MarkItDown(ファイルをMarkdown形式に変換するPythonライブラリ)を使用して,入力ファイル(多様なファイル形式:PDF,PowerPoint,Word,Excel,HTML,テキスト)をMarkdown形式へ変換するプログラムである.

PDFへの変換
PDF をマークダウン(Markdown)に変換するツール
準備作業
- Python のインストール
- 必要なライブラリのインストール:
Windows で,管理者権限でコマンドプロンプトを起動(手順:Windowsキーまたはスタートメニュー >
cmdと入力 > 右クリック > 「管理者として実行」)。次のコマンドを実行
pip install pymupdf4llm pywin32 - プログラムの作成
pdf2md.py という名前で、以下の内容のPythonファイルを作成する.
from sys import argv
import pymupdf4llm

def convert_pdf_to_markdown(input_pdf, output_md):
    """
    Convert PDF to Markdown format.

    Args:
        input_pdf (str): Path to input PDF file
        output_md (str): Path to output Markdown file
    """
    page_num = 1

    try:
        # Open output file in write mode with UTF-8 encoding
        with open(output_md, 'w', encoding='utf-8') as f:
            while True:
                try:
                    # Convert each slide to Markdown
                    md_text = pymupdf4llm.to_markdown(
                        input_pdf,
                        pages=[page_num],
                        show_progress=False,
                        margins=0
                    )

                    # Write slide content and slide number
                    f.write(f"\n# 【スライド番号 {page_num:02d}】\n\n")  # Added extra newline for better spacing
                    f.write(md_text)
                    page_num += 1

                except Exception as e:
                    if page_num == 1:
                        # If first page fails, there might be an issue with the file
                        raise Exception(f"PDFファイルの処理中にエラーが発生しました: {str(e)}")
                    # Exit when no more slides exist
                    break

    except Exception as e:
        print(f"エラーが発生しました: {str(e)}")
        exit(1)

def main():
    """Main function to handle command line arguments and run conversion."""
    if len(argv) != 3:
        print("使用方法: python script.py 入力PDF.pdf 出力マークダウン.md")
        exit(1)

    input_pdf = argv[1]
    output_md = argv[2]

    # Ensure output file has .md extension
    if not output_md.endswith('.md'):
        output_md += '.md'

    # Ensure input file has .pdf extension
    if not input_pdf.endswith('.pdf'):
        input_pdf += '.pdf'

    try:
        convert_pdf_to_markdown(input_pdf, output_md)
        print(f"変換が完了しました。出力ファイル: {output_md}")
    except Exception as e:
        print(f"変換に失敗しました: {str(e)}")
        exit(1)

if __name__ == "__main__":
    main()
PPTX, PPTファイルをMarkdownに変換するツール
ppt2md.py という名前で、以下の内容のPythonファイルを作成する.
フォルダ内のPPTX, PPTファイルを一括してMarkdownに変換するツール
pptindir2md.py という名前で、以下の内容のPythonファイルを作成する.
import pymupdf4llm
import win32com.client
import os
import time
import psutil  # PowerPointプロセスを確認するためにpsutilを使用

# カレントディレクトリを取得
input_dir = os.getcwd()

# ディレクトリ内のすべての.pptまたは.pptxファイルをリストアップ
ppt_files = [f for f in os.listdir(input_dir) if f.lower().endswith(('.ppt', '.pptx'))]

if not ppt_files:
    print("指定されたディレクトリに.pptまたは.pptxファイルが見つかりませんでした。")
    exit()

# PowerPointアプリケーションを処理する関数
def convert_ppt_to_pdf(input_file):
    ppt = win32com.client.Dispatch("PowerPoint.Application")
    ppt.Visible = 1  # PowerPointウィンドウを表示したい場合は1

    pdf_file = input_file.rsplit('.', 1)[0] + '.pdf'
    print(f"PDF出力先: {pdf_file}")

    # プレゼンテーションを開く
    presentation = ppt.Presentations.Open(os.path.abspath(input_file))

    # SaveAsメソッドでPDFとして保存 (32はPDF形式を指定)
    presentation.SaveAs(os.path.abspath(pdf_file), 32)  # 32はPDF形式

    presentation.Close()  # プレゼンテーションを閉じる
    ppt.Quit()  # PowerPointアプリケーションを終了

    # 完全にPowerPointプロセスが終了したことを確認
    time.sleep(1)  # 少し待機してから次の処理に進む

    # PowerPointプロセスが残っていないか確認
    for proc in psutil.process_iter(attrs=['pid', 'name']):
        if proc.info['name'] == 'POWERPNT.EXE':
            print("PowerPointプロセスが残っているので,終了します")
            proc.terminate()  # 必要に応じてPowerPointプロセスを強制終了する

    time.sleep(5)  # 5秒待機(必要ならば)
    return pdf_file

# 各PowerPointファイルを処理
for ppt_file in ppt_files:
    input_file = os.path.join(input_dir, ppt_file)
    file_ext = os.path.splitext(input_file)[1].lower()

    # PowerPointファイルの場合、PDFに変換
    if file_ext in ['.ppt', '.pptx']:
        try:
            # PowerPointをPDFに変換
            pdf_file = convert_ppt_to_pdf(input_file)
            input_file = pdf_file
        except Exception as e:
            print(f"PowerPointの変換でエラーが発生しました: {e}")
            continue  # エラーが発生しても次のファイルに進む

    # 出力ファイル名を作成(拡張子をmdに変更)
    output_file = os.path.splitext(input_file)[0] + '.md'

    # 出力ファイルを作成/オープン
    with open(output_file, 'w', encoding='utf-8') as f:
        page_num = 1
        while True:
            try:
                md_text = pymupdf4llm.to_markdown(input_file, pages=[page_num])
                f.write(md_text)
                f.write(f"\n#【ページ番号 {page_num:02d}】\n")
                page_num += 1
            except Exception:
                page_num -= 1
                break

    print(f"Markdownファイルを保存しました: {page_num} ページ, {output_file}")
使用方法
- コマンドプロンプトで以下のように実行する.
python pdf2markdown.py 変換したいPDFファイル名 python ppt2markdown.py 変換したいppt, pptxファイル名 python pptindir2md.py- PDFファイル名は、拡張子(.pdf)を含めた完全なファイル名を指定してください
- 変換されたMarkdownテキストは標準出力に表示されます.必要に応じて、出力を別のファイルにリダイレクトすることができます
PDFファイルをHTMLファイルに一括変換
以下の手順を実行することで,指定したディレクトリ内にあるすべてのPDFファイルをHTML形式に一括変換できる. 以下のコマンドは,各PDFファイルを1つずつ処理し,同じ名前のHTMLファイルを作成する.
cd /home/www/ai/ae
for i in *.pdf; do
  echo "変換中: $i"
  pdf2htmlEX "$i" "$(basename "$i" .pdf).html"
done
Web ページの改善
HTML のタグの対応関係のチェック
tag_check.py
URL のリストについて,OKかリダイレクトかエラーを判定
ユースケース:サーチエンジンで 404 になっているようなファイルリストを得て,このプログラムで状況をチェック.
url_checker.py
robots.txt では「content="noindex,nofollow,noarchive"」を含むHTML ファイルを Disallow に指定する
(実運用するにはあまり良くない気がしています)
次のプログラムを実行, robots.txt に追加
サイトマップチェック
lastmod, chengefreg, prioity 属性の更新
次のプログラムを実行, robots.txt に追加
Windowsでの環境構築
Python プログラムのexe化(Windows 上)
プログラムのデプロイ,共有
Hello,World表示プログラムのデプロイ・共有