COCO 2017 データセットのダウンロードとカテゴリ情報や画像情報の確認(Windows 上)
【目次】
COCO (Common Object in Context) データセット
COCO(Common Object in Context)データセットは,物体検出やセグメンテーション,キーポイント検出,姿勢推定,画像分類,キャプショニング等の多様なタスクに対応可能な画像データセットとして,2014年にMicrosoftにより公開された.これは,人間や自動車,家具,食品等,多岐にわたるカテゴリのオブジェクトを含む数十万枚以上の画像から構成され,それぞれの画像は,80種類のカテゴリに対応する形でアノテーションが施されている. COCO は次の URL で公開されているデータセット(オープンデータ)である.
COCO は,以下の特徴がある.
- 328,000枚の画像,うち,200,000枚以上がラベル付け済み.
- 1,500,000 個のオブジェクト
- オブジェクトのカテゴリ数:80
- オブジェクトのバウンディングボックス,セグメンテーション結果
- 画像ごとのキャプション数: 5
- 250,000 名の人物に,キーポイントが付いている.(左目、鼻、右腰、右足首などの 17のキーポイント)
- 39,000枚以上の画像と56,000個以上の人物に対する Dense pose アノテーション.
- 2014, 2017 などの種類がある.2014 と比べると,2017 では,訓練,検証,テストの分割が異なる,panoptic segmenation についてのアノテーションが追加されているなどの違いがある.
COCO の 80 のクラスのラベルは次の通りである.
['person', 'bicycle', 'car', 'motorcycle', 'airplane', 'bus', 'train', 'truck', 'boat', 'traffic light', 'fire hydrant', 'stop sign', 'parking meter', 'bench', 'bird', 'cat', 'dog', 'horse', 'sheep', 'cow', 'elephant', 'bear', 'zebra', 'giraffe', 'backpack', 'umbrella', 'handbag', 'tie', 'suitcase', 'frisbee', 'skis', 'snowboard', 'sports ball', 'kite', 'baseball bat', 'baseball glove', 'skateboard', 'surfboard', 'tennis racket', 'bottle', 'wine glass', 'cup', 'fork', 'knife', 'spoon', 'bowl', 'banana', 'apple', 'sandwich', 'orange', 'broccoli', 'carrot', 'hot dog', 'pizza', 'donut', 'cake', 'chair', 'couch', 'potted plant', 'bed', 'dining table', 'toilet', 'tv', 'laptop', 'mouse', 'remote', 'keyboard', 'cell phone', 'microwave', 'oven', 'toaster', 'sink', 'refrigerator', 'book', 'clock', 'vase', 'scissors', 'teddy bear', 'hair drier', 'toothbrush']
【文献】
Tsung-Yi Lin, Michael Maire, Serge Belongie, Lubomir Bourdev, Ross Girshick, James Hays, Pietro Perona, Deva Ramanan, C. Lawrence Zitnick, Piotr Dollr, Microsoft COCO: Common Objects in Context, CoRR, abs/1405.0312, 2014.
https://arxiv.org/pdf/1405.0312v3.pdf
【関連する外部ページ】
- Papers With Code の COCO データセットのページ: https://paperswithcode.com/dataset/coco
- PyTorch の COCO データセット: https://pytorch.org/vision/stable/datasets.html#torchvision.datasets.CocoDetection
- TensorFlow データセット の COCO データセット: https://www.tensorflow.org/datasets/catalog/coco
前準備
Build Tools for Visual Studio 2026 のインストール(Windows 上) [クリックして展開]
Build Tools for Visual Studio は,Visual Studio の IDE を含まない C/C++ コンパイラ,ライブラリ,ビルドツール等のコマンドライン向け開発ツールセットである。インストール済みの場合、この手順は不要である。
管理者権限のコマンドプロンプトで以下を実行する。管理者権限のコマンドプロンプトを起動するには、Windows キーまたはスタートメニューから「cmd」と入力し、表示された「コマンドプロンプト」を右クリックして「管理者として実行」を選択する。
REM VC++ ランタイム
winget install --scope machine --id Microsoft.VCRedist.2015+.x64 -e --silent --disable-interactivity --force --accept-source-agreements --accept-package-agreements --override "/quiet /norestart"

REM Build Tools + Desktop development with C++(VCTools)+ 追加コンポーネント(一括)
winget list --id Microsoft.VisualStudio.BuildTools 2>nul | findstr /i "BuildTools" >nul 2>&1
if %ERRORLEVEL% EQU 0 (
    for /f "delims=" %P in ('"C:\Program Files (x86)\Microsoft Visual Studio\Installer\vswhere.exe" -products * -property installationPath') do start /wait "" "C:\Program Files (x86)\Microsoft Visual Studio\Installer\setup.exe" modify --installPath "%P" --add Microsoft.VisualStudio.Workload.VCTools --add Microsoft.VisualStudio.Workload.MSBuildTools --add Microsoft.VisualStudio.Component.VC.CMake.Project --add Microsoft.VisualStudio.Component.VC.Llvm.Clang --add Microsoft.VisualStudio.Component.VC.Llvm.ClangToolset --add Microsoft.VisualStudio.Component.Windows11SDK.26100 --includeRecommended --quiet --norestart
) else (
    winget install --scope machine --id Microsoft.VisualStudio.BuildTools -e --silent --disable-interactivity --force --accept-source-agreements --accept-package-agreements --override "--quiet --wait --norestart --nocache --add Microsoft.VisualStudio.Workload.VCTools --includeRecommended --add Microsoft.VisualStudio.Workload.MSBuildTools --add Microsoft.VisualStudio.Component.VC.CMake.Project --add Microsoft.VisualStudio.Component.VC.Llvm.Clang --add Microsoft.VisualStudio.Component.VC.Llvm.ClangToolset --add Microsoft.VisualStudio.Component.Windows11SDK.26100"
)
REM  何らかの理由で BuildTools の動作がおかしくなった場合は,以下を実行すると,既存のインストールのファイル破損・欠損を修復し正常な状態に復元する効果がある.
REM "C:\Program Files (x86)\Microsoft Visual Studio\Installer\setup.exe" repair --installPath "C:\Program Files (x86)\Microsoft Visual Studio\18\BuildTools" --quiet --norestart
REM 以下で正常であることを確認する.パスが表示されれば正常である.
REM "C:\Program Files (x86)\Microsoft Visual Studio\Installer\vswhere.exe" -products * -requires Microsoft.VisualStudio.Workload.VCTools -property installationPath
--add で追加されるコンポーネント
上記のコマンドでは,まず Build Tools 本体と Visual C++ 再頒布可能パッケージをインストールし,次に setup.exe を用いて以下のコンポーネントを追加している。
VCTools:C++ デスクトップ開発ワークロード(--includeRecommendedにより、MSVC コンパイラ、C++ AddressSanitizer、vcpkg、CMake ツール、Windows 11 SDK 等の推奨コンポーネントが含まれる)VC.Llvm.Clang:Windows 向け C++ Clang コンパイラClangCL:clang-cl ツールセットを含むコンポーネントグループ(MSBuild から Clang を使用するために必要)VC.CMake.Project:Windows 向け C++ CMake ツールWindows11SDK.26100:Windows 11 SDK(ビルド 10.0.26100)
インストール完了の確認
winget list Microsoft.VisualStudio.BuildTools上記以外の追加のコンポーネントが必要になった場合は Visual Studio Installer で個別にインストールできる。
Visual Studio の機能を必要とする場合は、追加インストールできる。
Python 3.7 のインストール(Windows 上) [クリックして展開]
以下のいずれかの方法で Python 3.7 をインストールする。Python がインストール済みの場合、この手順は不要である。
方法1:winget によるインストール
管理者権限のコマンドプロンプトで以下を実行する。管理者権限のコマンドプロンプトを起動するには、Windows キーまたはスタートメニューから「cmd」と入力し、表示された「コマンドプロンプト」を右クリックして「管理者として実行」を選択する。
winget install -e --id Python.Python.3.7 --scope machine --silent --accept-source-agreements --accept-package-agreements --override "/quiet InstallAllUsers=1 PrependPath=1 AssociateFiles=1 InstallLauncherAllUsers=1"--scope machine を指定することで、システム全体(全ユーザー向け)にインストールされる。このオプションの実行には管理者権限が必要である。インストール完了後、コマンドプロンプトを再起動すると PATH が自動的に設定される。
方法2:インストーラーによるインストール
- Python 公式サイト(https://www.python.org/downloads/)にアクセスし、「Download Python 3.x.x」ボタンから Windows 用インストーラーをダウンロードする。
- ダウンロードしたインストーラーを実行する。
- 初期画面の下部に表示される「Add python.exe to PATH」に必ずチェックを入れてから「Customize installation」を選択する。このチェックを入れ忘れると、コマンドプロンプトから
pythonコマンドを実行できない。 - 「Install Python 3.xx for all users」にチェックを入れ、「Install」をクリックする。
インストールの確認
コマンドプロンプトで以下を実行する。
python --versionバージョン番号(例:Python 3.7.x)が表示されればインストール成功である。「'python' は、内部コマンドまたは外部コマンドとして認識されていません。」と表示される場合は、インストールが正常に完了していない。
Build Tools for Visual Studio 2026 のインストール(Windows 上) [クリックして展開]
Build Tools for Visual Studio は,Visual Studio の IDE を含まない C/C++ コンパイラ,ライブラリ,ビルドツール等のコマンドライン向け開発ツールセットである。インストール済みの場合、この手順は不要である。
管理者権限のコマンドプロンプトで以下を実行する。管理者権限のコマンドプロンプトを起動するには、Windows キーまたはスタートメニューから「cmd」と入力し、表示された「コマンドプロンプト」を右クリックして「管理者として実行」を選択する。
REM VC++ ランタイム
winget install --scope machine --id Microsoft.VCRedist.2015+.x64 -e --silent --disable-interactivity --force --accept-source-agreements --accept-package-agreements --override "/quiet /norestart"

REM Build Tools + Desktop development with C++(VCTools)+ 追加コンポーネント(一括)
winget list --id Microsoft.VisualStudio.BuildTools 2>nul | findstr /i "BuildTools" >nul 2>&1
if %ERRORLEVEL% EQU 0 (
    for /f "delims=" %P in ('"C:\Program Files (x86)\Microsoft Visual Studio\Installer\vswhere.exe" -products * -property installationPath') do start /wait "" "C:\Program Files (x86)\Microsoft Visual Studio\Installer\setup.exe" modify --installPath "%P" --add Microsoft.VisualStudio.Workload.VCTools --add Microsoft.VisualStudio.Workload.MSBuildTools --add Microsoft.VisualStudio.Component.VC.CMake.Project --add Microsoft.VisualStudio.Component.VC.Llvm.Clang --add Microsoft.VisualStudio.Component.VC.Llvm.ClangToolset --add Microsoft.VisualStudio.Component.Windows11SDK.26100 --includeRecommended --quiet --norestart
) else (
    winget install --scope machine --id Microsoft.VisualStudio.BuildTools -e --silent --disable-interactivity --force --accept-source-agreements --accept-package-agreements --override "--quiet --wait --norestart --nocache --add Microsoft.VisualStudio.Workload.VCTools --includeRecommended --add Microsoft.VisualStudio.Workload.MSBuildTools --add Microsoft.VisualStudio.Component.VC.CMake.Project --add Microsoft.VisualStudio.Component.VC.Llvm.Clang --add Microsoft.VisualStudio.Component.VC.Llvm.ClangToolset --add Microsoft.VisualStudio.Component.Windows11SDK.26100"
)
REM  何らかの理由で BuildTools の動作がおかしくなった場合は,以下を実行すると,既存のインストールのファイル破損・欠損を修復し正常な状態に復元する効果がある.
REM "C:\Program Files (x86)\Microsoft Visual Studio\Installer\setup.exe" repair --installPath "C:\Program Files (x86)\Microsoft Visual Studio\18\BuildTools" --quiet --norestart
REM 以下で正常であることを確認する.パスが表示されれば正常である.
REM "C:\Program Files (x86)\Microsoft Visual Studio\Installer\vswhere.exe" -products * -requires Microsoft.VisualStudio.Workload.VCTools -property installationPath
--add で追加されるコンポーネント
上記のコマンドでは,まず Build Tools 本体と Visual C++ 再頒布可能パッケージをインストールし,次に setup.exe を用いて以下のコンポーネントを追加している。
VCTools:C++ デスクトップ開発ワークロード(--includeRecommendedにより、MSVC コンパイラ、C++ AddressSanitizer、vcpkg、CMake ツール、Windows 11 SDK 等の推奨コンポーネントが含まれる)VC.Llvm.Clang:Windows 向け C++ Clang コンパイラClangCL:clang-cl ツールセットを含むコンポーネントグループ(MSBuild から Clang を使用するために必要)VC.CMake.Project:Windows 向け C++ CMake ツールWindows11SDK.26100:Windows 11 SDK(ビルド 10.0.26100)
インストール完了の確認
winget list Microsoft.VisualStudio.BuildTools上記以外の追加のコンポーネントが必要になった場合は Visual Studio Installer で個別にインストールできる。
Visual Studio の機能を必要とする場合は、追加インストールできる。
Git のインストール(Windows 上) [クリックして展開]
管理者権限のコマンドプロンプトで以下を実行する.管理者権限は,winget の --scope machine オプションでシステム全体にインストールするために必要となる.
REM Git をシステム領域にインストール
winget install --scope machine --id Git.Git -e --silent --disable-interactivity --force --accept-source-agreements --accept-package-agreements --override "/VERYSILENT /NORESTART /NOCANCEL /SP- /CLOSEAPPLICATIONS /RESTARTAPPLICATIONS /COMPONENTS=""icons,ext\reg\shellhere,assoc,assoc_sh"" /o:PathOption=Cmd /o:CRLFOption=CRLFCommitAsIs /o:BashTerminalOption=MinTTY /o:DefaultBranchOption=main /o:EditorOption=VIM /o:SSHOption=OpenSSH /o:UseCredentialManager=Enabled /o:PerformanceTweaksFSCache=Enabled /o:EnableSymlinks=Disabled /o:EnableFSMonitor=Disabled"
7-Zip のインストール(Windows 上) [クリックして展開]
管理者権限のコマンドプロンプトで以下を実行する。管理者権限のコマンドプロンプトを起動するには、Windows キーまたはスタートメニューから「cmd」と入力し、表示された「コマンドプロンプト」を右クリックして「管理者として実行」を選択する。
REM 7-Zip をシステム領域にインストール
winget install --scope machine --id 7zip.7zip -e --silent --disable-interactivity --force --accept-source-agreements --accept-package-agreements
REM 7-Zip のパス設定
powershell -NoProfile -Command "$p='C:\Program Files\7-Zip'; $c=[Environment]::GetEnvironmentVariable('Path','Machine'); if((Test-Path $p) -and $c -notlike \"*$p*\"){[Environment]::SetEnvironmentVariable('Path',\"$p;$c\",'Machine')}"
ダウンロード手順
- COCO データセットの公式ページから,
2017 Train images, 2017 Val images, 2017 Train/Val annotations をダウンロード
コマンドプロンプトを管理者として開き ダウンロードと展開のため,次のコマンドを実行
参考Webページ: https://gist.github.com/mkocabas/a6177fc00315403d31572e17700d7fd9
cd /d c:%HOMEPATH% mkdir coco2017 mkdir coco2017\coco mkdir coco2017\coco\images cd /d c:%HOMEPATH%\coco2017 ECHO labels curl -O -L https://github.com/ultralytics/yolov5/releases/download/v1.0/coco2017labels-segments.zip ECHO 19G, 118k images curl -O http://images.cocodataset.org/zips/train2017.zip ECHO 1G, 5k images curl -O http://images.cocodataset.org/zips/test2017.zip ECHO 7G, 41k images (optional) curl -O http://images.cocodataset.org/zips/val2017.zip ECHO unlabeled curl -O http://images.cocodataset.org/zips/unlabeled2017.zip ECHO curl -O http://images.cocodataset.org/annotations/annotations_trainval2017.zip curl -O http://images.cocodataset.org/annotations/stuff_annotations_trainval2017.zip curl -O http://images.cocodataset.org/annotations/image_info_test2017.zip curl -O http://images.cocodataset.org/annotations/image_info_unlabeled2017.zip REM curl -O http://images.cocodataset.org/annotations/stuff_annotations_trainval2017.zip ECHO cd /d c:%HOMEPATH%\coco2017 "c:\Program Files\7-Zip\7z.exe" x coco2017labels-segments.zip cd /d c:%HOMEPATH%\coco2017\coco\images "c:\Program Files\7-Zip\7z.exe" x ..\..\train2017.zip "c:\Program Files\7-Zip\7z.exe" x ..\..\test2017.zip "c:\Program Files\7-Zip\7z.exe" x ..\..\val2017.zip "c:\Program Files\7-Zip\7z.exe" x ..\..\unlabeled2017.zip REM cd /d c:%HOMEPATH%\coco2017\coco REM "c:\Program Files\7-Zip\7z.exe" x ..\stuff_annotations_trainval2017.zip - ファイルの配置は次のようになる.
 └─%HOMEPATH%\coco2017\coco
   ├── annotations/
      ├── captions_train2017.json
      ├── captions_val2017.json
      ├── image_info_test-dev2017.json
      ├── image_info_test2017.json
      ├── image_info_unlabeled2017.json
      ├── instances_train2017.json
      ├── instances_val2017.json
      ├── person_keypoints_train2017.json
      ├── person_keypoints_val2017.json
      ├── stuff_train2017.json
      └── stuff_val2017.json
   ├── images/
      ├─test2017/
      ├─train2017/
      ├─unlabeled2017/
      └─val2017/
   ├── labels/
      ├─train2017/
      └─val2017/
   ├─test-dev2017.txt
   ├─train2017.txt
   └─val2017.txt
カテゴリ情報や画像情報の確認(Python プログラム)(Windows 上)
pycocotools のインストール
- 以下の手順を管理者権限のコマンドプロンプトで実行する
(手順:Windowsキーまたはスタートメニュー →
cmdと入力 → 右クリック → 「管理者として実行」)。 - pycocotools, COCO 2018 Panoptic Segmentation Task API のインストール
COCOデータセットをPythonで扱うためには,pycocotools を使う. pycocotools を使うことで,COCOデータセットのアノテーションを扱いやすくなる.
次のコマンドを実行
python -m pip install -U --ignore-installed pip
python -m pip install -U cython
python -m pip install "git+https://github.com/philferriere/cocoapi.git#egg=pycocotools&subdirectory=PythonAPI"
python -m pip install git+https://github.com/cocodataset/panopticapi.git
カテゴリの情報の取得と表示
COCO (Common Objects in Context) データセットから 全てのカテゴリの情報を取得を表示
- エディタを起動
cd /d c:%HOMEPATH%\coco2017 notepad a.py - エディタで,次のプログラムを保存
from pycocotools.coco import COCO annotation_file = 'coco/annotations/instances_val2017.json' coco = COCO(annotation_file) category = coco.loadCats(coco.getCatIds()) for i in category: print(i) - Python プログラムの実行
プログラムを a.pyのようなファイル名で保存したので, 「python a.py」のようなコマンドで行う.
python a.py - 結果の確認
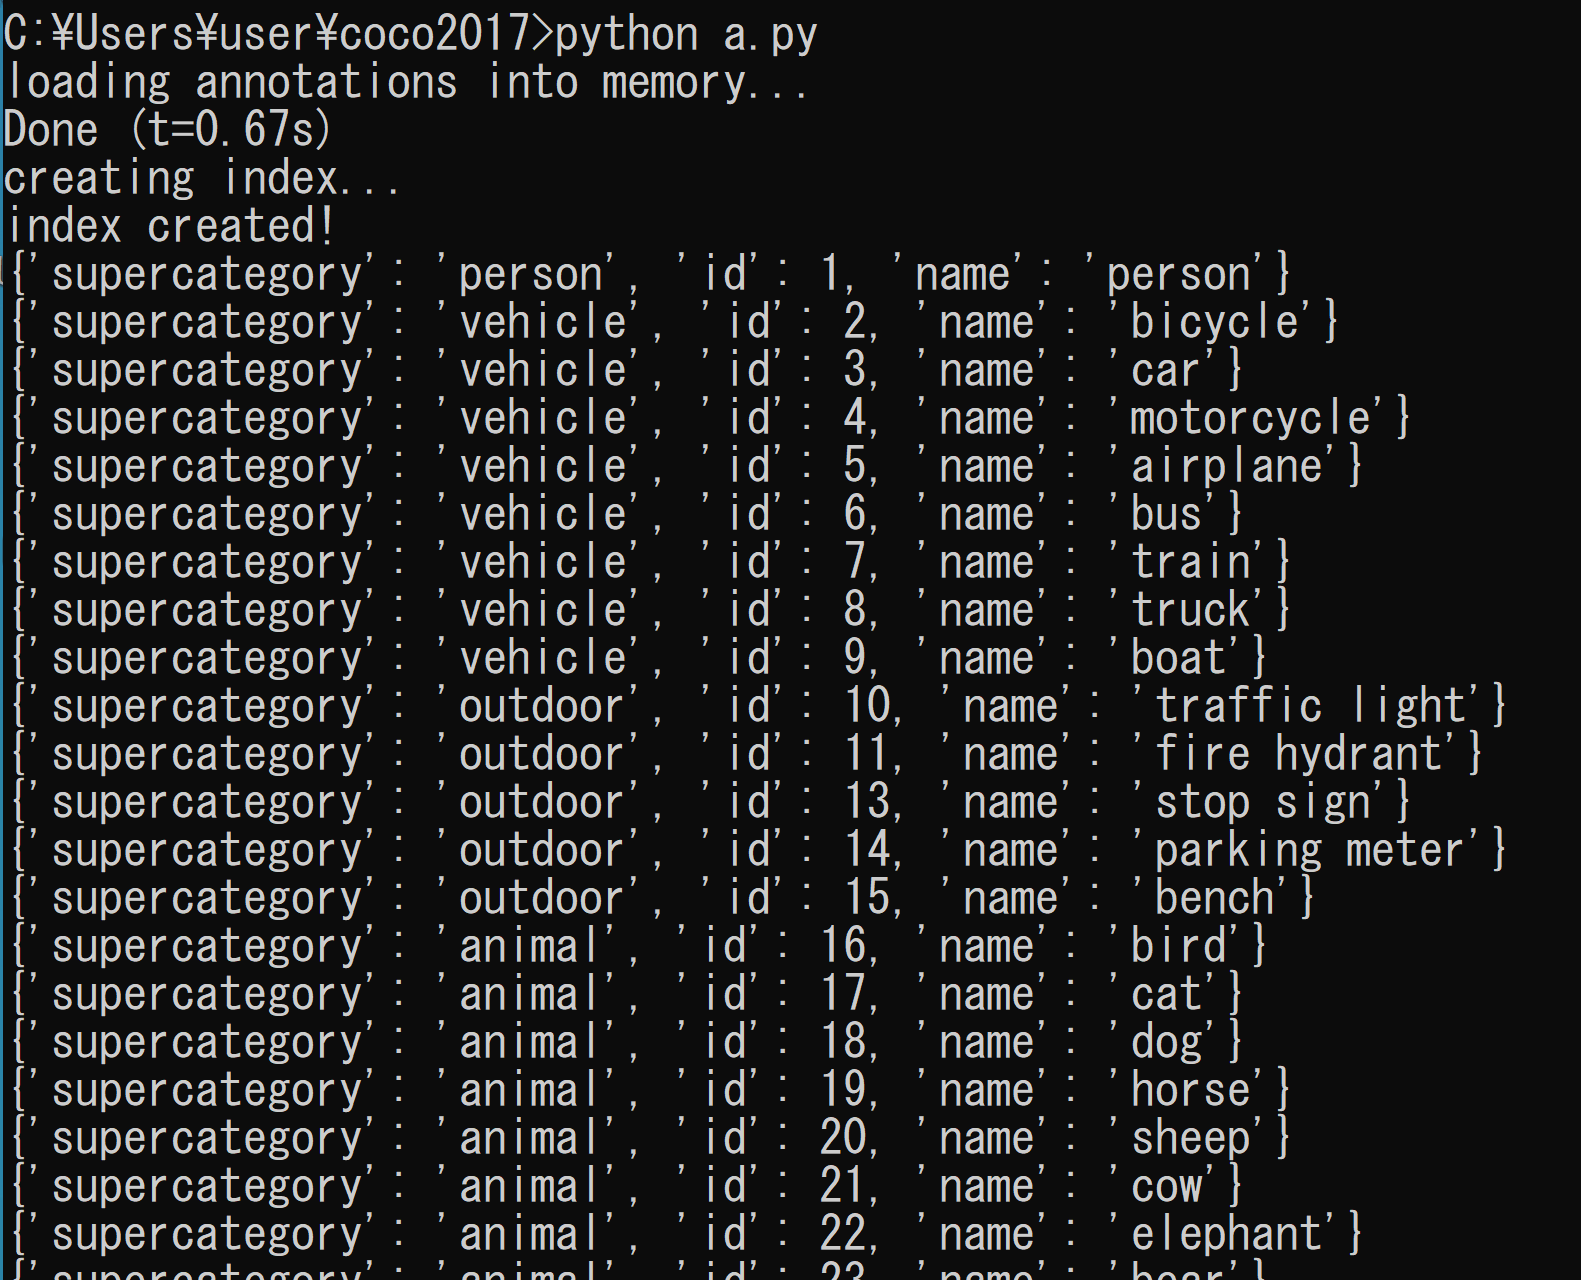
(以下省略)
画像情報の取得と表示
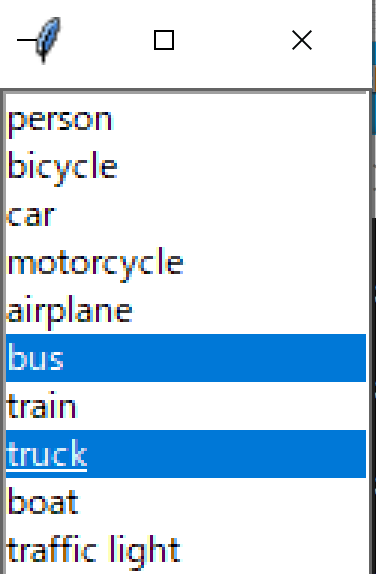
画面表示され,COCOデータセットのカテゴリがリストボックスに表示される. 選択したカテゴリに対して,関連する画像の情報が表示される.
- エディタを起動
cd /d c:%HOMEPATH%\coco2017 notepad b.py - エディタで,次のプログラムを保存
アノテーションの情報も表示したいときは,「 # print(" annotation:", annotations)」の「# 」を消す.
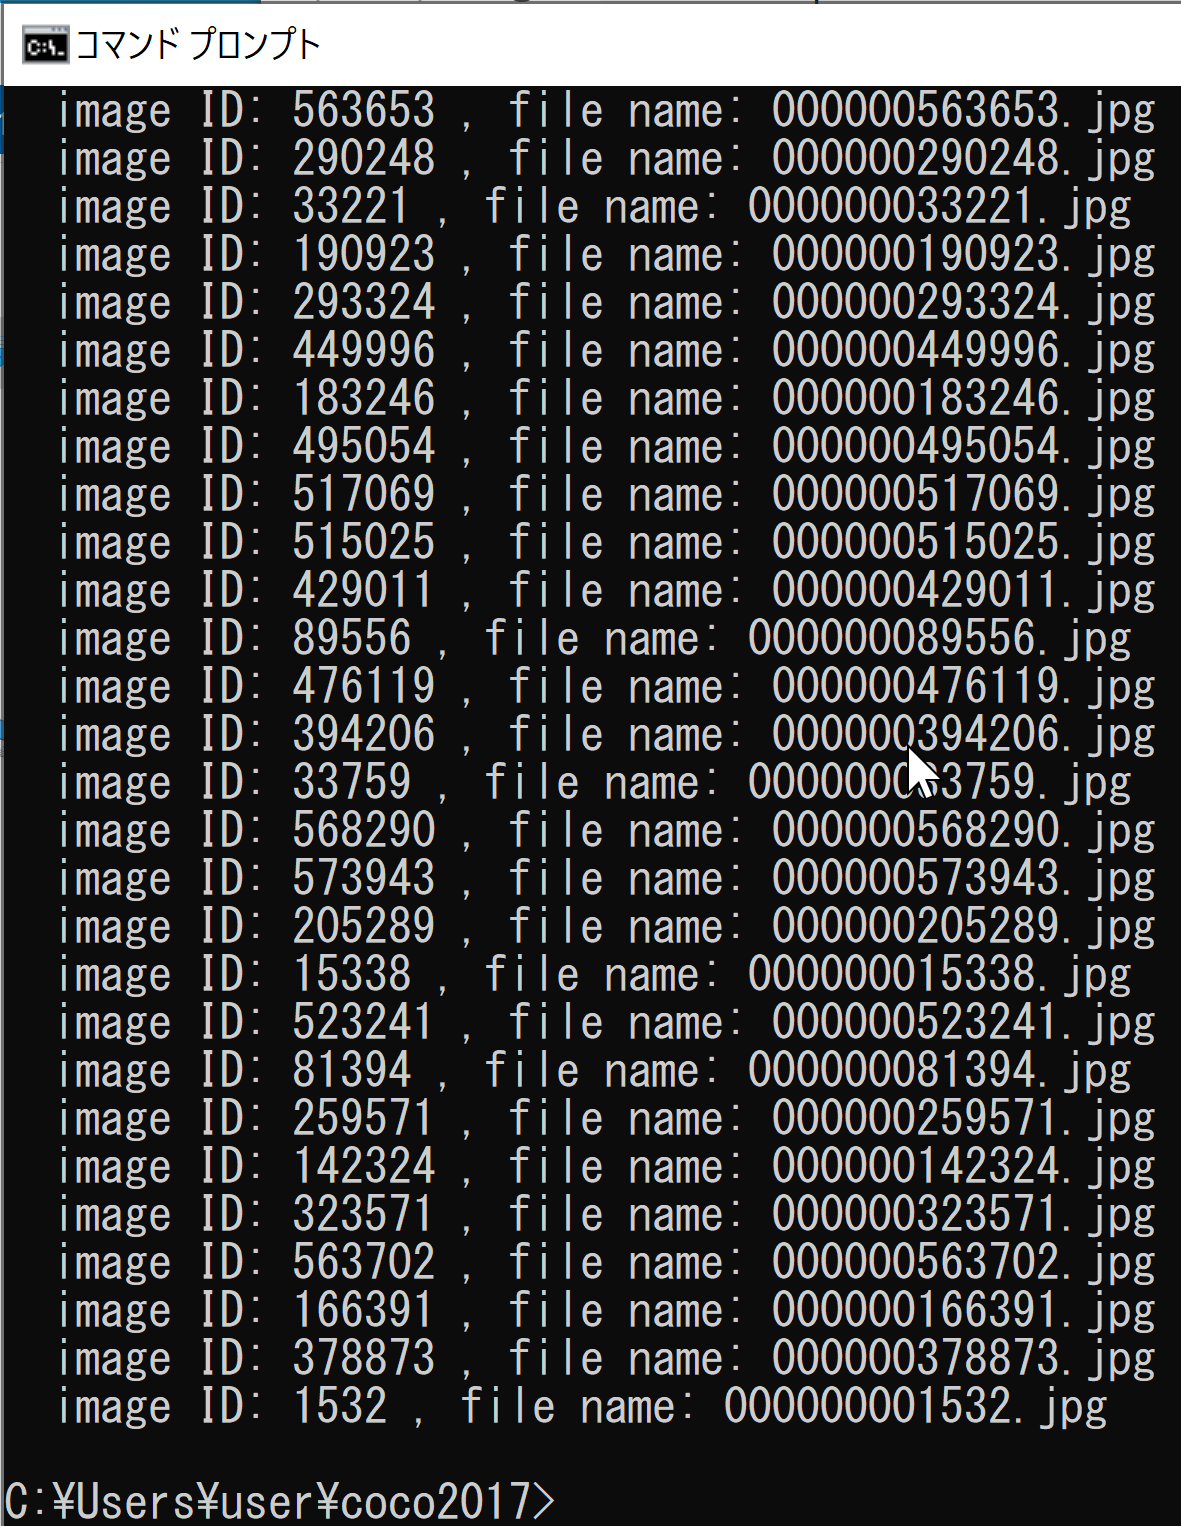
from pycocotools.coco import COCO import tkinter as tk annotation_file = 'coco/annotations/instances_val2017.json' def get_selection(): selected_items = listbox.curselection() for i in selected_items: value = listbox.get(i) cat_names.append(value) root = tk.Tk() # リストボックスの作成 listbox = tk.Listbox(root, selectmode=tk.MULTIPLE) listbox.pack() # リストの要素を追加 coco = COCO(annotation_file) categories = coco.loadCats(coco.getCatIds()) for category in categories: listbox.insert(tk.END, category['name']) cat_names = [] # 閉じるボタンが押されたときの処理 root.protocol("WM_DELETE_WINDOW", lambda: [get_selection(), root.destroy()]) root.mainloop() # 選択されたカテゴリについて、image ID とファイル名を表示 for cat_name in cat_names: cat_id = coco.getCatIds(catNms=[cat_name])[0] print("category ID:", cat_id, "category name:", cat_name) image_ids = coco.getImgIds(catIds=[cat_id]) images = coco.loadImgs(image_ids) for image in images: print(" image ID:", image['id'], ", file name:", image['file_name']) annotation_ids = coco.getAnnIds(imgIds=[image['id']], catIds=[cat_id], iscrowd=None) annotations = coco.loadAnns(annotation_ids) # アノテーションの表示 # print(" annotation:", annotations) - Python プログラムの実行
プログラムを b.pyのようなファイル名で保存したので, 「python b.py」のようなコマンドで行う.
python b.pyメニューから選ぶ.複数選択可能.メニューはスクロールできることに注意.選び終わったら,右上の x をクリックするなどで閉じること.
- 結果の確認
(省略)