Tesseract OCR 5.3.3 の開発環境とツール等のインストールと動作確認(多言語の文字認識)(Windows 上)
【目次】
【関連する外部ページ】
公式ページ: https://github.com/tesseract-ocr/tessdoc
【サイト内の関連ページ】
前準備
Build Tools for Visual Studio 2026 のインストール(Windows 上)
Build Tools for Visual Studio は,Visual Studio の IDE を含まない C/C++ コンパイラ,ライブラリ,ビルドツール等のコマンドライン向け開発ツールセットである。
以下のコマンドを管理者権限のコマンドプロンプトで実行する
(手順:Windowsキーまたはスタートメニュー → cmd と入力 → 右クリック → 「管理者として実行」)。
REM VC++ ランタイム
winget install --scope machine --accept-source-agreements --accept-package-agreements --silent --id Microsoft.VCRedist.2015+.x64

REM Build Tools + Desktop development with C++(VCTools)+ 追加コンポーネント(一括)
winget install --id Microsoft.VisualStudio.BuildTools ^
  --override "--passive --wait --add Microsoft.VisualStudio.Workload.VCTools --includeRecommended --add Microsoft.VisualStudio.Component.VC.Llvm.Clang --add Microsoft.VisualStudio.Component.VC.Llvm.ClangToolset --add Microsoft.VisualStudio.Component.VC.CMake.Project --add Microsoft.VisualStudio.Component.Windows11SDK.26100"
--add で追加されるコンポーネント
上記のコマンドでは,まず Build Tools 本体と Visual C++ 再頒布可能パッケージをインストールし,次に setup.exe を用いて以下のコンポーネントを追加している。
VCTools:C++ デスクトップ開発ワークロード(--includeRecommendedにより、MSVC コンパイラ、C++ AddressSanitizer、vcpkg、CMake ツール、Windows 11 SDK 等の推奨コンポーネントが含まれる)VC.Llvm.Clang:Windows 向け C++ Clang コンパイラClangCL:clang-cl ツールセットを含むコンポーネントグループ(MSBuild から Clang を使用するために必要)VC.CMake.Project:Windows 向け C++ CMake ツールWindows11SDK.26100:Windows 11 SDK(ビルド 10.0.26100)
インストール完了の確認
winget list Microsoft.VisualStudio.BuildTools上記以外の追加のコンポーネントが必要になった場合は Visual Studio Installer で個別にインストールできる。
Visual Studio の機能を必要とする場合は、追加インストールできる。
Gitのインストール
以下のコマンドを管理者権限のコマンドプロンプトで実行する
(手順:Windowsキーまたはスタートメニュー → cmd と入力 → 右クリック → 「管理者として実行」)。管理者権限は、wingetの--scope machineオプションでシステム全体にソフトウェアをインストールするために必要となる。
REM Git をシステム領域にインストール
winget install --scope machine --id Git.Git -e --silent --accept-source-agreements --accept-package-agreements
REM Git のパス設定
set "GIT_PATH=C:\Program Files\Git\cmd"
for /f "skip=2 tokens=2*" %a in ('reg query "HKLM\SYSTEM\CurrentControlSet\Control\Session Manager\Environment" /v Path') do set "SYSTEM_PATH=%b"
if exist "%GIT_PATH%" (
    echo "%SYSTEM_PATH%" | find /i "%GIT_PATH%" >nul
    if errorlevel 1 setx PATH "%GIT_PATH%;%SYSTEM_PATH%" /M >nul
)
CMakeのインストール
以下のコマンドを管理者権限のコマンドプロンプトで実行する
(手順:Windowsキーまたはスタートメニュー → cmd と入力 → 右クリック → 「管理者として実行」)。管理者権限は、wingetの--scope machineオプションでシステム全体にソフトウェアをインストールするために必要となる。
REM CMake をシステム領域にインストール
winget install --scope machine --id machine Kitware.CMake -e --silent
REM CMakeのパス設定
set "CMAKE_PATH=C:\Program Files\CMake\bin"
for /f "skip=2 tokens=2*" %a in ('reg query "HKLM\SYSTEM\CurrentControlSet\Control\Session Manager\Environment" /v Path') do set "SYSTEM_PATH=%b"
if exist "%CMAKE_PATH%" (
    echo "%SYSTEM_PATH%" | find /i "%CMAKE_PATH%" >nul
    if errorlevel 1 setx PATH "%CMAKE_PATH%;%SYSTEM_PATH%" /M >nul
)
Tesseract OCR 5.3.3 の開発環境とツール等のインストール(Windows 上)
公式ページの手順に従う.
Software Network のセットアップ
- 以下の手順を管理者権限のコマンドプロンプトで実行する
(手順:Windowsキーまたはスタートメニュー →
cmdと入力 → 右クリック → 「管理者として実行」)。 - Software Network のセットアップ
次のコマンドを実行.
cd c:\ rmdir /s /q sw mkdir sw cd sw curl -L -O https://software-network.org/client/sw-master-windows_x86_64-client.zip curl -L -O https://software-network.org/client/swgui-master-windows_x86_64-client.zip powershell -command "Expand-Archive -Path sw-master-windows_x86_64-client.zip" powershell -command "Expand-Archive -Path swgui-master-windows_x86_64-client.zip" rmdir /s /q %HOMEPATH%\.sw cd /d c:%HOMEPATH% c:\sw\sw-master-windows_x86_64-client\sw setup - 終了の確認
エラーメッセージが出ていないこと.
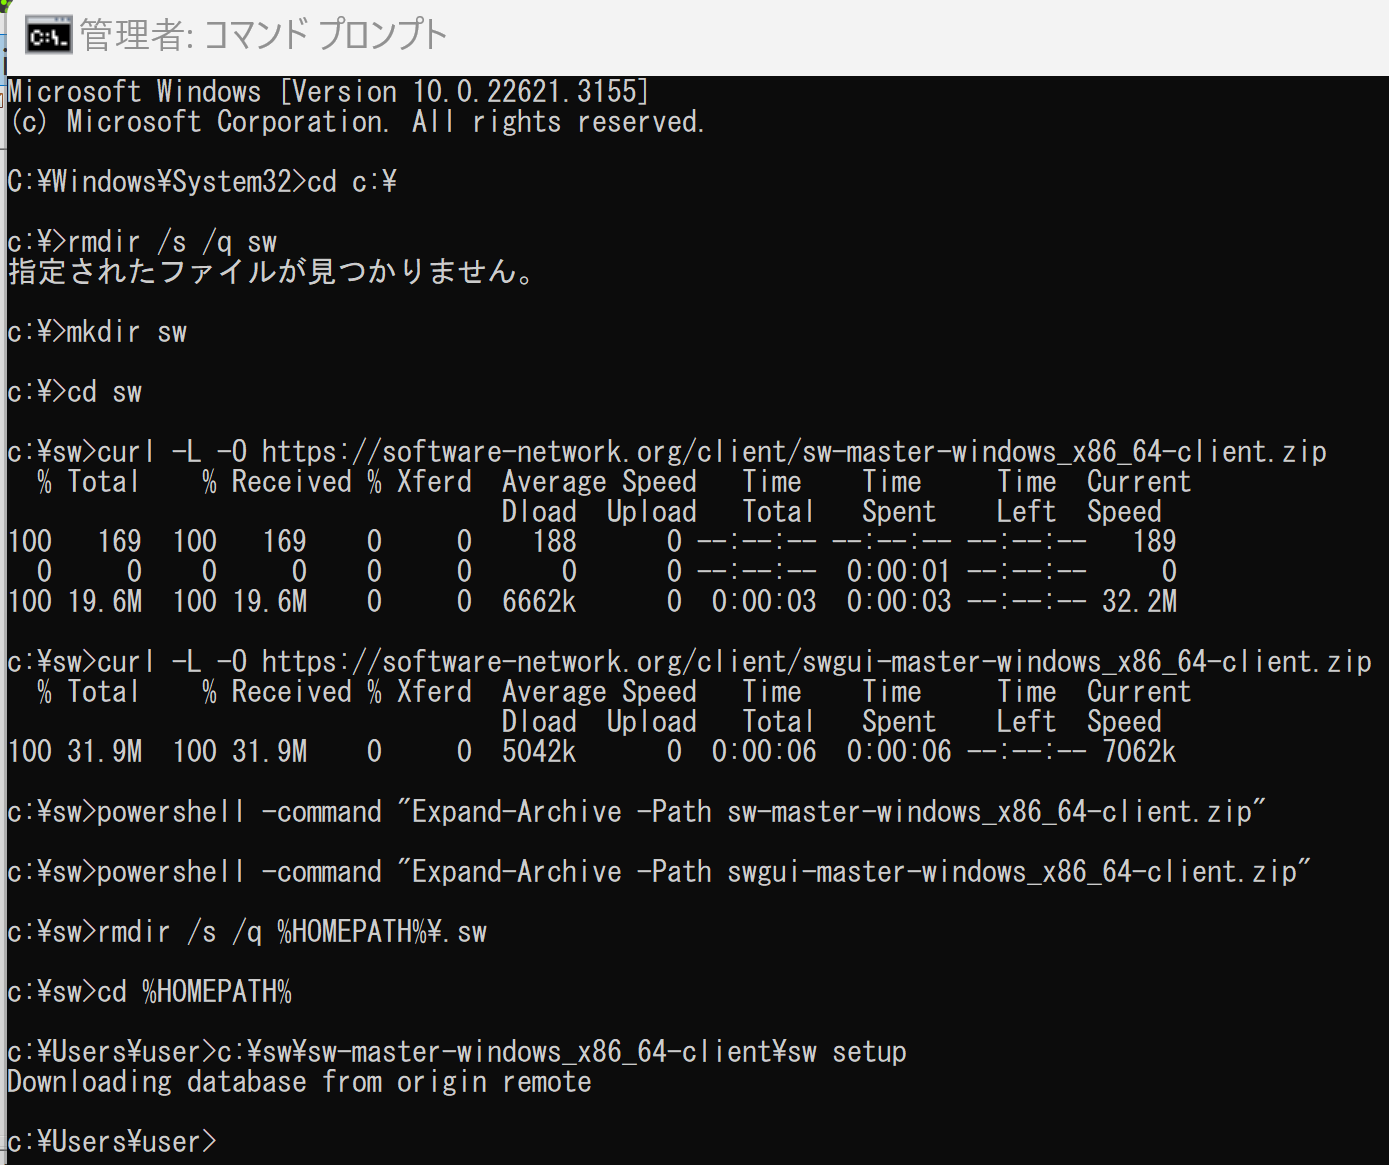
- ファイルが %HOMEPATH%\.sw にダウンロードされていることを確認
dir %HOMEPATH%\.sw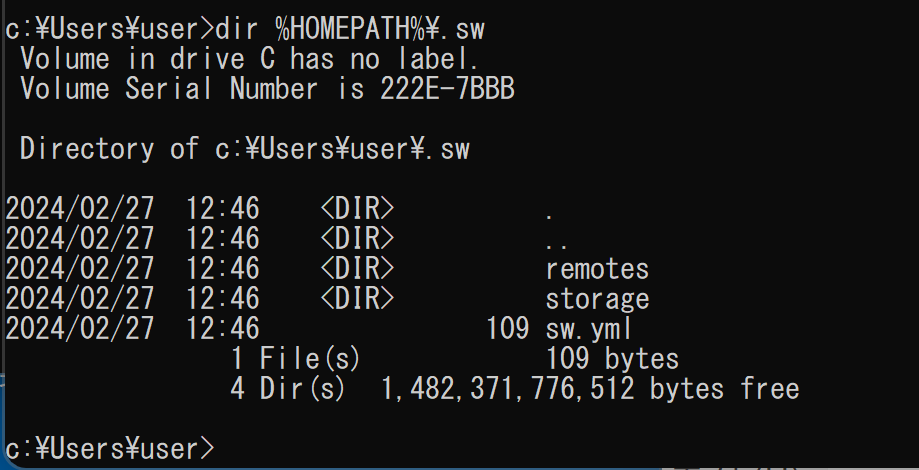
- Windows のシステム環境変数 Path に c:\sw\sw-master-windows_x86_64-client を追加することにより,パスを通す.
次のコマンドを実行
powershell -command "$oldpath = [System.Environment]::GetEnvironmentVariable(\"Path\", \"Machine\"); $oldpath += \";c:\sw\sw-master-windows_x86_64-client\"; [System.Environment]::SetEnvironmentVariable(\"Path\", $oldpath, \"Machine\")"
Tesseract 関連ライブラリのビルド(Software Network を使用)
- 以下の手順を管理者権限のコマンドプロンプトで実行する
(手順:Windowsキーまたはスタートメニュー →
cmdと入力 → 右クリック → 「管理者として実行」)。 - Tesseract OCR の開発環境のビルド(Windows 上)
次のコマンドを実行. 終了までしばらく待つ.
cd /d c:%HOMEPATH% sw build -platform=x64 org.sw.demo.google.tesseract.tesseract - 終了の確認
エラーメッセージが出ていないこと.
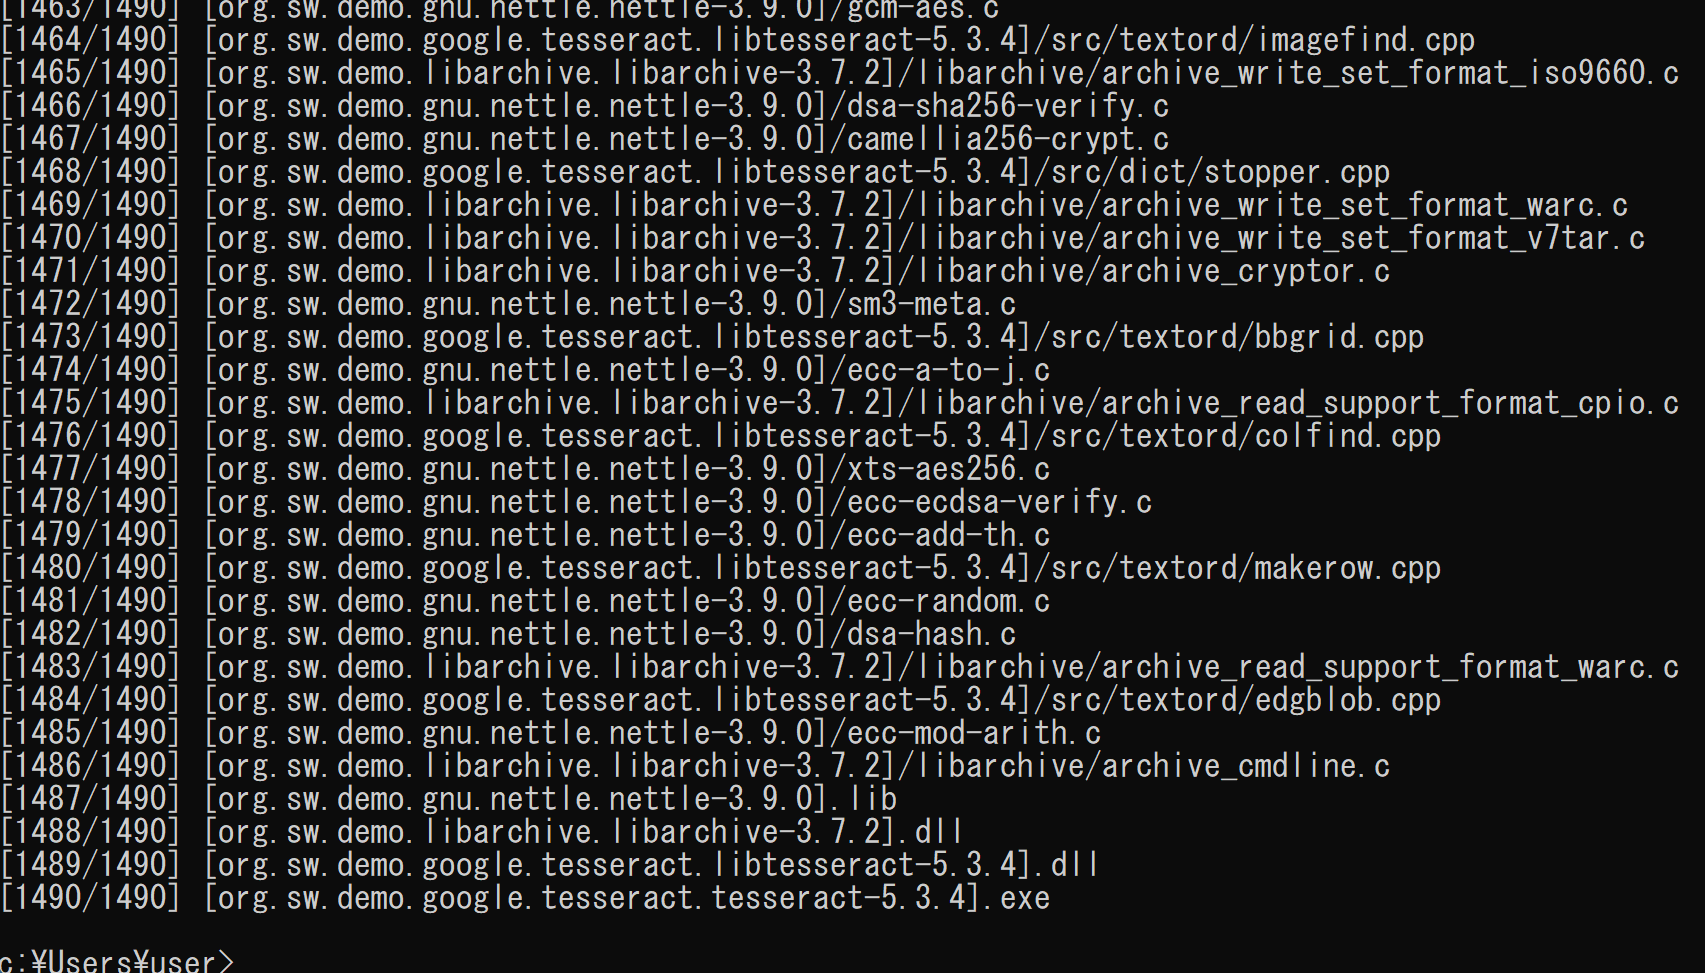
- ファイルが %HOMEPATH%\.sw にダウンロードされていることを確認
dir %HOMEPATH%\.sw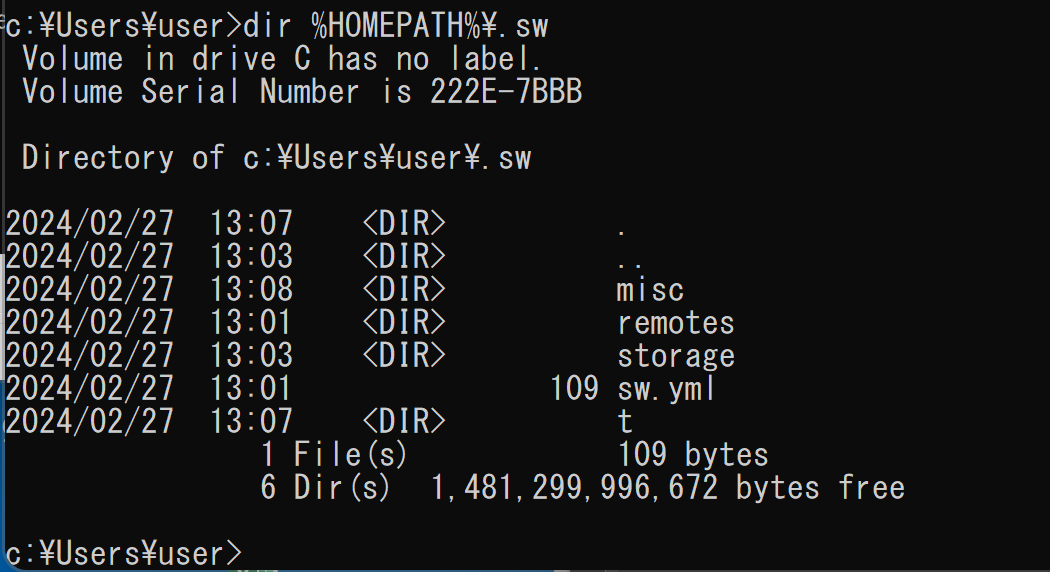
Tesseract OCR の開発環境とツール等のインストール(Windows 上)
ソースコードをダウンロードしてインストールする.
- 以下の手順を管理者権限のコマンドプロンプトで実行する
(手順:Windowsキーまたはスタートメニュー →
cmdと入力 → 右クリック → 「管理者として実行」)。 - Tesseract OCR の開発環境のビルド(Windows 上)
次のコマンドを実行. 終了までしばらく待つ.
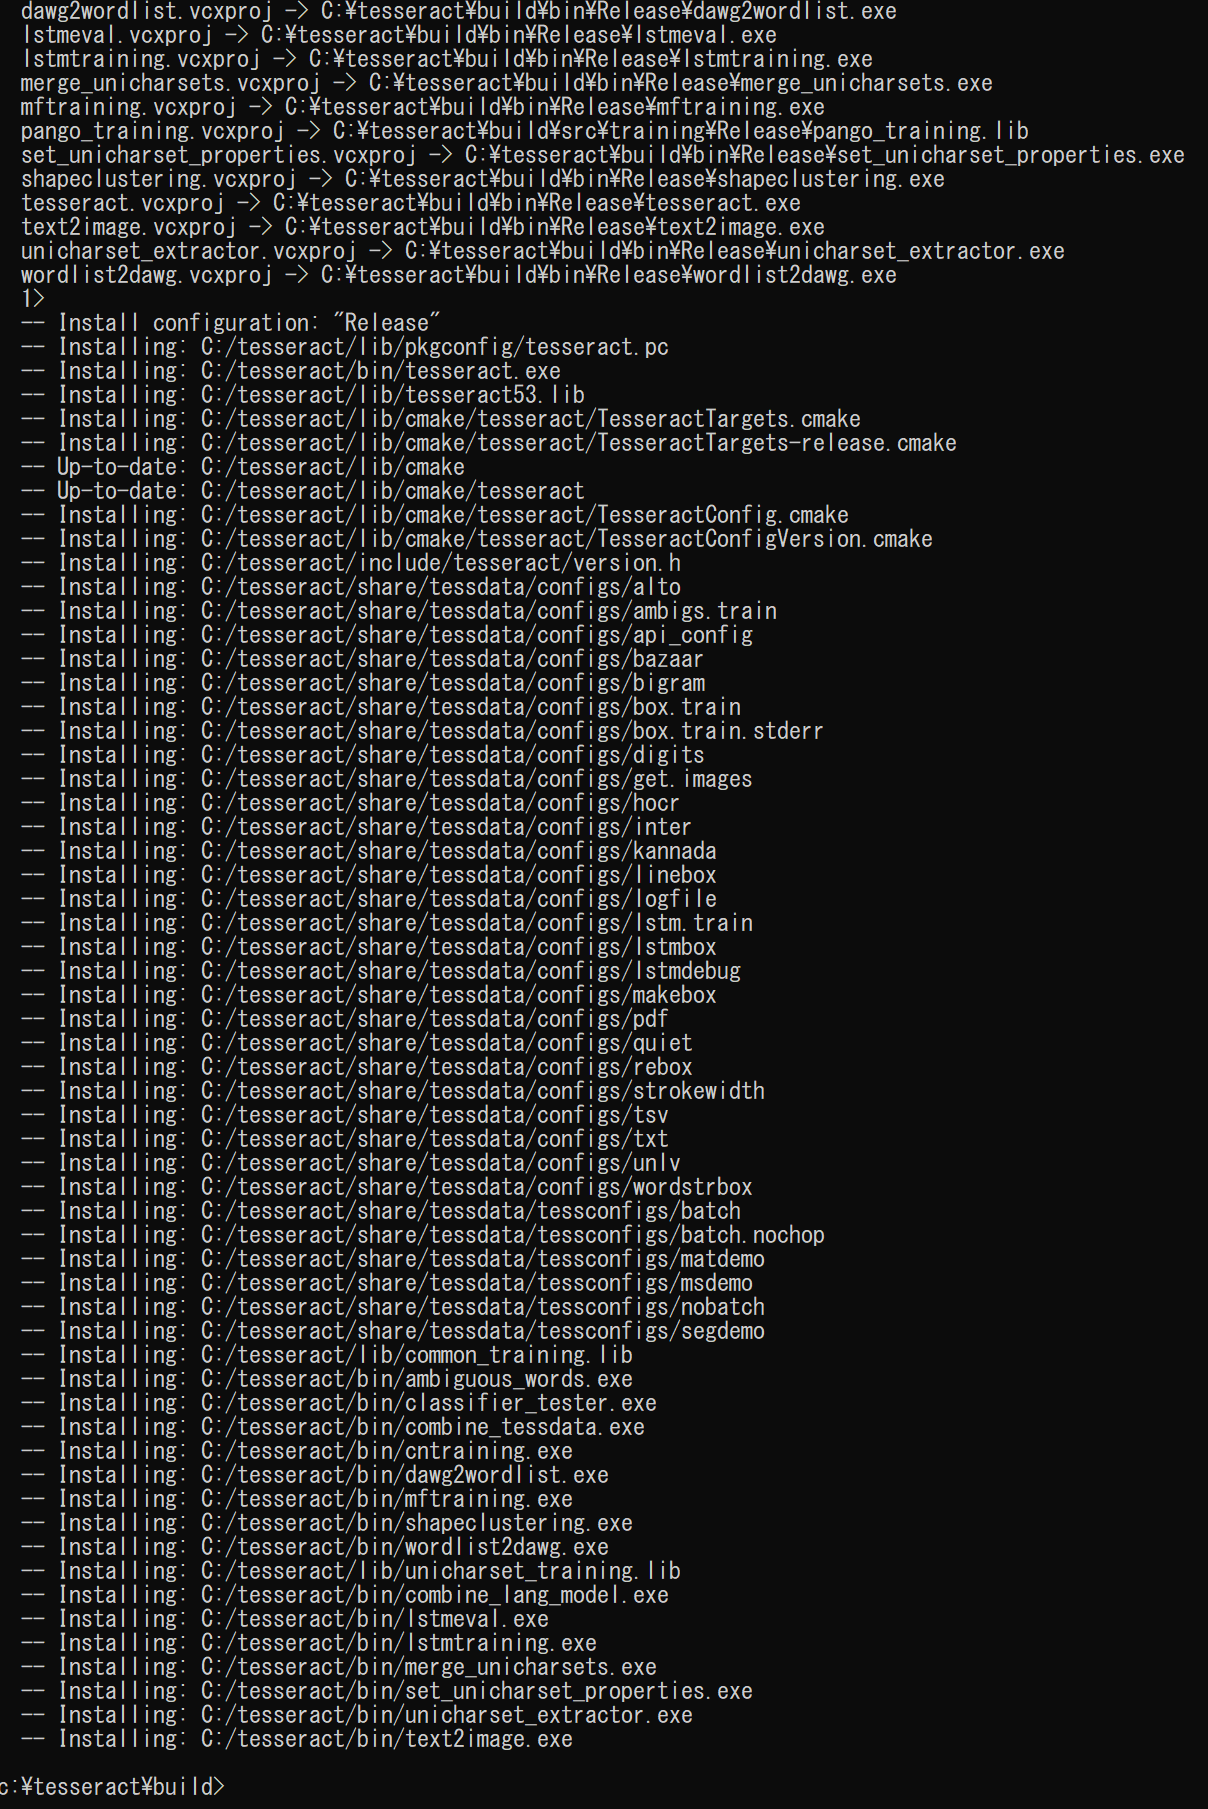
cd c:\ rmdir /s /q tesseract git clone https://github.com/tesseract-ocr/tesseract cd tesseract mkdir build cd build cmake .. -A x64 -T host=x64 -DBUILD_TESTS=ON -DCMAKE_INSTALL_PREFIX=c:/tesseract # いくつかのファイルをUTF8 を UTF8BOM有りに変換 cd /d c:%HOMEPATH% powershell -Command "$content = Get-Content '.sw/storage/pkg/7b/bc/eeda/src/sdir/gio/gsocks4aproxy.c' -Encoding UTF8; $content | Set-Content -Path '.sw/storage/pkg/7b/bc/eeda/src/sdir/gio/gsocks4aproxy.c' -Encoding UTF8" powershell -Command "$content = Get-Content '.sw/storage/pkg/84/1c/ec76/src/sdir/gmodule/gmodule.c' -Encoding UTF8; $content | Set-Content -Path '.sw/storage/pkg/84/1c/ec76/src/sdir/gmodule/gmodule.c' -Encoding UTF8" powershell -Command "$content = Get-Content '.sw/storage/pkg/7b/bc/eeda/src/sdir/gio/gnetworkaddress.c' -Encoding UTF8; $content | Set-Content -Path '.sw/storage/pkg/7b/bc/eeda/src/sdir/gio/gnetworkaddress.c' -Encoding UTF8" powershell -Command "$content = Get-Content '.sw/storage/pkg/c7/3e/272a/src/sdir/glib/gatomic.h' -Encoding UTF8; $content | Set-Content -Path '.sw/storage/pkg/c7/3e/272a/src/sdir/glib/gatomic.h' -Encoding UTF8" powershell -Command "$content = Get-Content '.sw/storage/pkg/c7/3e/272a/src/sdir/glib/gtestutils.h' -Encoding UTF8; $content | Set-Content -Path '.sw/storage/pkg/c7/3e/272a/src/sdir/glib/gtestutils.h' -Encoding UTF8" powershell -Command "$content = Get-Content '.sw/storage/pkg/c4/6e/a0a7/src/sdir/gobject/gtype.h' -Encoding UTF8; $content | Set-Content -Path '.sw/storage/pkg/c4/6e/a0a7/src/sdir/gobject/gtype.h' -Encoding UTF8" powershell -Command "$content = Get-Content '.sw/storage/pkg/7b/bc/eeda/src/sdir/gio/gactiongroupexporter.c' -Encoding UTF8; $content | Set-Content -Path '.sw/storage/pkg/7b/bc/eeda/src/sdir/gio/gactiongroupexporter.c' -Encoding UTF8" powershell -Command "$content = Get-Content '.sw/storage/pkg/7b/bc/eeda/src/sdir/gio/gappinfo.c' -Encoding UTF8; $content | Set-Content -Path '.sw/storage/pkg/7b/bc/eeda/src/sdir/gio/gappinfo.c' -Encoding UTF8" powershell -Command "$content = Get-Content '.sw/storage/pkg/7b/bc/eeda/src/sdir/gio/gdbusconnection.c' -Encoding UTF8; $content | Set-Content -Path '.sw/storage/pkg/7b/bc/eeda/src/sdir/gio/gdbusconnection.c' -Encoding UTF8" powershell -Command "$content = Get-Content '.sw/storage/pkg/7b/bc/eeda/src/sdir/gio/gdbusaddress.c' -Encoding UTF8; $content | Set-Content -Path '.sw/storage/pkg/7b/bc/eeda/src/sdir/gio/gdbusaddress.c' -Encoding UTF8" powershell -Command "$content = Get-Content '.sw/storage/pkg/c7/3e/272a/src/sdir/glib/gstdioprivate.h' -Encoding UTF8; $content | Set-Content -Path '.sw/storage/pkg/c7/3e/272a/src/sdir/glib/gstdioprivate.h' -Encoding UTF8" powershell -Command "$content = Get-Content '.sw/storage/pkg/7b/bc/eeda/src/sdir/gio/gdatagrambased.h' -Encoding UTF8; $content | Set-Content -Path '.sw/storage/pkg/7b/bc/eeda/src/sdir/gio/gdatagrambased.h' -Encoding UTF8" powershell -Command "$content = Get-Content '.sw/storage/pkg/7b/bc/eeda/src/sdir/gio/gfile.c' -Encoding UTF8; $content | Set-Content -Path '.sw/storage/pkg/7b/bc/eeda/src/sdir/gio/gfile.c' -Encoding UTF8" powershell -Command "$content = Get-Content '.sw/storage/pkg/7b/bc/eeda/src/sdir/gio/gdbusmessage.c' -Encoding UTF8; $content | Set-Content -Path '.sw/storage/pkg/7b/bc/eeda/src/sdir/gio/gdbusmessage.c' -Encoding UTF8" powershell -Command "$content = Get-Content '.sw/storage/pkg/7b/bc/eeda/src/sdir/gio/gdbusauthmechanismsha1.c' -Encoding UTF8; $content | Set-Content -Path '.sw/storage/pkg/7b/bc/eeda/src/sdir/gio/gdbusauthmechanismsha1.c' -Encoding UTF8" powershell -Command "$content = Get-Content '.sw/storage/pkg/7b/bc/eeda/src/sdir/gio/gmount.c' -Encoding UTF8; $content | Set-Content -Path '.sw/storage/pkg/7b/bc/eeda/src/sdir/gio/gmount.c' -Encoding UTF8" powershell -Command "$content = Get-Content '.sw/storage/pkg/7b/bc/eeda/src/sdir/gio/gapplicationimpl-dbus.c' -Encoding UTF8; $content | Set-Content -Path '.sw/storage/pkg/7b/bc/eeda/src/sdir/gio/gapplicationimpl-dbus.c' -Encoding UTF8" powershell -Command "$content = Get-Content '.sw/storage/pkg/7b/bc/eeda/src/sdir/gio/gdbusserver.c' -Encoding UTF8; $content | Set-Content -Path '.sw/storage/pkg/7b/bc/eeda/src/sdir/gio/gdbusserver.c' -Encoding UTF8" powershell -Command "$content = Get-Content '.sw/storage/pkg/7b/bc/eeda/src/sdir/gio/giomodule.c' -Encoding UTF8; $content | Set-Content -Path '.sw/storage/pkg/7b/bc/eeda/src/sdir/gio/giomodule.c' -Encoding UTF8" powershell -Command "$content = Get-Content '.sw/storage/pkg/7b/bc/eeda/src/sdir/gio/gproxyresolver.c' -Encoding UTF8; $content | Set-Content -Path '.sw/storage/pkg/7b/bc/eeda/src/sdir/gio/gproxyresolver.c' -Encoding UTF8" powershell -Command "$content = Get-Content '.sw/storage/pkg/7b/bc/eeda/src/sdir/gio/gthreadedresolver.c' -Encoding UTF8; $content | Set-Content -Path '.sw/storage/pkg/7b/bc/eeda/src/sdir/gio/gthreadedresolver.c' -Encoding UTF8" powershell -Command "$content = Get-Content '.sw/storage/pkg/c4/1e/68f3/src/sdir/src/hb-style.h' -Encoding UTF8; $content | Set-Content -Path '.sw/storage/pkg/c4/1e/68f3/src/sdir/src/hb-style.h' -Encoding UTF8" powershell -Command "$content = Get-Content '.sw/storage/pkg/8f/09/0cc9/src/sdir/pango/pango-language-sample-table.h' -Encoding UTF8; $content | Set-Content -Path '.sw/storage/pkg/8f/09/0cc9/src/sdir/pango/pango-language-sample-table.h' -Encoding UTF8" powershell -Command "$content = Get-Content '.sw/storage/pkg/c4/6e/a0a7/src/sdir/gobject/gsignalgroup.c' -Encoding UTF8; $content | Set-Content -Path '.sw/storage/pkg/c4/6e/a0a7/src/sdir/gobject/gsignalgroup.c' -Encoding UTF8" powershell -Command "$content = Get-Content '.sw/storage/pkg/7b/bc/eeda/src/sdir/gio/gcharsetconverter.c' -Encoding UTF8; $content | Set-Content -Path '.sw/storage/pkg/7b/bc/eeda/src/sdir/gio/gcharsetconverter.c' -Encoding UTF8" powershell -Command "$content = Get-Content '.sw\storage\pkg\04\dc\e58a\src\sdir\pango\pango-language-sample-table.h' -Encoding UTF8; $content | Set-Content -Path '.sw\storage\pkg\04\dc\e58a\src\sdir\pango\pango-language-sample-table.h' -Encoding UTF8" cd c:\tesseract\build cmake --build . --config Release cmake --build . --config Release --target install - 終了の確認
エラーメッセージが出ていないこと.
- tessdata のダウンロード
次のコマンドを実行.
cd c:\tesseract\share
rmdir /s /q tessdata
git clone https://github.com/tesseract-ocr/tessdata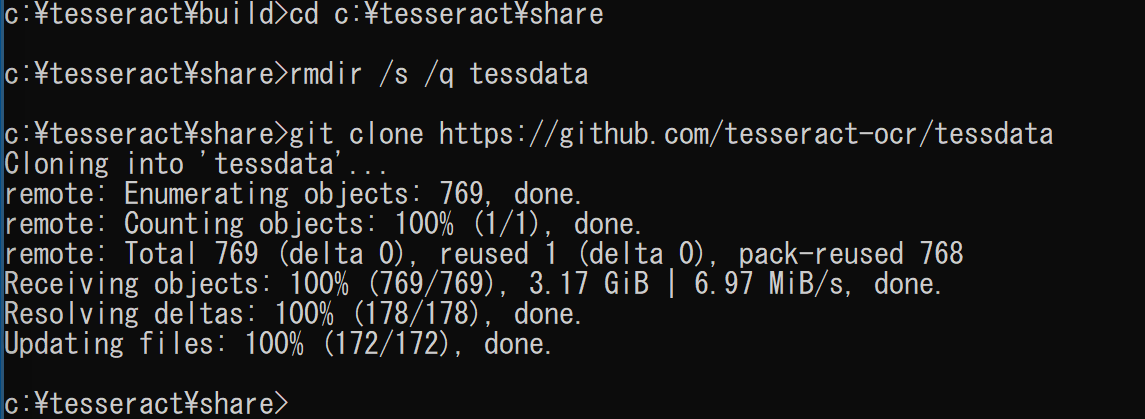
- Windows のシステム環境変数 Path に c:\tesseract\bin を追加することにより,パスを通す.
次のコマンドを実行
powershell -command "$oldpath = [System.Environment]::GetEnvironmentVariable(\"Path\", \"Machine\"); $oldpath += \";c:\tesseract\bin\"; [System.Environment]::SetEnvironmentVariable(\"Path\", $oldpath, \"Machine\")"
- Windows の システム環境変数 TESSDATA_PREFIX の設定を行う.
Windows では, コマンドプロンプトを管理者として開き, 次のコマンドを実行することにより, システム環境変数 TESSDATA_PREFIX の設定を行うことができる.
コマンドプロンプトを管理者として実行: 別ページ »で説明powershell -command "[System.Environment]::SetEnvironmentVariable(\"TESSDATA_PREFIX\", \"C:\tesseract\share\tessdata\", \"Machine\")"
動作確認(Windows 上)
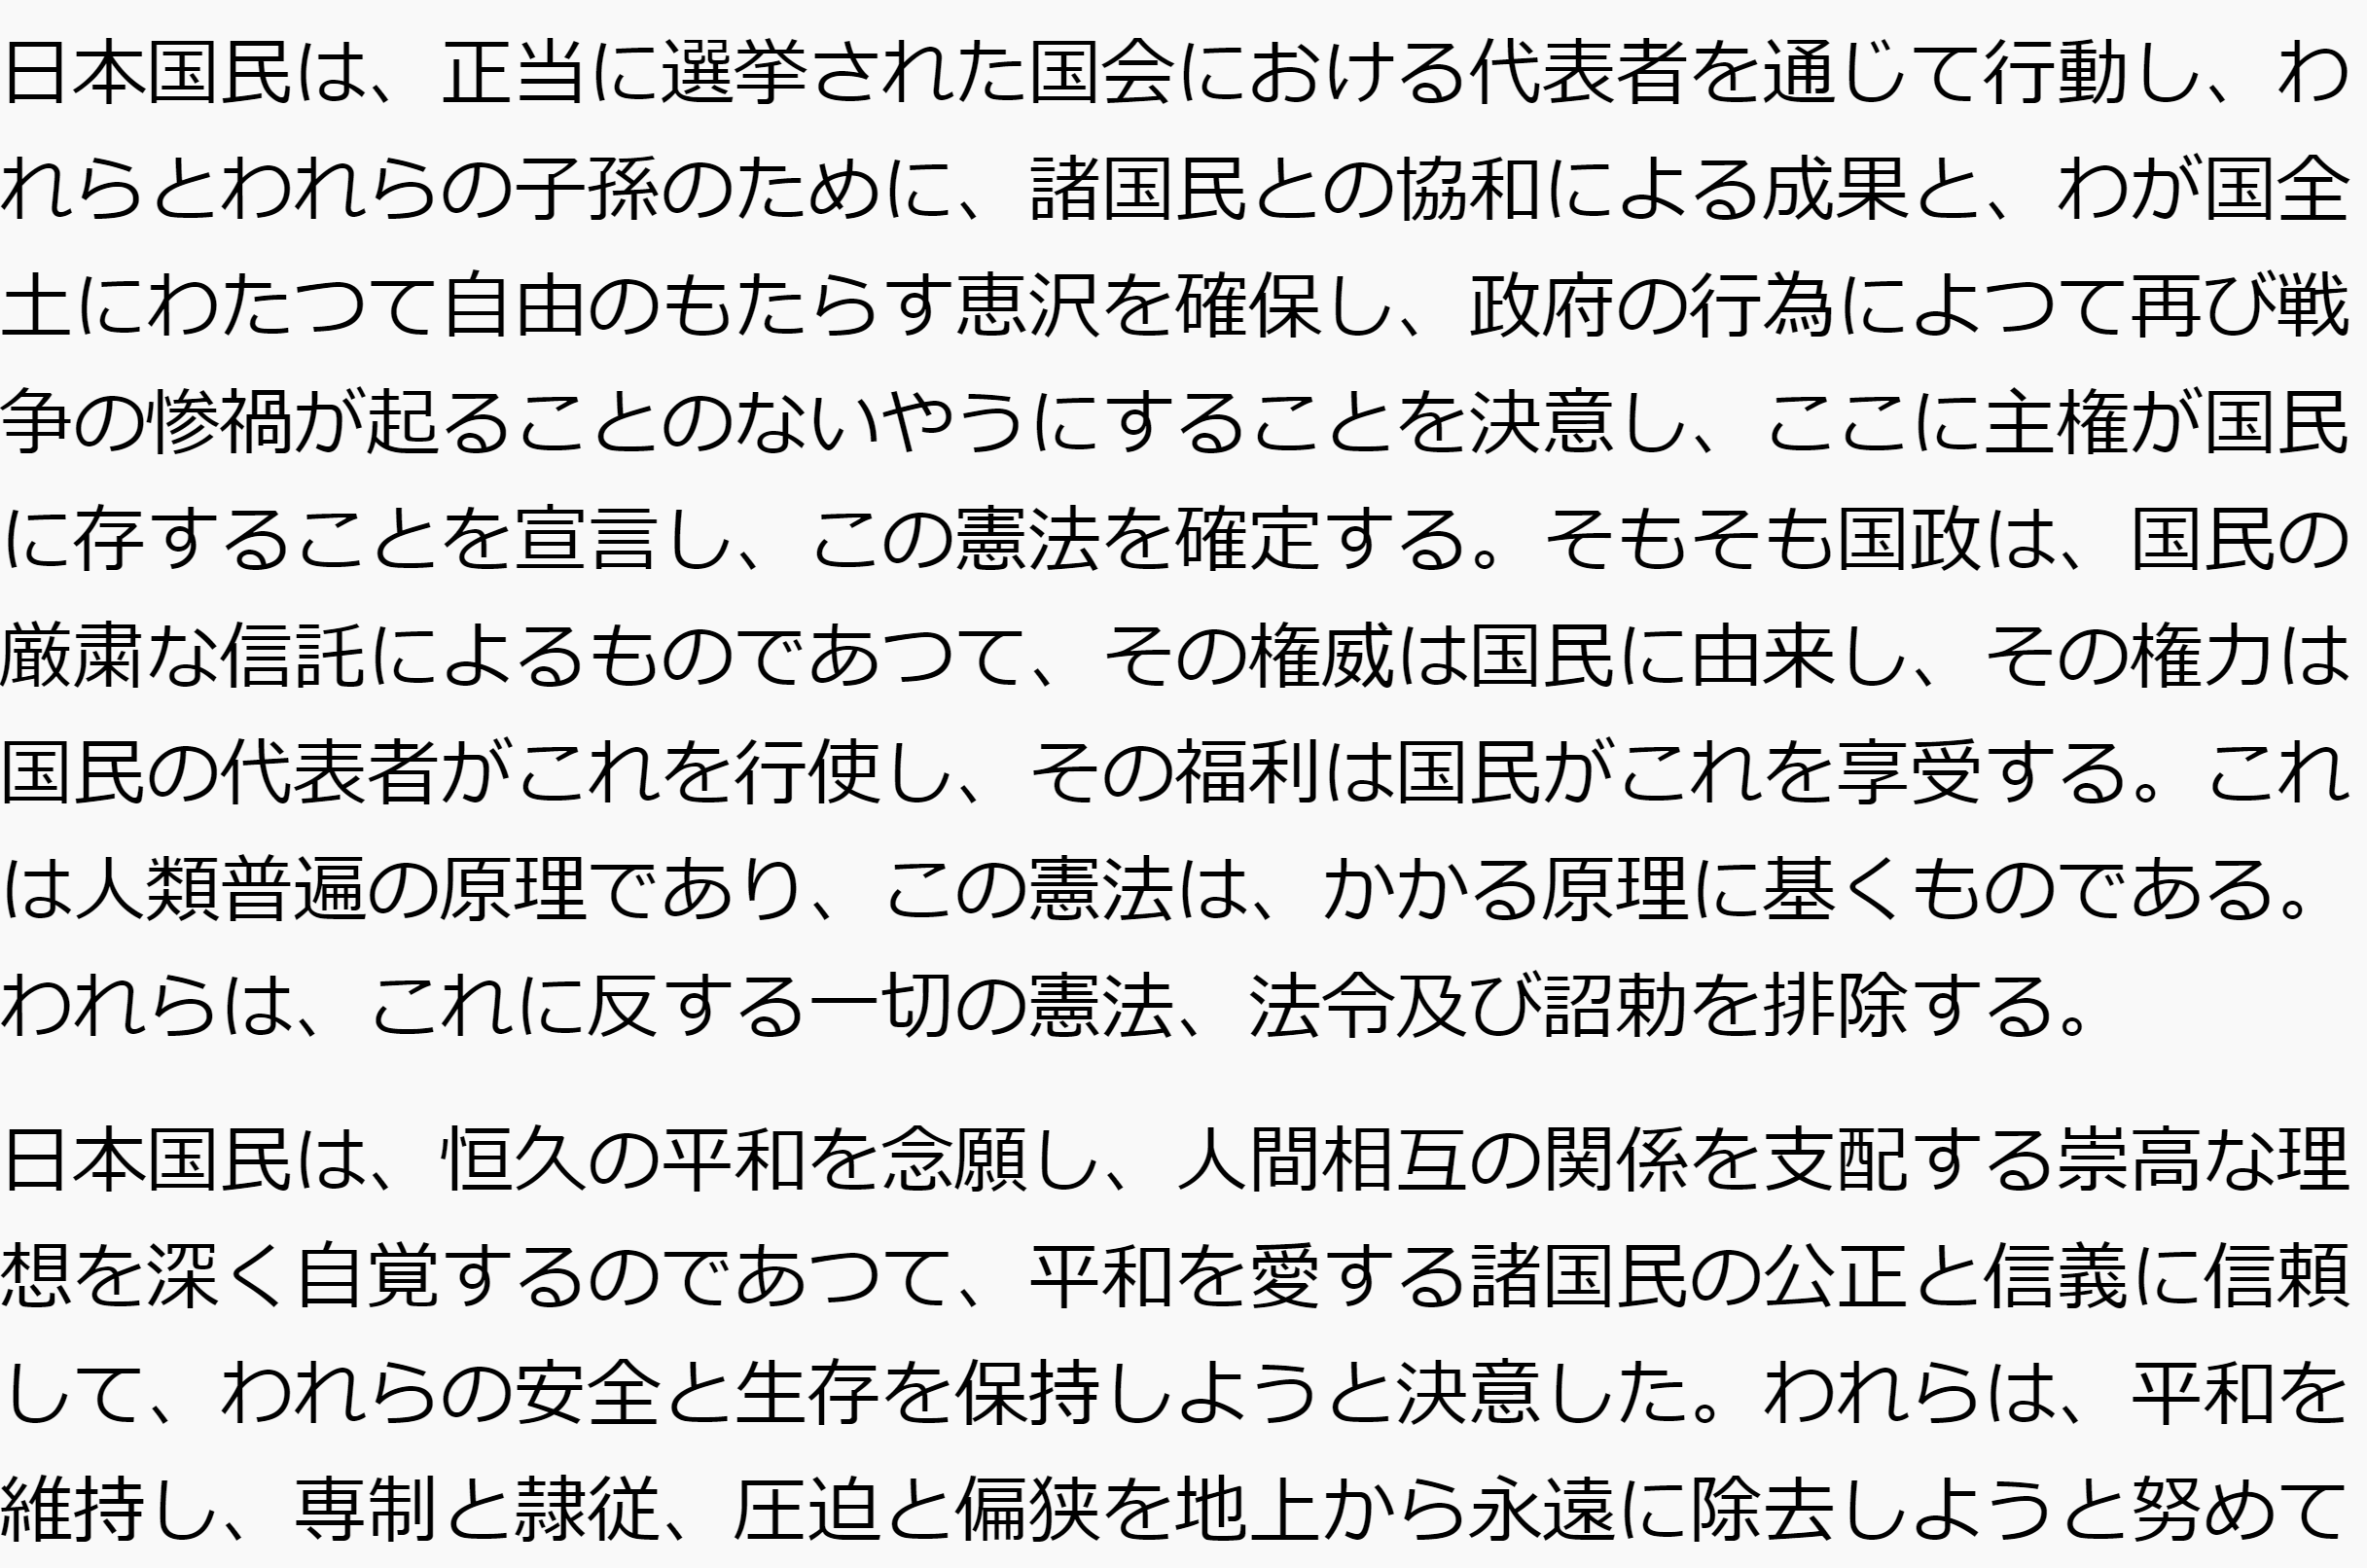
- 日本語の文章が書かれた画像を用意する
次の画像は、Wikipedia「日本国憲法前文」から取得
Wikipedia「日本国憲法前文」のURL: https://ja.wikipedia.org/wiki/%E6%97%A5%E6%9C%AC%E5%9B%BD%E6%86%B2%E6%B3%95%E5%89%8D%E6%96%87#%E5%89%8D%E6%96%87
- 画像から文字を認識してみる
まず,コマンドプロンプトで,カレントディレクトリを,画像のファイルのあるディレクトリに移動する.
「-l jpn」のところ: 日本語の横書き文書なら「-l jpn」、 日本語の縦書き文書なら「-l jpn_vert」、
tesseract <画像ファイル名> outbase -l jpn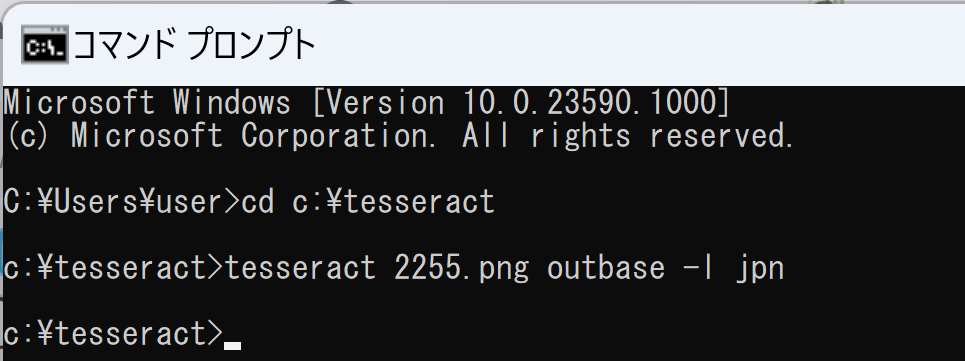
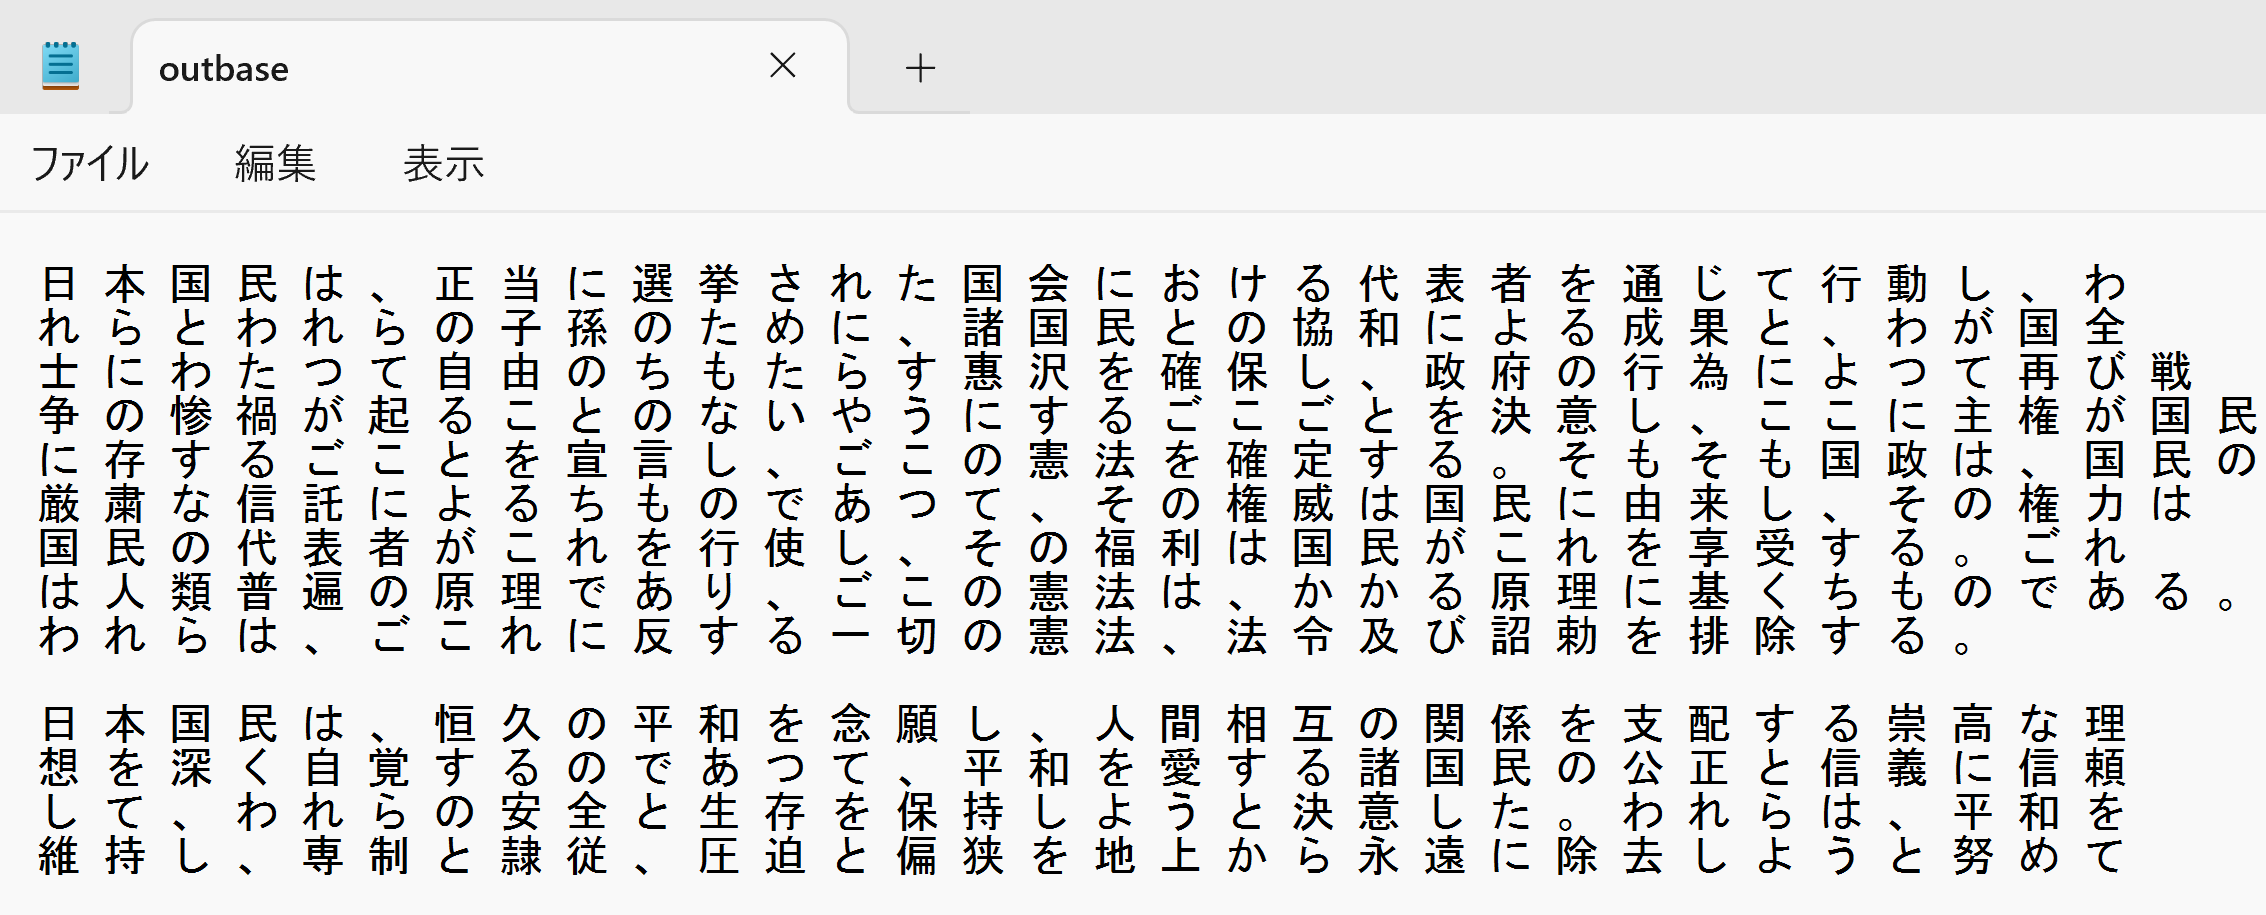
- outbase.txtというファイルができるので,メモ帳で確認
notepad outbase.txt
![[kaneko lab.]](https://www.kkaneko.jp/info/logo_png.png)