Physically Based Rendering のインストール(GitHub の mmp/pbrt-v4 を使用,Windows 上)
【目次】
前準備
Build Tools for Visual Studio 2026 のインストール(Windows 上)
Build Tools for Visual Studio は,Visual Studio の IDE を含まない C/C++ コンパイラ,ライブラリ,ビルドツール等のコマンドライン向け開発ツールセットである。
以下のコマンドを管理者権限のコマンドプロンプトで実行する
(手順:Windowsキーまたはスタートメニュー → cmd と入力 → 右クリック → 「管理者として実行」)。
REM VC++ ランタイム
winget install --scope machine --accept-source-agreements --accept-package-agreements --silent --id Microsoft.VCRedist.2015+.x64

REM Build Tools + Desktop development with C++(VCTools)+ 追加コンポーネント(一括)
winget install --id Microsoft.VisualStudio.BuildTools ^
  --override "--passive --wait --add Microsoft.VisualStudio.Workload.VCTools --includeRecommended --add Microsoft.VisualStudio.Component.VC.Llvm.Clang --add Microsoft.VisualStudio.Component.VC.Llvm.ClangToolset --add Microsoft.VisualStudio.Component.VC.CMake.Project --add Microsoft.VisualStudio.Component.Windows11SDK.26100"
--add で追加されるコンポーネント
上記のコマンドでは,まず Build Tools 本体と Visual C++ 再頒布可能パッケージをインストールし,次に setup.exe を用いて以下のコンポーネントを追加している。
VCTools:C++ デスクトップ開発ワークロード(--includeRecommendedにより、MSVC コンパイラ、C++ AddressSanitizer、vcpkg、CMake ツール、Windows 11 SDK 等の推奨コンポーネントが含まれる)VC.Llvm.Clang:Windows 向け C++ Clang コンパイラClangCL:clang-cl ツールセットを含むコンポーネントグループ(MSBuild から Clang を使用するために必要)VC.CMake.Project:Windows 向け C++ CMake ツールWindows11SDK.26100:Windows 11 SDK(ビルド 10.0.26100)
インストール完了の確認
winget list Microsoft.VisualStudio.BuildTools上記以外の追加のコンポーネントが必要になった場合は Visual Studio Installer で個別にインストールできる。
Visual Studio の機能を必要とする場合は、追加インストールできる。
Git のインストール
Git のページ https://git-scm.com/ からダウンロードしてインストールする。
- Windows での Git のインストール: 別ページ »で説明している
- Ubuntu では、端末で次のコマンドを実行して、Git をインストールする
# パッケージリストの情報を更新
sudo apt update
sudo apt -y install git
CMake のインストール
CMake の公式ダウンロードページ: https://cmake.org/download/
- Windows での CMake のインストール: 別ページ »で説明している
- Ubuntu では、端末で次のコマンドを実行して、CMake をインストールする
# パッケージリストの情報を更新
sudo apt update
sudo apt -y install cmake cmake-curses-gui
GitHubのmmp/pbrt-v4のインストール
URL: https://github.com/mmp/pbrt-v4
Windowsでの手順を下に示す。Ubuntuでも同様の手順である。
- 以下の手順を管理者権限のコマンドプロンプトで実行する
(手順:Windowsキーまたはスタートメニュー →
cmdと入力 → 右クリック → 「管理者として実行」)。 - GitHubのmmp/pbrt-v4のダウンロード
glog、openexr、ptex、zlibが合わせてダウンロードされる。
cd /d c:%HOMEPATH%
rmdir /s /q pbrt-v4
git clone --recursive https://github.com/mmp/pbrt-v4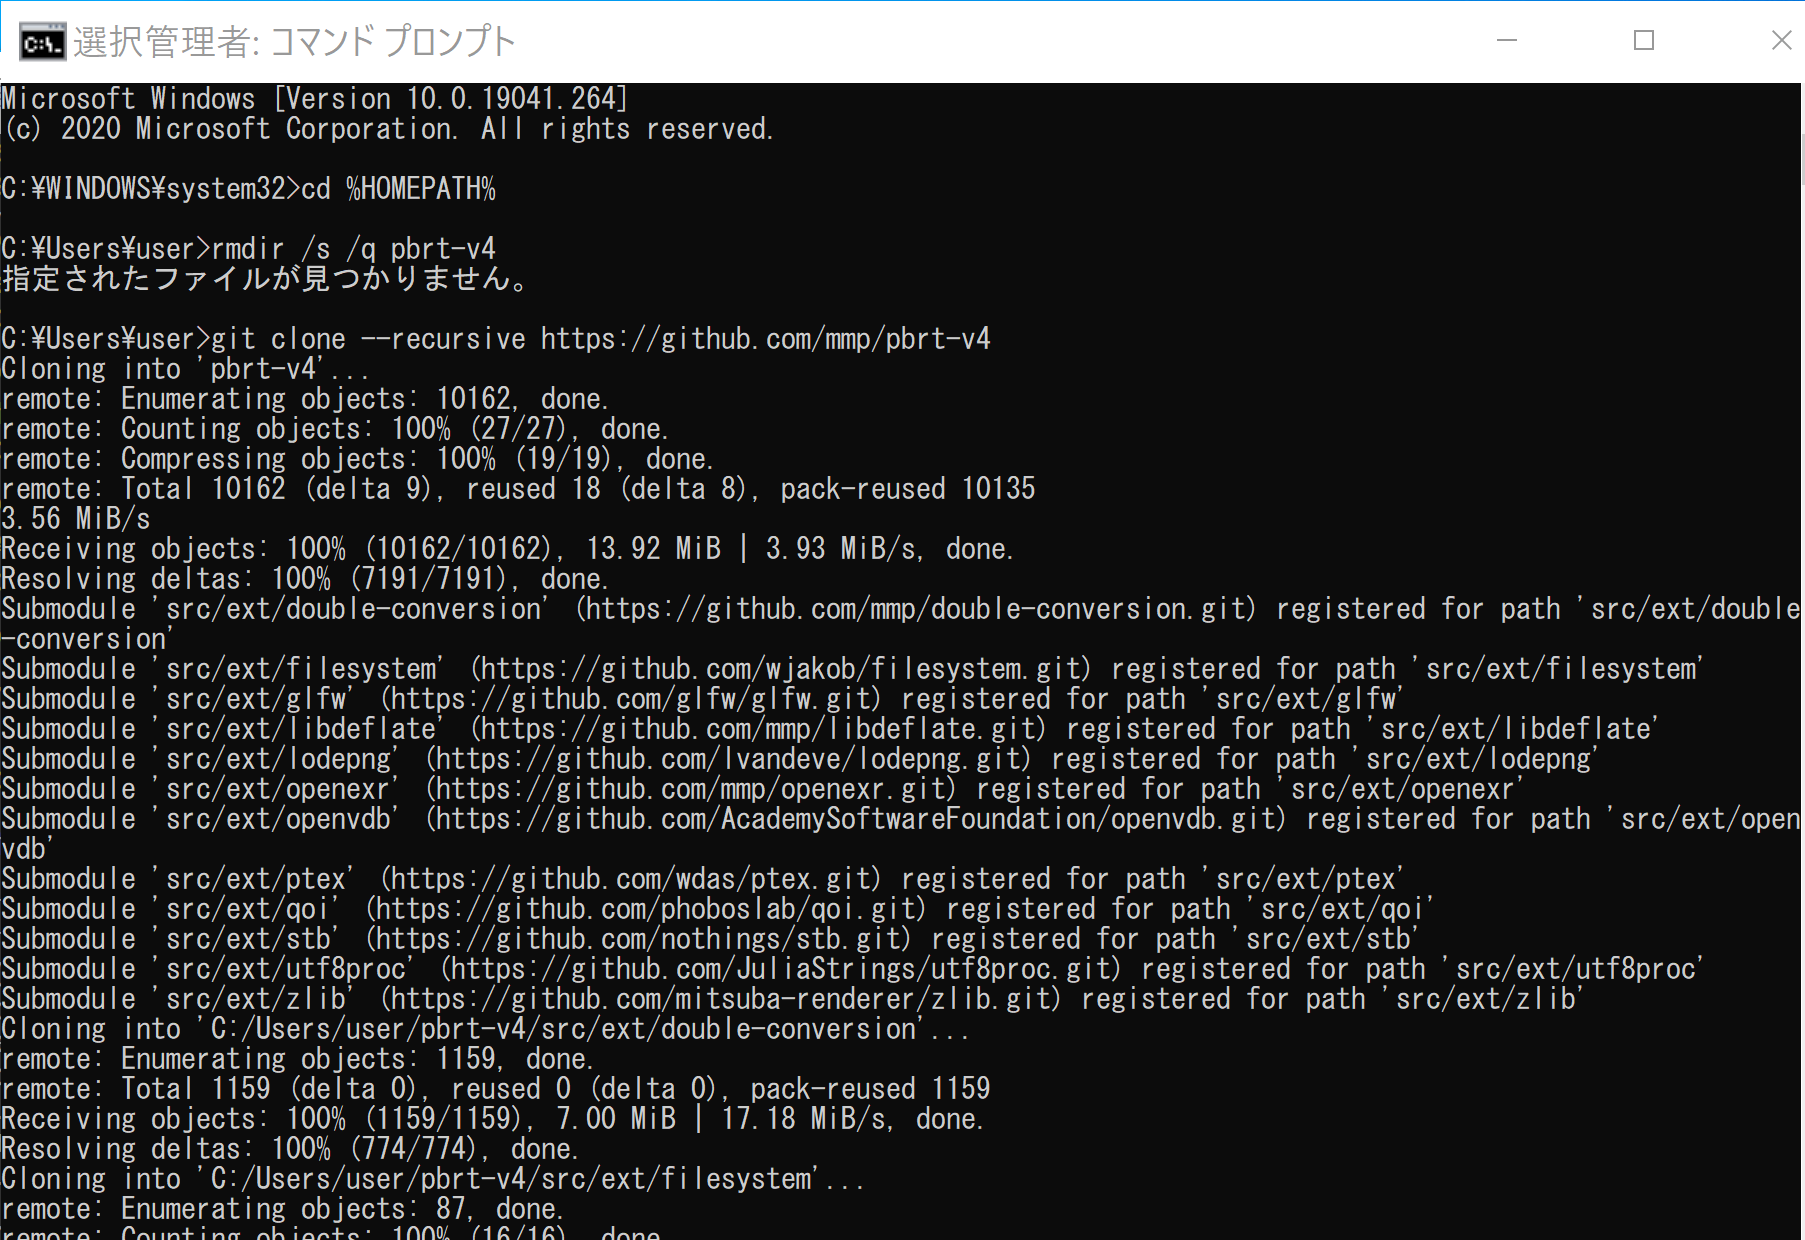
- CMakeの実行
cd /d c:%HOMEPATH%
cd pbrt-v4
rmdir /s /q build
mkdir build
cd build
cmake .. -A x64 -T host=x64
- CMakeの結果の確認
エラーメッセージが出ていないことを確認する。
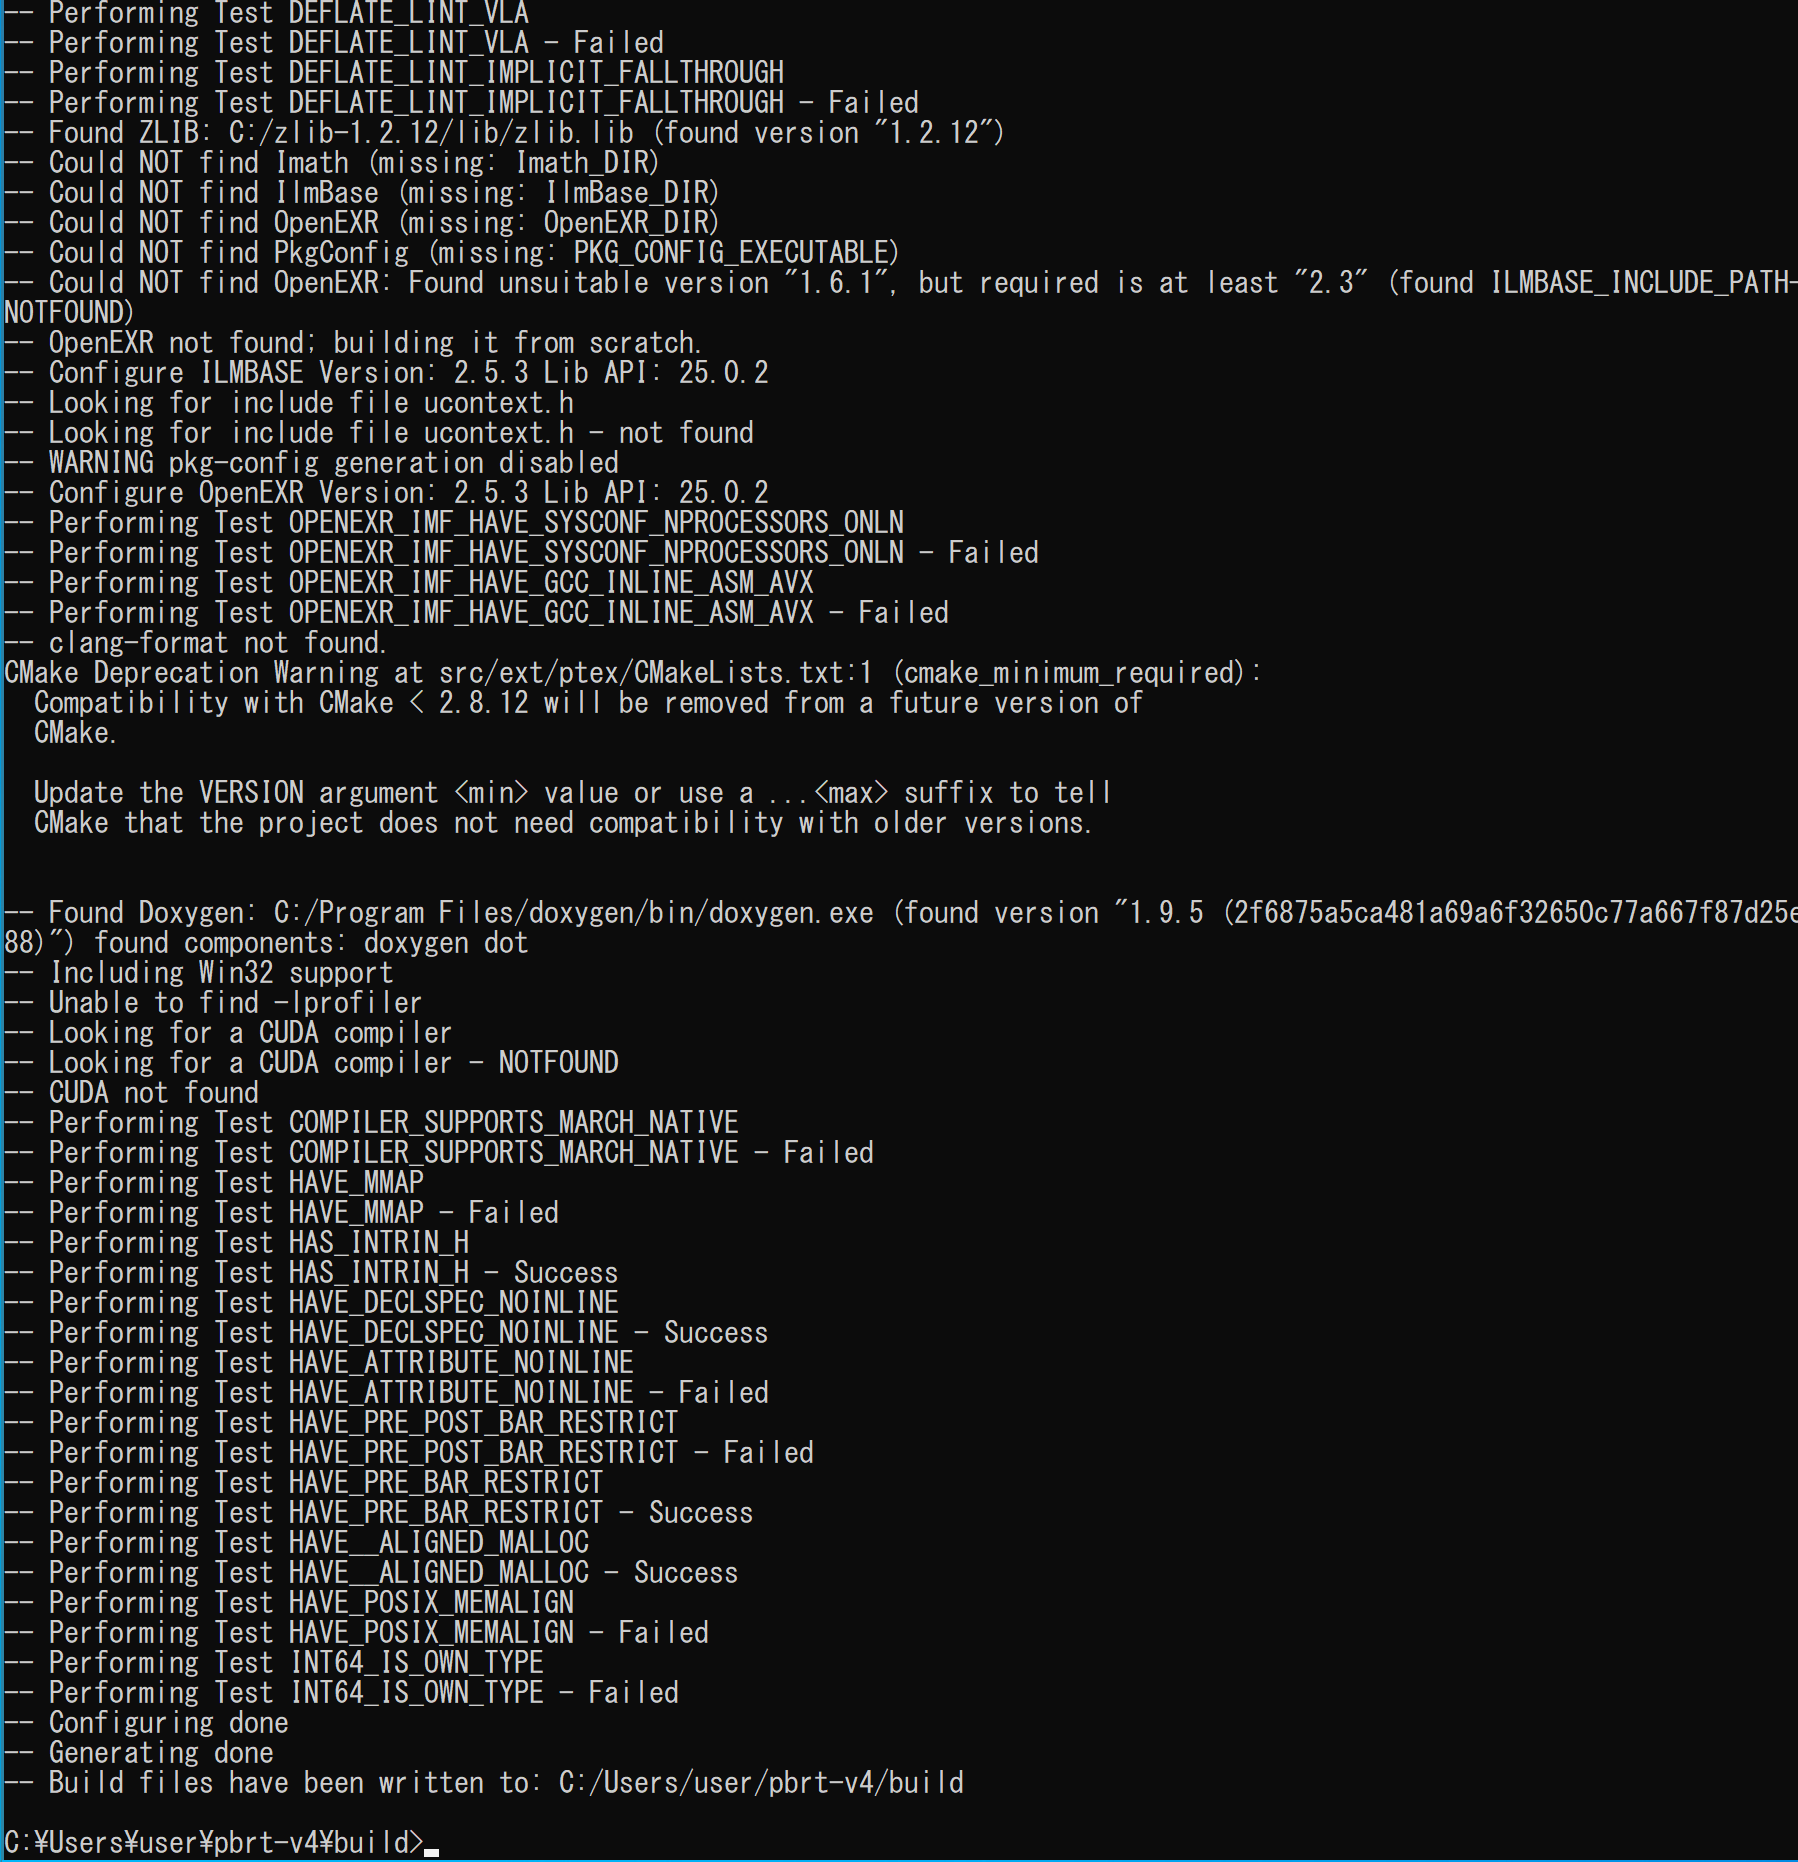
- ビルド操作、インストール操作
cmake --build . --config Release --target INSTALL -- /m:4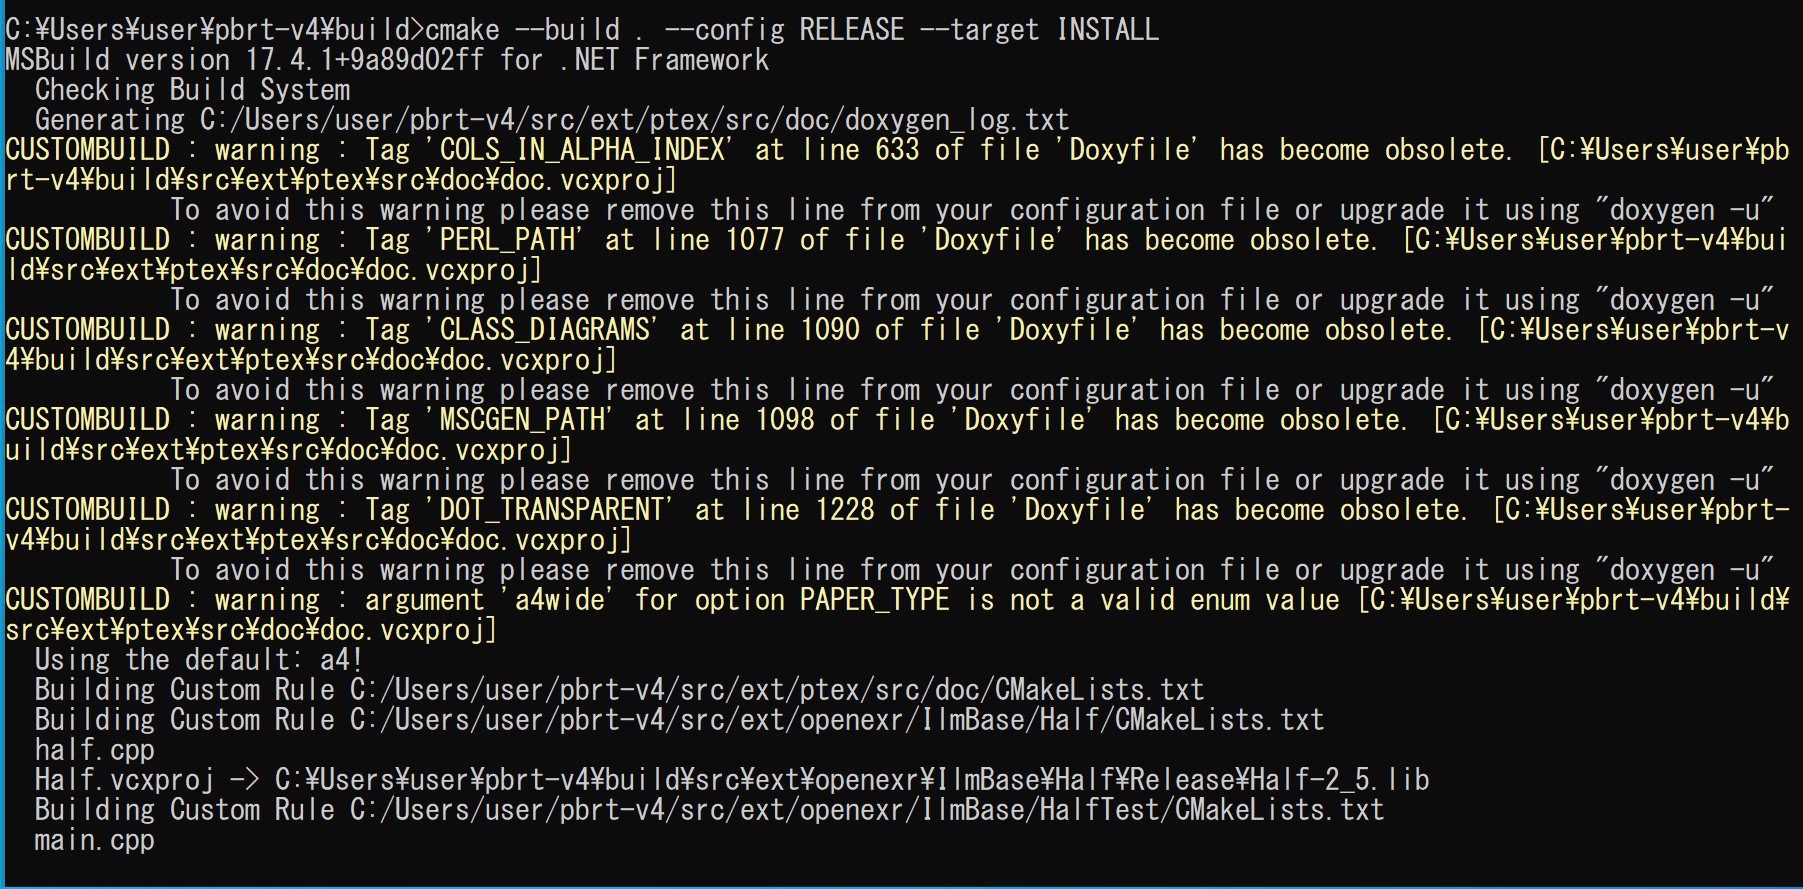
- 結果の確認
エラーメッセージが出ていないことを確認する。
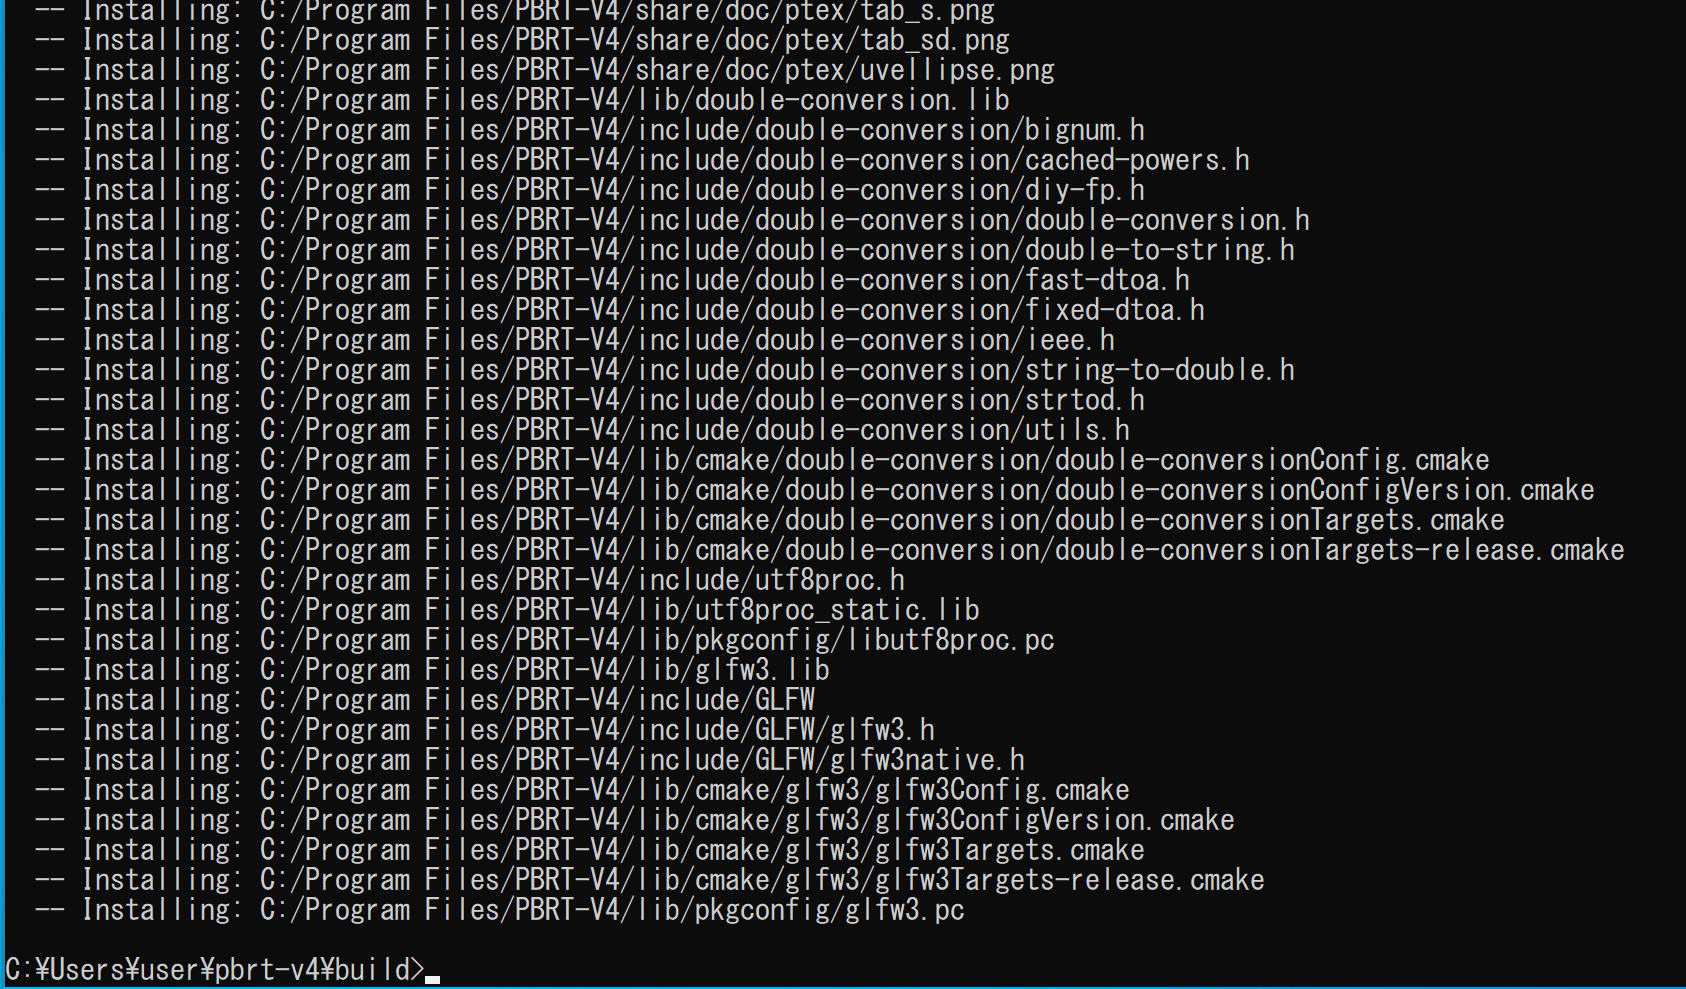
- Windowsのシステム環境変数PATHに、c:\Program Files\PBRT-V4\binを追加することにより、パスを通す
Windowsで、管理者権限でコマンドプロンプトを起動(手順:Windowsキーまたはスタートメニュー >
cmdと入力 > 右クリック > 「管理者として実行」)する。次のコマンドを実行する。
powershell -command "$oldpath = [System.Environment]::GetEnvironmentVariable(\"Path\", \"Machine\"); $oldpath += \";c:\Program Files\PBRT-V4\bin\"; [System.Environment]::SetEnvironmentVariable(\"Path\", $oldpath, \"Machine\")"
試しにレンダリングを行ってみる
- Windowsでは、コマンドプロンプトを管理者として実行する
- GitHubのmmp/pbrt-v4-scenesのダウンロード
cd /d c:%HOMEPATH%
git clone --recursive https://github.com/mmp/pbrt-v4-scenes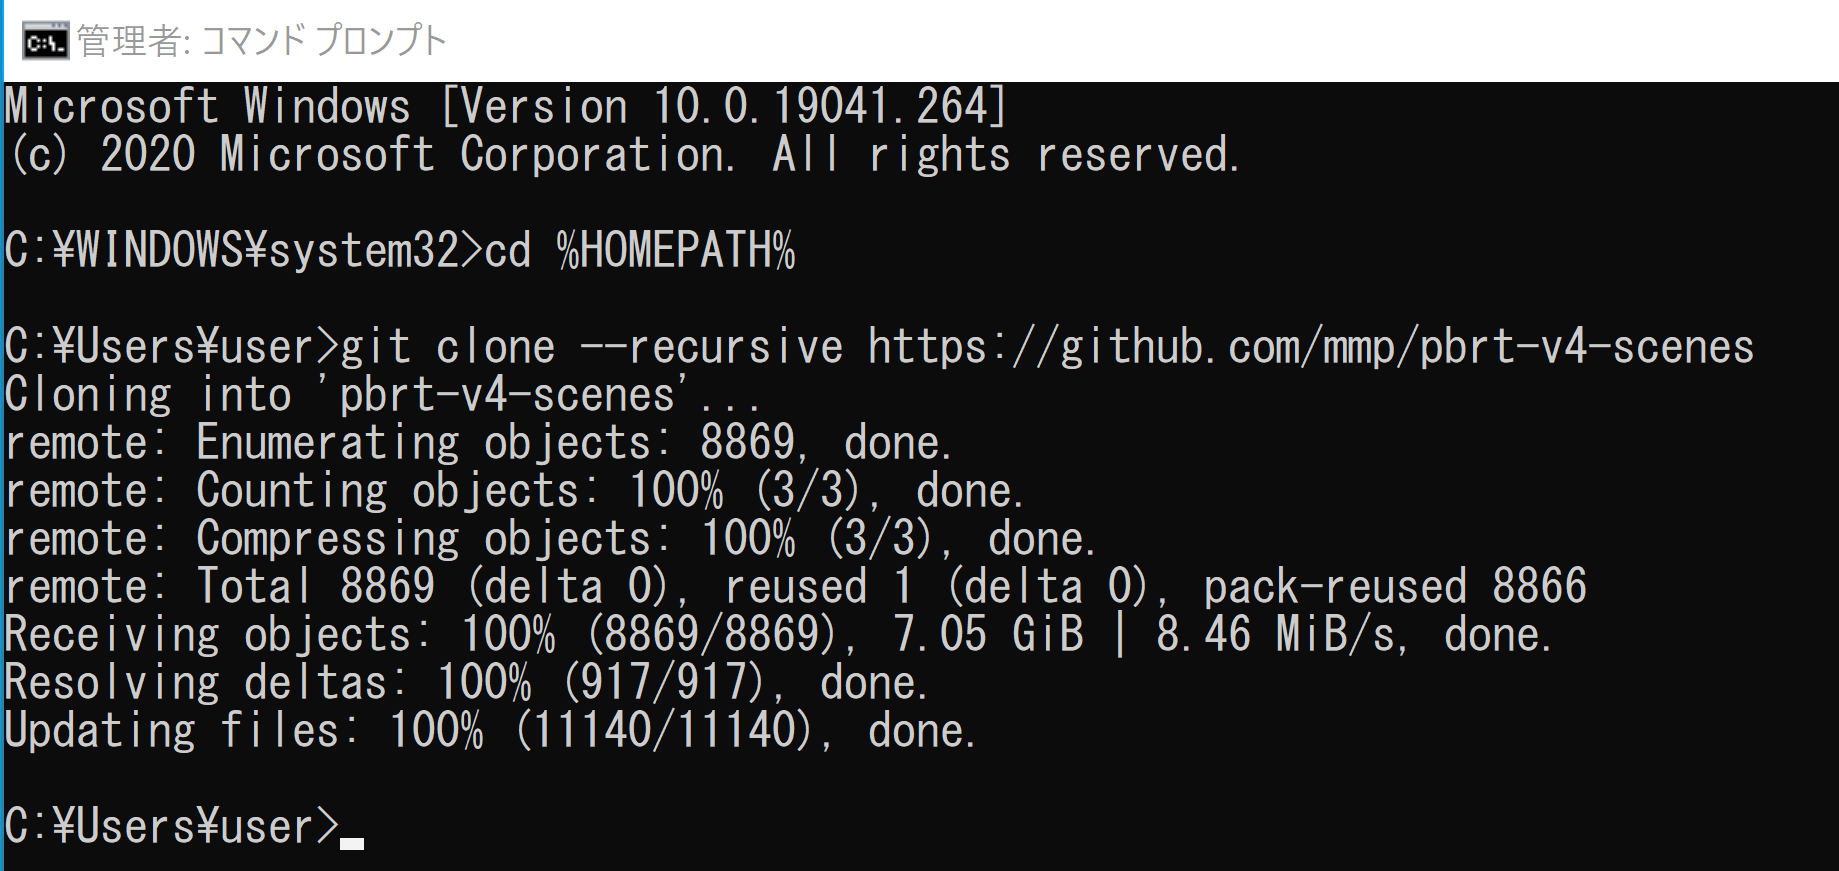
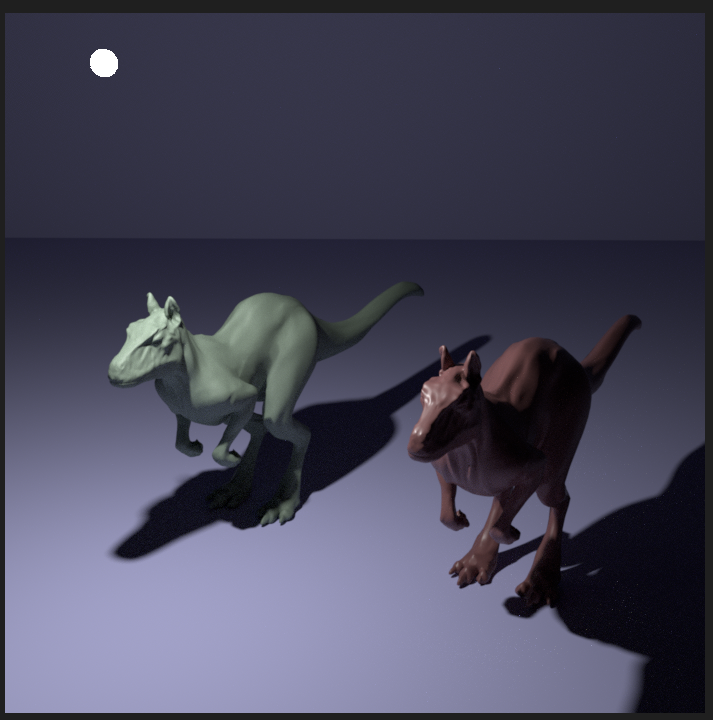
- レンダリングの実行
cd /d c:%HOMEPATH%
cd pbrt-v4
"c:\Program Files\PBRT-V4\bin\pbrt.exe" --outfile a.png ..\pbrt-v4-scenes\killeroos\killeroo-simple.pbrt
![[kaneko lab.]](https://www.kkaneko.jp/info/logo_png.png)