TobiasRoeddiger/PupilTracker のインストールと動作確認(瞳孔の検出)(Dlib,Python を使用)(Windows 上)
Dlibは,数多くの機能を持つ C++ ライブラリ.機能には,機械学習,数値計算,グラフィカルモデル推論,画像処理,スレッド,通信,GUI,データ圧縮・一貫性,テスト,さまざまなユーティリティなどがある.Python API もある.
Dlib を用いた、次のプログラム(公開されているもの)を動かしてみます
- TobiasRoeddiger/PupilTrackerで公開されているプログラムを動かして、瞳孔を検知してみます
利用条件などは利用者において確認してください
【サイト内の関連ページ】
先人に感謝
dlib の Web ページ: http://dlib.net/
前準備
Visual Studio 2022 Build Toolsとランタイムのインストール
管理者権限でコマンドプロンプトを起動(手順:Windowsキーまたはスタートメニュー > cmd と入力 > 右クリック > 「管理者として実行」)し、以下を実行する。管理者権限は、wingetの--scope machineオプションでシステム全体にソフトウェアをインストールするために必要である。
REM Visual Studio 2022 Build Toolsとランタイムをシステム領域にインストール
winget install --scope machine --wait --accept-source-agreements --accept-package-agreements Microsoft.VisualStudio.2022.BuildTools Microsoft.VCRedist.2015+.x64

REM インストーラーとインストールパスの設定
set "VS_INSTALLER=C:\Program Files (x86)\Microsoft Visual Studio\Installer\vs_installer.exe"
set VS_PATH="C:\Program Files (x86)\Microsoft Visual Studio\2022\BuildTools"

REM C++開発ワークロードのインストール
"%VS_INSTALLER%" modify --installPath "%VS_PATH%" --add Microsoft.VisualStudio.Workload.VCTools --includeRecommended --quiet --norestart
"%VS_INSTALLER%" modify --installPath "%VS_PATH%" --add Microsoft.VisualStudio.Component.VC.Tools.x86.x64 --includeRecommended --quiet --norestart
Python 3.12 のインストール
インストール済みの場合は実行不要。
管理者権限でコマンドプロンプトを起動(手順:Windowsキーまたはスタートメニュー > cmd と入力 > 右クリック > 「管理者として実行」)し、以下を実行する。管理者権限は、wingetの--scope machineオプションでシステム全体にソフトウェアをインストールするために必要である。
REM Python 3.12 をシステム領域にインストール
winget install --scope machine --id Python.Python.3.12 -e --silent --accept-source-agreements --accept-package-agreements
REM Python のパス設定
set "PYTHON_PATH=C:\Program Files\Python312"
set "PYTHON_SCRIPTS_PATH=C:\Program Files\Python312\Scripts"
if exist "%PYTHON_PATH%" setx PYTHON_PATH "%PYTHON_PATH%" /M >nul
if exist "%PYTHON_SCRIPTS_PATH%" setx PYTHON_SCRIPTS_PATH "%PYTHON_SCRIPTS_PATH%" /M >nul
for /f "skip=2 tokens=2*" %a in ('reg query "HKLM\SYSTEM\CurrentControlSet\Control\Session Manager\Environment" /v Path') do set "SYSTEM_PATH=%b"
echo "%SYSTEM_PATH%" | find /i "%PYTHON_PATH%" >nul
if errorlevel 1 setx PATH "%PYTHON_PATH%;%PYTHON_SCRIPTS_PATH%;%SYSTEM_PATH%" /M >nul【関連する外部ページ】
Python の公式ページ: https://www.python.org/
AI エディタ Windsurf のインストール
Pythonプログラムの編集・実行には、AI エディタの利用を推奨する。ここでは,Windsurfのインストールを説明する。
管理者権限でコマンドプロンプトを起動(手順:Windowsキーまたはスタートメニュー > cmd と入力 > 右クリック > 「管理者として実行」)し、以下を実行して、Windsurfをシステム全体にインストールする。管理者権限は、wingetの--scope machineオプションでシステム全体にソフトウェアをインストールするために必要となる。
winget install --scope machine --id Codeium.Windsurf -e --silent --accept-source-agreements --accept-package-agreements【関連する外部ページ】
Windsurf の公式ページ: https://windsurf.com/
Gitのインストール
管理者権限でコマンドプロンプトを起動(手順:Windowsキーまたはスタートメニュー > cmd と入力 > 右クリック > 「管理者として実行」)し、以下を実行する。管理者権限は、wingetの--scope machineオプションでシステム全体にソフトウェアをインストールするために必要となる。
REM Git をシステム領域にインストール
winget install --scope machine --id Git.Git -e --silent --accept-source-agreements --accept-package-agreements
REM Git のパス設定
set "GIT_PATH=C:\Program Files\Git\cmd"
for /f "skip=2 tokens=2*" %a in ('reg query "HKLM\SYSTEM\CurrentControlSet\Control\Session Manager\Environment" /v Path') do set "SYSTEM_PATH=%b"
if exist "%GIT_PATH%" (
    echo "%SYSTEM_PATH%" | find /i "%GIT_PATH%" >nul
    if errorlevel 1 setx PATH "%GIT_PATH%;%SYSTEM_PATH%" /M >nul
)
CMakeのインストール
管理者権限でコマンドプロンプトを起動(手順:Windowsキーまたはスタートメニュー > cmd と入力 > 右クリック > 「管理者として実行」)し、以下を実行する。管理者権限は、wingetの--scope machineオプションでシステム全体にソフトウェアをインストールするために必要となる。
REM CMake をシステム領域にインストール
winget install --scope machine --id Kitware.CMake -e --silent
REM CMake のパス設定
set "GMAKE_PATH=C:\Program Files\CMake\bin"
if exist "%GMAKE_PATH%" (
    echo "%PATH%" | find /i "%GMAKE_PATH%" >nul
    if errorlevel 1 setx PATH "%PATH%;%GMAKE_PATH%" /M >nul
)
7-Zip のインストール
管理者権限でコマンドプロンプトを起動(手順:Windowsキーまたはスタートメニュー > cmd と入力 > 右クリック > 「管理者として実行」)し、以下を実行する。管理者権限は、wingetの--scope machineオプションでシステム全体にソフトウェアをインストールするために必要となる。
REM 7-Zip をシステム領域にインストール
winget install --scope machine --id 7zip.7zip -e --silent
REM 7-Zip のパス設定
set "SEVENZIP_PATH=C:\Program Files\7-Zip"
for /f "skip=2 tokens=2*" %a in ('reg query "HKLM\SYSTEM\CurrentControlSet\Control\Session Manager\Environment" /v Path') do set "SYSTEM_PATH=%b"
if exist "%SEVENZIP_PATH%" (
    echo "%SYSTEM_PATH%" | find /i "%SEVENZIP_PATH%" >nul
    if errorlevel 1 setx PATH "%SEVENZIP_PATH%;%SYSTEM_PATH%" /M >nul
)
Dlib のインストール
- Windows で,管理者権限でコマンドプロンプトを起動(手順:Windowsキーまたはスタートメニュー >
cmdと入力 > 右クリック > 「管理者として実行」)。 - 次のコマンドを実行する.
python -m pip install -U dlib
Dlib のソースコード等と,Dlib の学習済みモデルのダウンロード
- Windows で,管理者権限でコマンドプロンプトを起動(手順:Windowsキーまたはスタートメニュー >
cmdと入力 > 右クリック > 「管理者として実行」)。 - Dlib のソースコード等のダウンロード
次のコマンドを実行.
cd C:\ rmdir /s /q dlib git clone https://github.com/davisking/dlib - Dlib の学習済みモデルのダウンロード
次のコマンドを実行.
cd C:\dlib
cd python_examples
curl -O http://dlib.net/files/mmod_human_face_detector.dat.bz2
curl -O http://dlib.net/files/dlib_face_recognition_resnet_model_v1.dat.bz2
curl -O http://dlib.net/files/shape_predictor_5_face_landmarks.dat.bz2
curl -O http://dlib.net/files/shape_predictor_68_face_landmarks.dat.bz2
"c:\Program Files\7-Zip\7z.exe" x mmod_human_face_detector.dat.bz2
"c:\Program Files\7-Zip\7z.exe" x dlib_face_recognition_resnet_model_v1.dat.bz2
"c:\Program Files\7-Zip\7z.exe" x shape_predictor_5_face_landmarks.dat.bz2
"c:\Program Files\7-Zip\7z.exe" x shape_predictor_68_face_landmarks.dat.bz2
del mmod_human_face_detector.dat.bz2
del dlib_face_recognition_resnet_model_v1.dat.bz2
del shape_predictor_5_face_landmarks.dat.bz2
del shape_predictor_68_face_landmarks.dat.bz2
Python の opencv-python のインストール
- Windows で,管理者権限でコマンドプロンプトを起動(手順:Windowsキーまたはスタートメニュー >
cmdと入力 > 右クリック > 「管理者として実行」)。 - opencv-python のインストール
* 「pip install ...」は,Python パッケージをインストールするための操作
python -m pip install -U opencv-python opencv-contrib-python
imutils のインストール
- Window でコマンドプロンプトを実行
- imutils のインストール
cd /d c:%HOMEPATH%
rmdir /s /q imutils
cd /d c:%HOMEPATH%
git clone https://github.com/jrosebr1/imutils
cd imutils
python setup.py build
python setup.py install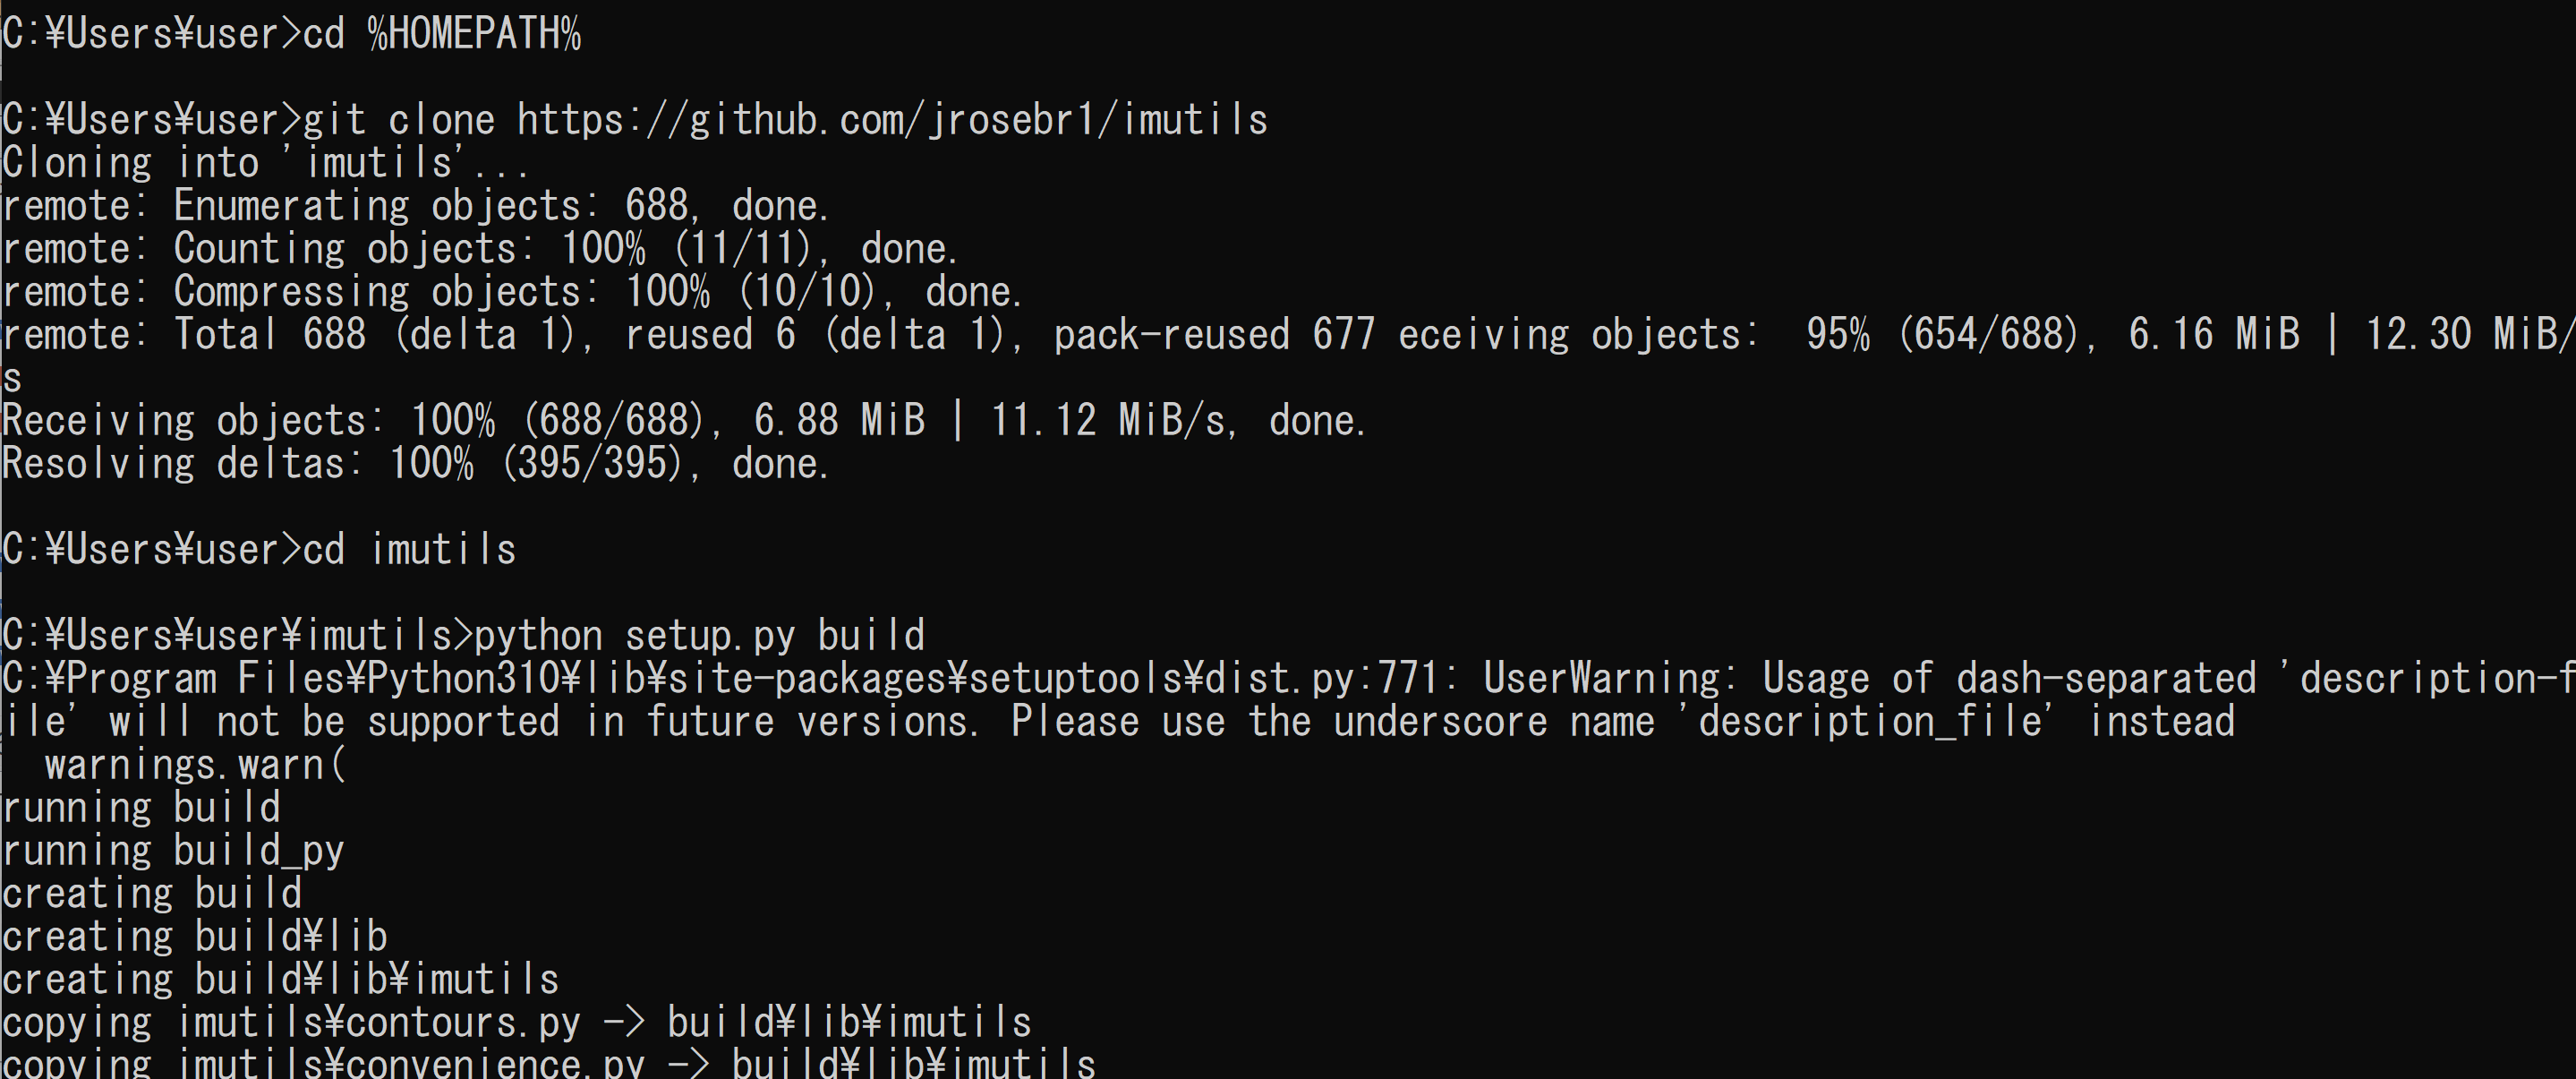
(以下省略) - imutils のバージョン確認
python -c "import imutils; print( imutils.__version__ )"
ビデオの準備
ここで使用するビデオ
mp4 形式動画ファイル: sample1.mp4
作業手順
- Windows のコマンドプロンプトを開く
- ダウンロード
次のコマンドを実行.
cd C:\dlib
cd python_examples
curl -O https://www.kkaneko.jp/sample/face/sample1.mp4
TobiasRoeddiger/PupilTracker のダウンロード
謝辞:参考 Web ページ: https://github.com/TobiasRoeddiger/PupilTracker
利用条件などは必ず各自で確認してください
- Windows で,管理者権限でコマンドプロンプトを起動(手順:Windowsキーまたはスタートメニュー >
cmdと入力 > 右クリック > 「管理者として実行」)。 - TobiasRoeddiger/PupilTracker のダウンロード
cd /d c:%HOMEPATH%
rmdir /s /q PupilTracker
cd /d c:%HOMEPATH%
git clone https://github.com/TobiasRoeddiger/PupilTracker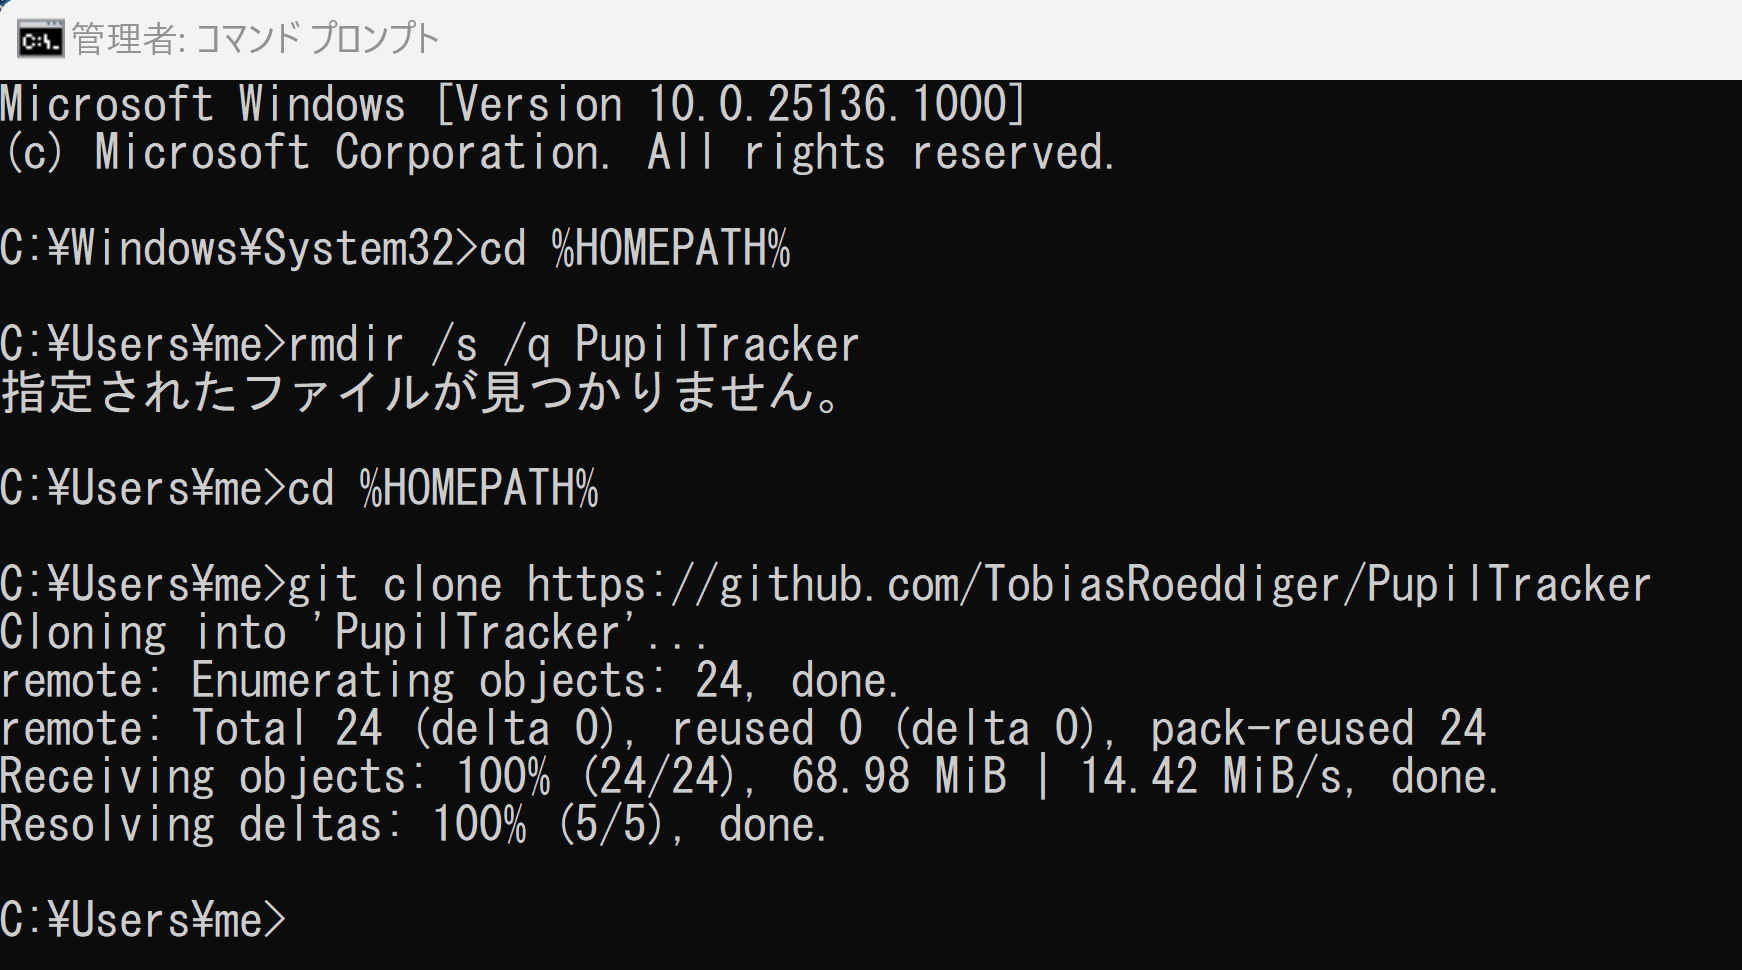
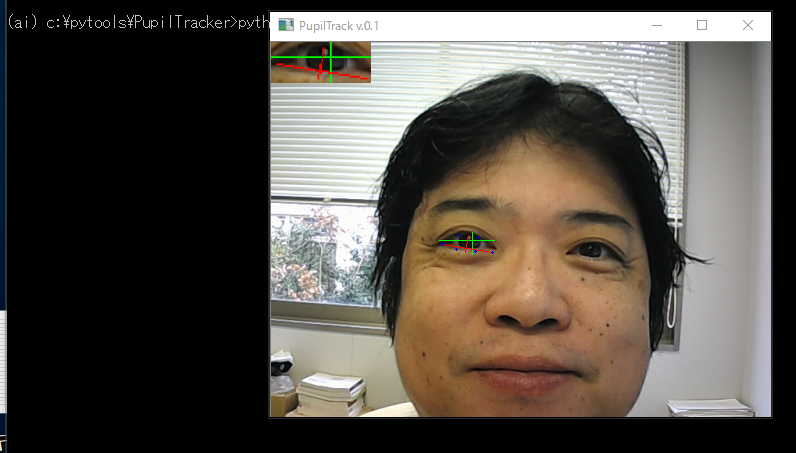
TobiasRoeddiger/PupilTracker による瞳孔の検知
- Window でコマンドプロンプトを実行
- shape_predictor_68_face_landmarks.dat のコピー
次のコマンドを実行.
cd /d c:%HOMEPATH%\PupilTracker copy ..\dlib\python_examples\shape_predictor_68_face_landmarks.dat . - 次のコマンドを実行.
cd /d c:%HOMEPATH%\PupilTracker
copy pupil_tracker.py a.py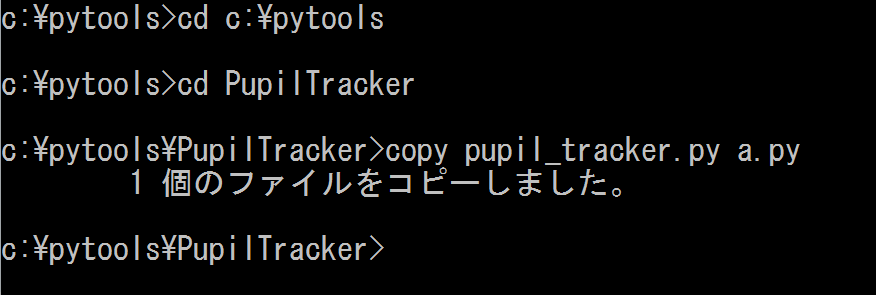
- プログラムファイル a.py は
sample1.mp4 を使うように書き換え
エディタを使う
書き換え1つめ
書き換え前
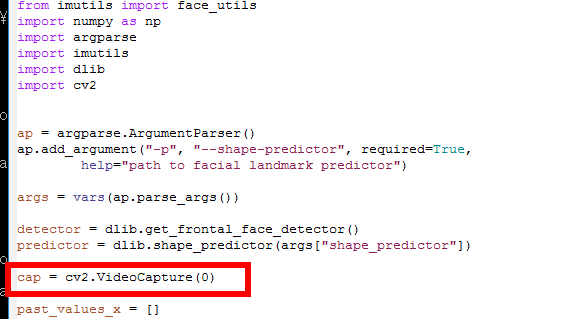
書き換え後
cap = cv2.VideoCapture("c:/image/sample1.mp4")

書き換え2つめ
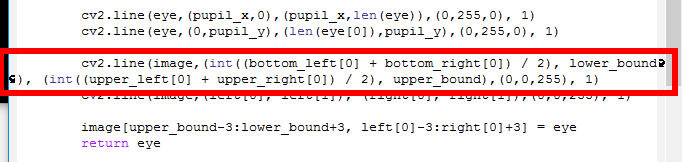
書き換え前
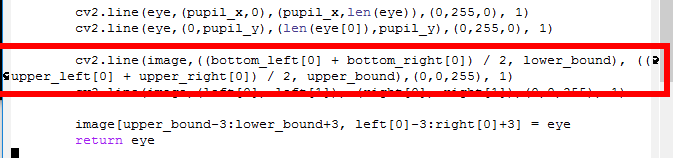
書き換え後
cv2.line(image,(int((bottom_left[0] + bottom_right[0]) / 2), lower_bound), (int((upper_left[0] + upper_right[0]) / 2), upper_bound),(0,0,255), 1)
-
Python プログラムの実行
python a.py -p shape_predictor_68_face_landmarks.dat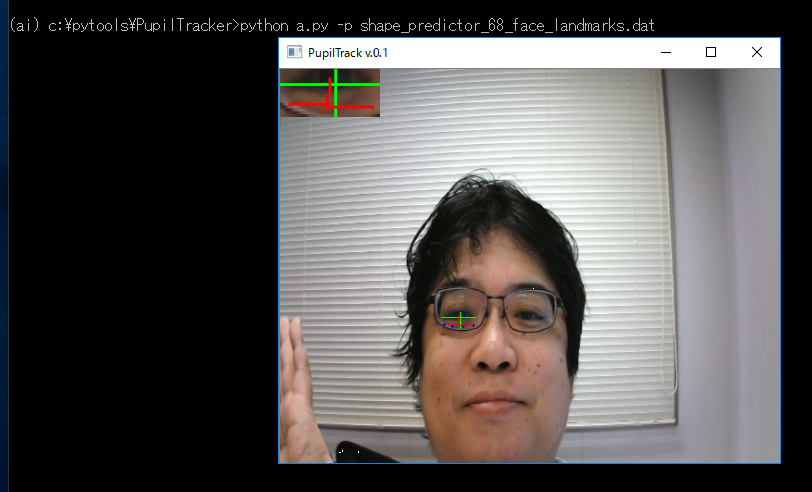
- 再び、プログラムファイルをコピー
次のコマンドを実行.
copy a.py b.py - プログラムファイル b.py は
sample1.mp4 を使うように書き換え
エディタを使う
書き換え前
書き換え後
cap = cv2.VideoCapture(0)
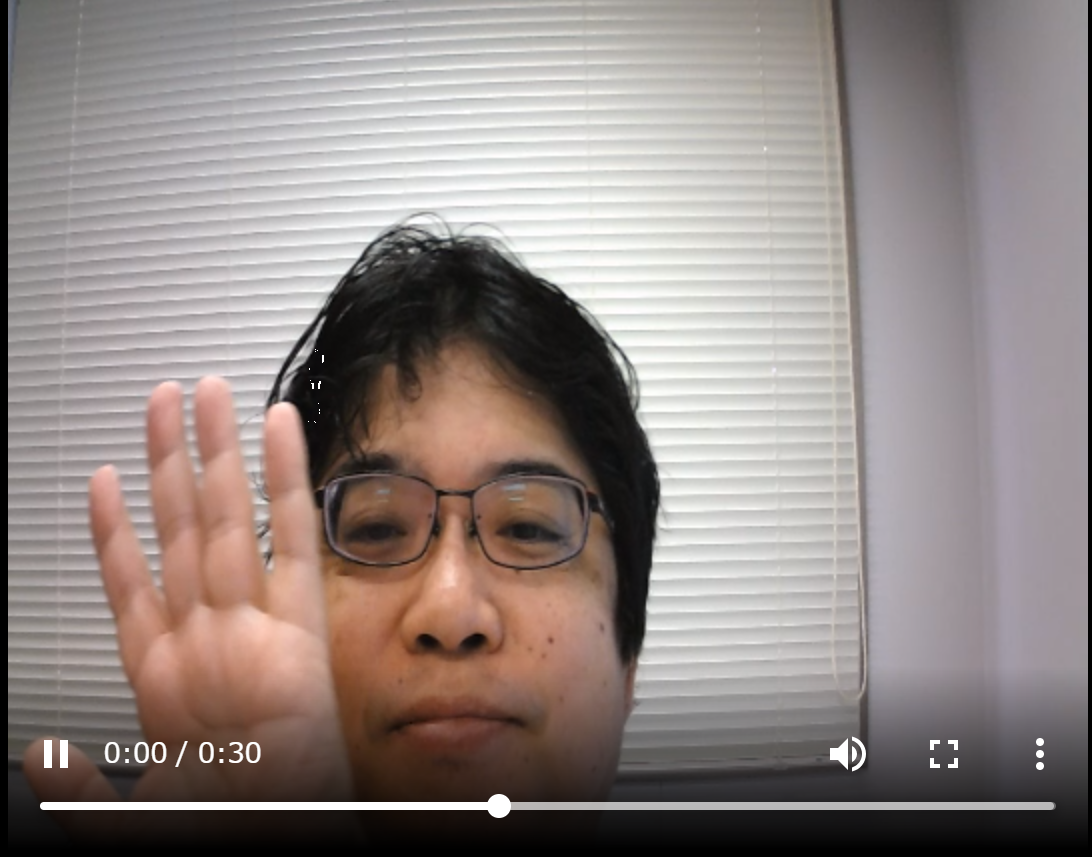
- プログラムを実行してみる
今度は、USB接続できるビデオカメラを準備し,パソコンに接続しておく.
python b.py -p shape_predictor_68_face_landmarks.dat