画像の特徴点
前準備
Python 3.12 のインストール(Windows 上) [クリックして展開]
以下のいずれかの方法で Python 3.12 をインストールする。Python がインストール済みの場合、この手順は不要である。
方法1:winget によるインストール
管理者権限のコマンドプロンプトで以下を実行する。管理者権限のコマンドプロンプトを起動するには、Windows キーまたはスタートメニューから「cmd」と入力し、表示された「コマンドプロンプト」を右クリックして「管理者として実行」を選択する。
winget install --id Python.Python.3.12 -e --scope machine --silent --accept-source-agreements --accept-package-agreements --override "/quiet InstallAllUsers=1 PrependPath=1 Include_test=0 Include_pip=1 Include_launcher=1 InstallLauncherAllUsers=1 TargetDir=\"C:\Program Files\Python312\""
powershell -Command "$p='C:\Program Files\Python312'; $s=\"$p\Scripts\"; $m=[Environment]::GetEnvironmentVariable('Path','Machine'); if($m -notlike \"*$s*\") { [Environment]::SetEnvironmentVariable('Path', \"$p;$s;$m\", 'Machine') }"
--scope machine を指定することで、システム全体(全ユーザー向け)にインストールされる。このオプションの実行には管理者権限が必要である。インストール完了後、コマンドプロンプトを再起動すると PATH が自動的に設定される。
方法2:インストーラーによるインストール
- Python 公式サイト(https://www.python.org/downloads/)にアクセスし、「Download Python 3.x.x」ボタンから Windows 用インストーラーをダウンロードする。
- ダウンロードしたインストーラーを実行する。
- 初期画面の下部に表示される「Add python.exe to PATH」に必ずチェックを入れてから「Customize installation」を選択する。このチェックを入れ忘れると、コマンドプロンプトから
pythonコマンドを実行できない。 - 「Install Python 3.xx for all users」にチェックを入れ、「Install」をクリックする。
インストールの確認
コマンドプロンプトで以下を実行する。
python --versionバージョン番号(例:Python 3.12.x)が表示されればインストール成功である。「'python' は、内部コマンドまたは外部コマンドとして認識されていません。」と表示される場合は、インストールが正常に完了していない。
ImageMagick のインストール
- Windows での ImageMagick 7, FFmpeg のインストール: 別ページ »で説明
- Ubuntu での ImageMagick のインストール
インストールするには, 次のコマンドを実行.
# パッケージリストの情報を更新
sudo apt update
sudo apt -y install imagemagick
curl のインストール
- Windows での curl の使用: curl は,Windows 10, 11 の標準機能にあるので,インストールの必要はない.
- Ubuntu での curl のインストール
# パッケージリストの情報を更新
sudo apt update
sudo apt -y install curl
VLFeat のインストール
ここで説明のためにサンプルとして使用する画像
curl コマンドを用いてダウンロードできる.あるいは Web ブラウザでもダウンロードできる.
curl -L https://github.com/opencv/opencv/blob/master/samples/data/fruits.jpg?raw=true -o fruits.jpg
VLFeat のコマンド(sift コマンド, aib コマンド, mser コマンドなど)
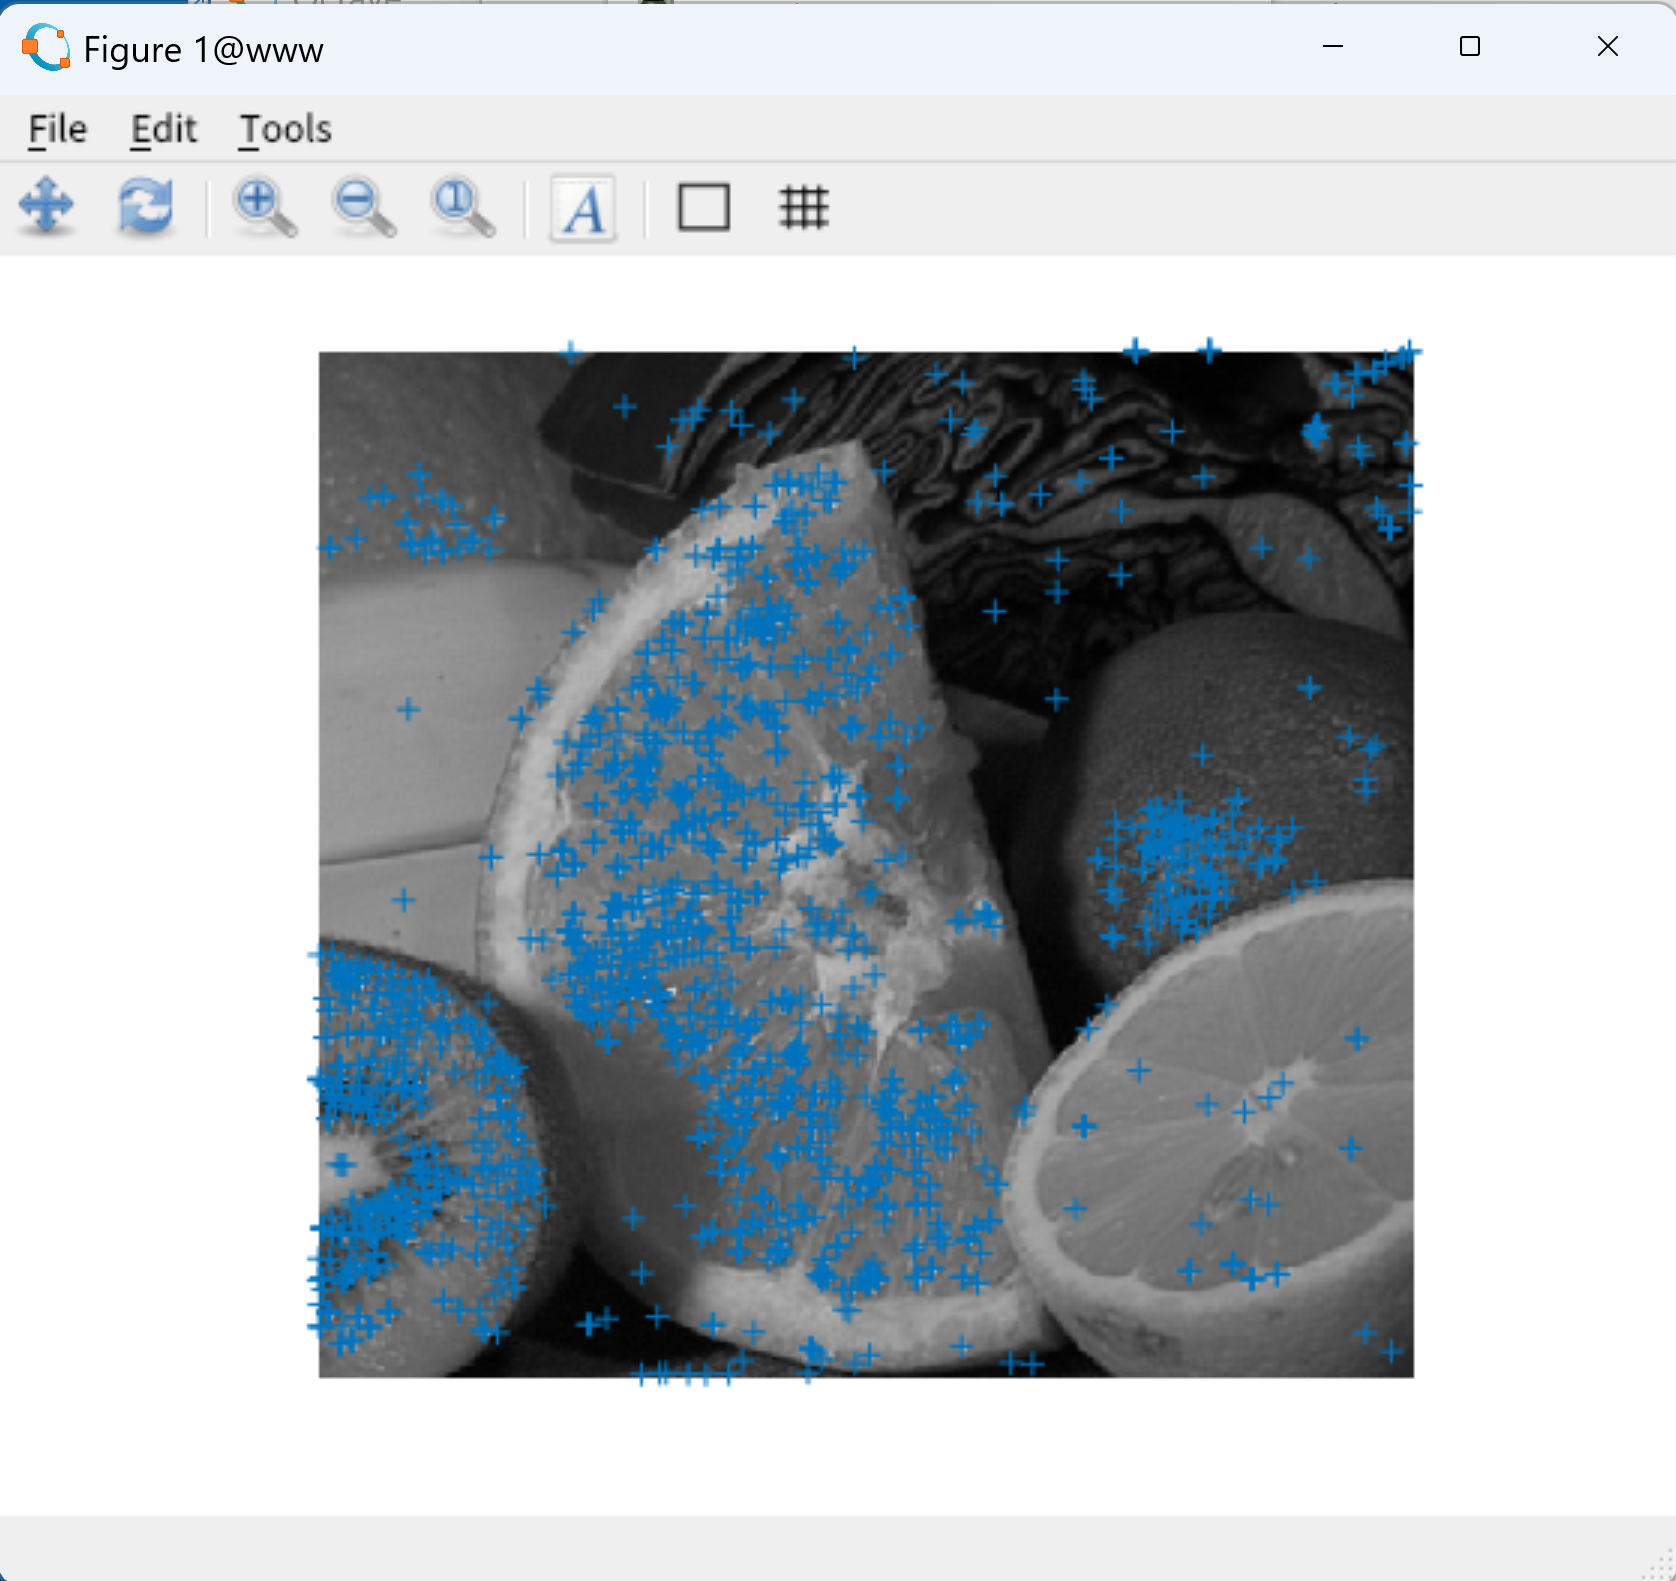
SIFT 実行と結果表示(VLFeat,Python を使用)
- SIFT の実行
VLFeat の sift コマンド,ImageMagick の convert コマンドを使用. 次を実行することにより,ファイル fruits.sift ができる.
curl -L https://github.com/opencv/opencv/blob/master/samples/data/fruits.jpg?raw=true -o fruits.jpg convert fruits.jpg fruits.pgm sift fruits.pgm - 結果の表示
Python プログラム
import os
import cv2
import pandas as pd
import numpy as np
bgr = cv2.imread("fruits.jpg")
a = pd.read_table("fruits.sift", sep=' ', header=None)
for i, row in a.iterrows():
#    print(i, row[0], row[1])
    c = cv2.circle(bgr, (int(row[0]), int(row[1])), 3, (0, 0, 255), -1)

cv2.imshow("", bgr)
cv2.waitKey(0)
cv2.destroyAllWindows()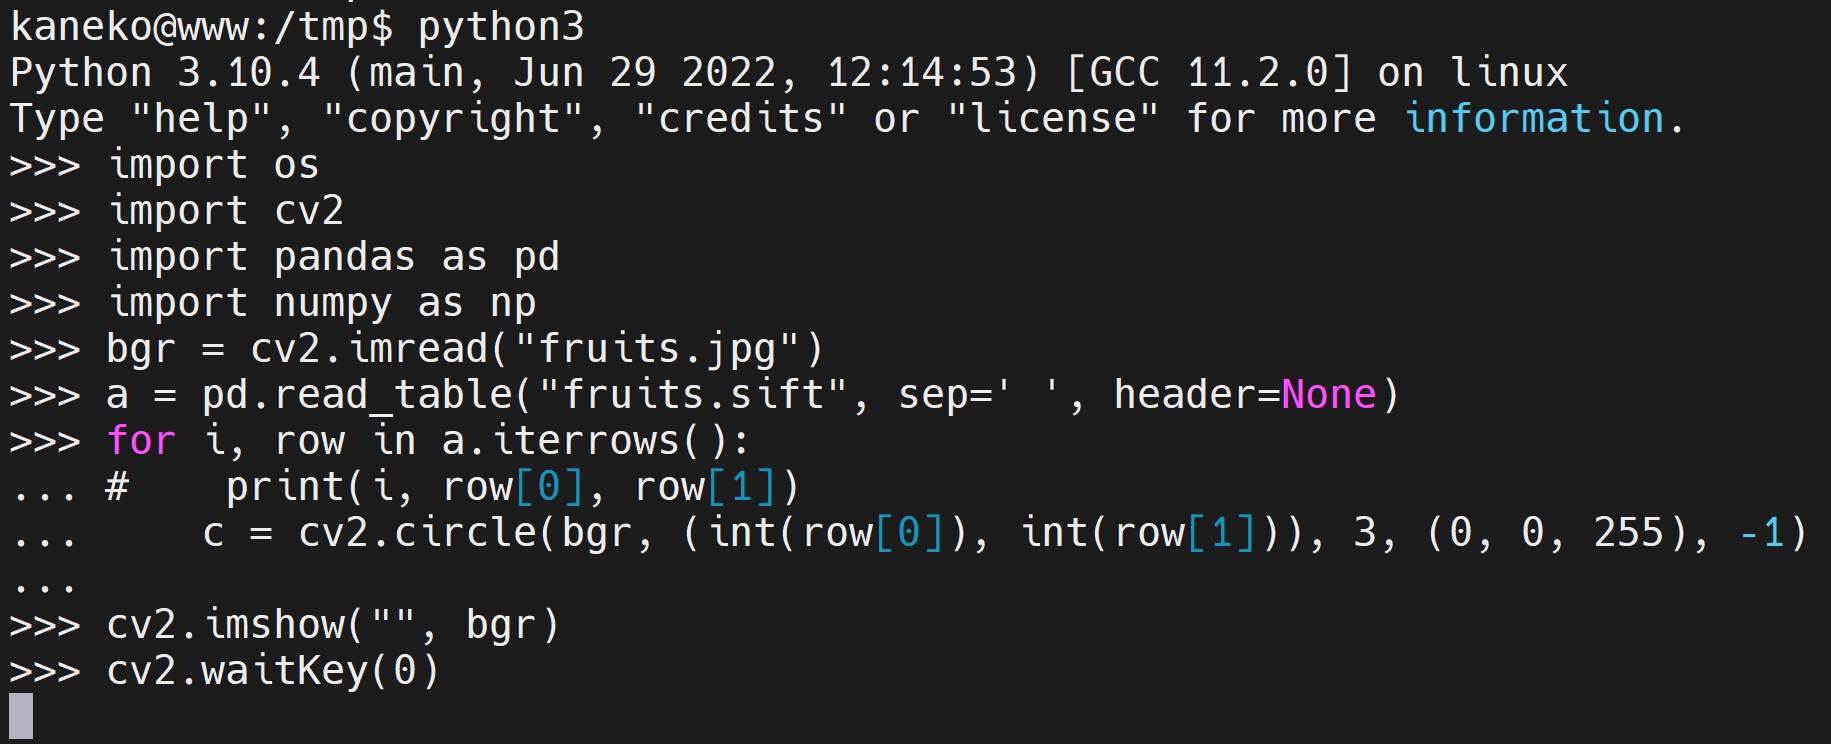

SIFT の結果表示(Octave を使用)
今度は fruits.jpg と fruits.sift を Octave を用いて表示.
S = dlmread("fruits.sift", " ", 1, 0);
[rgb, map, alpha] = imread("fruits.jpg");
mono = rgb2gray( rgb );
colormap( gray(256) );
hold
imshow(mono);
plot(S(:,1), S(:,2), '@');
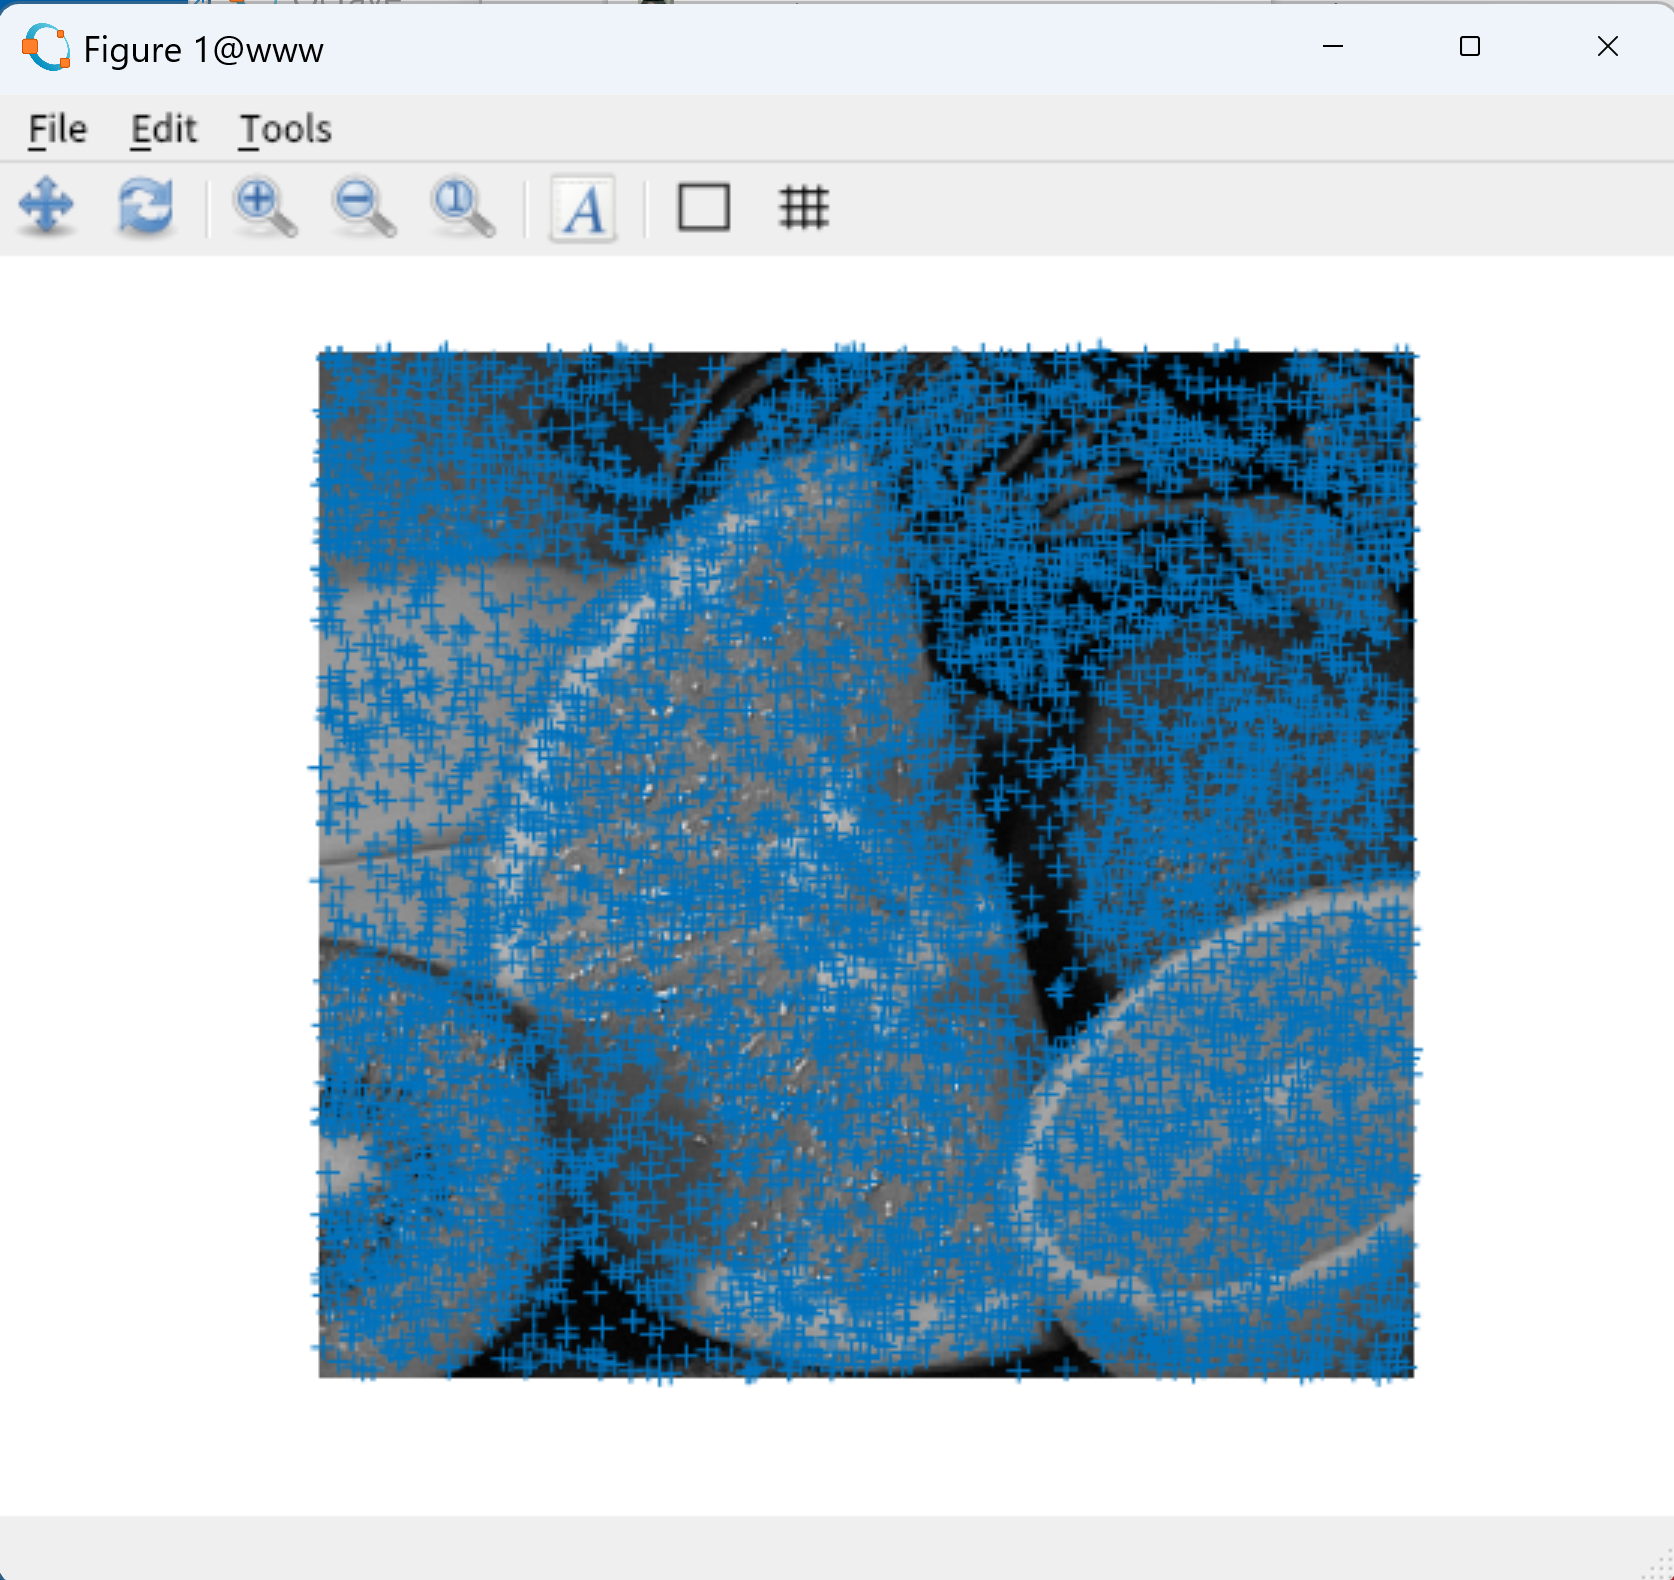
MSER 実行と結果表示(VLFeat,Python を使用)
- MSER の実行
VLFeat の sift コマンド,ImageMagick の convert コマンドを使用. 次を実行することにより,ファイル fruits.frame ができる.
curl -L https://github.com/opencv/opencv/blob/master/samples/data/fruits.jpg?raw=true -o fruits.jpg convert fruits.jpg fruits.pgm mser fruits.pgm - 結果の表示
Python プログラム
import os
import cv2
import pandas as pd
import numpy as np
bgr = cv2.imread("fruits.jpg")
a = pd.read_table("fruits.frame", sep=' ', header=None)
for i, row in a.iterrows():
#    print(i, row[0], row[1])
    c = cv2.circle(bgr, (int(row[0]), int(row[1])), 3, (0, 0, 255), -1)

cv2.imshow("", bgr)
cv2.waitKey(0)
cv2.destroyAllWindows()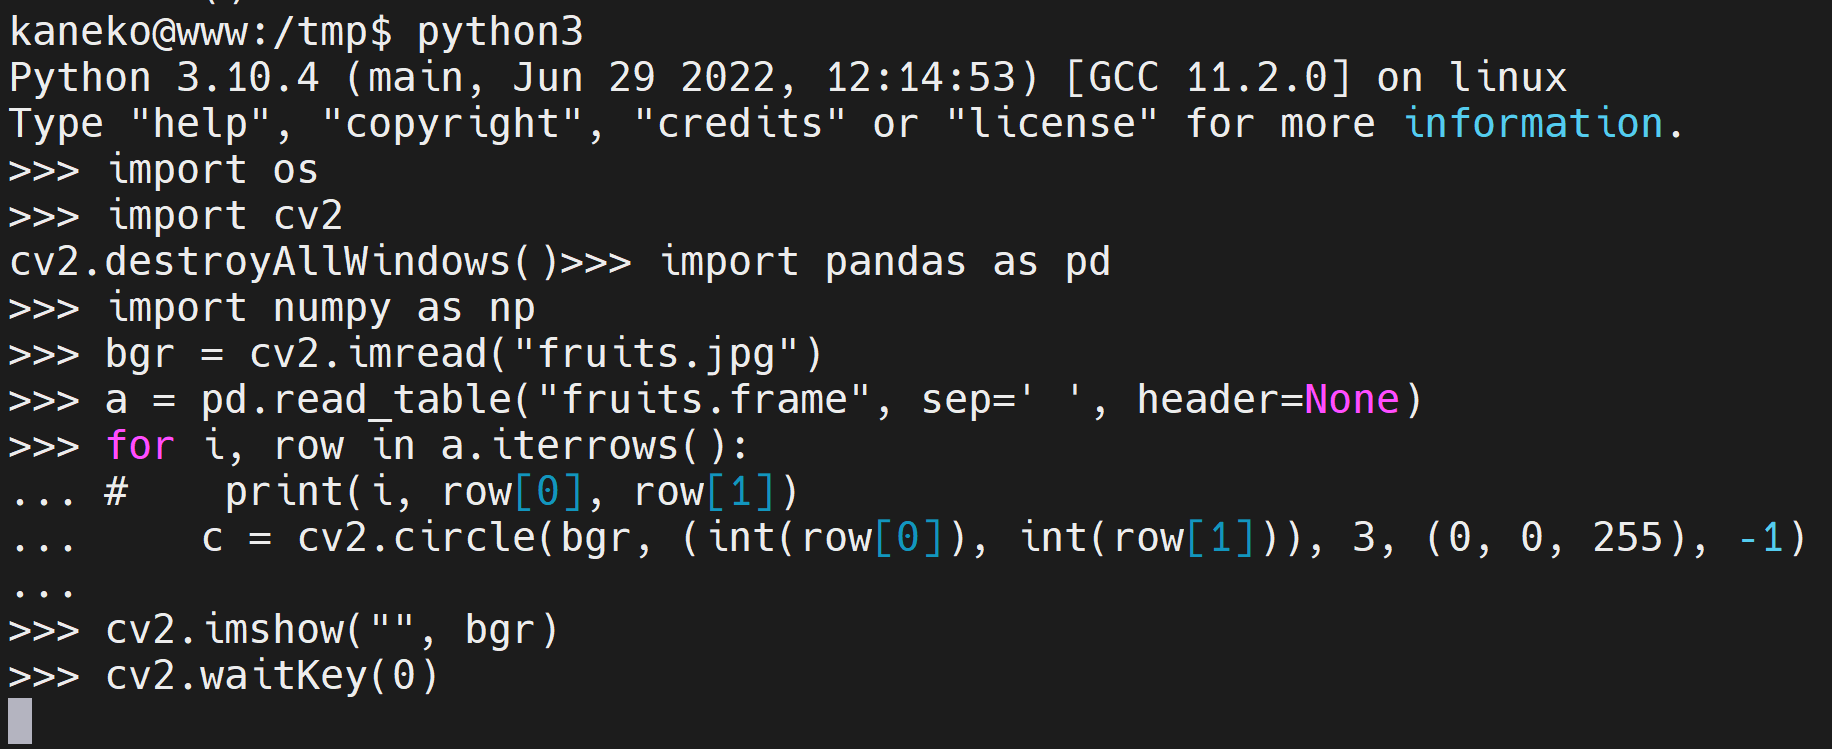

MSER の結果表示(Octave を使用)
今度は fruits.jpg と fruits.frame を Octave を用いて表示.
S = dlmread( "fruits.frame", " ", 1, 0 );
[rgb, map, alpha] = imread("fruits.jpg");
mono = rgb2gray( rgb );
colormap( gray(256) );
hold
imshow(mono);
plot(S(:,1), S(:,2), '@');