Dlib C++ Library に付属のサンプルプログラムで顔検出を行う(Ubuntu 上)
【サイト内の関連ページ】
- 説明資料: Dlib の機能概要 [PDF], [パワーポイント]
- 顔情報処理の Python プログラム(Dlib,face_recognition を使用) について: 別ページ »にまとめ
- Windows で動く人工知能関係 Pythonアプリケーション,オープンソースソフトウエア): 別ページ »にまとめている.
【用語説明】
- Dlib
Dlibは,数多くの機能を持つ C++ ライブラリ.機能には,機械学習,数値計算,グラフィカルモデル推論,画像処理,スレッド,通信,GUI,データ圧縮・一貫性,テスト,さまざまなユーティリティなどがある.Python API もある.
Ubuntu を使うとして手順を説明する.
前準備
Ubuntu のシステム更新
Ubuntu で OS のシステム更新を行うときは, 次のコマンドを実行.
# パッケージリストの情報を更新
sudo apt update
# インストール済みのパッケージを包括的に更新 (依存関係も考慮)
sudo apt full-upgrade
# 変更をシステム全体に確実に反映させるために再起動
sudo shutdown -r now
いくつかのパッケージのインストール
sudo apt install libx11-dev
DLib のインストール(Ubuntu 上)
DLib のインストール(Ubuntu 上): 別ページ »で説明
画像ファイルの準備
謝辞:このページでは,画像ファイルは Dlib 付属の画像ファイルを使用します.感謝します.
次で公開されている顔画像ファイル 2007_007763.jpg をダウンロードして使用する.
https://github.com/davisking/dlib/tree/master/examples/faces
検出された顔領域の矩形領域を標準出力に表示
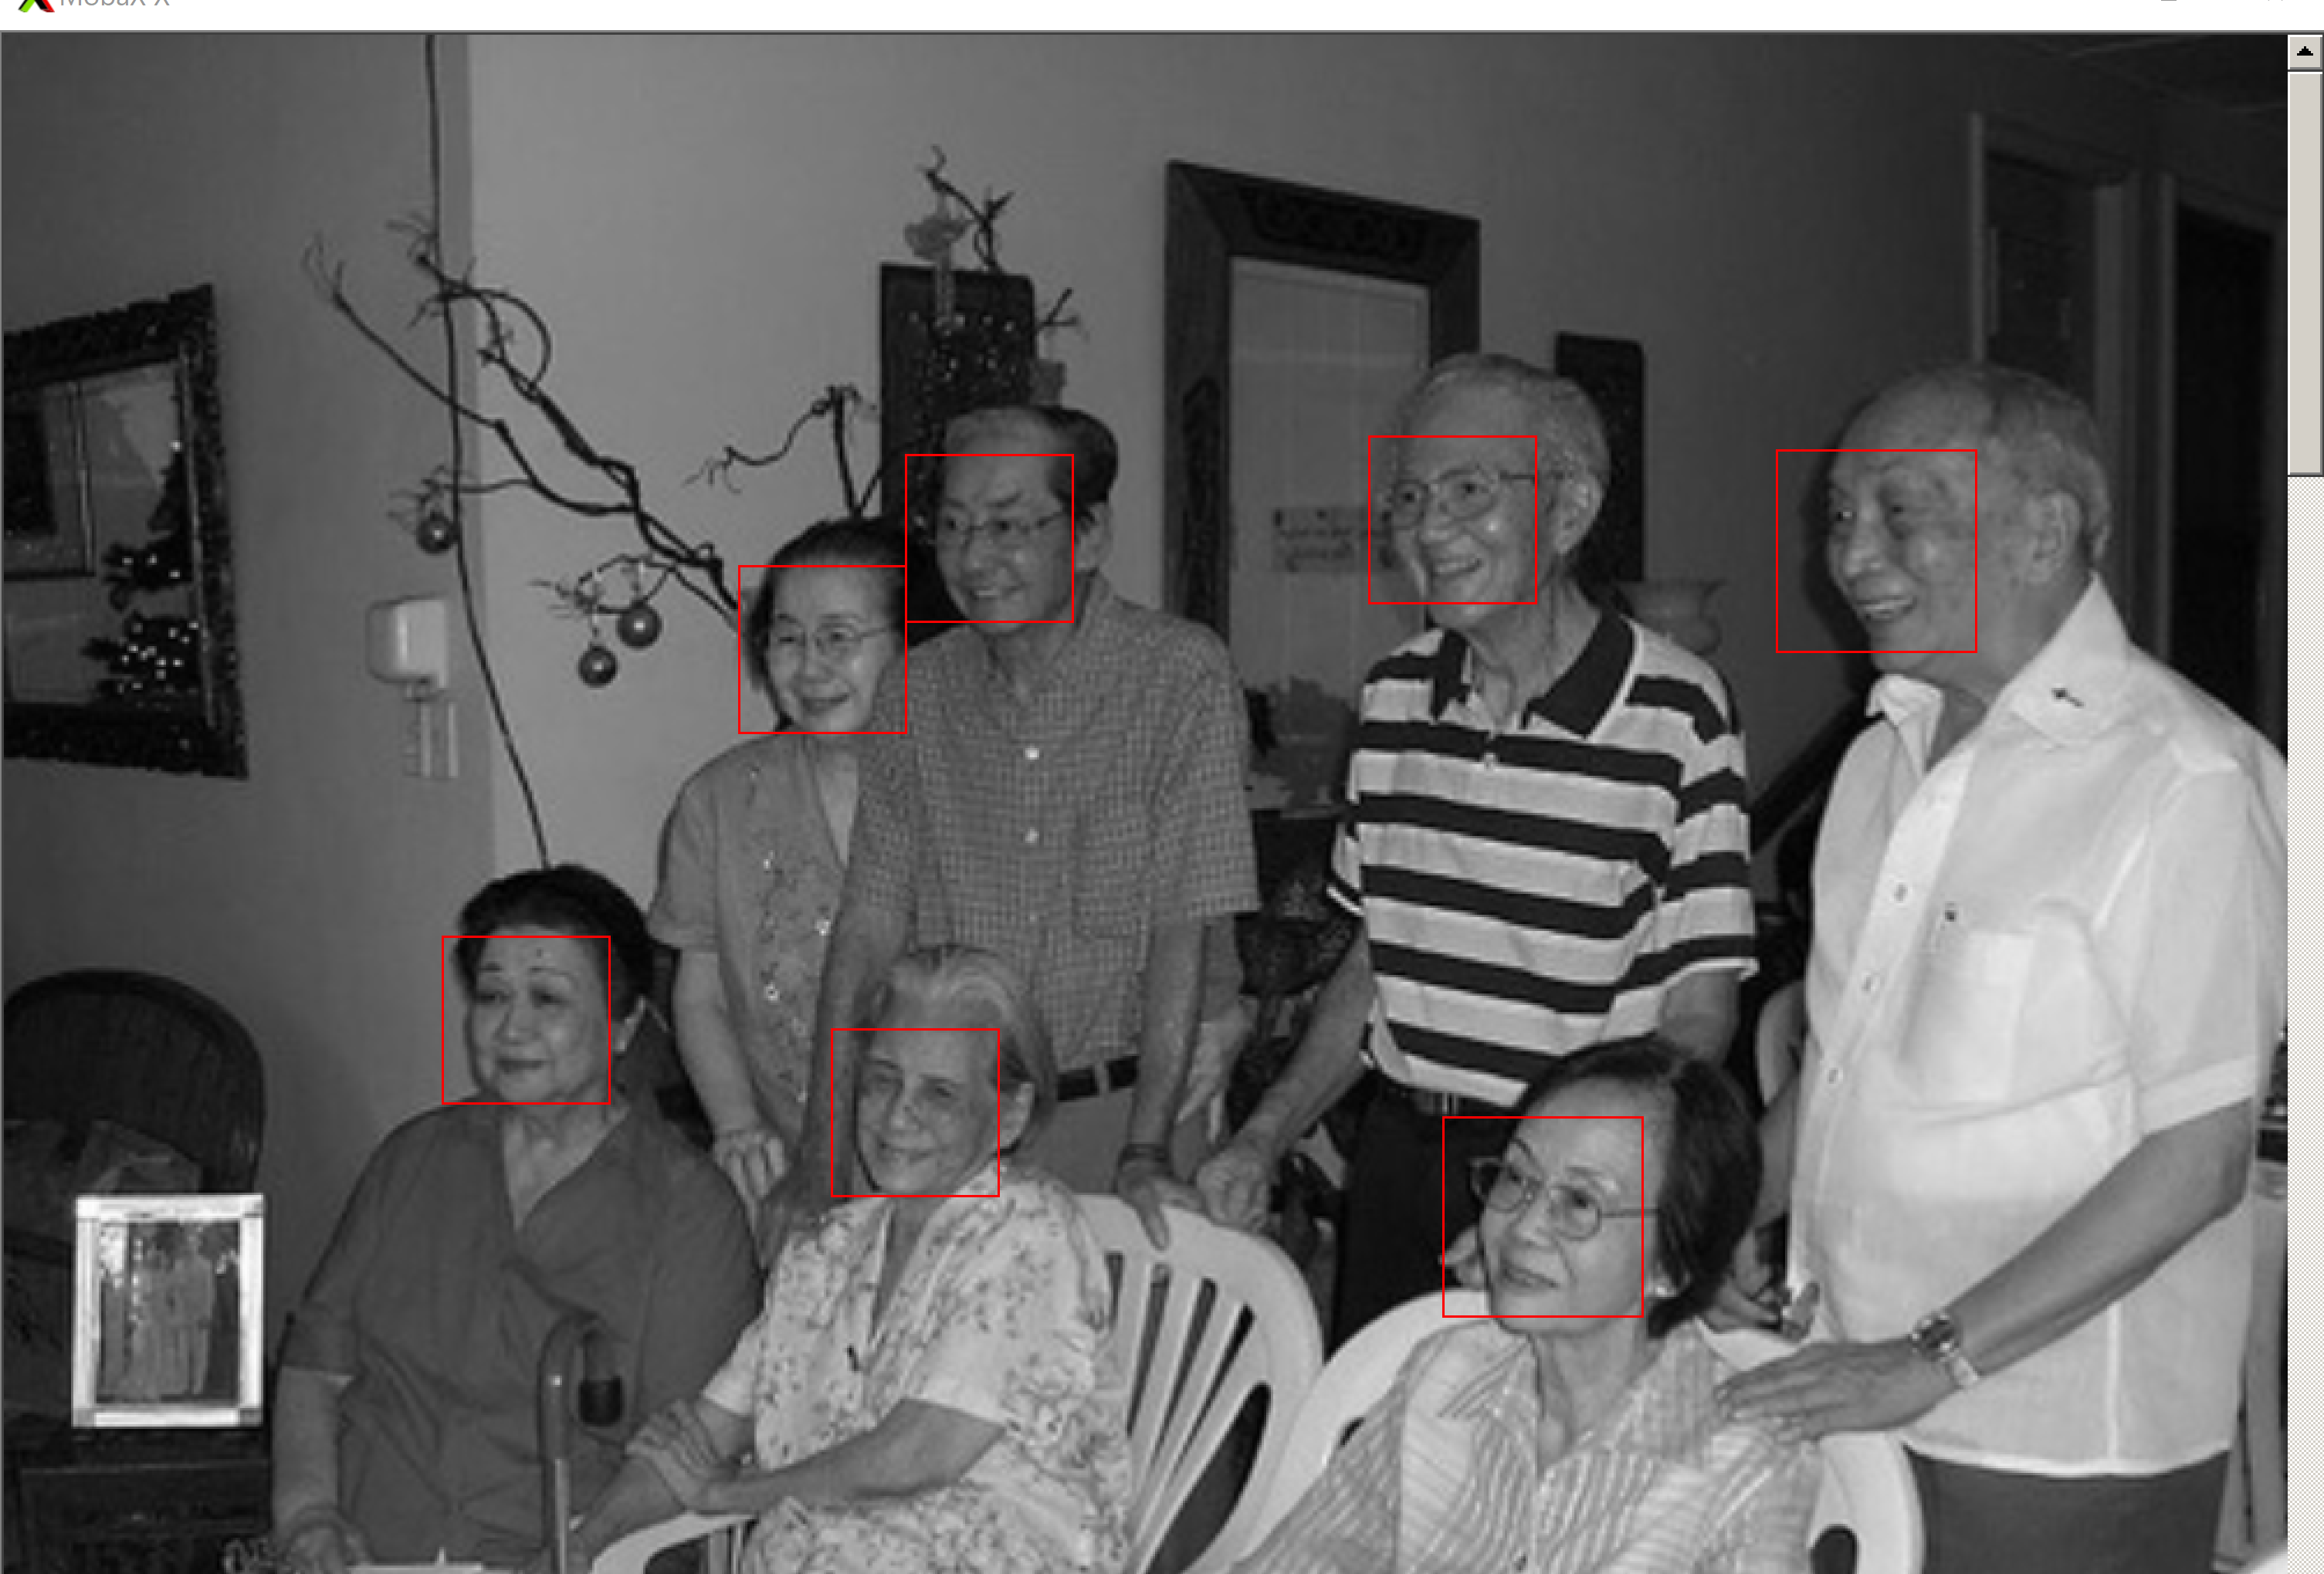
dlib C++ Library を用いて、静止画から顔検出を行う。このプログラムは、画像内の顔を検出し、その矩形領域の座標を標準出力に表示する。第1引数が0以外の場合は、検出結果を画像ウィンドウに赤枠で表示する。
#include<dlib/image_processing/frontal_face_detector.h>
#include<dlib/gui_widgets.h>
#include<dlib/image_io.h>
#include<iostream>

using namespace dlib;
using namespace std;

int main(int argc, char** argv)
{
  frontal_face_detector detector = get_frontal_face_detector();
  array2d<unsigned char> img;
  load_image(img, argv[2]);
  pyramid_up(img);
  std::vector<rectangle> dets = detector(img);
  std::vector<rectangle>::iterator it;
  for( it = dets.begin(); it != dets.end(); it++ )
    cout << *it << endl;

  if ( atoi(argv[1]) != 0 ) {
    image_window win;
    win.clear_overlay();
    win.set_image(img);
    win.add_overlay(dets, rgb_pixel(255,0,0));
    cin.get();
  }
}
上のソースコードを,a.cppのようなファイル名で保存し, 次の手順でビルドして実行
g++ -I/usr/local/include a.cpp -L/usr/local/lib -ldlib -lpthread -lX11
./a.out 0 2007_007763.jpg
./a.out 1 2007_007763.jpg
第1引数は画像ウィンドウの表示制御(0: 非表示、0以外: 表示)、第2引数は入力画像ファイルのパスである。


![[kaneko lab.]](https://www.kkaneko.jp/info/logo_png.png)