![[kaneko lab.]](https://www.kkaneko.jp/info/logo_png.png)
Intel oneAPI ライブラリ(oneMKL, IPP, oneTBB, oneDAL, MPI)のインストール(Ubuntu 上)
【関連する外部ページ】
- APT による Intel oneAPI のインストール手順: https://www.intel.com/content/www/us/en/docs/oneapi/installation-guide-linux/current/apt.html
- Intel のソフトウェア使用許諾条項: https://www.intel.com/content/www/us/en/developer/articles/license/end-user-license-agreement.html
前準備
Ubuntu のシステム更新
Ubuntu で OS のシステム更新を行うときは, 端末で,次のコマンドを実行する。これは、パッケージ情報を最新の状態に保ち、インストール済みのパッケージをセキュリティアップデートやバグ修正を含めて更新するためである。
# パッケージリストの情報を更新
sudo apt update
# インストール済みのパッケージを包括的に更新 (依存関係も考慮)
sudo apt full-upgrade
# カーネル更新等で実際に再起動が必要な場合のみ実行を推奨
# sudo shutdown -r now
Wget, gpg のインストール
リポジトリの公開鍵の取得と登録に用いる. 端末で,次のコマンドを実行する.
# パッケージリストの情報を更新
sudo apt update
sudo apt -y install wget gpg
Intel oneAPI ライブラリのインストール(Ubuntu 上)
- ライセンス条項の確認
https://www.intel.com/content/www/us/en/developer/articles/license/end-user-license-agreement.html
同意できない場合には,次に進んではいけない
- oneAPI リポジトリの登録
公開鍵を /usr/share/keyrings 以下のキーリングに保存し,署名付きのリポジトリ定義を追加する(apt-key コマンドは廃止されている).
端末で,次のコマンドを実行する.
cd /tmp
wget -O- https://apt.repos.intel.com/intel-gpg-keys/GPG-PUB-KEY-INTEL-SW-PRODUCTS.PUB \
| gpg --dearmor | sudo tee /usr/share/keyrings/oneapi-archive-keyring.gpg > /dev/null
echo "deb [signed-by=/usr/share/keyrings/oneapi-archive-keyring.gpg] https://apt.repos.intel.com/oneapi all main" \
| sudo tee /etc/apt/sources.list.d/oneAPI.list
sudo apt update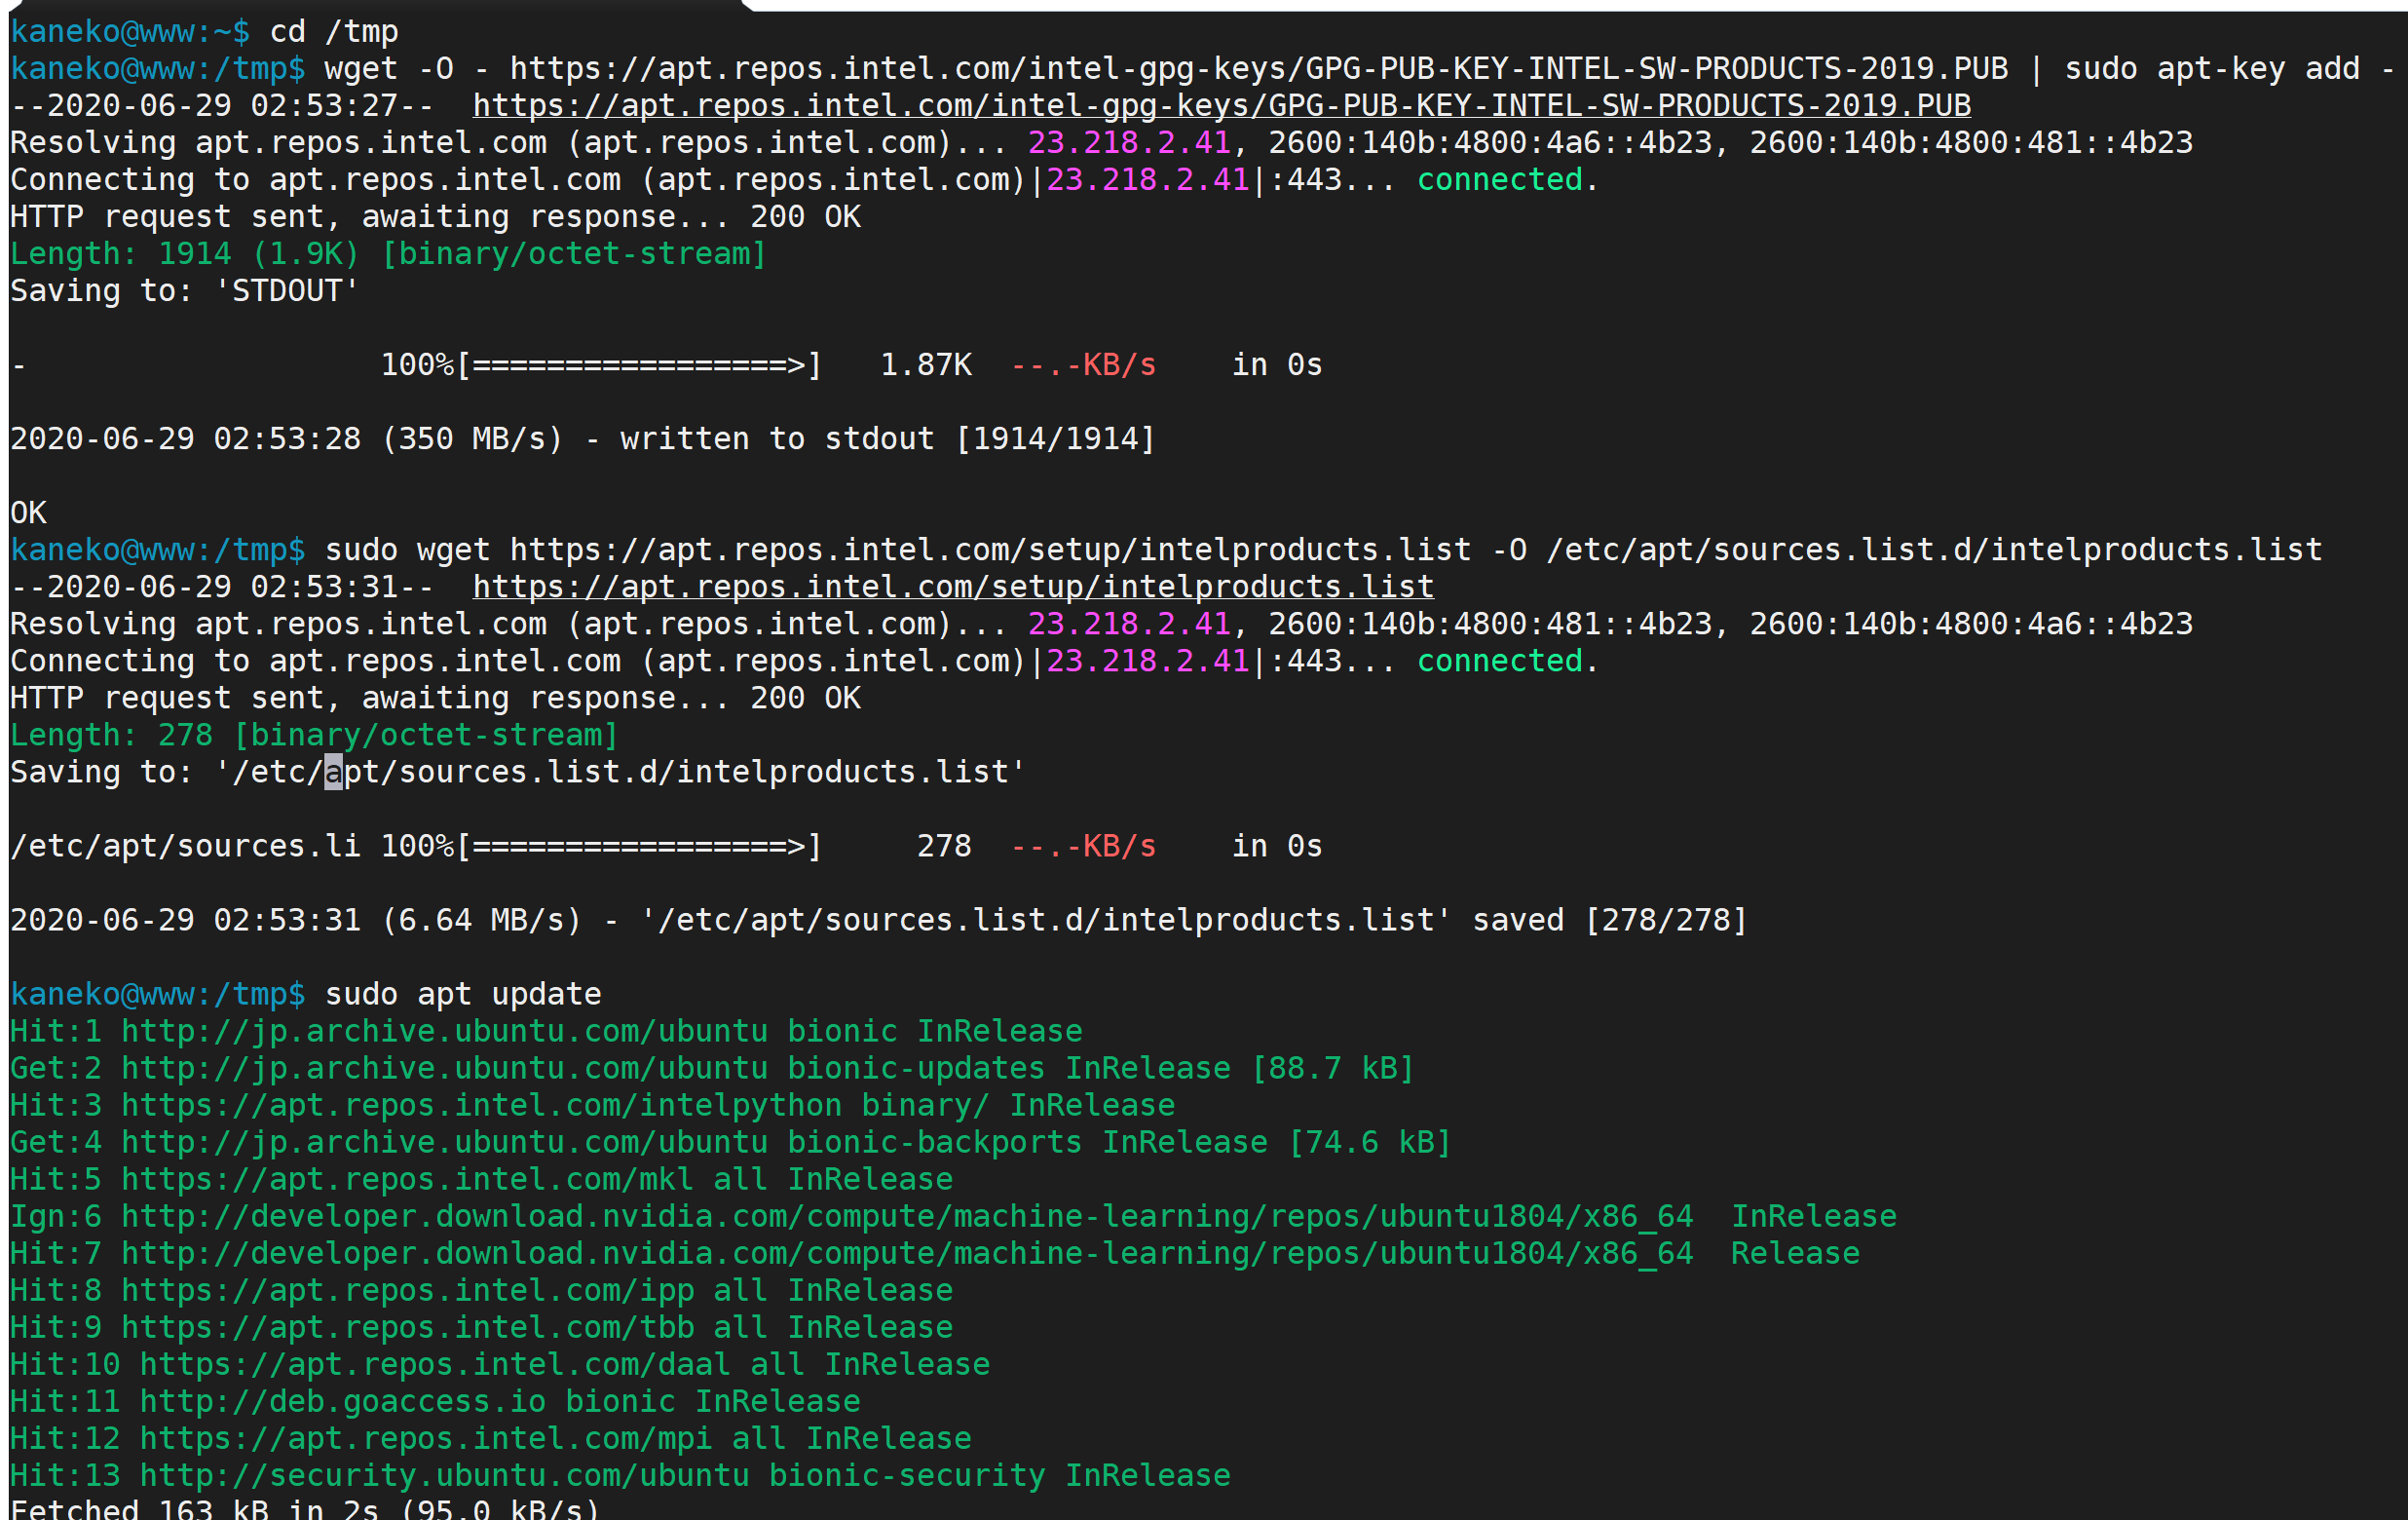
- oneMKL, IPP, oneTBB, oneDAL, MPI のインストール操作
端末で,次のコマンドを実行する.バージョン番号を付けないパッケージ名を指定すると,リポジトリ内の最新版がインストールされる.
# パッケージリストの情報を更新
sudo apt update
sudo apt -y install intel-oneapi-mkl-devel intel-oneapi-ipp-devel intel-oneapi-tbb-devel intel-oneapi-dal-devel intel-oneapi-mpi-devel
まとめて導入する場合は,基本ツールキットのパッケージ intel-basekit(oneMKL, IPP, oneTBB, oneDAL などを含む),HPC 向けの intel-hpckit(Intel MPI,コンパイラなどを含む)を指定する.
sudo apt -y install intel-basekit intel-hpckit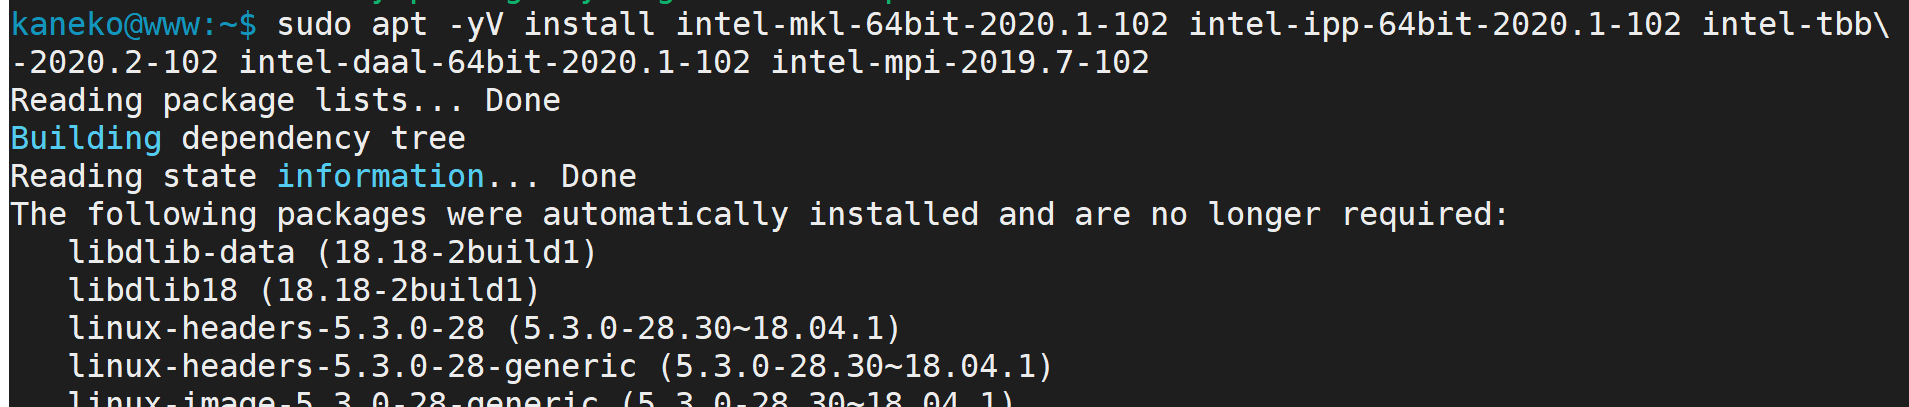
- 環境変数の設定
oneAPI では,/etc/ld.so.conf の編集ではなく,付属の setvars.sh により,PATH,LD_LIBRARY_PATH,CPATH などの環境変数を設定する. 端末で,次のコマンドを実行する.
source /opt/intel/oneapi/setvars.sh端末を起動するたびに設定する場合は,~/.bashrc の末尾に次の 1 行を追加する.
source /opt/intel/oneapi/setvars.sh > /dev/null - インストールの確認
端末で,次のコマンドを実行する.インストール済みのコンポーネントとバージョンが表示される.
ls /opt/intel/oneapi
Intel Distribution for Python のインストール(Ubuntu 上)
- conda 環境への導入
端末で,次のコマンドを実行する.conda(Miniforge, Miniconda など)が導入済みであることが前提である.
conda create -n idp -c https://software.repos.intel.com/python/conda/ -c conda-forge python=3.11 intelpython3_core
conda activate idp
pip を用いる場合は,NumPy, SciPy, scikit-learn を oneMKL 対応版に置き換える次のパッケージを利用する.
pip install mkl scikit-learn-intelex - 行列の積による実行時間の測定
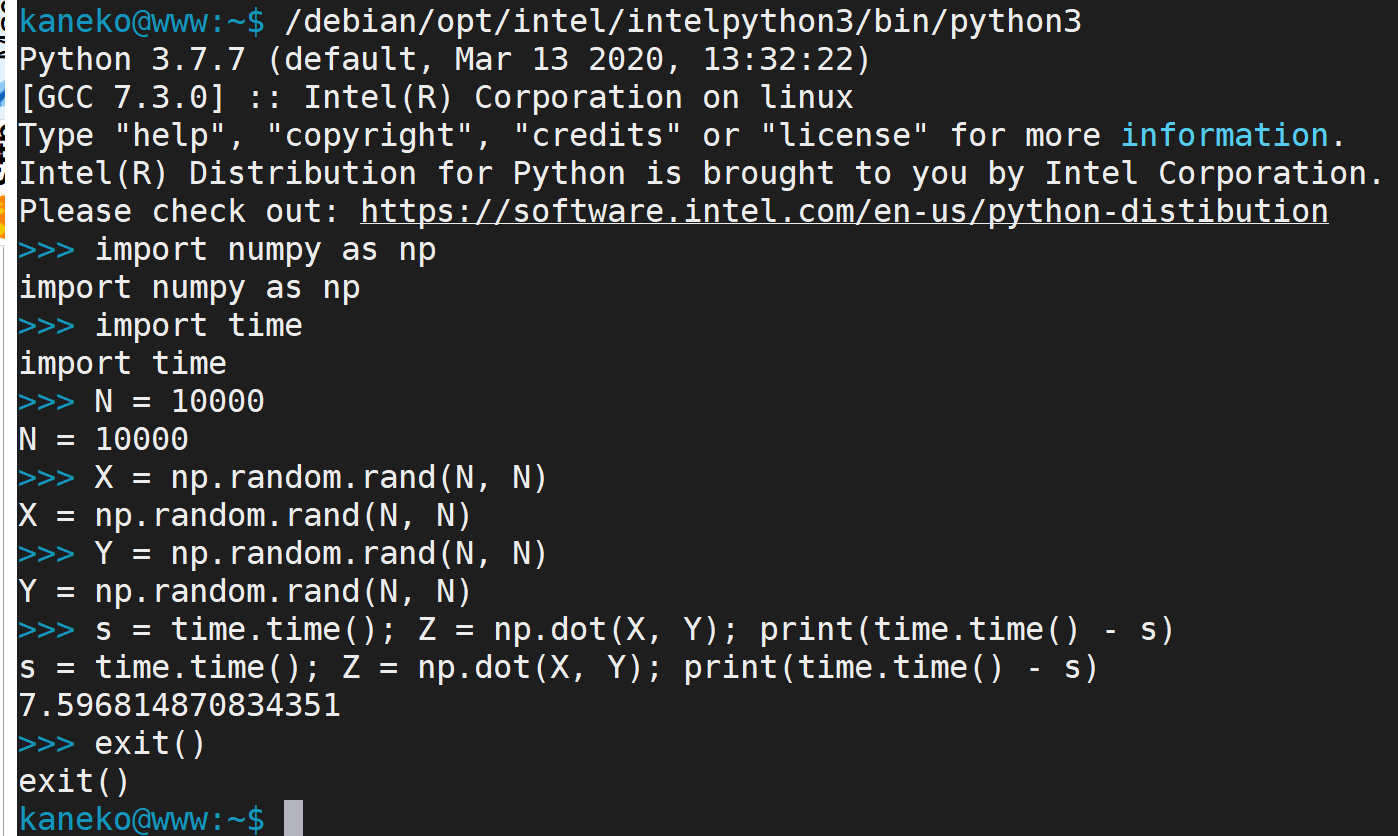
端末で,Python を起動し,次のプログラムを実行する.
import numpy as np
import time
N = 10000
X = np.random.rand(N, N)
Y = np.random.rand(N, N)
s = time.time(); Z = np.dot(X, Y); print(time.time() - s)
同じプログラムを,Intel Distribution for Python とシステムの Python 3 のそれぞれで実行して比較する. 実行時間は CPU の種類,コア数,NumPy がリンクしている BLAS の実装,メモリ量により変わる.