GPT-2, BERT を使ってみる(huggingface/transformers を利用)(Google Colab あるいは Windows あるいは Ubuntu 上)
Google Colab へのリンク
Google Colaboratory のページ:
https://colab.research.google.com/drive/1mBFygBbUk4lBOov7TVyiat441MHwla3j?usp=sharing
前準備
Python 3.12 のインストール
Pythonのインストールを行い、Pythonのプログラムを実行する環境を整える。扱う環境は、Windows搭載パソコンである。金子研究室では、Python 3.12.10を推奨する。
[Windows での Python 3.12 のインストール手順を見るには、ここをクリック]
Windows での Python 3.12 のインストール
以下のいずれかの方法でPython 3.12をインストールする。Pythonがインストール済みの場合、この手順は不要である。
方法 1:winget によるインストール
【インストールコマンドの実行方法】
管理者権限でコマンドプロンプトを起動する(手順:Windowsキーまたはスタートメニュー → cmd と入力 → 右クリック → 「管理者として実行」)。そして、コマンド全体をコマンドプロンプトにコピー&ペーストする。
--scope machine を指定することで、システム全体(全ユーザー向け)にインストールされる。このオプションの実行には管理者権限が必要である。インストール完了後、コマンドプロンプトを再起動するとPATHが反映される。
REM Python 3.12 をシステム領域にインストール
winget install --id Python.Python.3.12 -e --scope machine --silent --accept-source-agreements --accept-package-agreements --override "/quiet InstallAllUsers=1 PrependPath=1 Include_test=0 Include_pip=1 Include_launcher=1 InstallLauncherAllUsers=1 TargetDir=\"C:\Program Files\Python312\""

REM Python と Scripts を PATH 先頭に追加
powershell -NoProfile -Command "$p='C:\Program Files\Python312'; $s=\"$p\Scripts\"; $c=[Environment]::GetEnvironmentVariable('Path','Machine'); if((Test-Path $p) -and (';'+$c+';' -notlike \"*;$p;*\") -and (';'+$c+';' -notlike \"*;$s;*\")){[Environment]::SetEnvironmentVariable('Path',\"$p;$s;$c\",'Machine')}"
方法 2:インストーラーによるインストール
- Python公式サイト(https://www.python.org/downloads/)にアクセスし、「Download Python 3.x.x」ボタンからWindows用インストーラーをダウンロードする。
- ダウンロードしたインストーラーを実行する。
- 初期画面の下部に表示される「Add python.exe to PATH」にチェックを入れてから「Customize installation」を選択する。このチェックを入れ忘れると、コマンドプロンプトから
pythonコマンドを実行できない。 - 「Install Python 3.xx for all users」にチェックを入れ、「Install」をクリックする。
インストールの確認
コマンドプロンプトで以下を実行する。
python --versionバージョン番号(例:Python 3.12.x)が表示されればインストール成功である。「'python' は、内部コマンドまたは外部コマンドとして認識されていません。」と表示される場合は、インストールが正常に完了していない。
TensorFlow,Keras のインストール
Windows での TensorFlow,Keras のインストール: 別ページ »で説明
(このページで,Build Tools for Visual Studio 2022,NVIDIA ドライバ, NVIDIA CUDA ツールキット, NVIDIA cuDNNのインストールも説明している.)
Graphviz のインストール
Windows での Graphviz のインストール: 別ページ »で説明
numpy,matplotlib, seaborn, scikit-learn, pandas, pydot のインストール
- 次のコマンドを管理者権限のコマンドプロンプトで実行する
(手順:Windowsキーまたはスタートメニュー →
cmdと入力 → 右クリック → 「管理者として実行」)。 する.
python -m pip install -U numpy matplotlib seaborn scikit-learn pandas pydot
GraphViz のインストール
- Windows での GraphViz のインストール: 別ページ »で説明
- Ubuntu での GraphViz のインストール
sudo apt -y insatll graphviz python3-graphviz libgraphviz-dev
huggingface/transformers の GPT-2 を動かしてみる
- transformers のインストール
次のページに記載の手順に従う:https://huggingface.co/transformers/installation.html
Windows では,コマンドプロンプトを管理者として開き次のコマンドを実行する.
python -m pip install transformers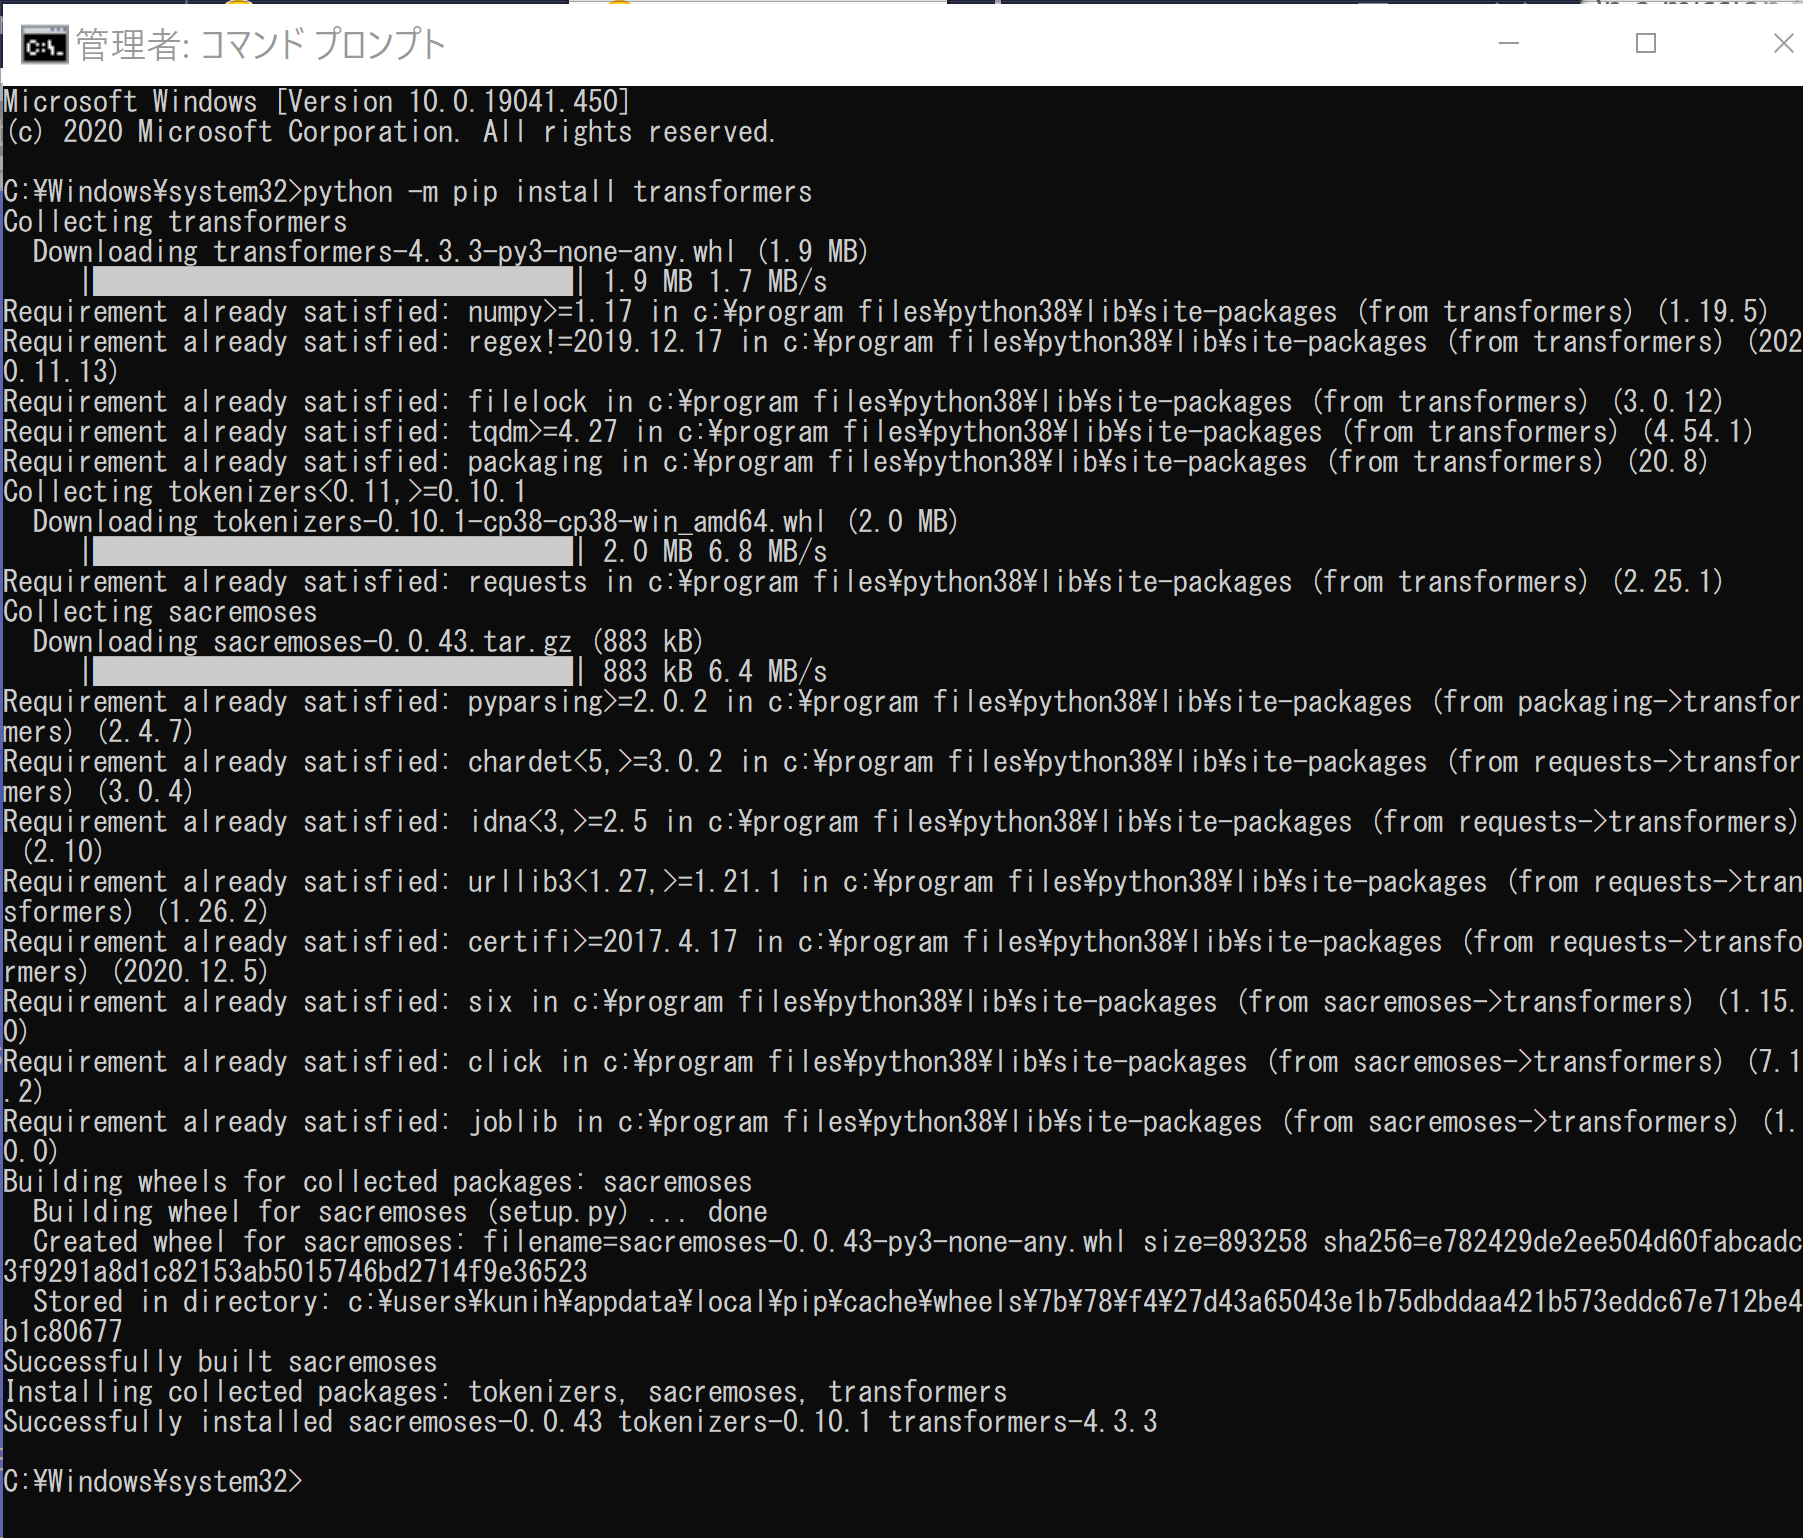
- 英語で学習済みの GPT-2 を使ってみる
次のページに記載のソースコードからビルドして,インストールする.(詳細説明も次のページにある): https://huggingface.co/gpt2
Python プログラムを動かすために, pythonやpython3などのコマンドを使う. あるいは, 開発環境や Python コンソール(Jupyter Qt Console,Spyder,PyCharm,PyScripter など)も便利である.次のプログラムは,テキスト生成(与えられた文章から,続きのトークンを生成)を行っている.
from transformers import pipeline, set_seed
generator = pipeline('text-generation', model='gpt2')
set_seed(42)
generator("Hello, I'm a language model,", max_length=30, num_return_sequences=5)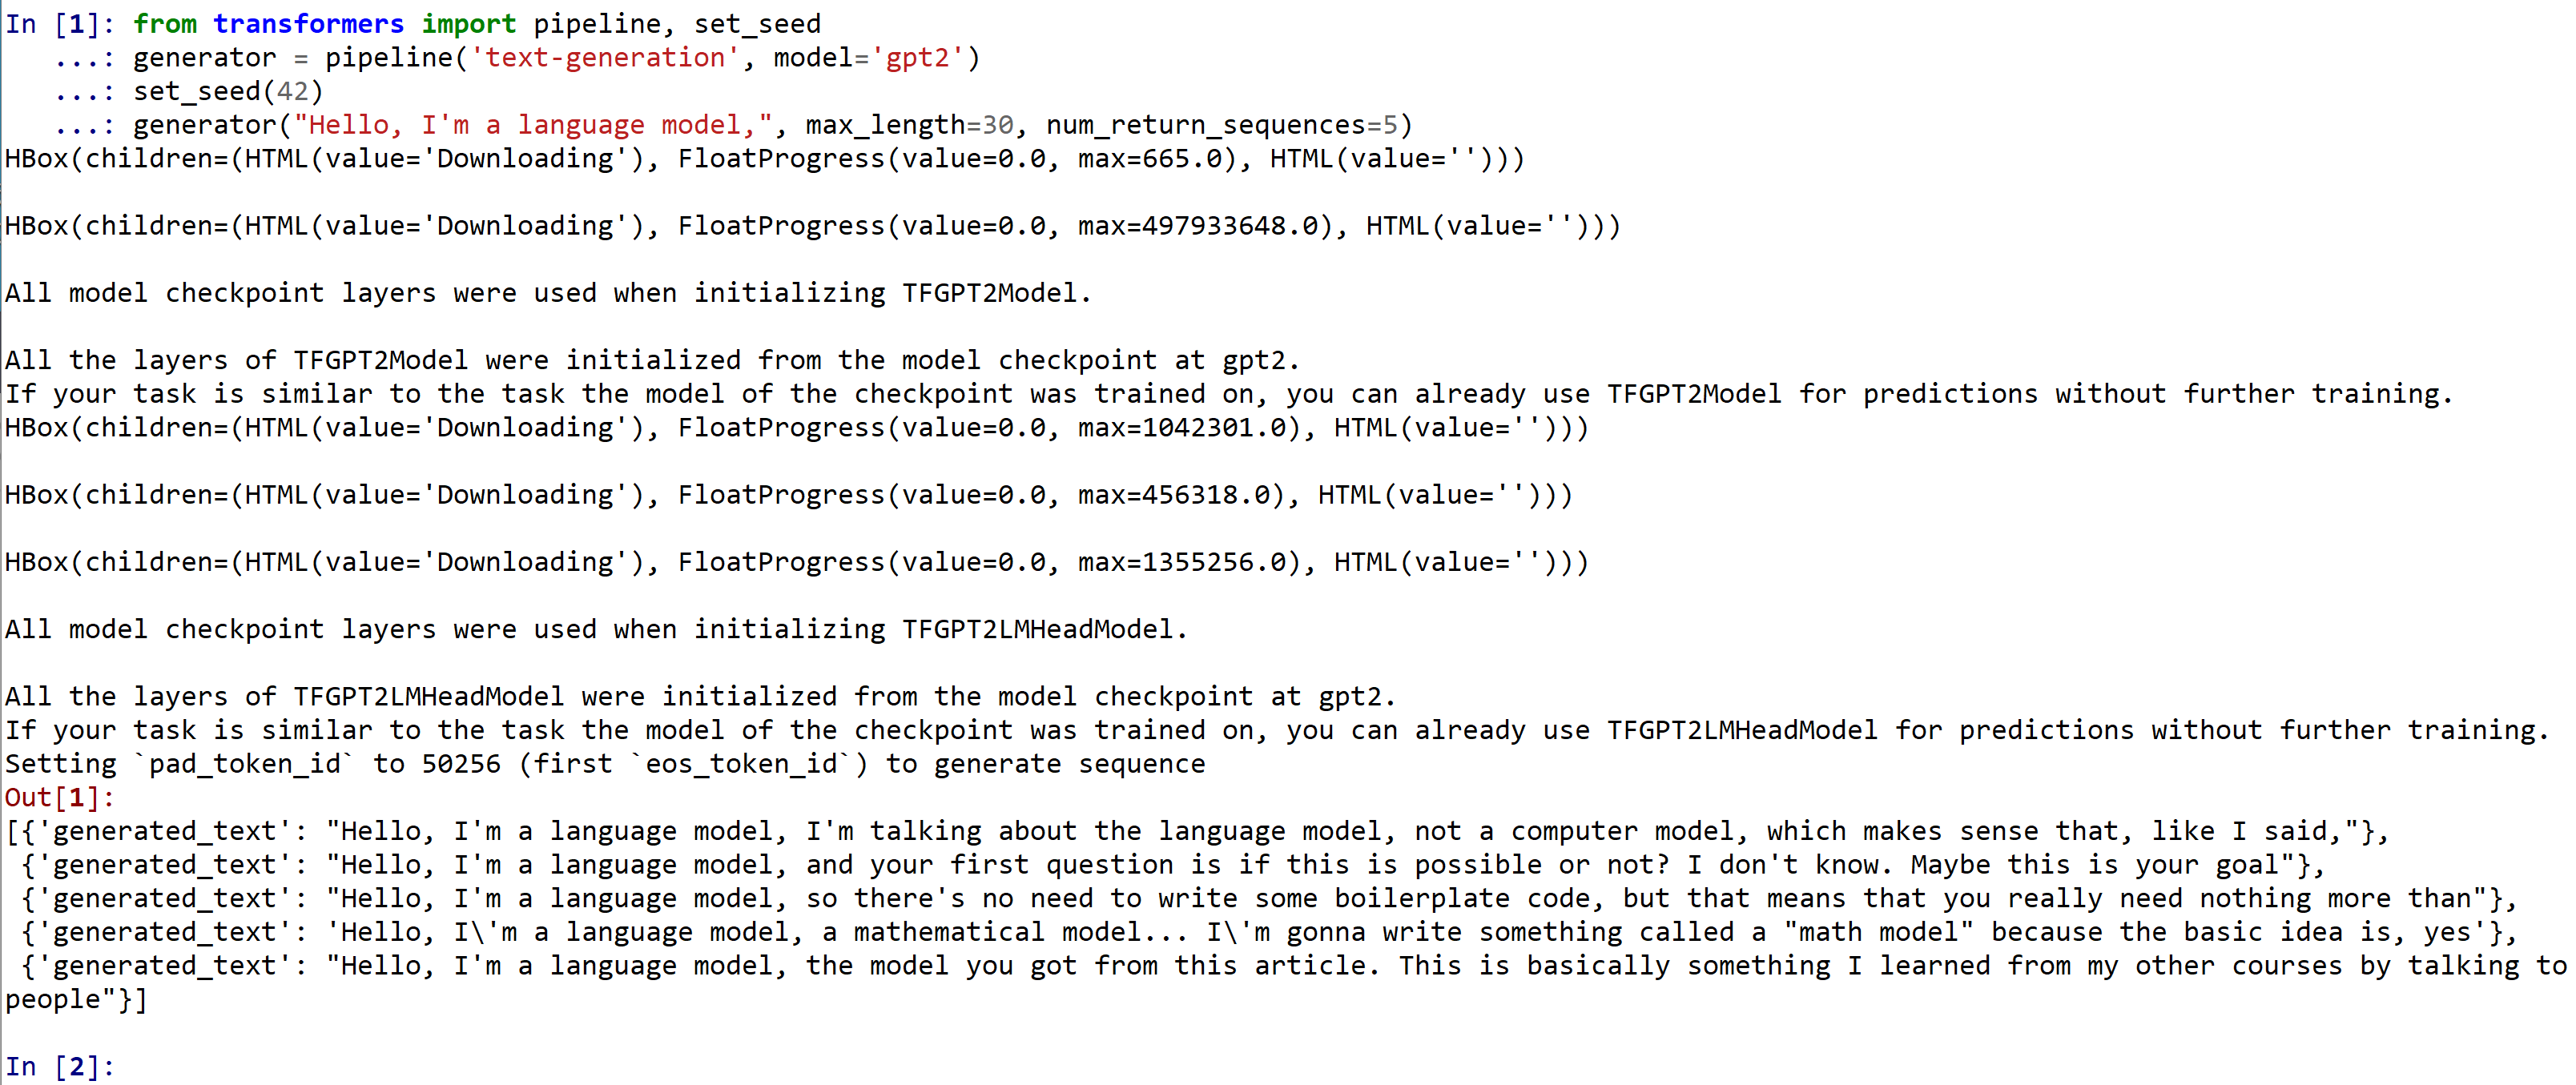
次のプログラムは,特徴(features )の取得を行っている.
from transformers import GPT2Tokenizer, TFGPT2Model
tokenizer = GPT2Tokenizer.from_pretrained('gpt2')
model = TFGPT2Model.from_pretrained('gpt2')
text = "Replace me by any text you'd like."
encoded_input = tokenizer(text, return_tensors='tf')
output = model(encoded_input)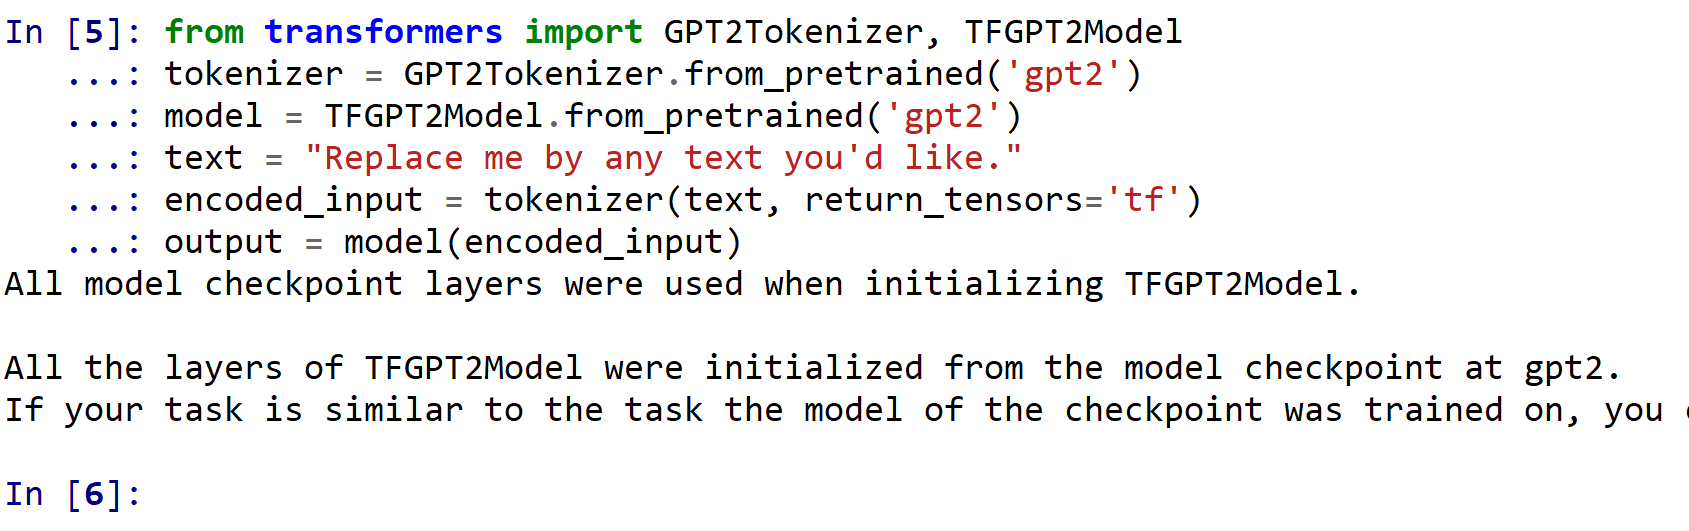
- 英語で学習済みの BERT を使ってみる
次のページに記載のソースコードからビルドして,インストールする.(詳細説明も次のページにある): https://huggingface.co/bert-base-uncased
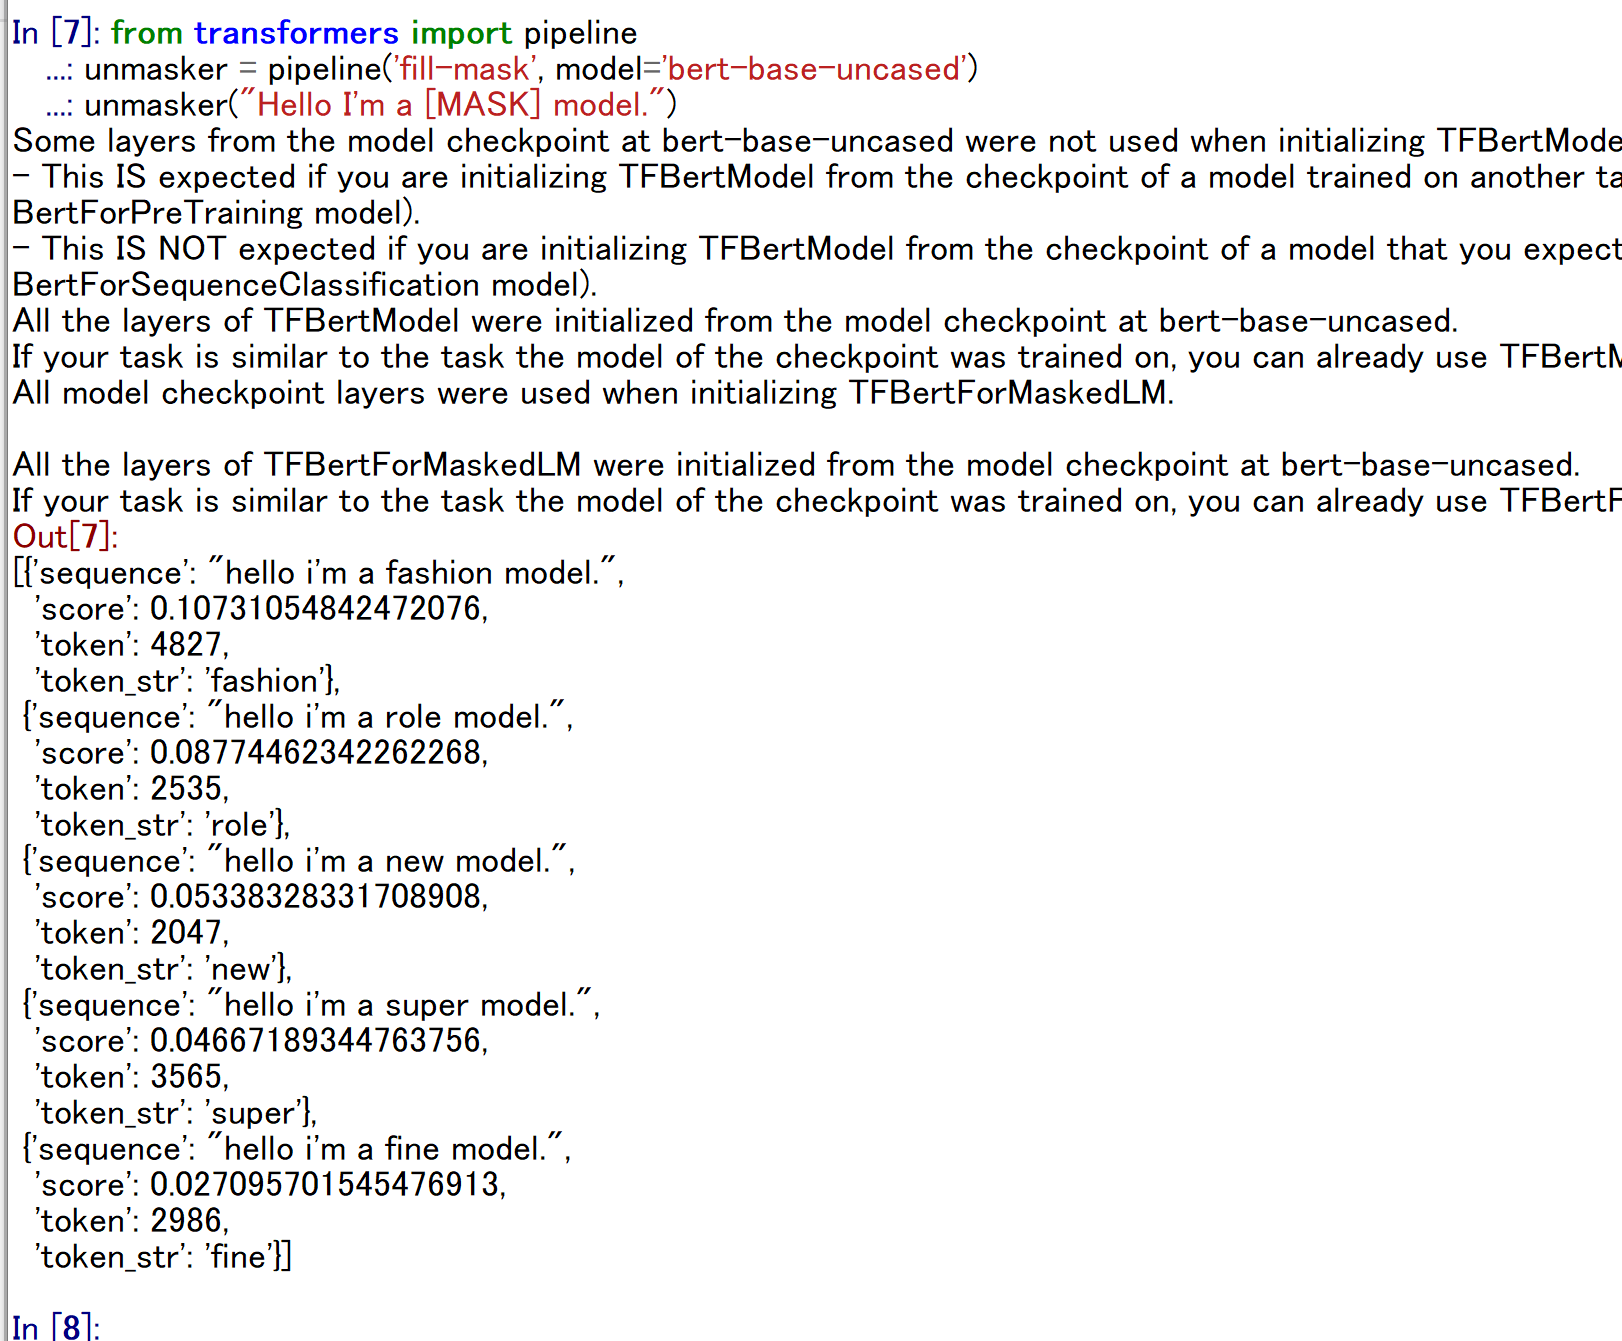
Python プログラムを動かすために, pythonやpython3などのコマンドを使う. あるいは, 開発環境や Python コンソール(Jupyter Qt Console,Spyder,PyCharm,PyScripter など)も便利である.次のプログラムは,マスクを埋める(fill mask)ことを行っている.
from transformers import pipeline
unmasker = pipeline('fill-mask', model='bert-base-uncased')
unmasker("Hello I'm a [MASK] model.")