SQLiteman のソースコードからのインストール,データベース作成,テーブル定義(Windows 上)
【目次】
- 前準備
- SQLiteman のインストール
- SQLiteman で SQLite 3 のデータベースの新規作成
- テーブル定義を行ってみる
前準備
SQLite 3 のインストール
マイクロソフト C++ ビルドツール (Build Tools) のインストール
Qt 4 のインストール
SQLiteman のインストール
- 新しいディレクトリ C:\sqlite3 を作る
あとで,ここに データベースファイルを置くことにする.

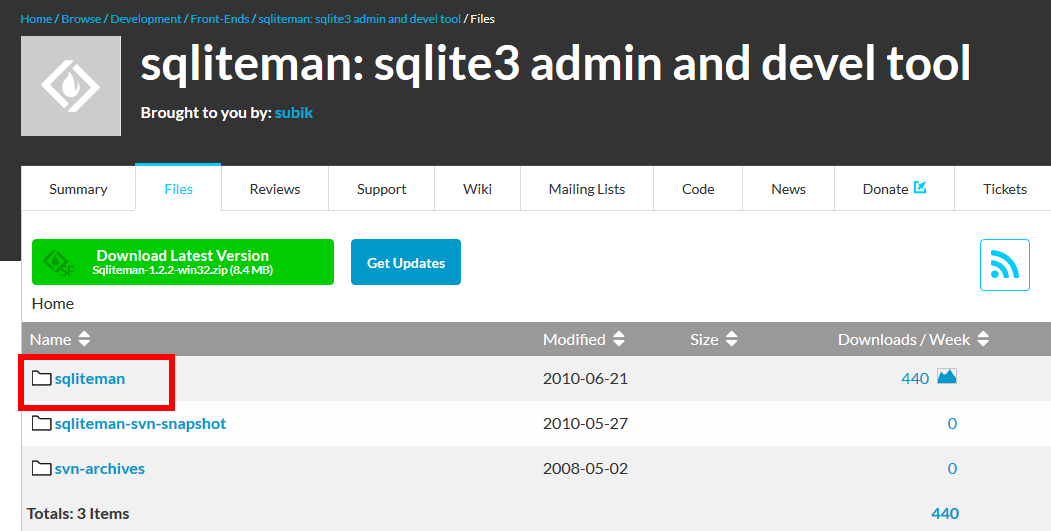
- Sqliteman を入手したい.SourceForge のウェブページを開く
- 「Files」をクリック

- 「sqliteman」をクリック
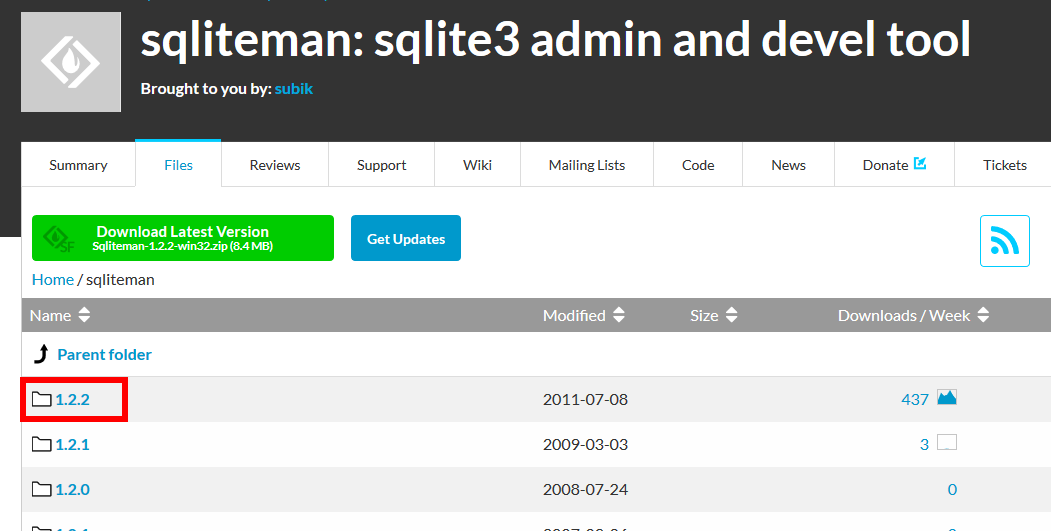
- 最新版が欲しいので,「1.2.2」をクリック
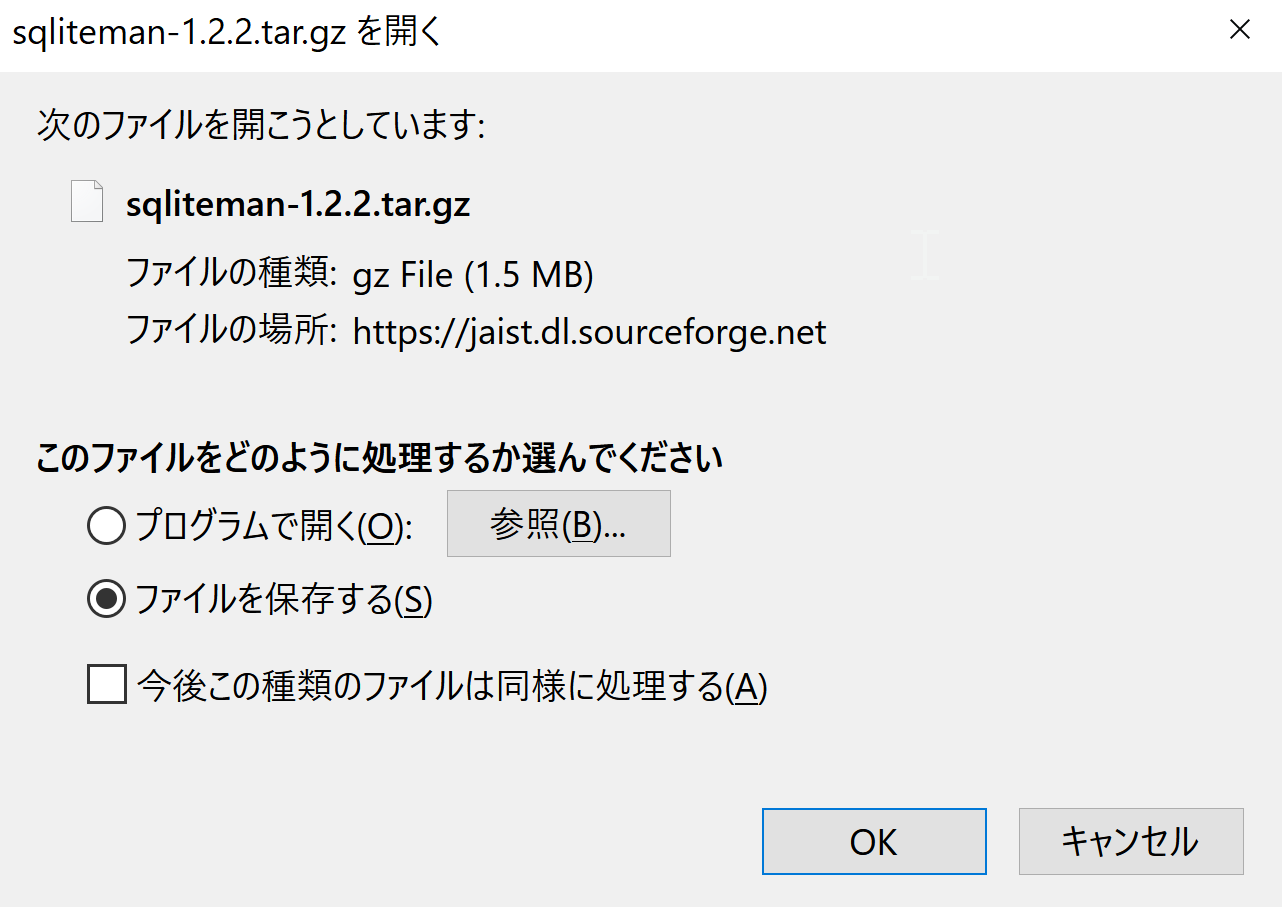
- ソースコードが欲しいので,sqliteman-1.2.2.tar.gz を選ぶ

- ダウンロードが始まる.
- ダウンロードしたファイルを展開(解凍)する.
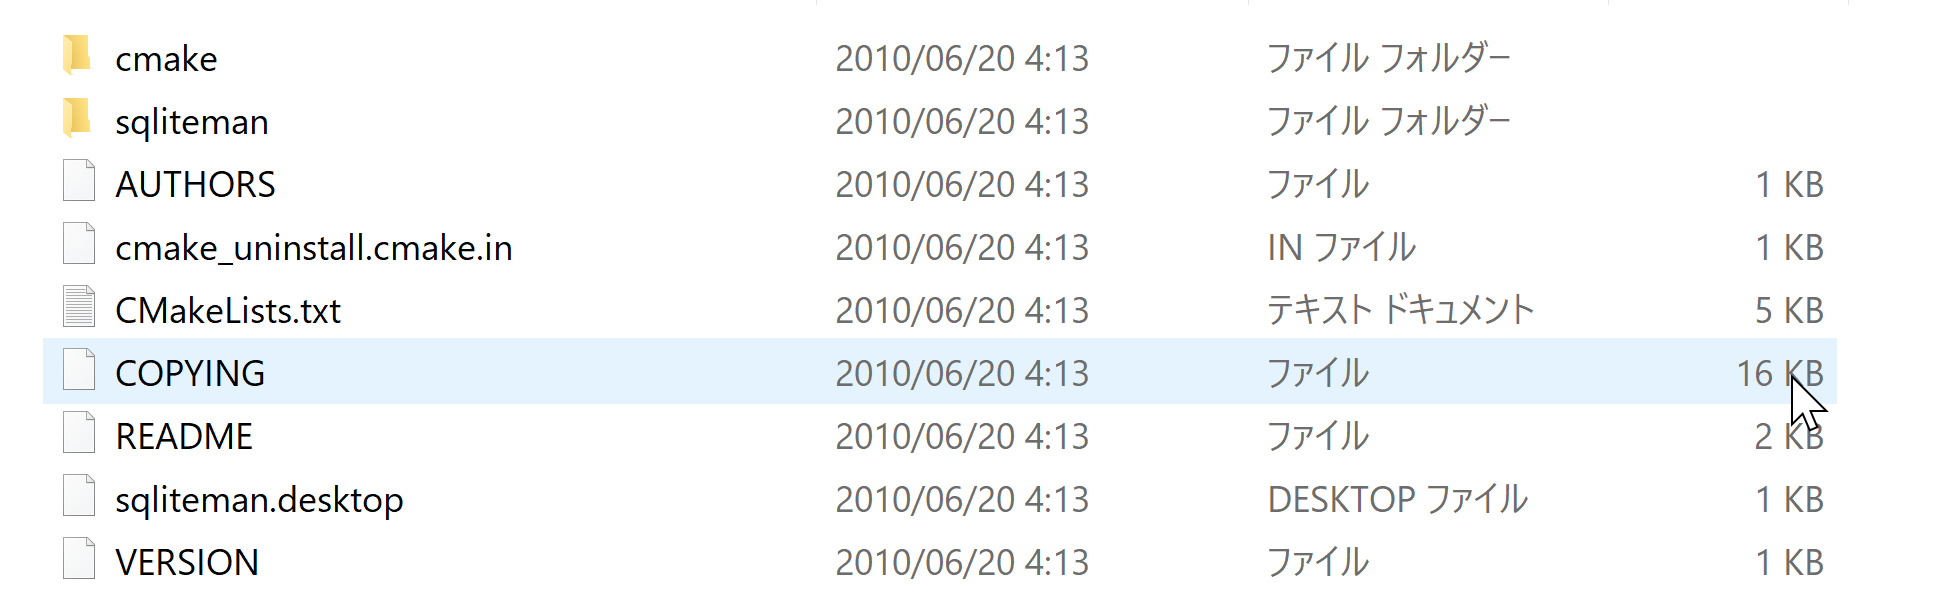
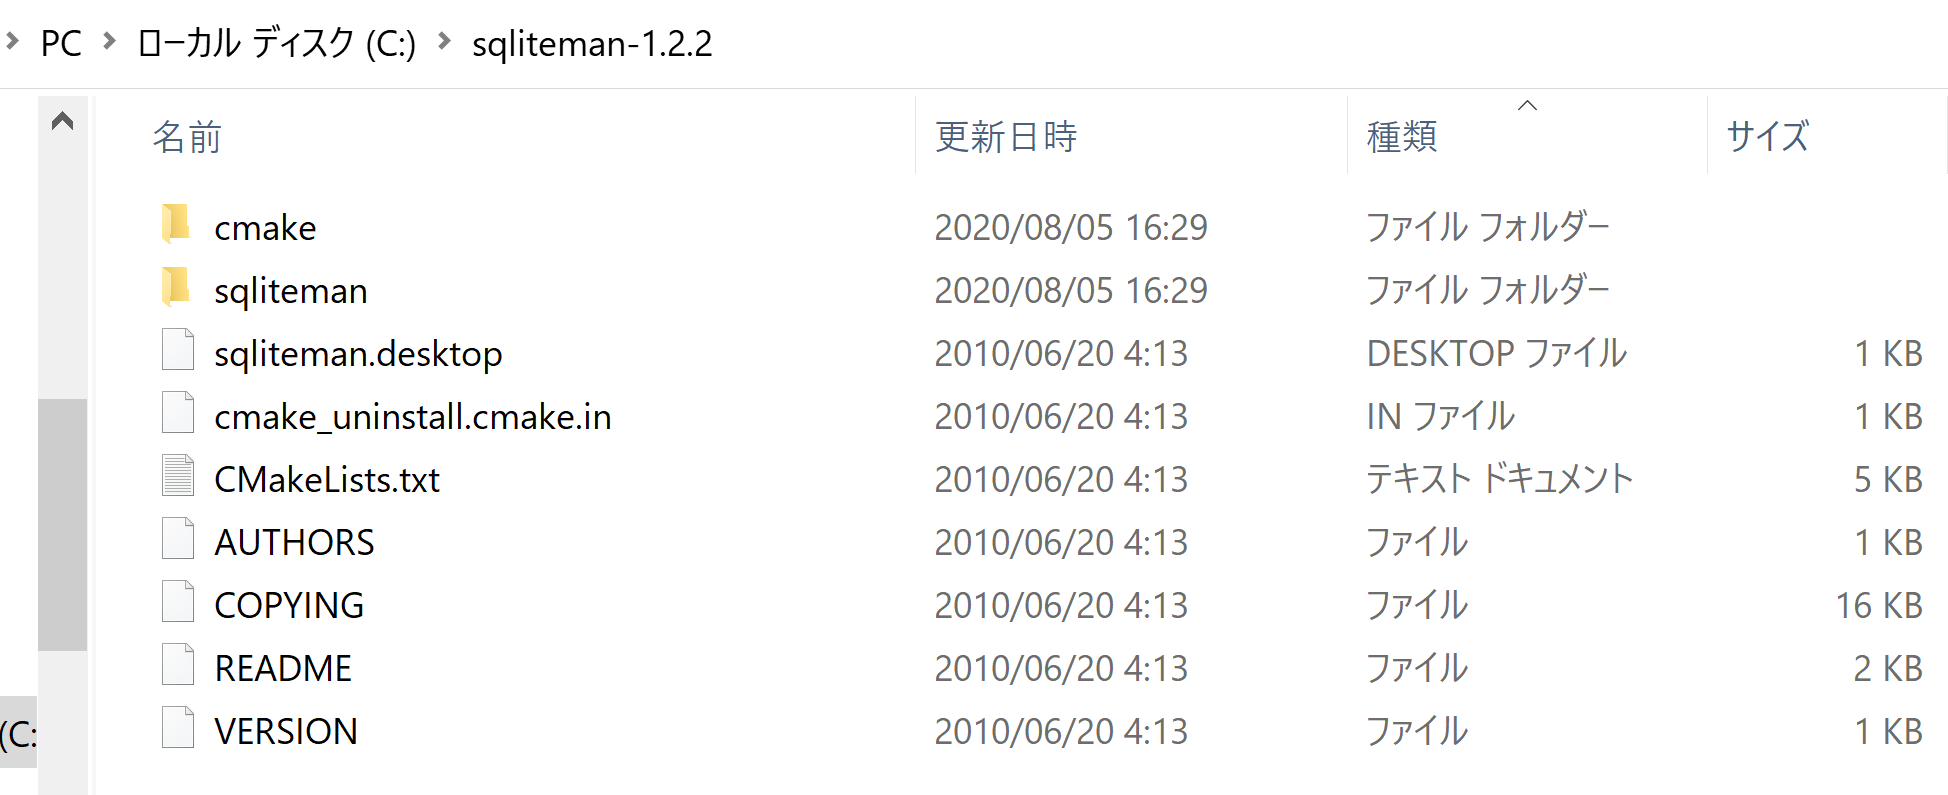
- 展開(解凍)してできたファイルを,「C:\sqliteman-1.2.2」のようなディレクトリに移す.
展開(解凍)してできたファイルを, 分かりやすいディレクトリの下に移したい.
- 以下の操作をx64 Native Tools コマンドプロンプト (x64 Native Tools Command Prompt)で実行する
(手順:スタートメニュー →
」の下の「x64 Native Tools コマンドプロンプト (x64 Native Tools Command Prompt)」を選ぶ)。 「x64 Native Tools コマンドプロンプト」がないときは,ビルドツール (Build Tools) をインストールすると,x64 Native Tools コマンドプロンプトもインストールされる.その手順は,別ページ »で説明している.- cmake の実行
次のコマンドをx64 Native Tools コマンドプロンプト (x64 Native Tools Command Prompt)で実行する
cd C:\sqliteman-1.2.2
cmake -G "NMake Makefiles" -DWANT_RESOURCES=1 -DWANT_INTERNAL_QSCINTILLA=1 .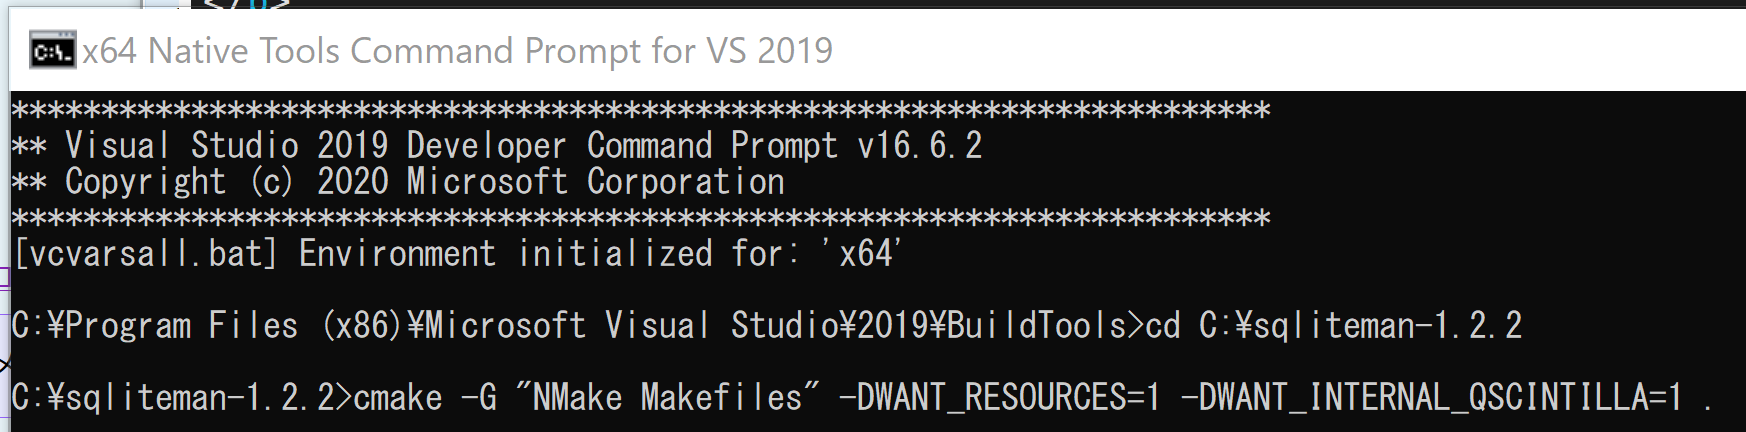
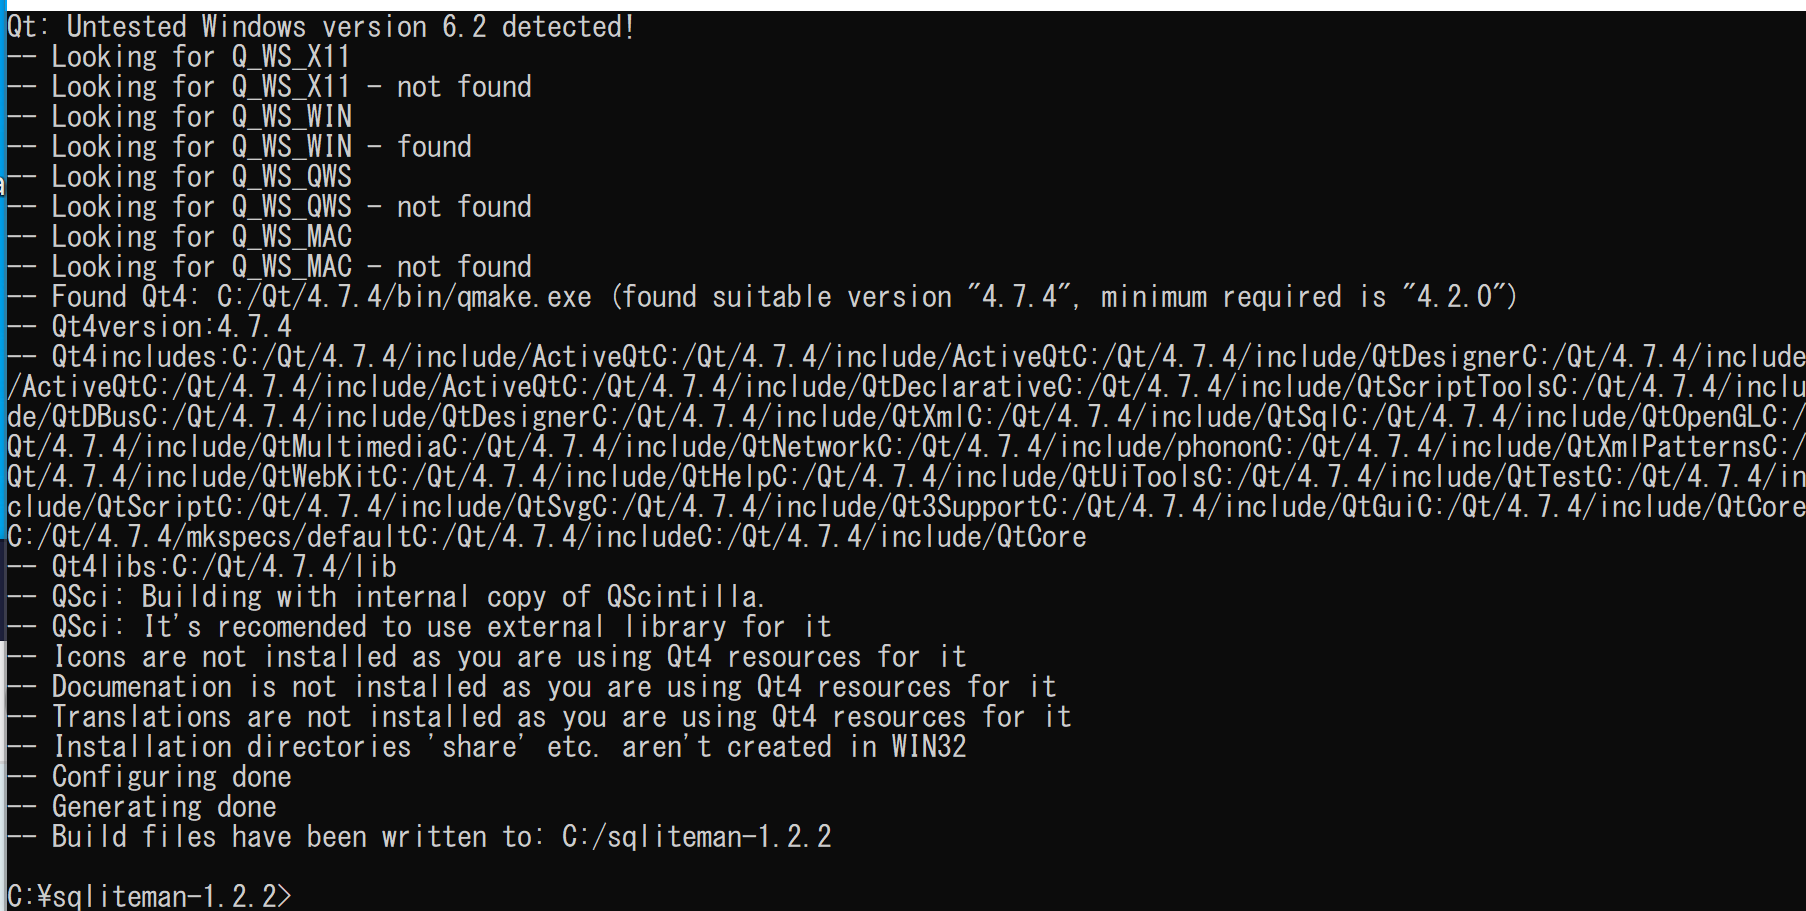
- cmake の結果の確認
エラーメッセージが出ていないこと.
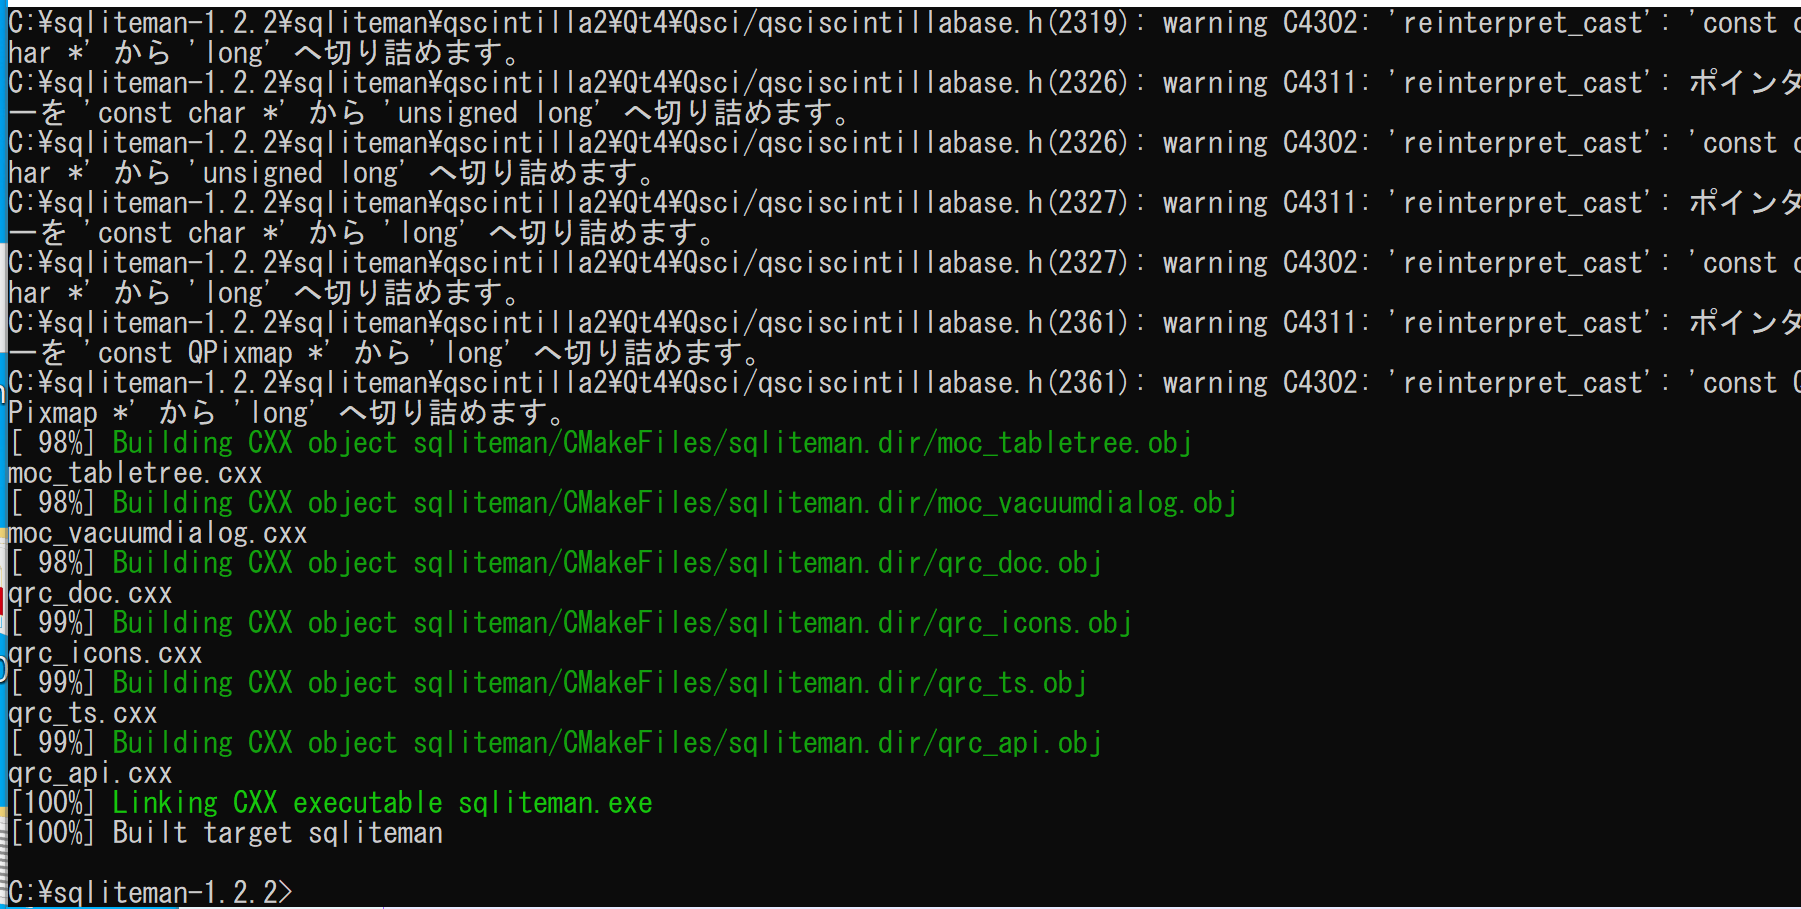
- nmake の実行
次のコマンドをx64 Native Tools コマンドプロンプト (x64 Native Tools Command Prompt)で実行する (手順:スタートメニュー →
」の下の「x64 Native Tools コマンドプロンプト (x64 Native Tools Command Prompt)」を選ぶ)。 nmake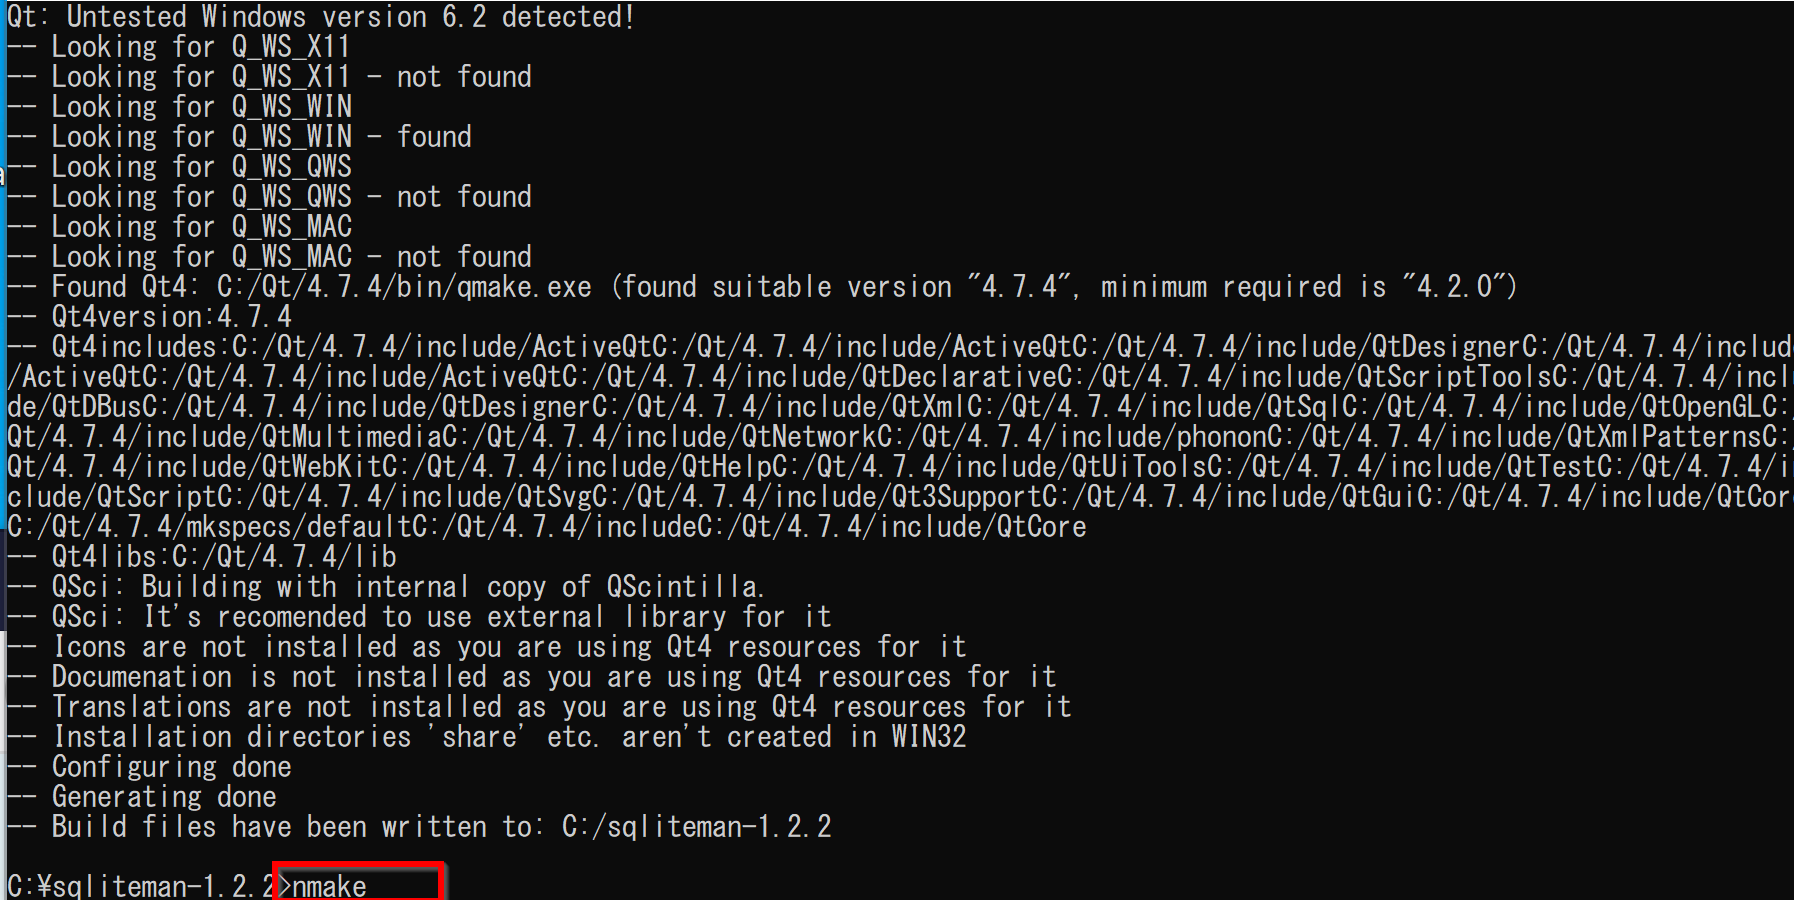
- nmake の結果の確認
エラーメッセージが出ていないこと.
- Windows の システム環境変数 Pathに,C:\sqliteman-1.2.2\sqliteman を追加することにより,パスを通す.
Windows で,管理者権限でコマンドプロンプトを起動(手順:Windowsキーまたはスタートメニュー >
cmdと入力 > 右クリック > 「管理者として実行」)。次のコマンドを実行
powershell -command "$oldpath = [System.Environment]::GetEnvironmentVariable(\"Path\", \"Machine\"); $oldpath += \";C:\sqliteman-1.2.2\sqliteman\"; [System.Environment]::SetEnvironmentVariable(\"Path\", $oldpath, \"Machine\")"- sqliteman にパスが通っていることを確認する
Windows のコマンドプロンプトを新しく開き、次のコマンドを実行する.
where sqliteman- 確認のため, Windows のコマンドプロンプトで、次のコマンドを実行する.
sqliteman - cmake の実行
SQLite 3 の起動と終了,ヘルプの表示,エンコーディングの確認
- SQLite 3の起動
このとき,データベース名として mydb を指定する.SQLite 3の流儀で,データベース名はファイル名になる.
* データベース名はなんでも良いが、アルファベットのみを使うのが良い.
sqlite3 mydb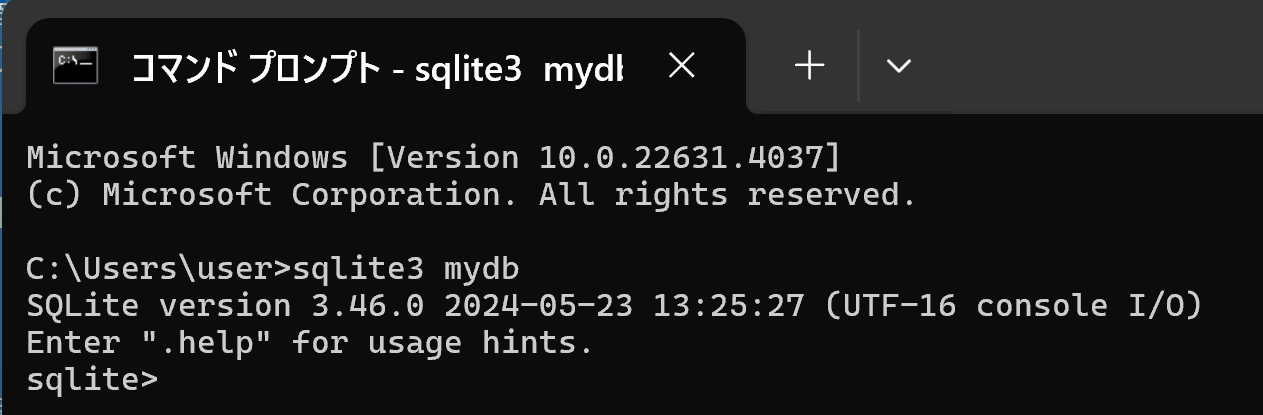
- ヘルプの表示
「.help」で,ヘルプが表示される.
.help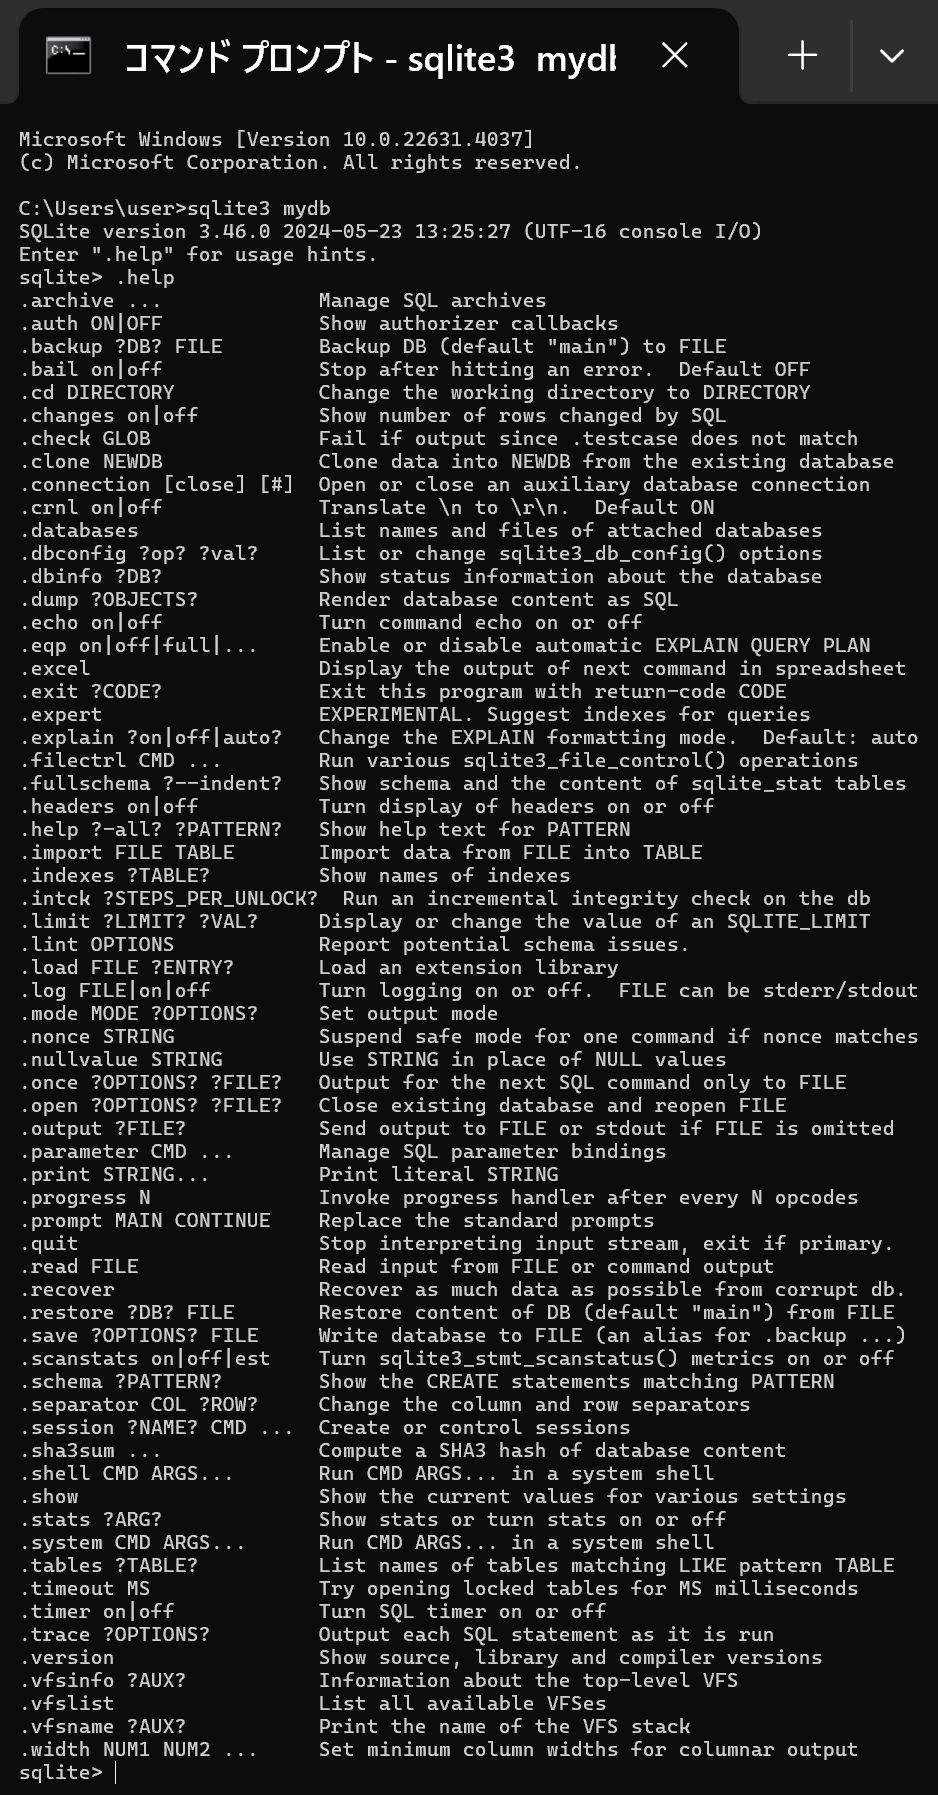
- 現在使用中のデータベースについての,文字のエンコーディングの確認
「PRAGMA encoding;」で,エンコーディングが表示される.
PRAGMA encoding;
- SQLite 3の終了
「.exit」で終了.
.exit
使い方の詳しい説明は https://www.sqlite.org/sqlite.html
空のデータベースの新規作成
ここでの設定
- 生成したいデータベースファイル名: C:\sqlite3\hoge.db ※ 書き込み権限のあるディレクトリを使用するのが良い
- SQLite を実行する.
* パスが通っていないときは,パスを通すか,フルパスで実行する
sqlite3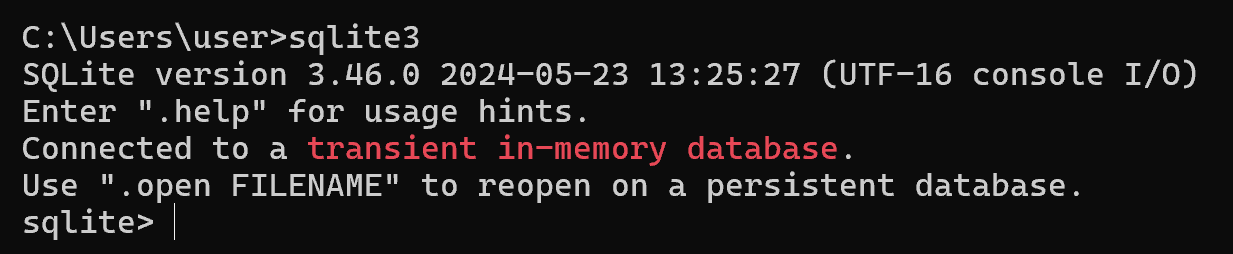
- 空のデータベースを保存したいので次のように操作
.open --new C:/sqlite3/hoge.db
.exit
テーブル定義
- SQLite を実行する.
* パスが通っていないときは,パスを通すか,フルパスで実行する
sqliteman - データベースオープン
create table order_records (
    id            integer primary key not null,
    year          integer not null CHECK ( year > 2008 ),
    month         integer not null CHECK ( month >= 1 AND month <= 12 ),
    day           integer not null CHECK ( day >= 1 AND day <= 31 ),
    customer_name text not null,
    product_name  text not null,
    unit_price    real not null check ( unit_price > 0 ),
    qty           integer not null default 1 check ( qty > 0 ),
    created_at    timestamp with time zone not null,
    updated_at    timestamp with time zone,
    check ( ( unit_price * qty ) < 200000 ) );
* テーブル名に日本語を使うとエラーが出る場合がある.
- 「.tables」を実行して,テーブルが定義できたことを確認.
.tables - SQL を用いたレコード挿入
begin transaction; insert into order_records (id, year, month, day, customer_name, product_name, unit_price, qty) values( 1, 2023, 7, 26, 'kaneko', 'orange A', 1.2, 10 ); insert into order_records (id, year, month, day, customer_name, product_name, unit_price, qty) values( 2, 2023, 7, 26, 'miyamoto', 'Apple M', 2.5, 2 ); insert into order_records (id, year, month, day, customer_name, product_name, unit_price, qty) values( 3, 2023, 7, 27, 'kaneko', 'orange B', 1.2, 8 ); insert into order_records (id, year, month, day, customer_name, product_name, unit_price) values( 4, 2023, 7, 28, 'miyamoto', 'Apple L', 3 ); commit; - 確認表示
select * from order_records; - psql の終了
\q