![[kaneko lab.]](https://www.kkaneko.jp/info/logo_png.png)
LAMP のインストール,データベース作成,テーブル定義とレコード挿入,各種設定(インストールに tasksel を使用)(Ubuntu 上)
Ubuntu 24.04 LTS の公式パッケージでは次のバージョンがインストールされる(セキュリティ更新によりリビジョン番号は変動する).
- Apache 2.4.58
- MySQL 8.0 系
- PHP 8.3
【サイト内の関連ページ】
事前に決めておく事項
- MySQL データベース管理者 (root) のパスワード
MySQL のデータベース管理者は,データベースへのあらゆる操作を許されたユーザである. そのユーザ名は root である(変更も可能). パスワードは,英文字,数字,記号を使う.日本語は使わない. - MySQL 一般ユーザのユーザ名,パスワード
パスワードは,英文字,数字,記号を使う.日本語は使わない. - 既定(デフォルト)のキャラクタセット
MySQL 8.0 の既定のキャラクタセットは utf8mb4,既定の照合順序は utf8mb4_0900_ai_ci である. Unicode の全文字(絵文字を含む補助文字)を扱えるため,新規に作成するデータベースでは utf8mb4 を選ぶ. なお utf8(別名 utf8mb3)および utf8_unicode_ci などの照合順序は MySQL 8.0 で非推奨である.
LAMP のインストール(インストールに tasksel を使用)(Ubuntu 上)
- tasksel のインストール,tasksel の起動
# パッケージリストの情報を更新
sudo apt update
sudo apt -y install tasksel
sudo tasksel
- 「LAMP server」を選ぶ
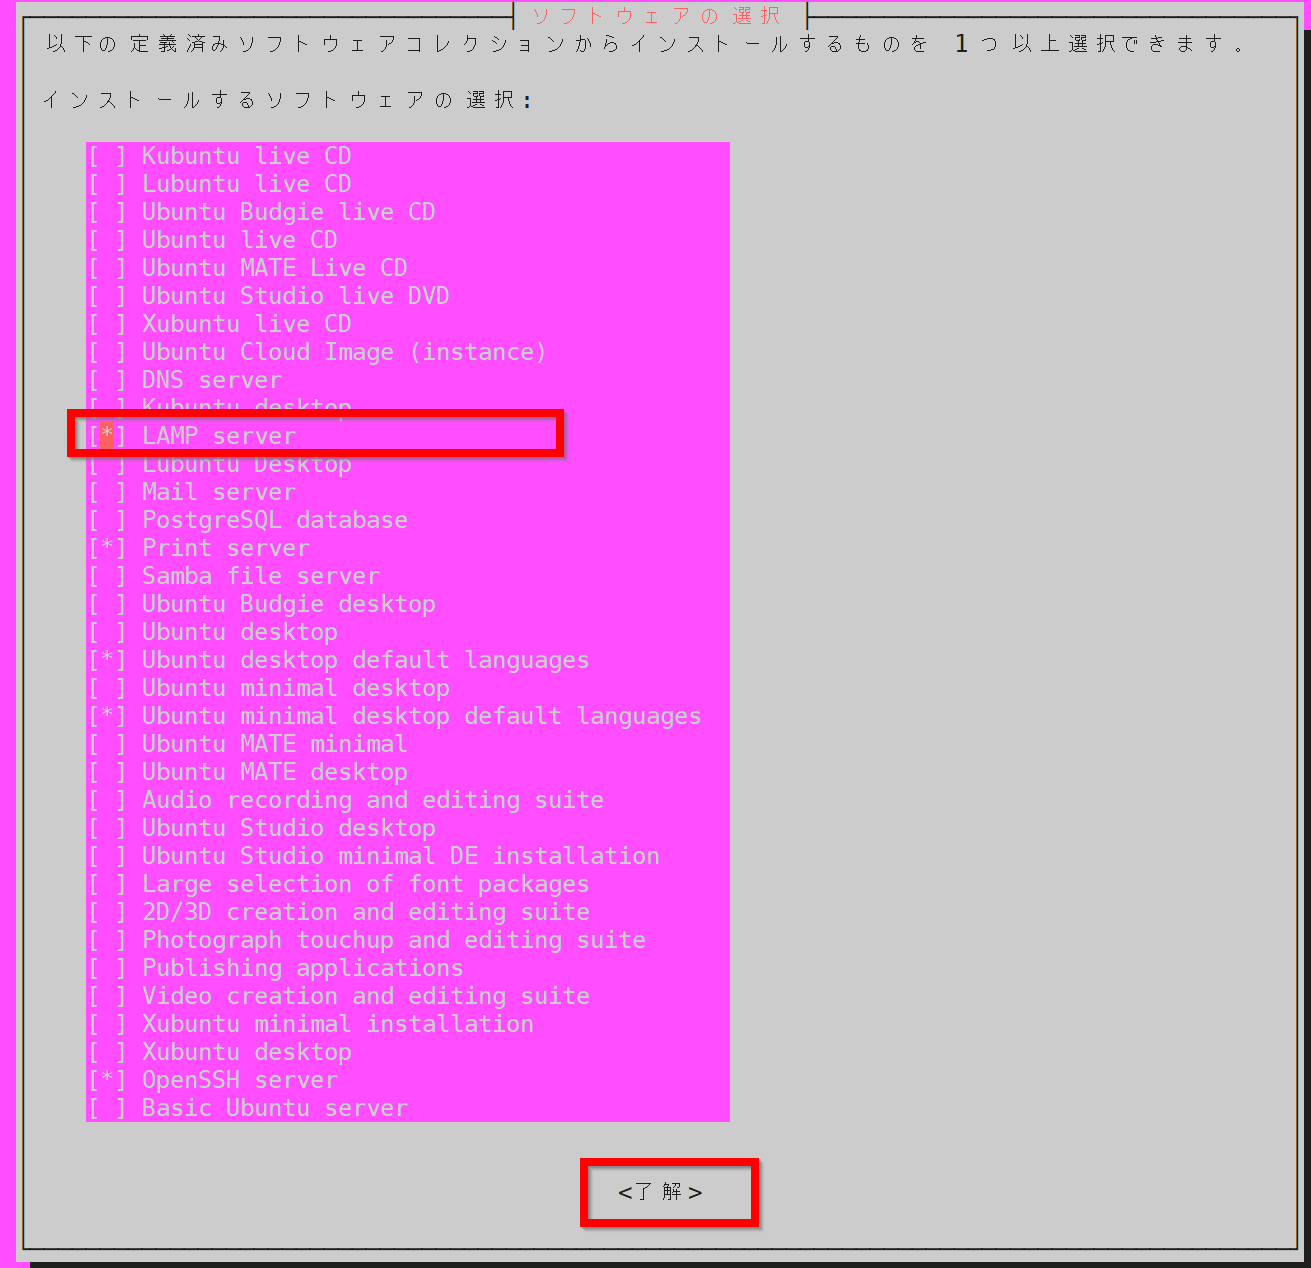 「LAMP server」のインストールは,端末で次のように操作しても行うことができる.
sudo tasksel --list-tasks sudo tasksel install lamp-server - インストールが始まる.

- Apache と MySQL が稼働していることを確認する.
systemctl status apache2
systemctl status mysql
最低限の設定
MySQL データベース管理者 (root) のパスワードの設定
Ubuntu のパッケージでインストールした MySQL 8.0 では,root は auth_socket 認証(OS の root 権限による接続)に設定されている. パスワード認証に変更する場合は次のように操作する. パスワードは,英文字,数字,記号を使う.日本語は使わない.
- MySQL が稼働した状態にする.
systemctl status mysql - 端末で,次のコマンドを実行する.
sudo mysql - MySQL のプロンプトで,次の SQL を実行する.
alter user 'root'@'localhost' identified with caching_sha2_password by '(新しいパスワード)'; flush privileges; \quit - 匿名ユーザの削除やテストデータベースの削除などをまとめて行いたい場合は,次のコマンドを実行し,画面の質問に答える.
sudo mysql_secure_installation
MySQL 一般ユーザのユーザ名,パスワードの設定
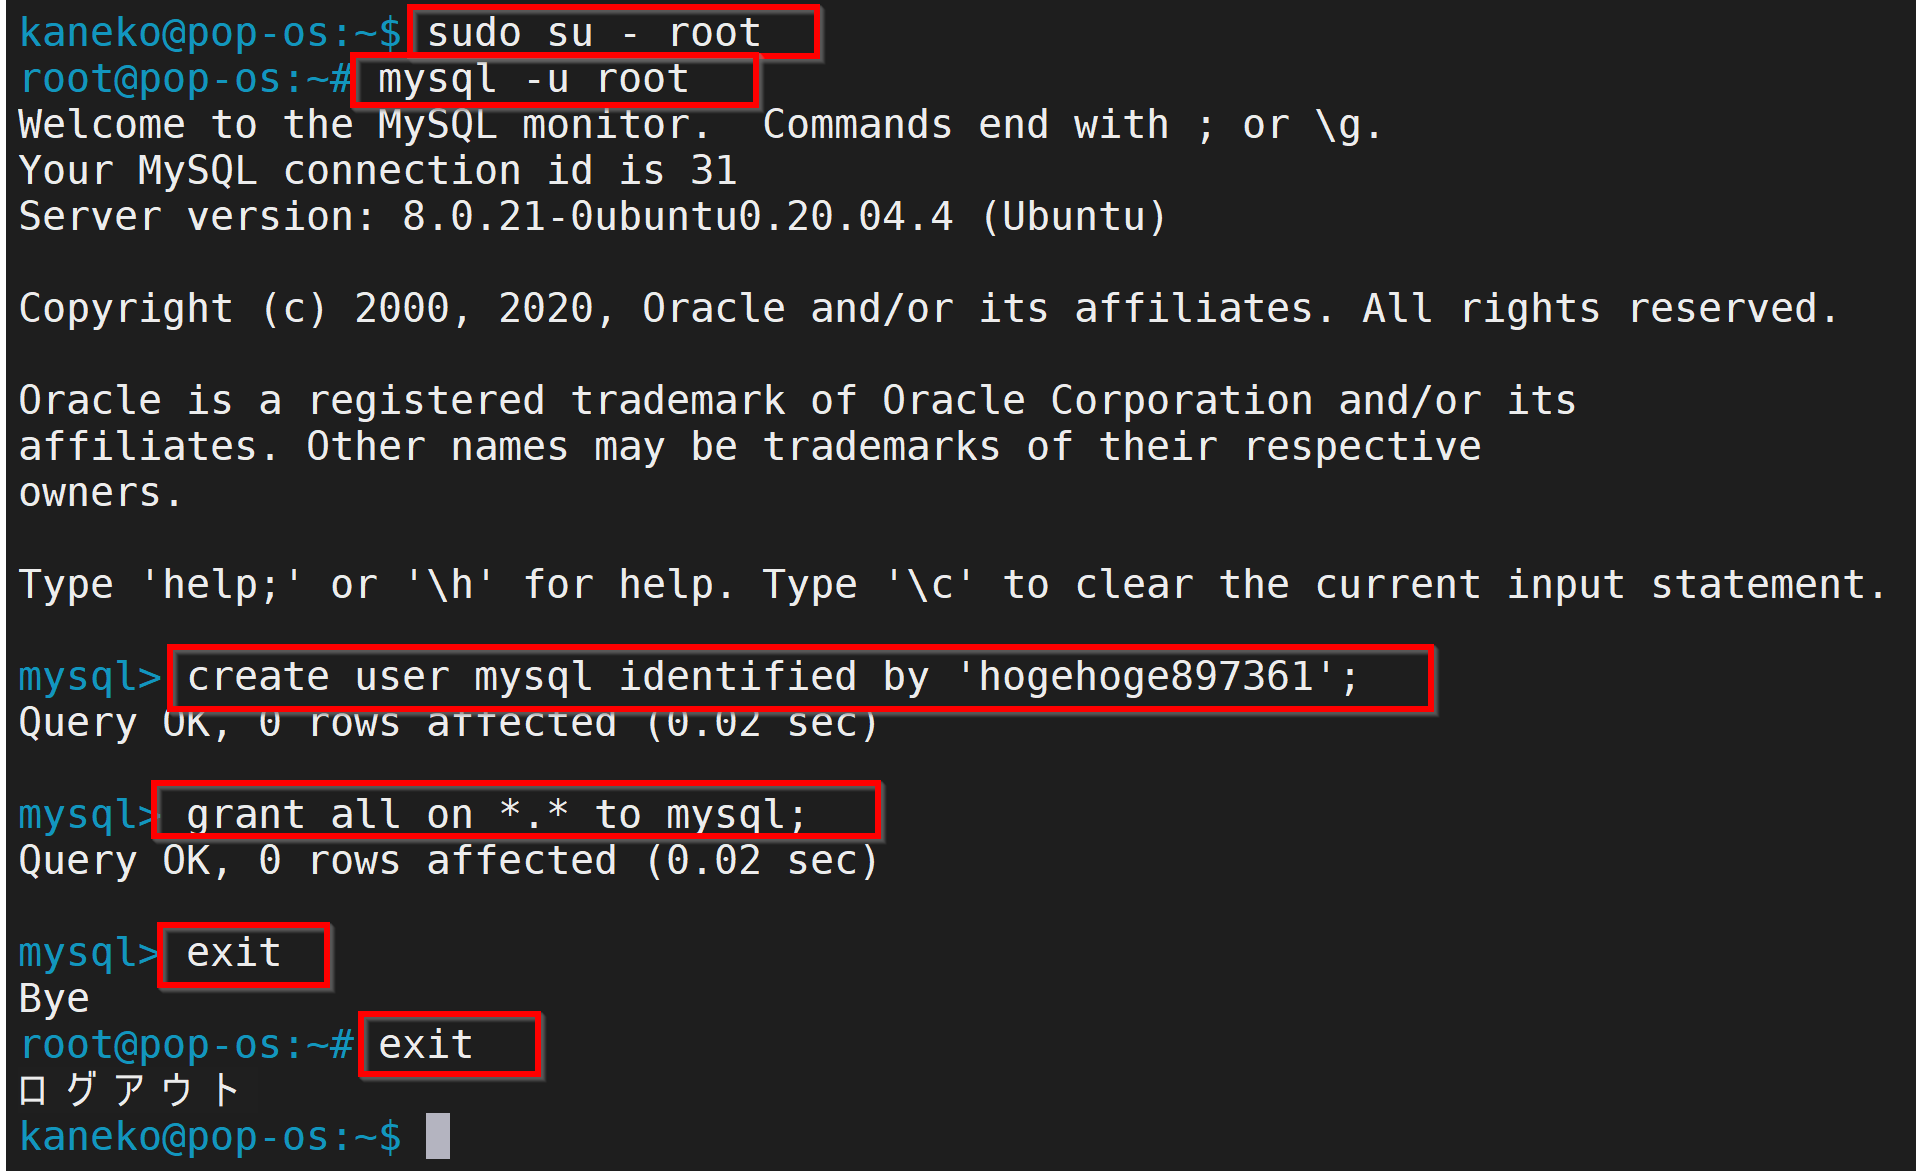
新しく MySQL にアカウントを作る.ユーザ名を mysql にしたい場合は次のように操作する. パスワードは,英文字,数字,記号を使う.日本語は使わない.
sudo mysql
create user 'mysql'@'localhost' identified by '(パスワード)';
grant all privileges on *.* to 'mysql'@'localhost';
flush privileges;
\quit
ufw (ファイアウォールの設定)
MySQL に,リモート接続させたくない場合は,リモートからの接続要求を遮断するようにしておく.
- ufw のインストール
# パッケージリストの情報を更新 sudo apt update sudo apt -y install ufw - ssh のポート(ポート 22)を除き,外部からの接続を遮断したいときの設定
sudo ufw disable sudo ufw default deny incoming sudo ufw allow from any to any port ssh sudo ufw enable - ufw の設定確認
sudo ufw status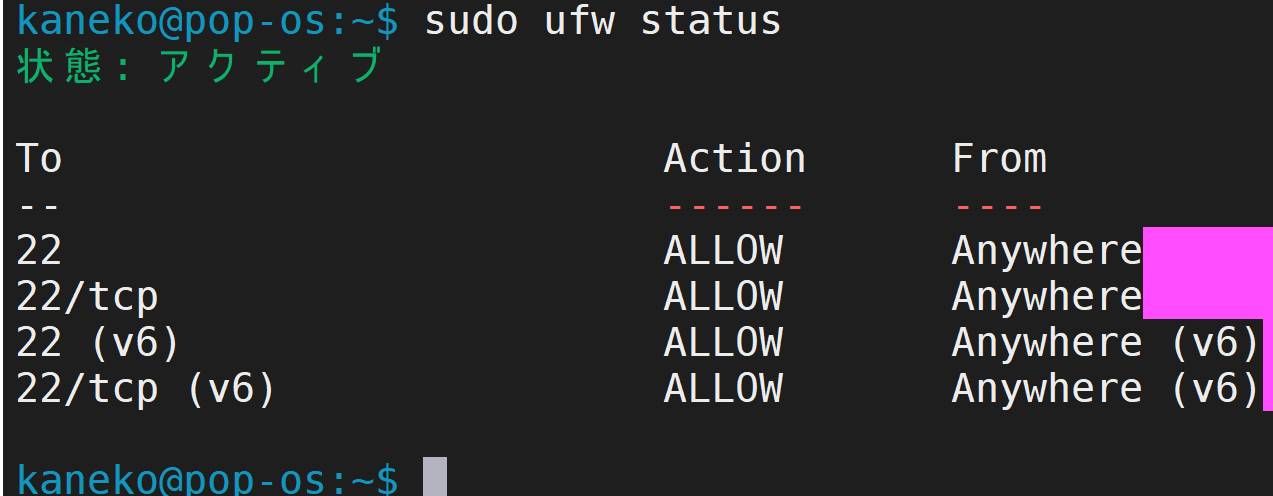
MySQL で,リモート接続を行わないように設定
MySQL に,リモート接続させたくない場合は,設定ファイルの確認も行っておく.
/etc/mysql/mysql.conf.d/mysqld.cnf の bind-address の行が 127.0.0.1 になっていることを確認する(ローカルからの接続要求のみを受け付ける). 設定を変更した場合は,MySQL を再起動する.
sudo systemctl restart mysql

データベースの作成と権限の設定 (Ubuntu 上)
データベースを作成するために,SQL の create database コマンドを使用する.
- 「mysql -u mysql -p」により接続する.
「-u mysql」と指定することにより,一般ユーザ mysql での接続を行う.
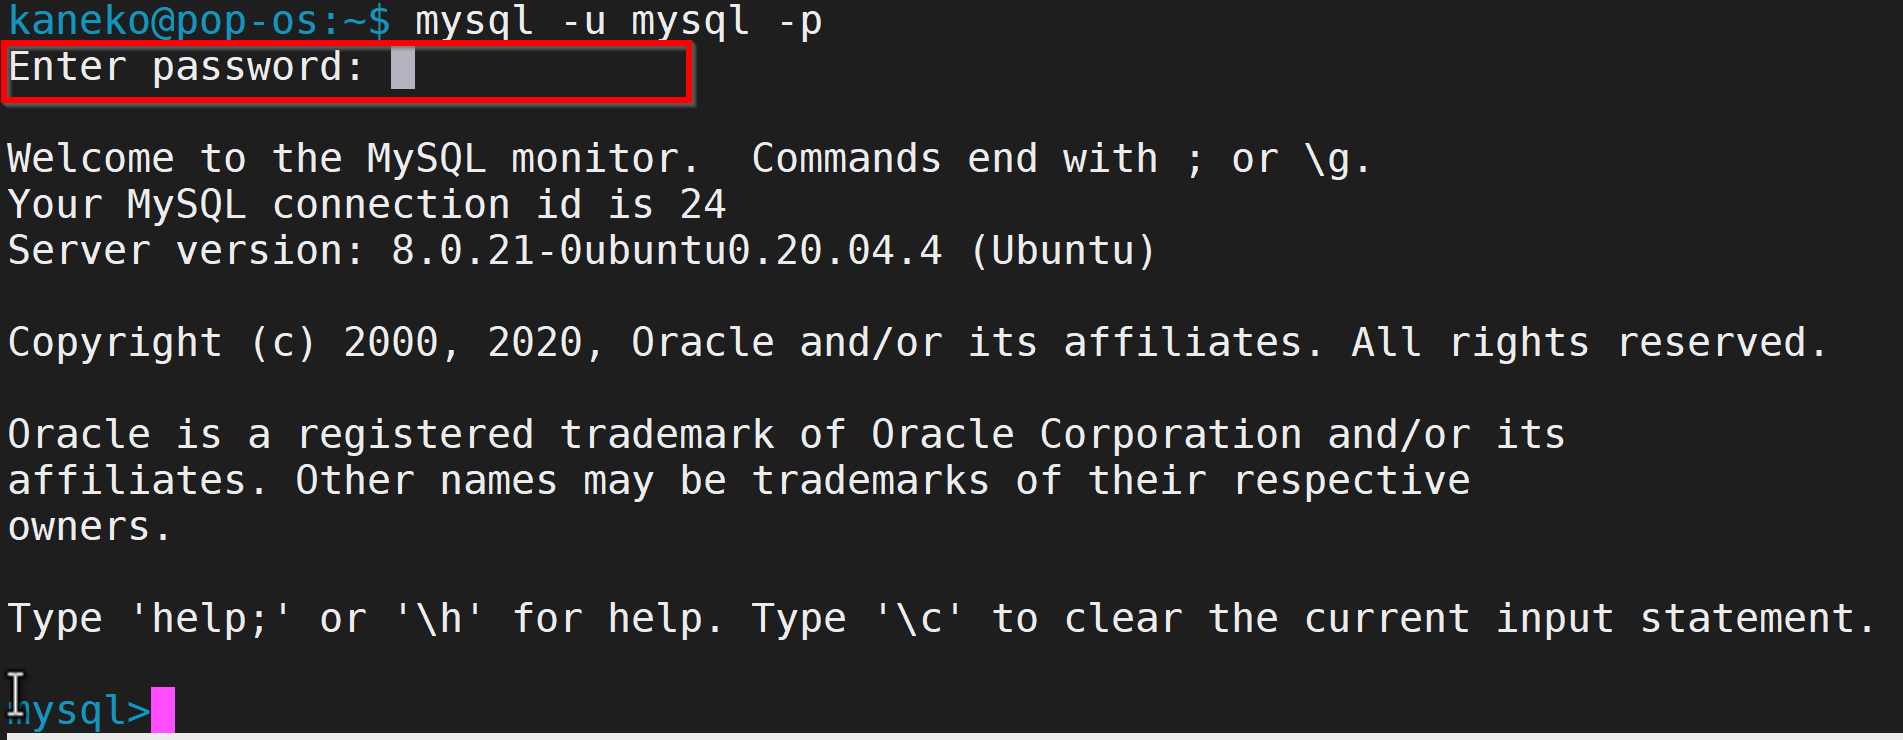
mysql -u mysql -p
- このあと,パスワードを入力してログインする.
プロンプトが出るので, ここでは,一般ユーザ mysql のパスワードを入れる.
画面にパスワードが表示されないのは正常動作である.
実行後,エラーメッセージが出ないことを確認する
- データベース生成
utf8mb4 の場合の生成例
create database testdb default character set utf8mb4 collate utf8mb4_0900_ai_ci;
- 「show databases;」で,データベースが生成されたことを確認する.
show databases; - 「\quit」で終了する.
\quit
テーブル定義とレコード挿入
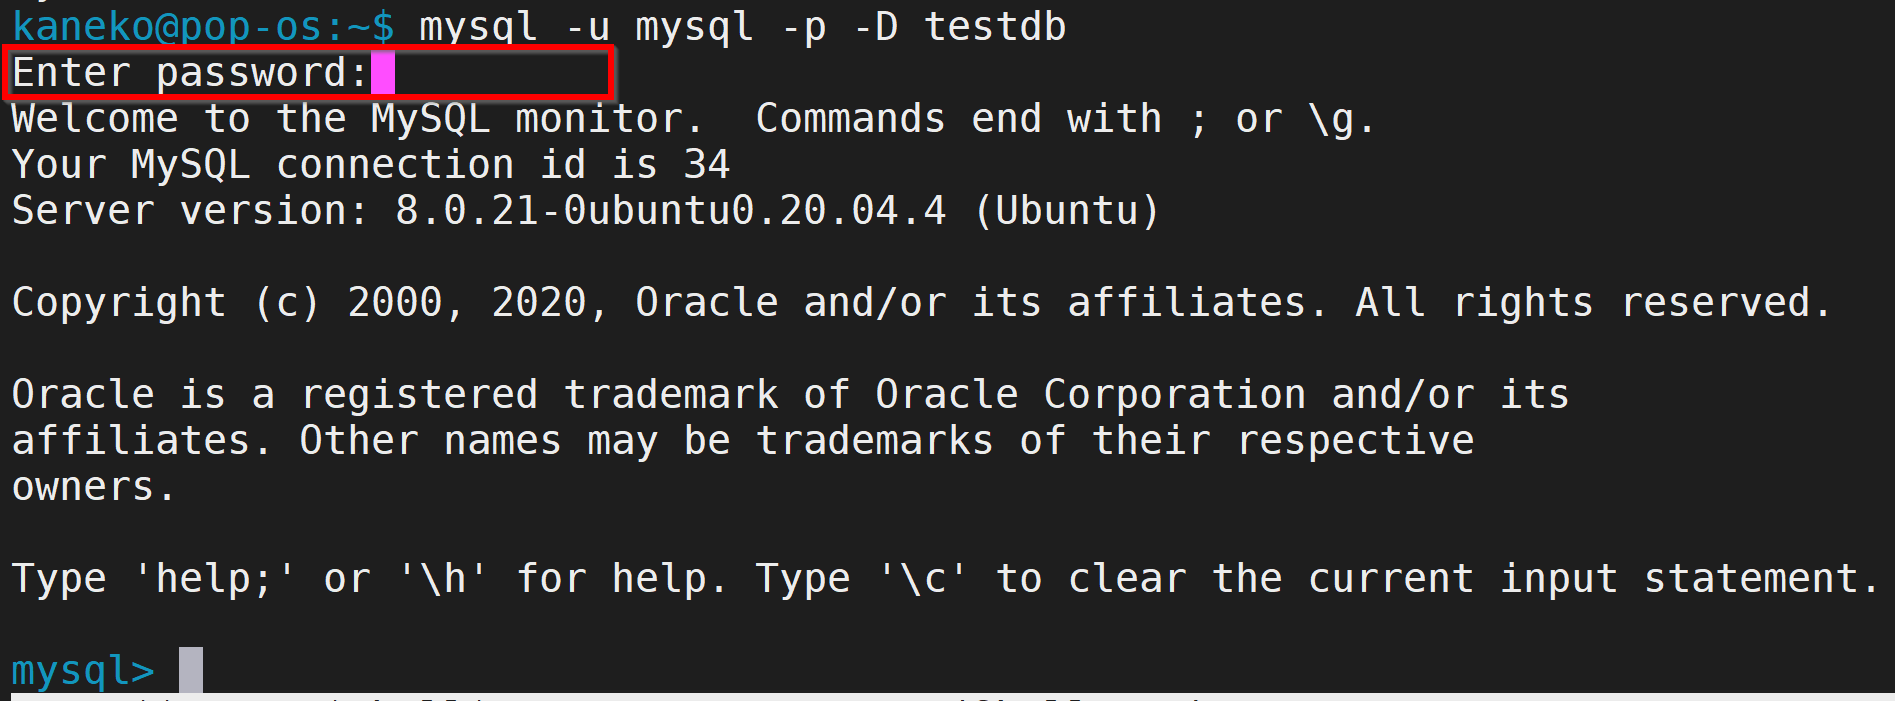
- 「mysql -u mysql -p -D testdb」により接続する.
「-u mysql」と指定することにより,一般ユーザ mysql での接続を行う. 「testdb」はデータベース名である.
mysql -u mysql -p -D testdb
- このあと,パスワードを入力してログインする.
プロンプトが出るので, ここでは,一般ユーザ mysql のパスワードを入れる.
画面にパスワードが表示されないのは正常動作である.
実行後,エラーメッセージが出ないことを確認する
- SQL を用いたテーブル定義
CHECK 制約は MySQL 8.0.16 以降で機能する.
create table order_records (
    id            integer primary key not null,
    year          integer not null CHECK ( year > 2008 ),
    month         integer not null CHECK ( month >= 1 AND month <= 12 ),
    day           integer not null CHECK ( day >= 1 AND day <= 31 ),
    customer_name text not null,
    product_name  text not null,
    unit_price    double not null check ( unit_price > 0 ),
    qty           integer not null default 1 check ( qty > 0 ),
    created_at    timestamp not null default current_timestamp,
    updated_at    timestamp not null default current_timestamp on update current_timestamp,
    check ( ( unit_price * qty ) < 200000 ) );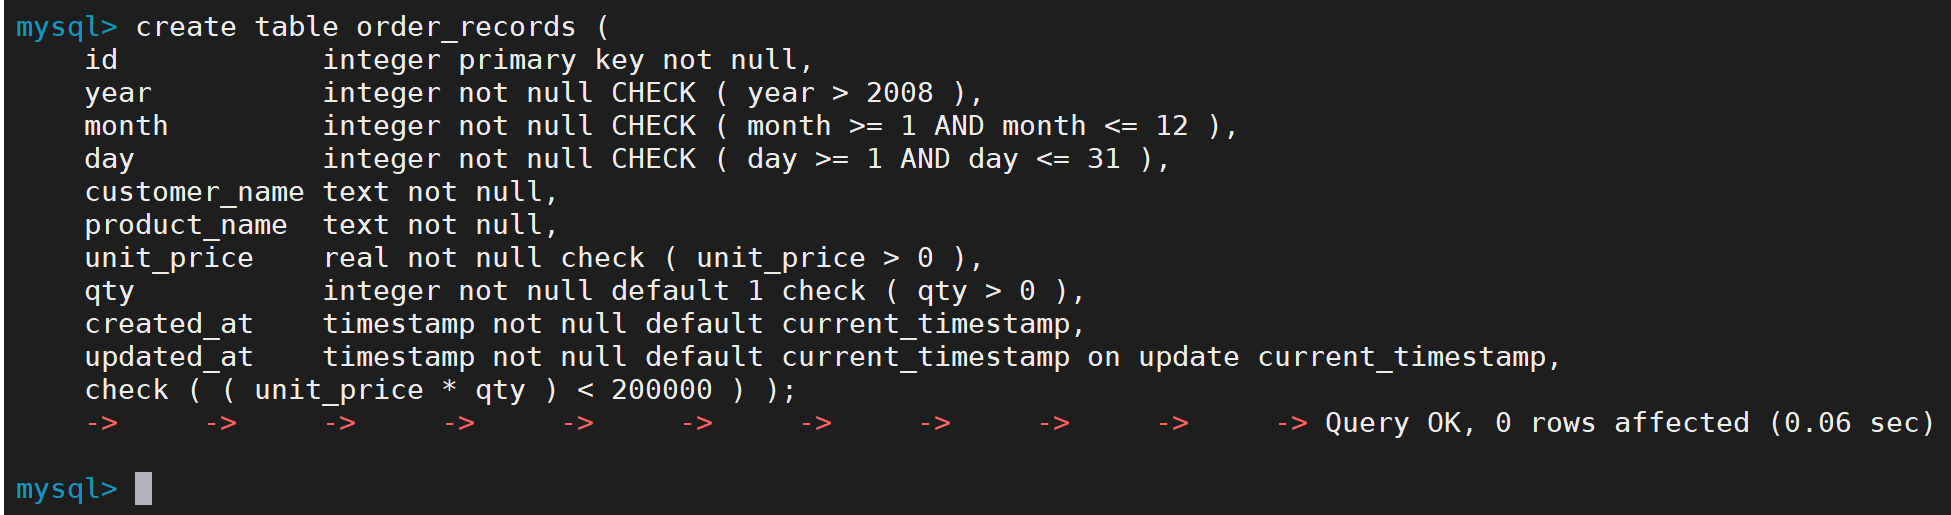
- SQL を用いたレコード挿入
start transaction;
insert into order_records (id, year, month, day, customer_name, product_name, unit_price, qty) values( 1, 2023, 7, 26,  'kaneko', 'orange A', 1.2, 10 );
insert into order_records (id, year, month, day, customer_name, product_name, unit_price, qty) values( 2, 2023, 7, 26,  'miyamoto', 'Apple M',  2.5, 2 );
insert into order_records (id, year, month, day, customer_name, product_name, unit_price, qty) values( 3, 2023, 7, 27,  'kaneko',   'orange B', 1.2, 8 );
insert into order_records (id, year, month, day, customer_name, product_name, unit_price) values( 4, 2023, 7, 28,  'miyamoto',   'Apple L', 3 );
commit;
- 確認表示
select * from order_records;
- 更新し確認表示
start transaction; update order_records set unit_price = 11.2 where id = 1; commit; select * from order_records; - テーブル一覧の表示
show tables;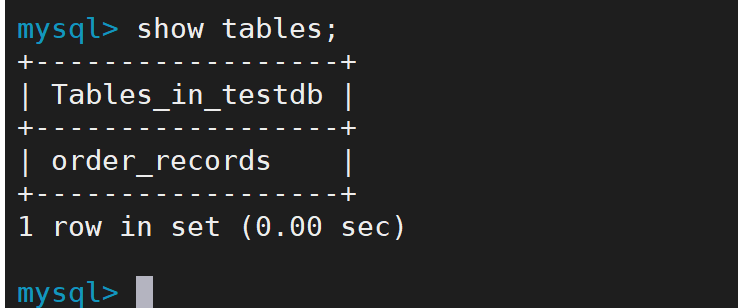
- 「\quit」で終了する.
\quit
CGI の設定と動作確認
- Apache の cgi モジュールを有効化する.
sudo a2enmod cgi - /etc/apache2/sites-available/000-default.conf の <VirtualHost> と </VirtualHost>
の中に次を書き加える.
ScriptAlias /cgi-bin/ /usr/lib/cgi-bin/ <Directory "/usr/lib/cgi-bin"> AllowOverride None Options +ExecCGI -MultiViews +SymLinksIfOwnerMatch Require all granted </Directory> - 設定ファイルの文法を確認する.
sudo apache2ctl configtest - /etc/apache2/sites-available/000-default.conf を書き替えたので,Apache を再起動する.
sudo systemctl restart apache2 - 次の手順で動作確認する.
- まず,次のファイルを作る.
ファイル名は /usr/lib/cgi-bin/hello.pl で保存する.
#!/usr/bin/perl print "Content-type: text/html\n\n"; print "Hello, World."; - 次のように操作し,実行権限を与える.
sudo chmod 755 /usr/lib/cgi-bin/hello.pl - Web ブラウザで,次の URL を開き,「Hello, World.」と表示されることを確認する.
http://localhost/cgi-bin/hello.pl
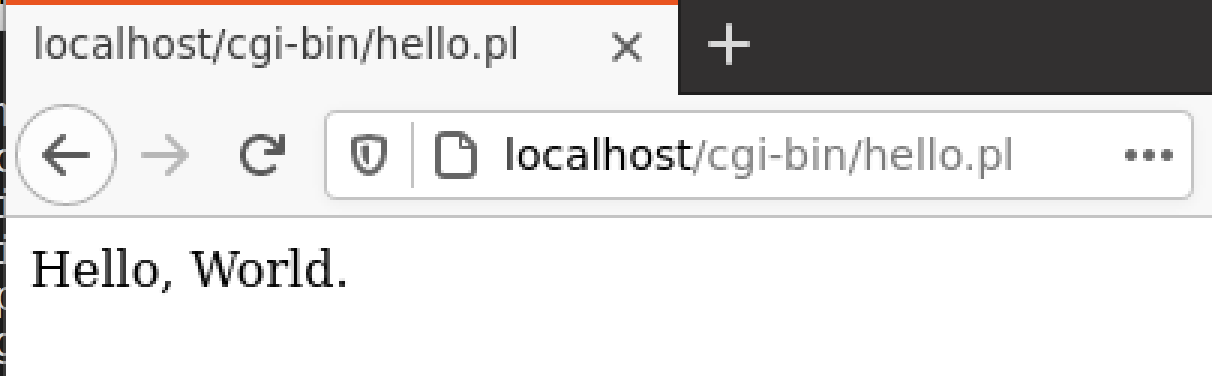
- まず,次のファイルを作る.
ファイル名は /usr/lib/cgi-bin/hello.pl で保存する.