mstrorsjo の llvm-mingw のインストール,テスト実行(Windows 上)
前準備
Git のインストール(Windows 上) [クリックして展開]
管理者権限のコマンドプロンプトで以下を実行する.管理者権限は,winget の --scope machine オプションでシステム全体にインストールするために必要となる.
REM Git をシステム領域にインストール
winget install --scope machine --id Git.Git -e --silent --disable-interactivity --force --accept-source-agreements --accept-package-agreements --override "/VERYSILENT /NORESTART /NOCANCEL /SP- /CLOSEAPPLICATIONS /RESTARTAPPLICATIONS /COMPONENTS=""icons,ext\reg\shellhere,assoc,assoc_sh"" /o:PathOption=Cmd /o:CRLFOption=CRLFCommitAsIs /o:BashTerminalOption=MinTTY /o:DefaultBranchOption=main /o:EditorOption=VIM /o:SSHOption=OpenSSH /o:UseCredentialManager=Enabled /o:PerformanceTweaksFSCache=Enabled /o:EnableSymlinks=Disabled /o:EnableFSMonitor=Disabled"
7-Zip のインストール(Windows 上) [クリックして展開]
管理者権限のコマンドプロンプトで以下を実行する。管理者権限のコマンドプロンプトを起動するには、Windows キーまたはスタートメニューから「cmd」と入力し、表示された「コマンドプロンプト」を右クリックして「管理者として実行」を選択する。
REM 7-Zip をシステム領域にインストール
winget install --scope machine --id 7zip.7zip -e --silent --disable-interactivity --force --accept-source-agreements --accept-package-agreements
REM 7-Zip のパス設定
powershell -NoProfile -Command "$p='C:\Program Files\7-Zip'; $c=[Environment]::GetEnvironmentVariable('Path','Machine'); if((Test-Path $p) -and $c -notlike \"*$p*\"){[Environment]::SetEnvironmentVariable('Path',\"$p;$c\",'Machine')}"
【関連項目】 7-Zip
インストール
- ページを開く
- 画面右側の「Releases」をクリック.
- リリースの画面で,最新の msvcrt-x8664 の zip ファイルをダウンロード
- ダウンロードが始まる
- ダウンロードしたファイルを展開(解凍)する.
ここから先は,C:\llvm-mingw 下に展開(解凍)するとして説明を続ける.
7-Zip のインストールは 別ページ »で説明cd <ダウンロードしたフォルダ名> 7z x llvm-mingw-20220906-msvcrt-x86_64.zip -oc:\ - Windows のシステム環境変数Pathに次の5つを追加することにより,パスを通す.
- C:\llvm-mingw-20220906-msvcrt-x86_64\bin
- C:\llvm-mingw-20220906-msvcrt-x86_64\x86_64-w64-mingw32\bin
- C:\llvm-mingw-20220906-msvcrt-x86_64\python\bin
そのために,Windows で,管理者権限でコマンドプロンプトを起動(手順:Windowsキーまたはスタートメニュー >
cmdと入力 > 右クリック > 「管理者として実行」)。次のコマンドを実行
powershell -command "$oldpath = [System.Environment]::GetEnvironmentVariable(\"Path\", \"Machine\"); $oldpath += \";C:\llvm-mingw-20220906-msvcrt-x86_64\bin\"; [System.Environment]::SetEnvironmentVariable(\"Path\", $oldpath, \"Machine\")" powershell -command "$oldpath = [System.Environment]::GetEnvironmentVariable(\"Path\", \"Machine\"); $oldpath += \";C:\llvm-mingw-20220906-msvcrt-x86_64\x86_64-w64-mingw32\bin\"; [System.Environment]::SetEnvironmentVariable(\"Path\", $oldpath, \"Machine\")" powershell -command "$oldpath = [System.Environment]::GetEnvironmentVariable(\"Path\", \"Machine\"); $oldpath += \";C:\llvm-mingw-20220906-msvcrt-x86_64\python\bin\"; [System.Environment]::SetEnvironmentVariable(\"Path\", $oldpath, \"Machine\")" - gcc, g++, dlltool, clang, lldb にパスが通っていることを確認する
そのために,新しく Windows のコマンドプロンプトを開き,次のコマンドを実行する.
エラーメッセージが出なければOK.
where gcc where g++ where dlltool where clang where lldb - コンパイラの確認のため、次のプログラムを作成。「hello.c」のようなファイル名で保存.
#include<stdio.h>
int main() {
    printf("Hello,World!\n");
    printf("sizeof(size_t)=%ld\n", sizeof(size_t));
    return 0;
}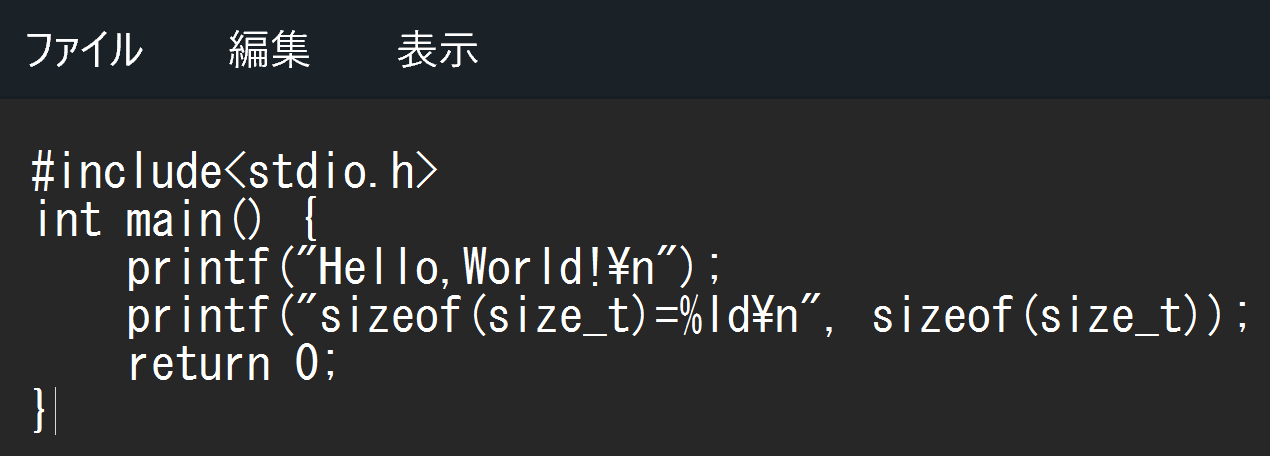
Windows のコマンドプロンプトを開き,次を実行.
「Hello,World!」「sizeof(size_t)=8!」と表示されればOK.
gcc hello.c
.\a.exe