OpenMVG (open Multiple View Geometry) のインストール(Ubuntu 上)
URL: https://github.com/openMVG/openMVG
【関連する外部ページ】 https://github.com/openMVG/awesome_3DReconstruction_list
前準備
Ubuntu のシステム更新
Ubuntu で OS のシステム更新を行うときは, 端末で,次のコマンドを実行する.
Ubuntu で OS のシステム更新を行うときは, 端末で,次のコマンドを実行する。これは、パッケージ情報を最新の状態に保ち、インストール済みのパッケージをセキュリティアップデートやバグ修正を含めて更新するためである。
# パッケージリストの情報を更新
sudo apt update
# インストール済みのパッケージを包括的に更新 (依存関係も考慮)
sudo apt full-upgrade
# カーネル更新等で実際に再起動が必要な場合のみ実行を推奨
# sudo shutdown -r now
Git, CMake のインストール(Ubuntu 上)
インストールするには,端末で,次のコマンドを実行する.
sudo apt -y install git cmake cmake-curses-gui cmake-gui
C/C++ コンパイラと Make とビルドツールのインストール
ソフトウェアをソースコードからビルドするには、C/C++コンパイラ (通常はGCC) や make ユーティリティといった開発ツールが重要である。Ubuntuでは、これらのツールは build-essential パッケージにまとめられている。インストールするには,端末で,次のコマンドを実行する。
sudo apt -y install build-essential libtool texinfo dpkg-dev pkg-config
libtool, texinfo, dpkg-dev, pkg-config は、より複雑なビルドやパッケージ管理の際に役立つ開発関連ツールである。
NVIDIA ドライバ,NVIDIA CUDA ツールキット 11.7, NVIDIA cuDNN v8.4.1 のインストールのインストール(Ubuntu 上)
Ubuntu での NVIDIA ドライバ,NVIDIA CUDA ツールキット 11.7, NVIDIA cuDNN v8.4.1 のインストール: 別ページ »で説明
OpenMVG のインストール(ソースコードを使用)(Ubuntu 上)
https://github.com/openMVG/openMVG/blob/develop/BUILD.md#linux
Eigen のインストール(Ubuntu 上)
端末で,次のコマンドを実行する.
Ubuntu 22.04 では Eigen 3.4.0 がインストールされる.
sudo apt -y install libeigen3-dev
SuiteSparse, CXSparse, libmetis, BLAS, LAPACK のインストール(Ubuntu 上)
端末で,次のコマンドを実行する.
Ubuntu 22.04 では SuiteSparse 5.10.1, libmetis 5.1.0 がインストールされる.
sudo apt -y install libatlas-base-dev libsuitesparse-dev
Ceres Solver のインストール(ソースコードを使用)(Ubuntu 上)
公式ページ http://ceres-solver.org/installation.html の手順に従う.
- 前提ソフトウェア
Ceres Solver のインストールのために, cmake, google-glog, glfags, Eigen, BLAS, LAPACK, Eigen 3, SuiteSparse, CXSparse をインストールする.
端末で,次のコマンドを実行する.
sudo apt -y install cmake libgoogle-glog-dev libgflags-dev libatlas-base-dev libeigen3-dev libsuitesparse-dev - Ceres Solver のビルド
「-b 2.1.0」は 2022年8月時点の最新の安定版(バージョン 2.1.0)をダウンロードすることを指定している. 最新の安定版については https://github.com/ceres-solver/ceres-solver で確認.
(安定版よりも新しい版などでは,うまく動作しないということもありえるので注意).
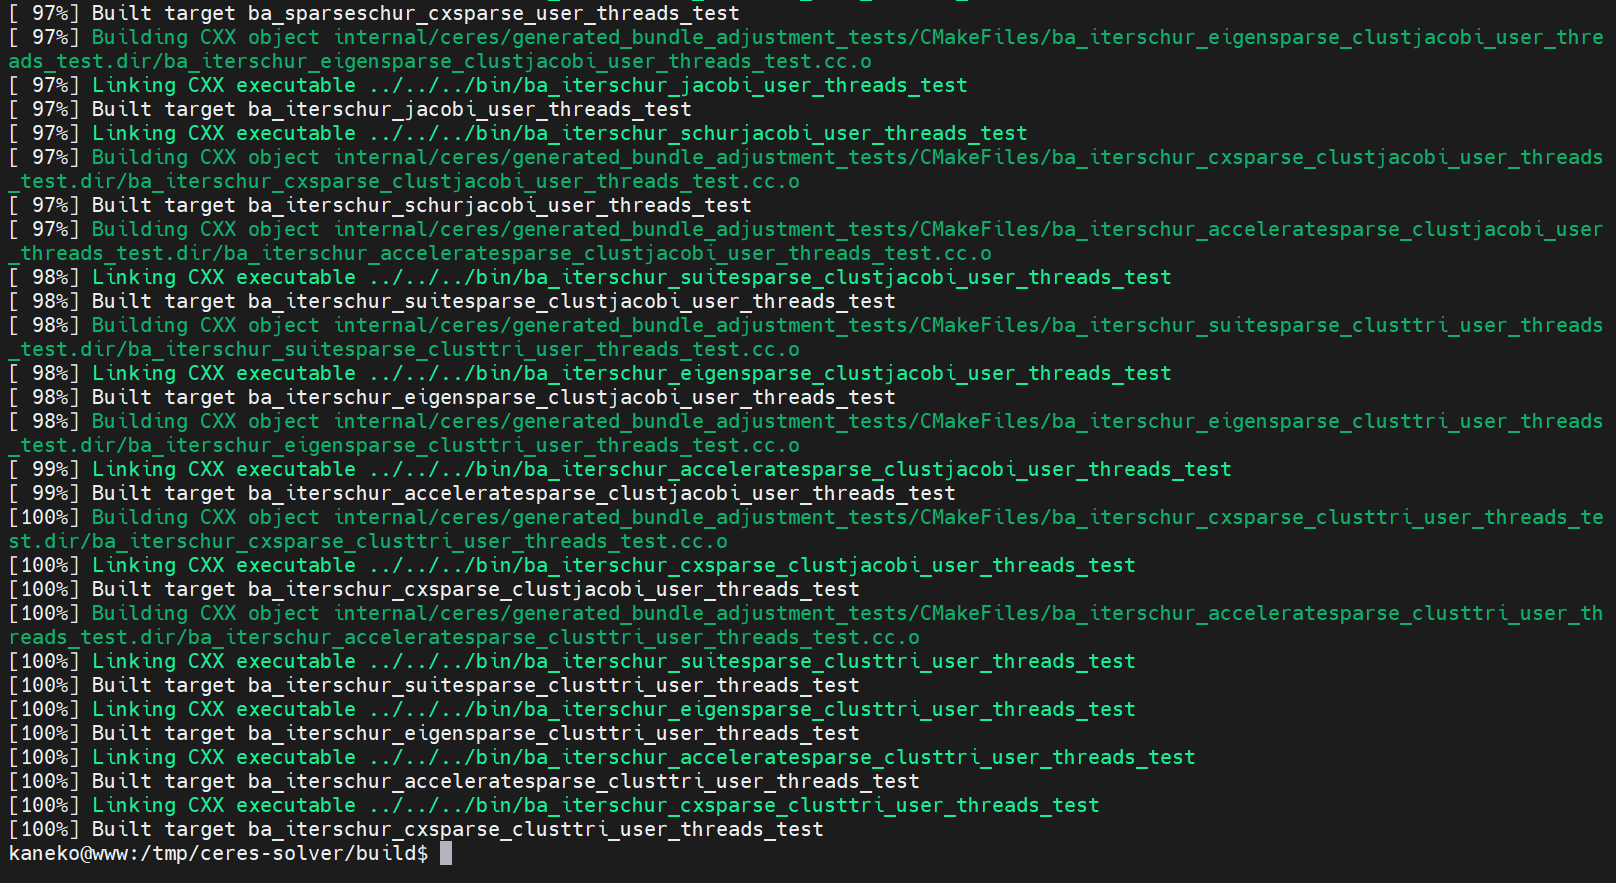
cd /tmp sudo rm -rf ceres-solver git clone https://ceres-solver.googlesource.com/ceres-solver -b 2.1.0 cd ceres-solver mkdir build cd build cmake .. -DEIGENSPARSE=ON -DSUITESPARSE=ON \ -DSuiteSparse_AMD_INCLUDE_DIR=/usr/include/suitesparse \ -DSuiteSparse_CAMD_INCLUDE_DIR=/usr/include/suitesparse \ -DSuiteSparse_COLAMD_INCLUDE_DIR=/usr/include/suitesparse \ -DSuiteSparse_CCOLAMD_INCLUDE_DIR=/usr/include/suitesparse \ -DSuiteSparse_CHOLMOD_INCLUDE_DIR=/usr/include/suitesparse \ -DSuiteSparse_SPQR_INCLUDE_DIR=/usr/include/suitesparse \ -DSuiteSparse_Config_INCLUDE_DIR=/usr/include/suitesparse \ -DSuiteSparse_Config_LIBRARY=/usr/lib/x86_64-linux-gnu/libsuitesparseconfig.a make -j4 - 終了の確認
ここまでの一連の操作で,エラーメッセージが出るなどの問題がないこと.
- Ceres Solver のインストール
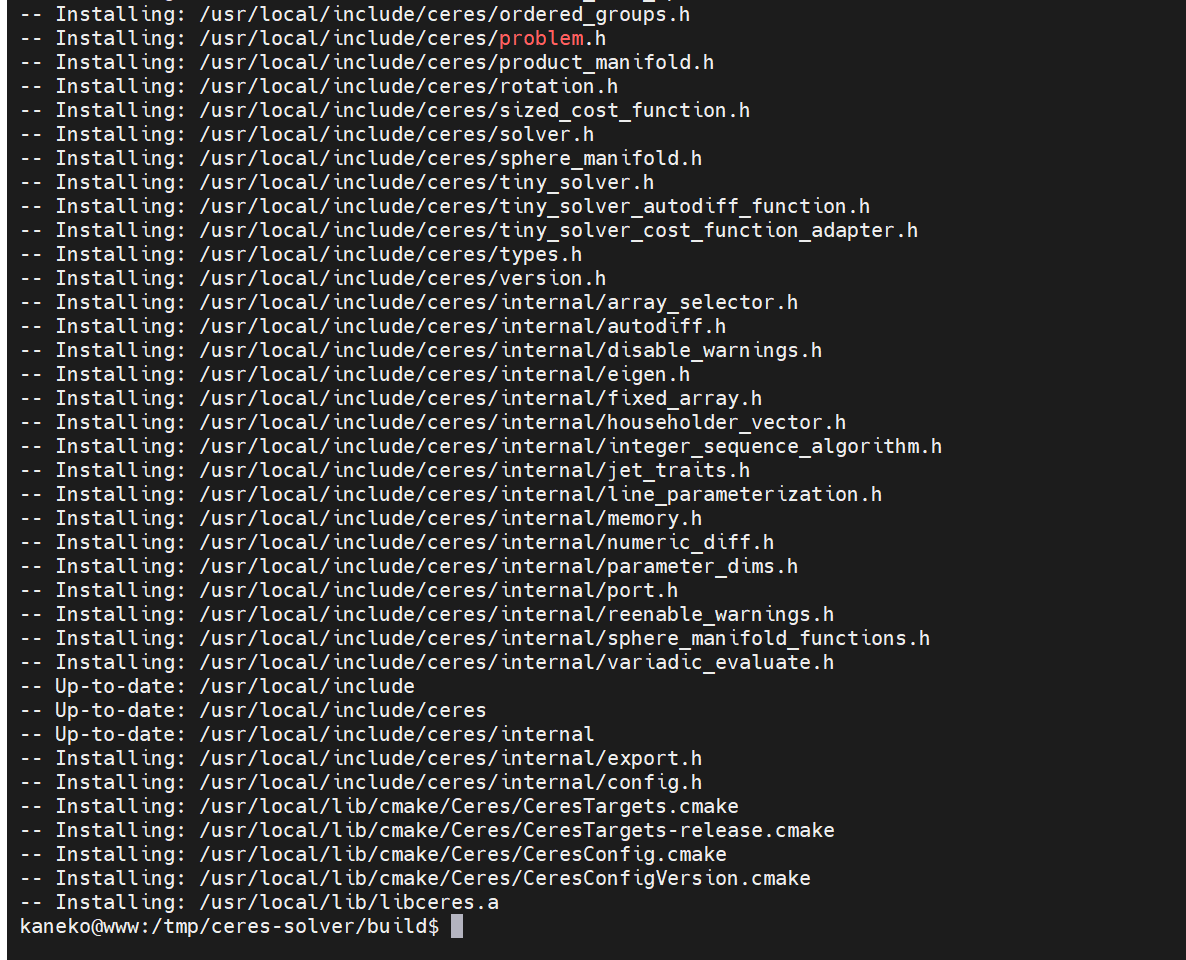
sudo make install
- 終了の確認
- 動作確認
cd /tmp/ceres-solver/build
./bin/simple_bundle_adjuster ../data/problem-16-22106-pre.txt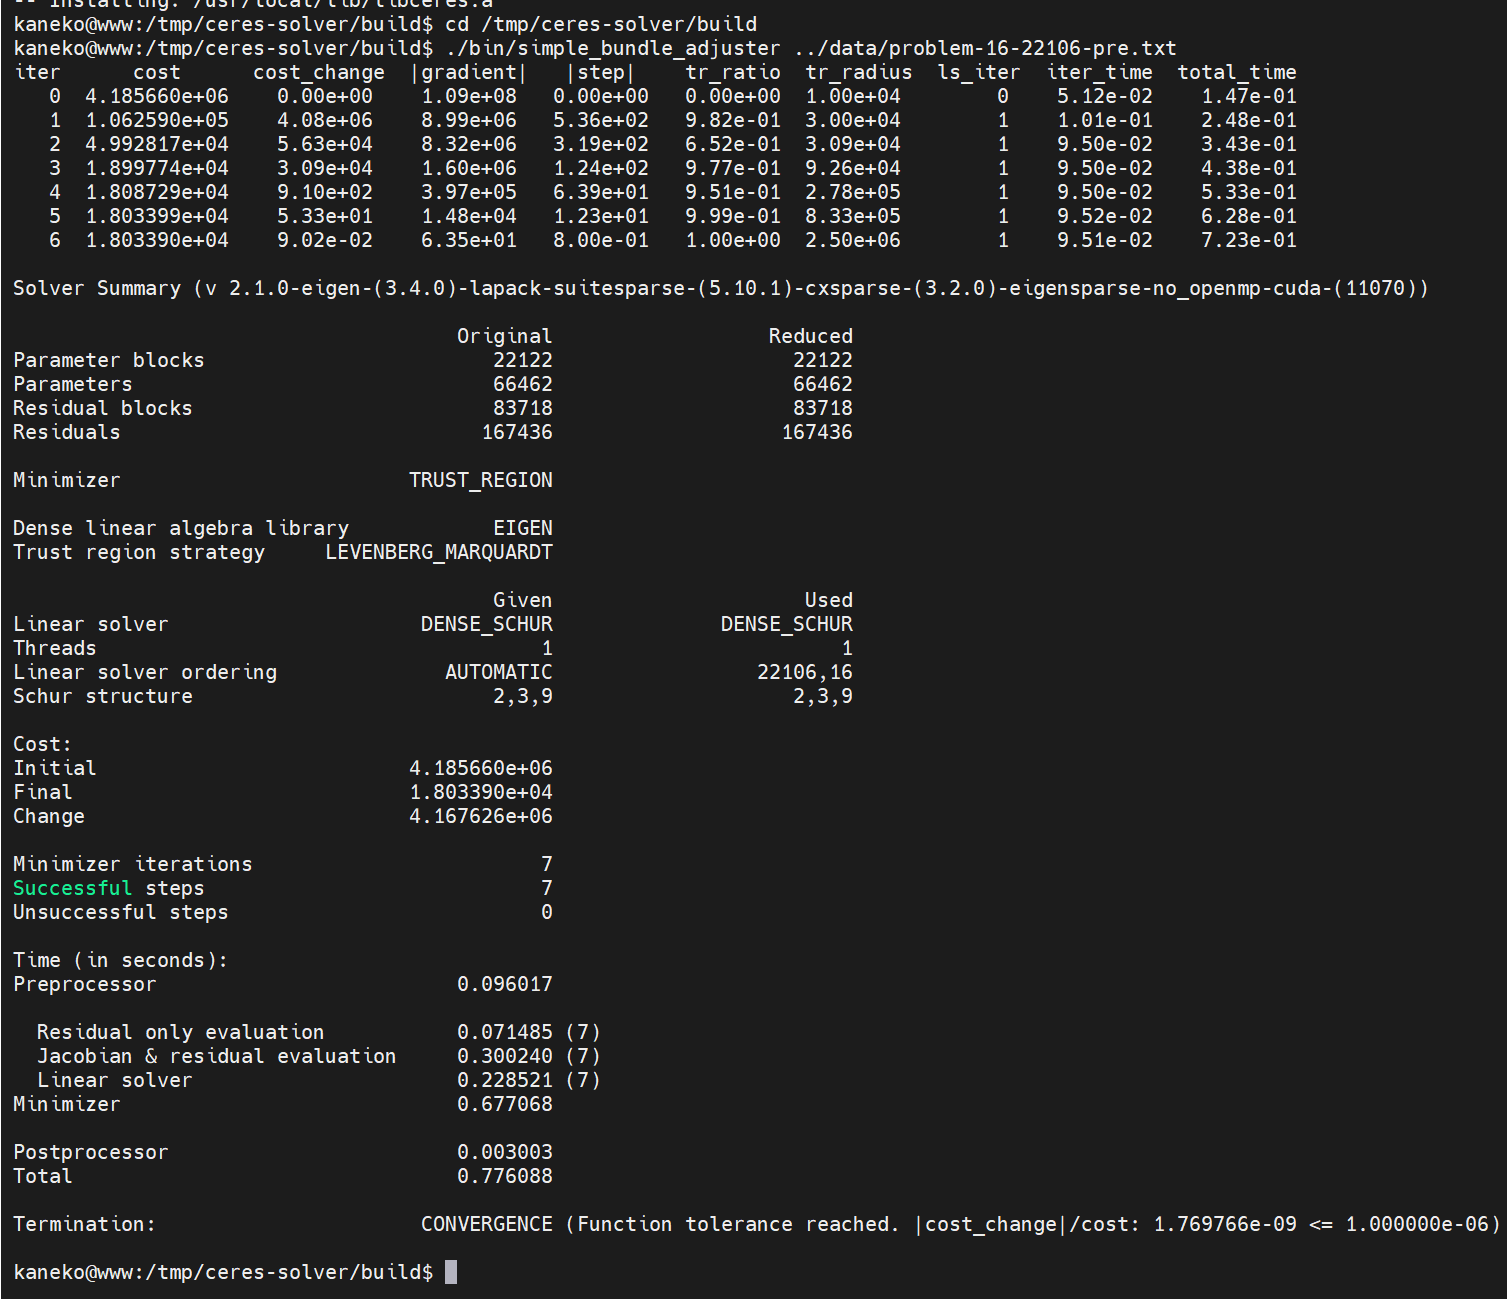
- テスト
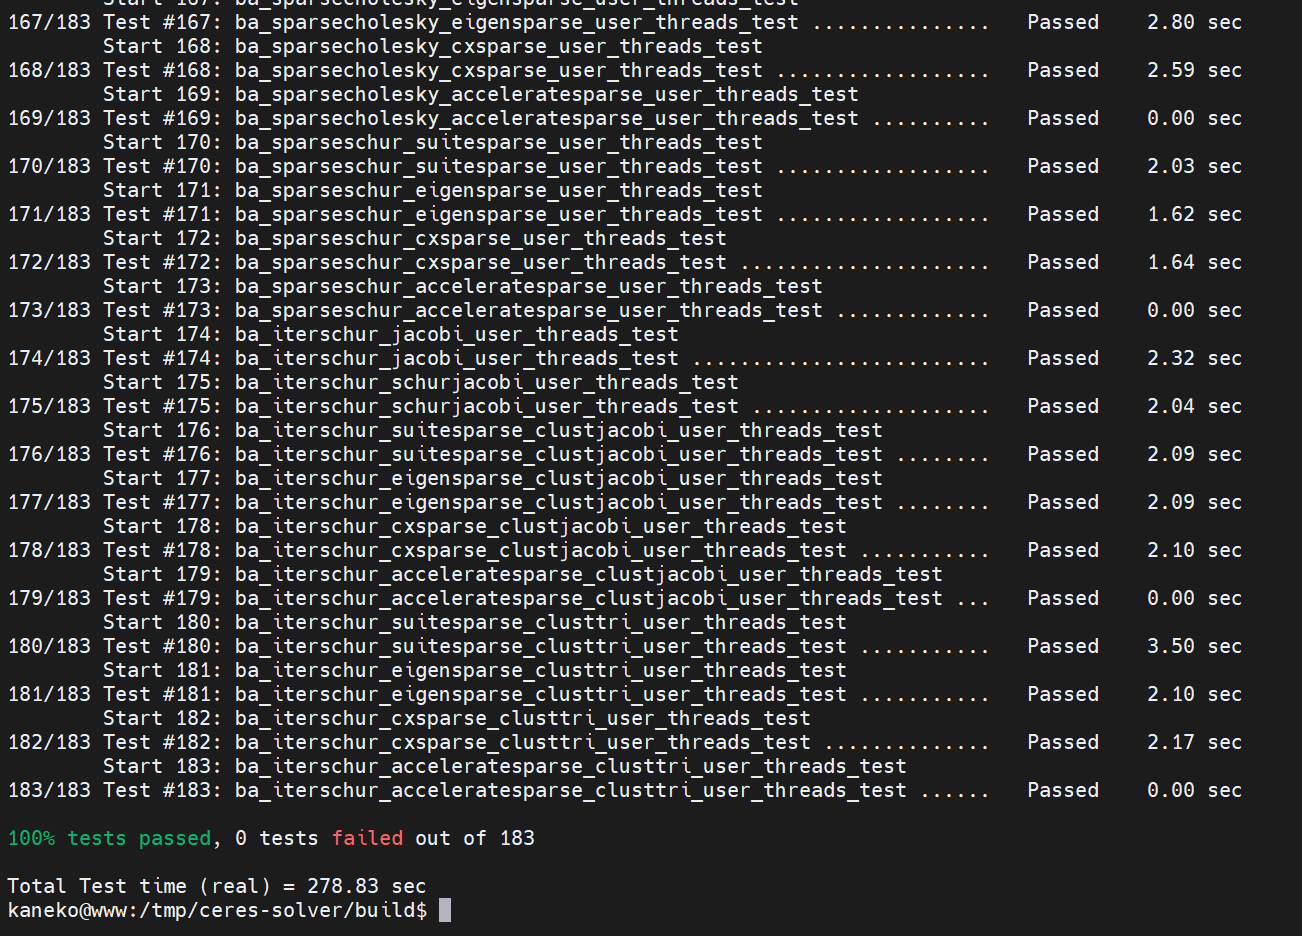
make test
- テスト結果の確認
OpenMVG のインストール(Ubuntu 上)
- 前提ソフトウェア
端末で,次のコマンドを実行する.
# パッケージリストの情報を更新 sudo apt update sudo apt -y install libpng-dev libjpeg-dev libtiff-dev libxxf86vm1 libxxf86vm-dev libxi-dev libxrandr-dev graphviz - OpenMVG のビルド
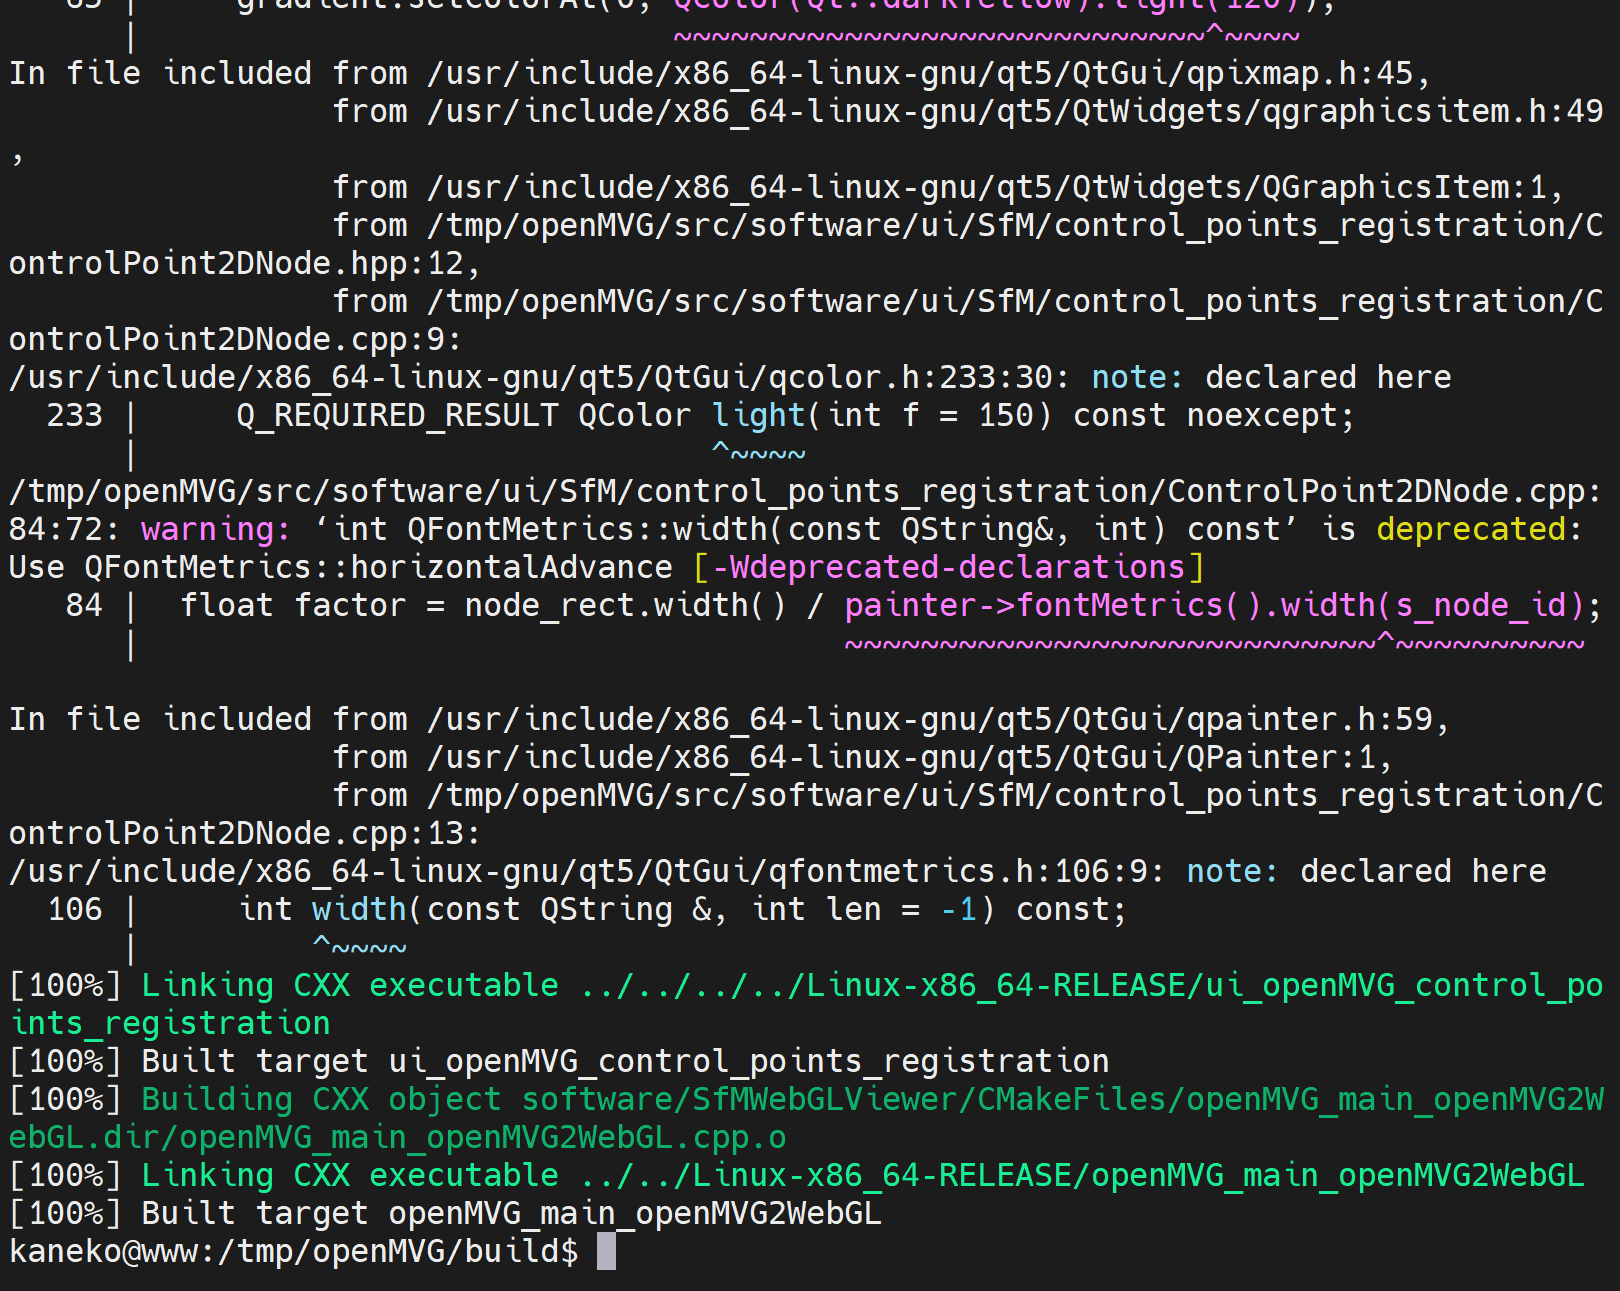
cd /tmp rm -rf openMVG git clone --recursive https://github.com/openMVG/openMVG.git cd /tmp/openMVG sudo rm -rf build mkdir build cd build cmake ../src -DCMAKE_BUILD_TYPE=RELEASE -DOpenMVG_USE_OPENCV=ON cmake --build . sudo cmake --build . --target install - 終了の確認.
ここまでの一連の操作で,エラーメッセージが出るなどの問題がないこと.
 OpenMVG のビルドで,次のエラーが出た場合には,Ceres Solver のバージョンとして,2.1.0 をインストールすると解決できる場合がある.
/tmp/openMVG/src/openMVG/multiview/translation_averaging_solver_l2_chordal.cpp: In function ‘bool openMVG::solve_translations_problem_l2_chordal(const int*, const double*, const double*, int, double, double*, double, double, int)’: /tmp/openMVG/src/openMVG/multiview/translation_averaging_solver_l2_chordal.cpp:124:68: error: ‘CX_SPARSE’ is not a member of ‘ceres’; did you mean ‘NO_SPARSE’? 124 | lse if (ceres::IsSparseLinearAlgebraLibraryTypeAvailable(ceres::CX_SPARSE)) | ^~~~~~~~~ | NO_SPARSE /tmp/openMVG/src/openMVG/multiview/translation_averaging_solver_l2_chordal.cpp:126:57: error: ‘CX_SPARSE’ is not a member of ‘ceres’; did you mean ‘NO_SPARSE’? 126 | options.sparse_linear_algebra_library_type = ceres::CX_SPARSE; | ^~~~~~~~~ | NO_SPARSE gmake[2]: *** [openMVG/multiview/CMakeFiles/openMVG_multiview.dir/build.make:370: openMVG/multiview/CMakeFiles/openMVG_multiview.dir/translation_averaging_solver_l2_chordal.cpp.o] エラー 1 gmake[1]: *** [CMakeFiles/Makefile2:2391: openMVG/multiview/CMakeFiles/openMVG_multiview.dir/all] エラー 2 gmake: *** [Makefile:136: all] エラー 2- OpenMVG のインストール
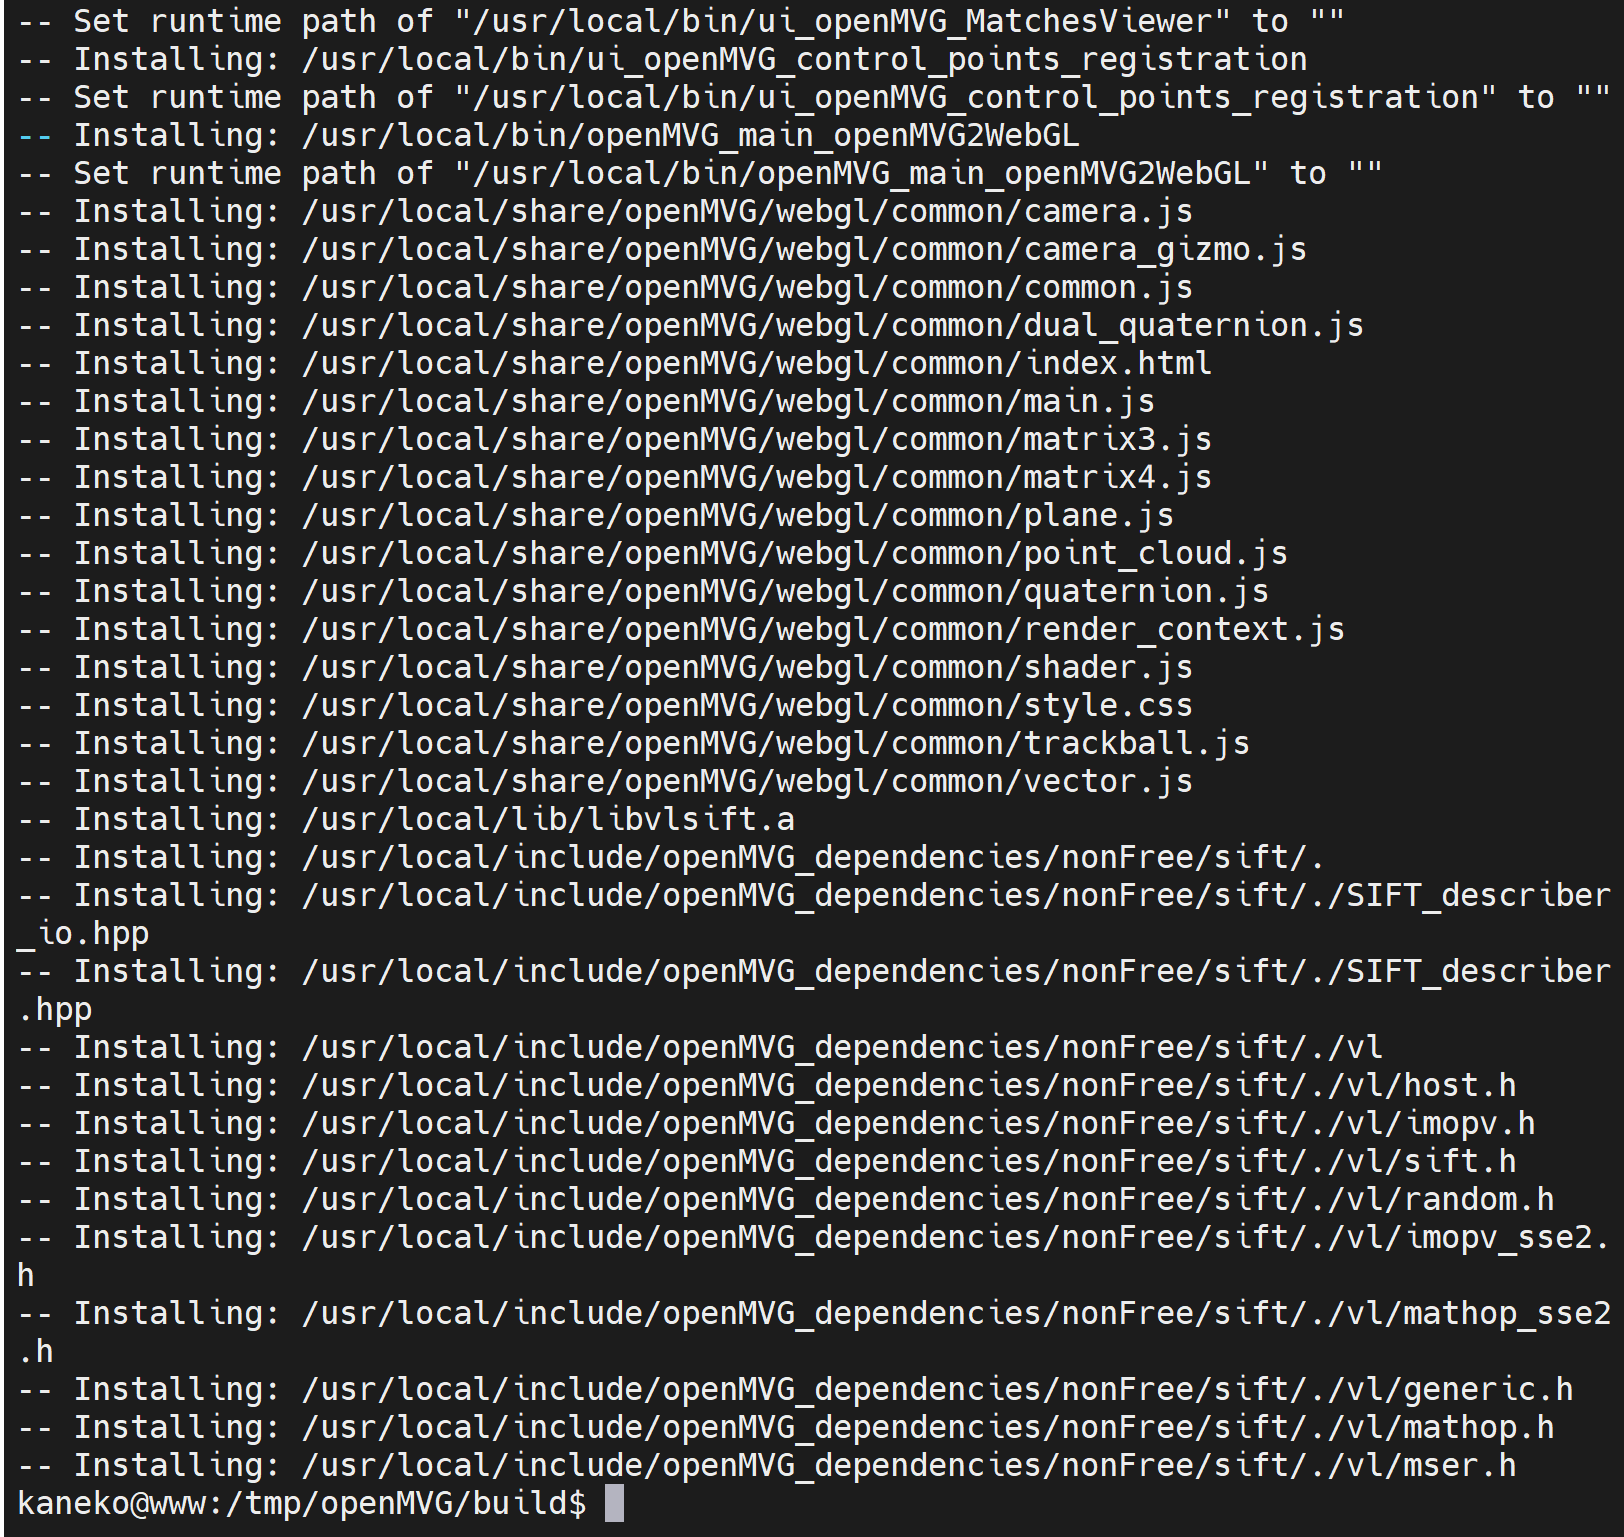
sudo cmake --build . --target install
- 終了の確認.
OpenMVS のインストール
「OpenMVG の動作に OpenMVS が必要」ということはないが, OpenMVG の動作確認のためにも,OpenMVS があると便利,OpenMVS があると使いやすいということがある.
Ubuntu での OpenMVS のインストール: 別ページ »で説明
実行手順例 (Ubuntu 上)
多視点画像の準備
cd /usr/local
sudo mkdir image

cd /usr/local/image
# download
sudo rm -rf Image_datasets
sudo rm -f Image_datasets.sh
echo "git clone --recursive https://github.com/openMVG/Image_datasets" | sudo tee -a Image_datasets.sh
sudo bash Image_datasets.sh
# memo
echo "<li> <a href="Image_datasets">Image_datasets</a>" | sudo tee -a index.html
echo "<br>" | sudo tee -a index.html
echo "Spherical datasets, Flat (11 indoor images), School (4 outdoor images)" | sudo tee -a index.html
echo "<br>" | sudo tee -a index.html
echo "URL: https://github.com/openMVG/Image_datasets" | sudo tee -a index.html

cd /usr/local/image
# download
sudo rm -rf ImageDataset_SceauxCastle
sudo rm -f ImageDataset_SceauxCastle.sh
echo "git clone --recursive https://github.com/openMVG/ImageDataset_SceauxCastle" | sudo tee -a ImageDataset_SceauxCastle.sh
sudo bash ImageDataset_SceauxCastle.sh
# memo
echo "<li> <a href="Image_datasets">ImageDataset_SceauxCastle</a>" | sudo tee -a index.html
echo "<br>" | sudo tee -a index.html
echo "Pinhole image datasets, Image of Chateau de Sceaux, Sceaux castle. France., ImageDataset_SceauxCastle (11 images)" | sudo tee -a index.html
echo "<br>" | sudo tee -a index.html
echo "URL: https://github.com/openMVG/ImageDataset_SceauxCastle" | sudo tee -a index.html


cd /usr/local/image
# download
sudo rm -rf ReconstructionDataSet
sudo rm -f ReconstructionDataSet.sh
echo "git clone --recursive https://github.com/rperrot/ReconstructionDataSet" | sudo tee -a ReconstructionDataSet.sh
sudo bash ReconstructionDataSet.sh
# memo
echo "<li> <a href="Image_datasets">ReconstructionDataSet</a>" | sudo tee -a index.html
echo "<br>" | sudo tee -a index.html
echo "Pinhole image datasets, 9 dataset with HIGH-RES images, Set of images for doing 3d reconstruction, Set of images for doing 3d reconstructio" | sudo tee -a index.html
echo "<br>" | sudo tee -a index.html
echo "URL: https://github.com/rperrot/ReconstructionDataSet" | sudo tee -a index.html
SfM を行ってみる
次の Web ページの手順通りに行う.
https://github.com/openMVG/Image_datasets/blob/master/360_dataset/README.md
次のように実行する
dataset=/usr/local/image/Image_datasets/360_dataset/360_Flat/images dataset_out=/var/tmp/1 rm -rf $dataset_out mkdir $dataset_out # Initialize the scene (spherical camera model) openMVG_main_SfMInit_ImageListing -i $dataset -o $dataset_out/matches -f 1 -c 7 # Compute of the features (you can add -n
to be faster) openMVG_main_ComputeFeatures -i $dataset_out/matches/sfm_data.json -o $dataset_out/matches # Compute the image matches (notice the angular mode, more adapted for spherical images) openMVG_main_ComputeMatches -i $dataset_out/matches/sfm_data.json -o $dataset_out/matches -g a # Compute of the camera motion and structure of the scene openMVG_main_IncrementalSfM -i $dataset_out/matches/sfm_data.json -m $dataset_out/matches -o $dataset_out/reconstruction - OpenMVG のインストール
![[kaneko lab.]](https://www.kkaneko.jp/info/logo_png.png)