Cocos2d で動きのシミュレーション
1. エグゼクティブサマリー
Cocos2d は2次元ゲームのフレームワーク.Python で動く.
このWebページでは,動きのシミュレーションの基本を見本プログラムで演習する.
Cocos2d 上で,ゲームの登場物(MyActor クラス)に位置と速度の属性を持たせ,自動で動くシミュレーションを段階的に構築する.1つのオブジェクトの表示から始め,位置と速度によるシミュレーション,複数オブジェクトへの拡張,プレイヤー操作と当たり判定の追加,重力シミュレーションの導入へと進む.
関連する資料:Cocos2d の概要 [PDF], [パワーポイント]
関連する資料:ゲームエンジン[PDF], [パワーポイント]
【関連する外部ページ】 https://www.cocos.com/endoc.html
【関連する外部ページ】 http://docplayer.net/62131747-Python-game-programming-by-example.html
2. 前準備(必要ソフトウェアの入手)
ここでは、最低限の事前準備について説明する。機械学習や深層学習を行う場合は、NVIDIA CUDA、Visual Studio、Cursorなどを追加でインストールすると便利である。これらについては別ページ https://www.kkaneko.jp/cc/dev/aiassist.htmlで詳しく解説しているので、必要に応じて参照してください。
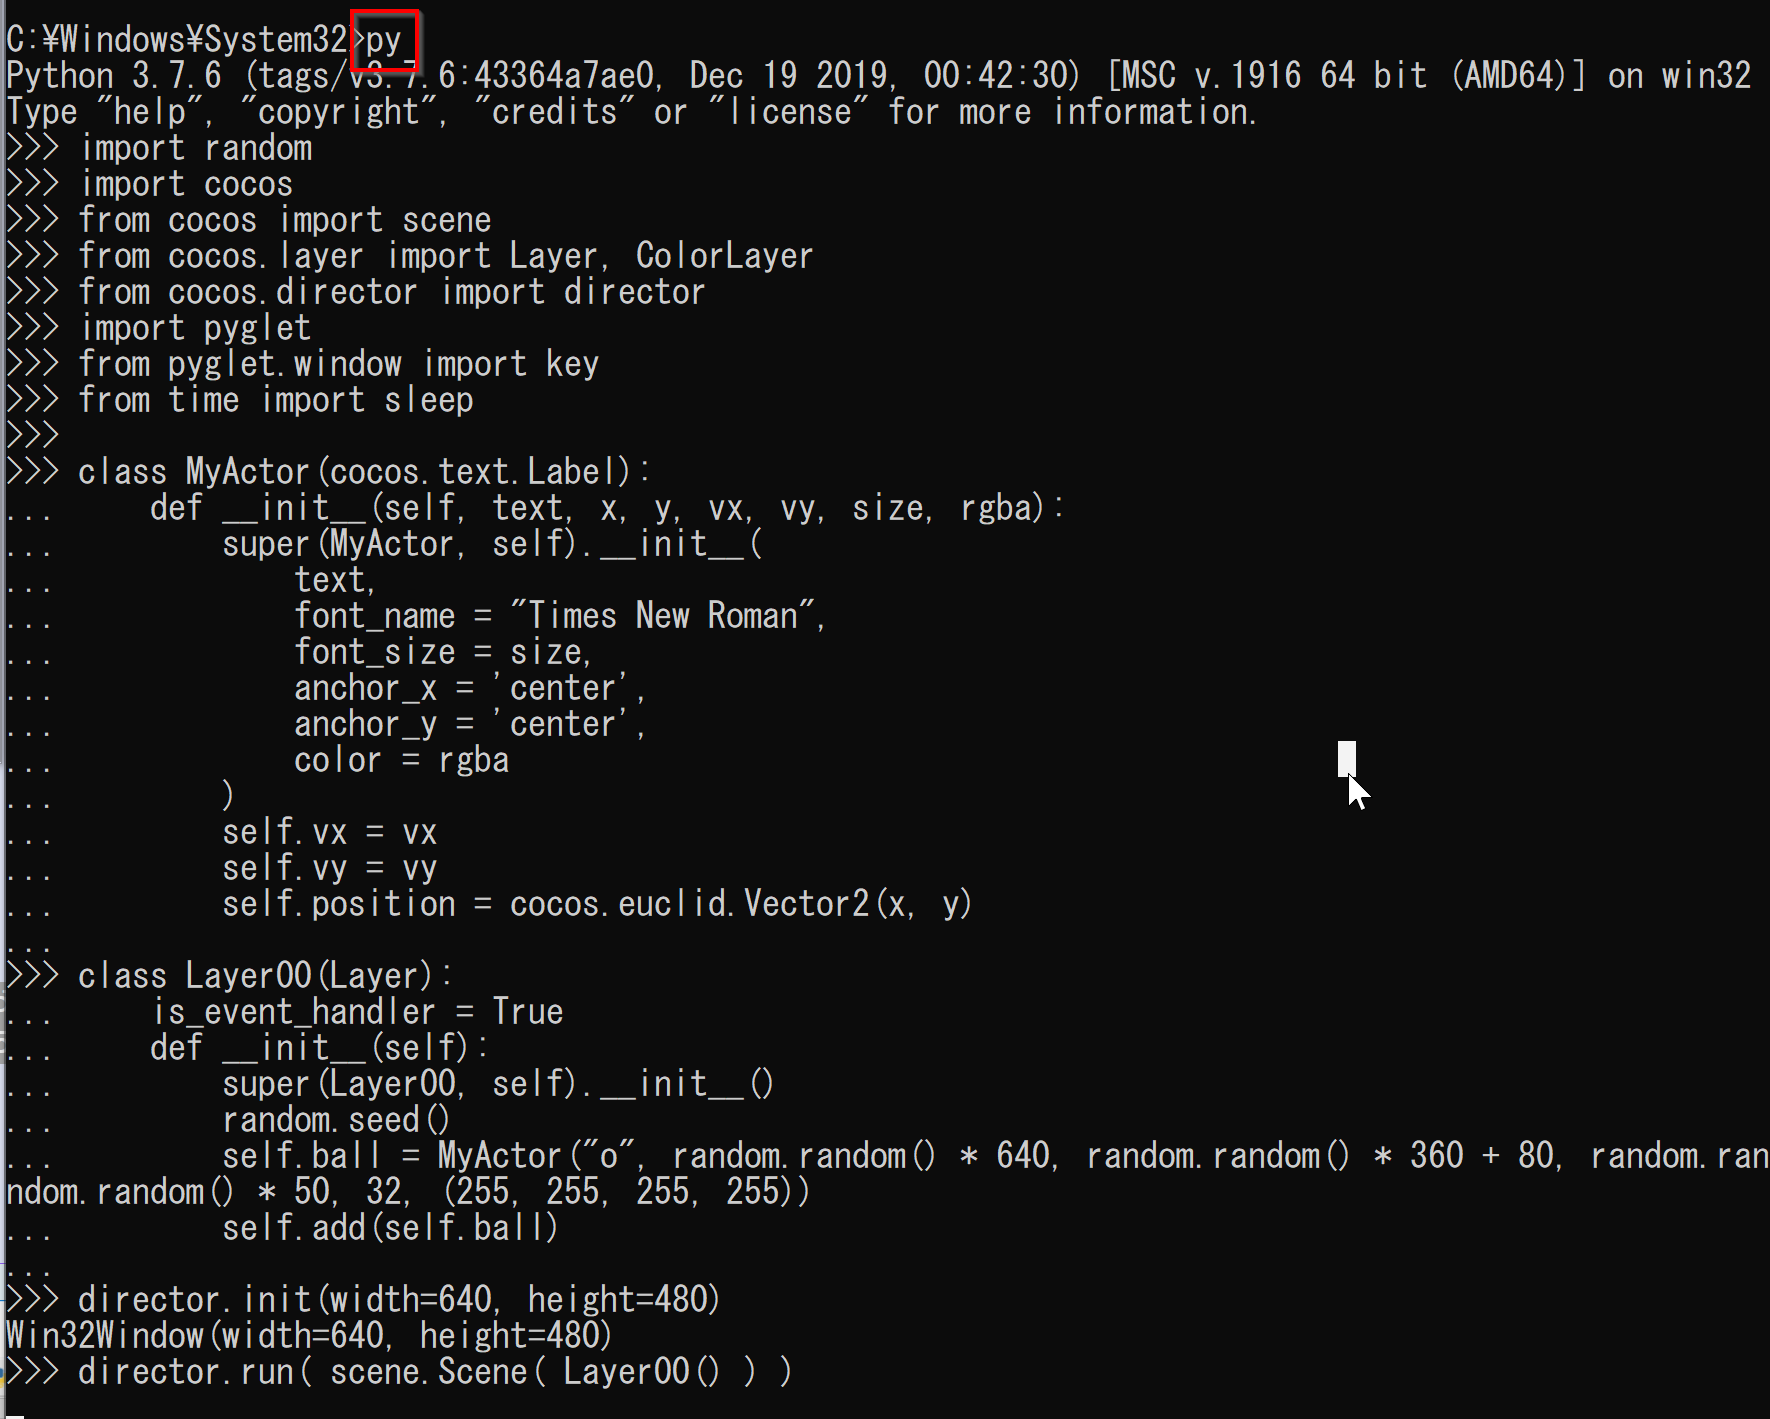
Python 3.12 のインストール(Windows 上) [クリックして展開]
以下のいずれかの方法で Python 3.12 をインストールする。Python がインストール済みの場合、この手順は不要である。
方法1:winget によるインストール
管理者権限のコマンドプロンプトで以下を実行する。管理者権限のコマンドプロンプトを起動するには、Windows キーまたはスタートメニューから「cmd」と入力し、表示された「コマンドプロンプト」を右クリックして「管理者として実行」を選択する。
winget install --id Python.Python.3.12 -e --scope machine --silent --accept-source-agreements --accept-package-agreements --override "/quiet InstallAllUsers=1 PrependPath=1 Include_test=0 Include_pip=1 Include_launcher=1 InstallLauncherAllUsers=1 TargetDir=\"C:\Program Files\Python312\""
powershell -Command "$p='C:\Program Files\Python312'; $s=\"$p\Scripts\"; $m=[Environment]::GetEnvironmentVariable('Path','Machine'); if($m -notlike \"*$s*\") { [Environment]::SetEnvironmentVariable('Path', \"$p;$s;$m\", 'Machine') }"
--scope machine を指定することで、システム全体(全ユーザー向け)にインストールされる。このオプションの実行には管理者権限が必要である。インストール完了後、コマンドプロンプトを再起動すると PATH が自動的に設定される。
方法2:インストーラーによるインストール
- Python 公式サイト(https://www.python.org/downloads/)にアクセスし、「Download Python 3.x.x」ボタンから Windows 用インストーラーをダウンロードする。
- ダウンロードしたインストーラーを実行する。
- 初期画面の下部に表示される「Add python.exe to PATH」に必ずチェックを入れてから「Customize installation」を選択する。このチェックを入れ忘れると、コマンドプロンプトから
pythonコマンドを実行できない。 - 「Install Python 3.xx for all users」にチェックを入れ、「Install」をクリックする。
インストールの確認
コマンドプロンプトで以下を実行する。
python --versionバージョン番号(例:Python 3.12.x)が表示されればインストール成功である。「'python' は、内部コマンドまたは外部コマンドとして認識されていません。」と表示される場合は、インストールが正常に完了していない。
AIエディタ Windsurf のインストール(Windows 上) [クリックして展開]
Pythonプログラムの編集・実行には、AIエディタの利用を推奨する。ここでは、Windsurfのインストールを説明する。Windsurf がインストール済みの場合、この手順は不要である。
管理者権限のコマンドプロンプトで以下を実行する。管理者権限のコマンドプロンプトを起動するには、Windows キーまたはスタートメニューから「cmd」と入力し、表示された「コマンドプロンプト」を右クリックして「管理者として実行」を選択する。
winget install --scope machine --id Codeium.Windsurf -e --silent --disable-interactivity --force --accept-source-agreements --accept-package-agreements --custom "/SP- /SUPPRESSMSGBOXES /NORESTART /CLOSEAPPLICATIONS /DIR=""C:\Program Files\Windsurf"" /MERGETASKS=!runcode,addtopath,associatewithfiles,!desktopicon"
powershell -Command "$env:Path=[System.Environment]::GetEnvironmentVariable('Path','Machine')+';'+[System.Environment]::GetEnvironmentVariable('Path','User'); windsurf --install-extension MS-CEINTL.vscode-language-pack-ja --force; windsurf --install-extension ms-python.python --force; windsurf --install-extension Codeium.windsurfPyright --force"
--scope machine を指定することで、システム全体(全ユーザー向け)にインストールされる。このオプションの実行には管理者権限が必要である。インストール完了後、コマンドプロンプトを再起動すると PATH が自動的に設定される。
【関連する外部ページ】
Windsurf の公式ページ: https://windsurf.com/
3. 実行のための準備とその確認手順(Windows 前提)
3.1 プログラムファイルの準備
第5章に掲載するソースコードをテキストエディタ(メモ帳,Windsurf 等)に貼り付け,main.py として保存する(文字コード:UTF-8).
3.2 実行コマンド
コマンドプロンプトでファイルの保存先ディレクトリに移動し,以下を実行する.
python main.py3.3 動作確認チェックリスト
| 確認項目 | 期待される結果 |
|---|---|
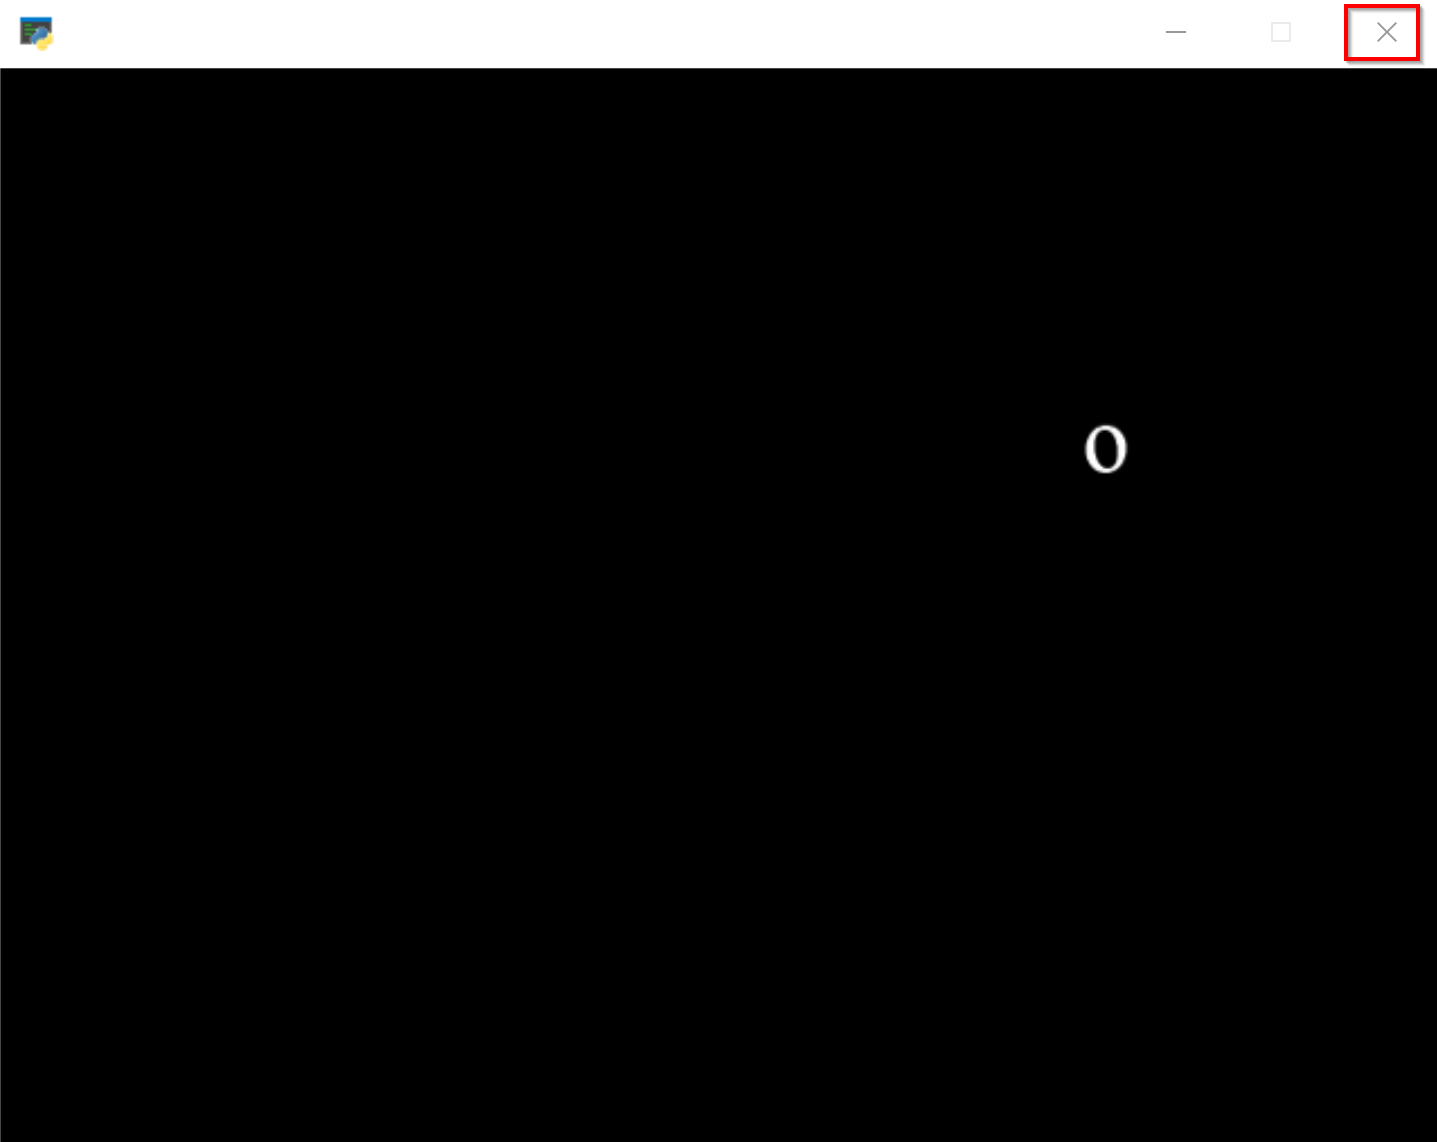
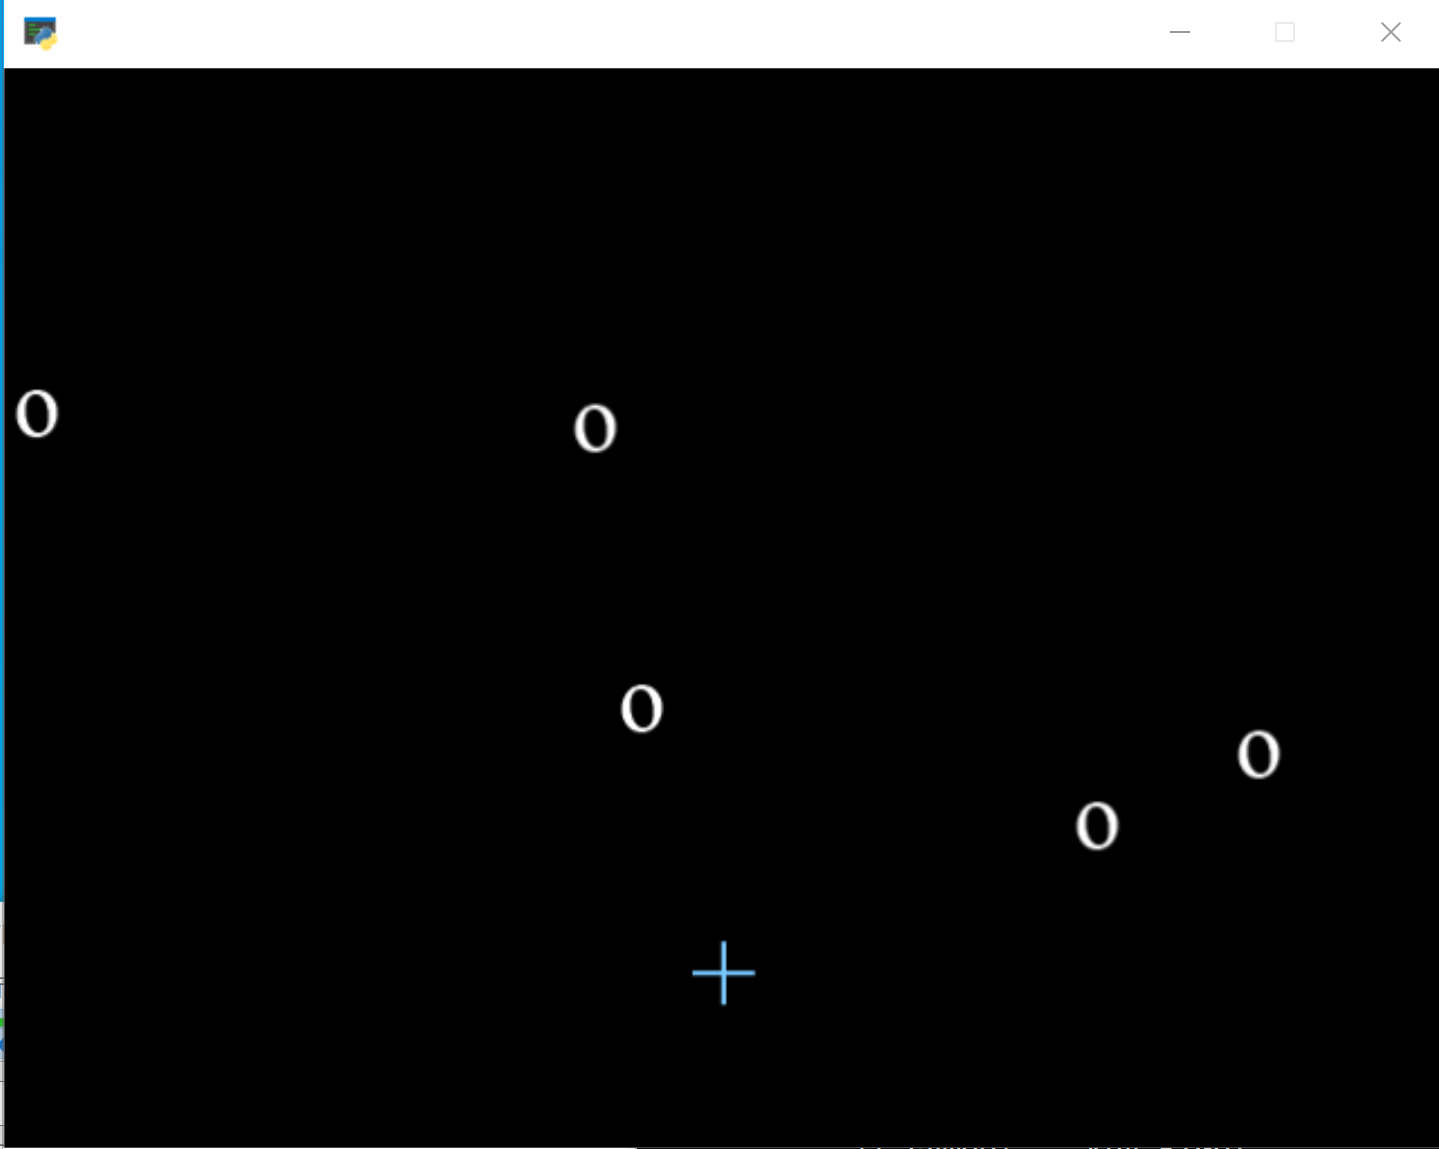
| プログラム起動時 | 640×480 のウィンドウが表示される |
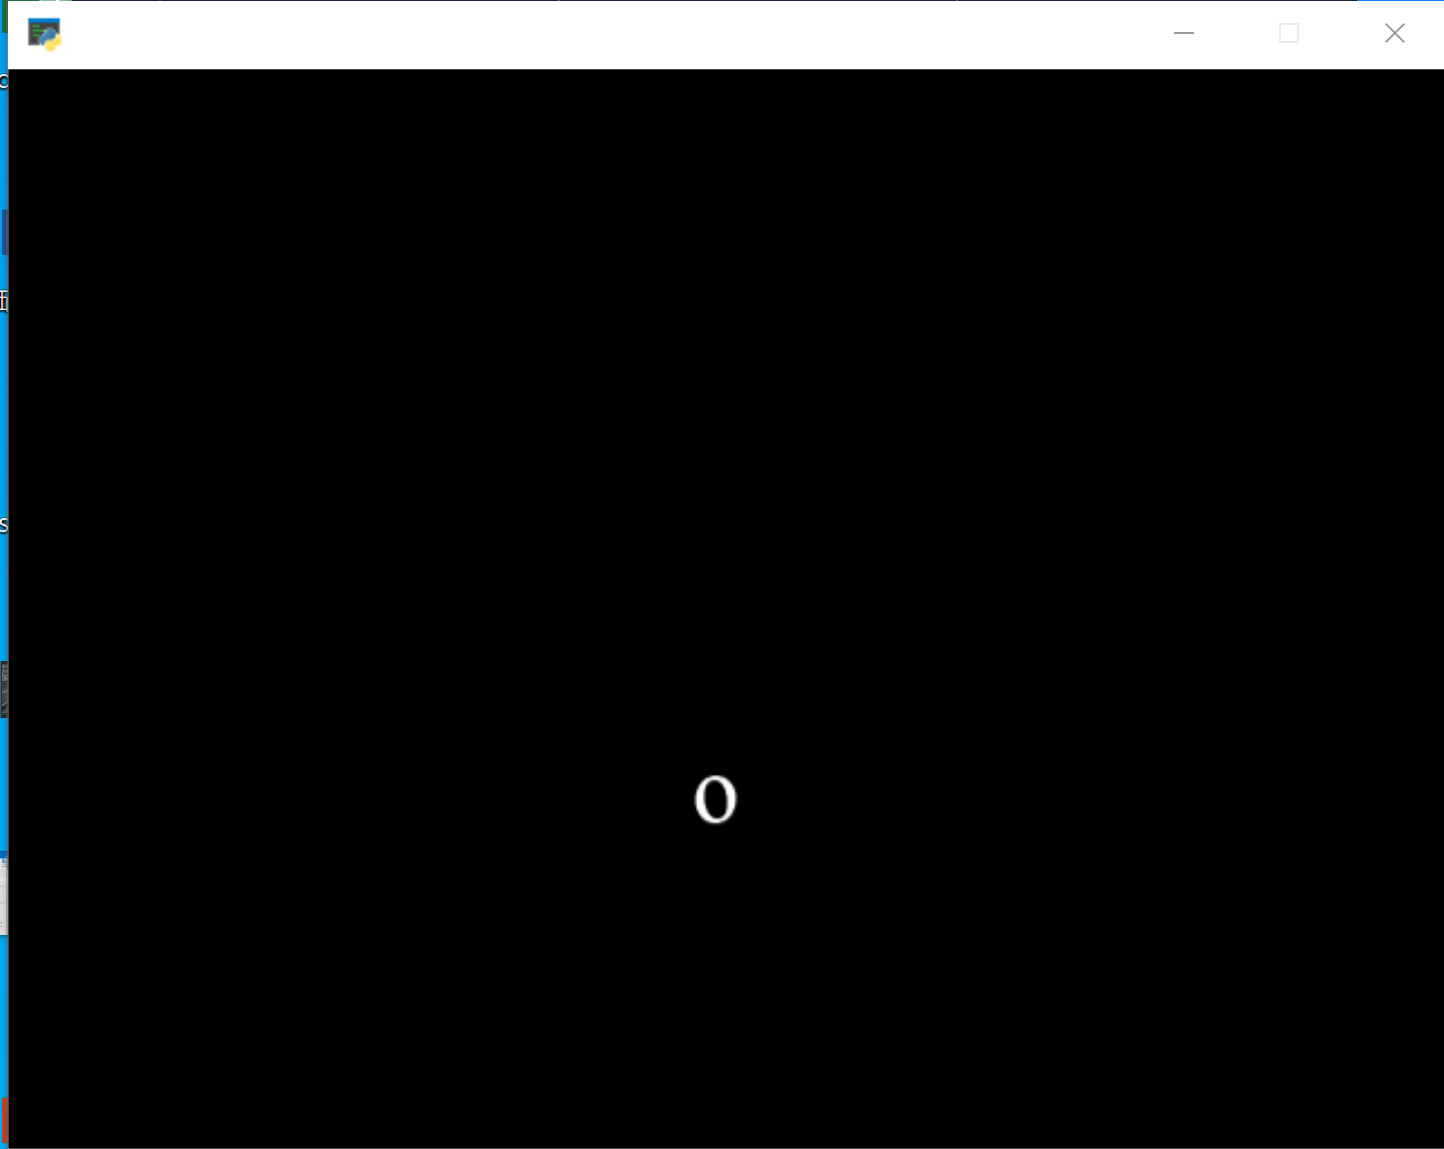
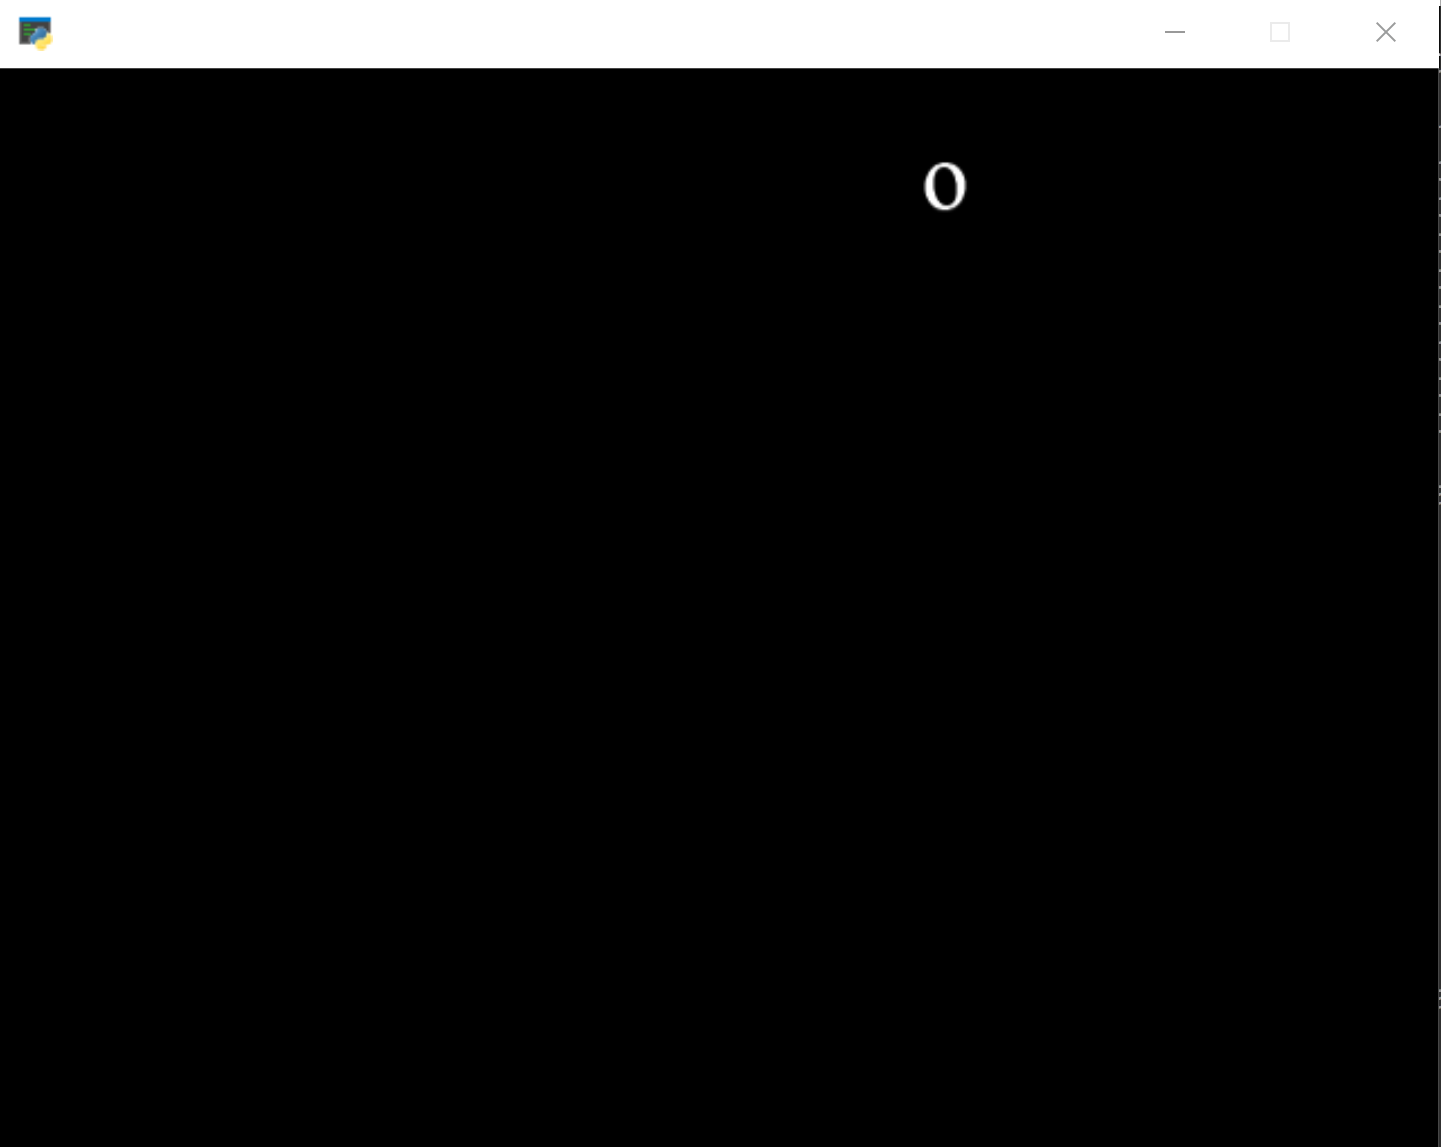
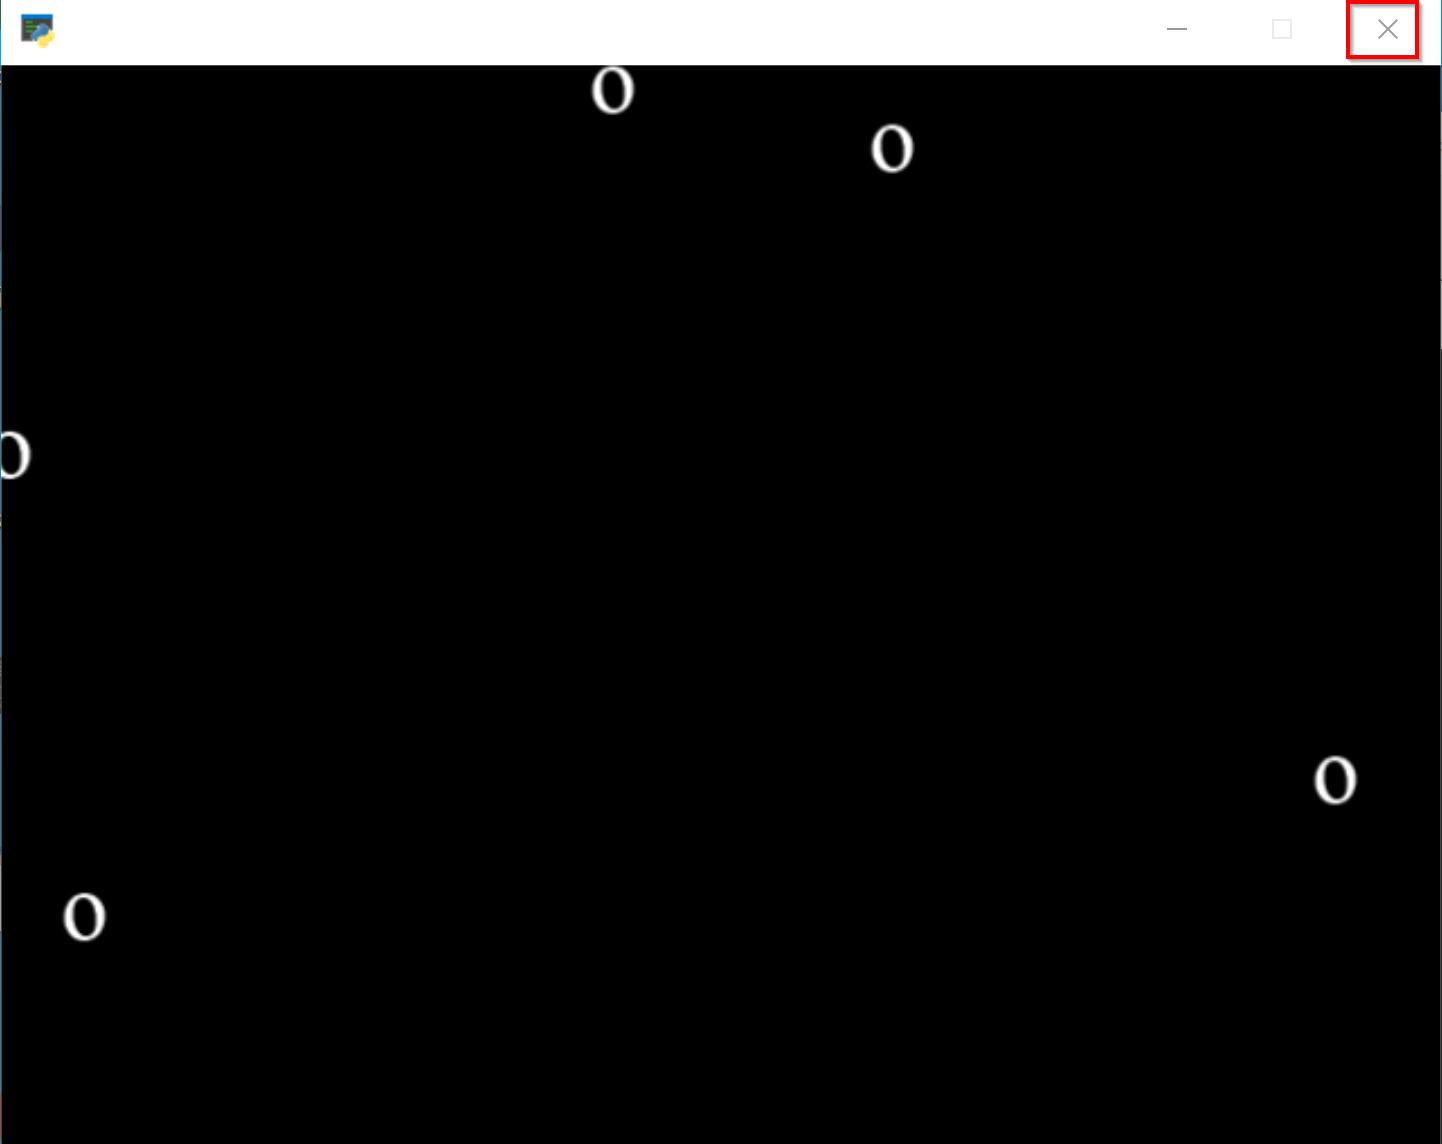
| 起動直後の画面 | 文字「o」が画面上に表示される(位置はランダムなので,画面が真っ黒になることがある.その場合は一度終了して再実行する) |
| 時間経過 | 文字「o」が少しずつ動く |
| ボールが画面端に到達 | 画面の境界(x: 0〜640,y: 0〜480)で反射する |
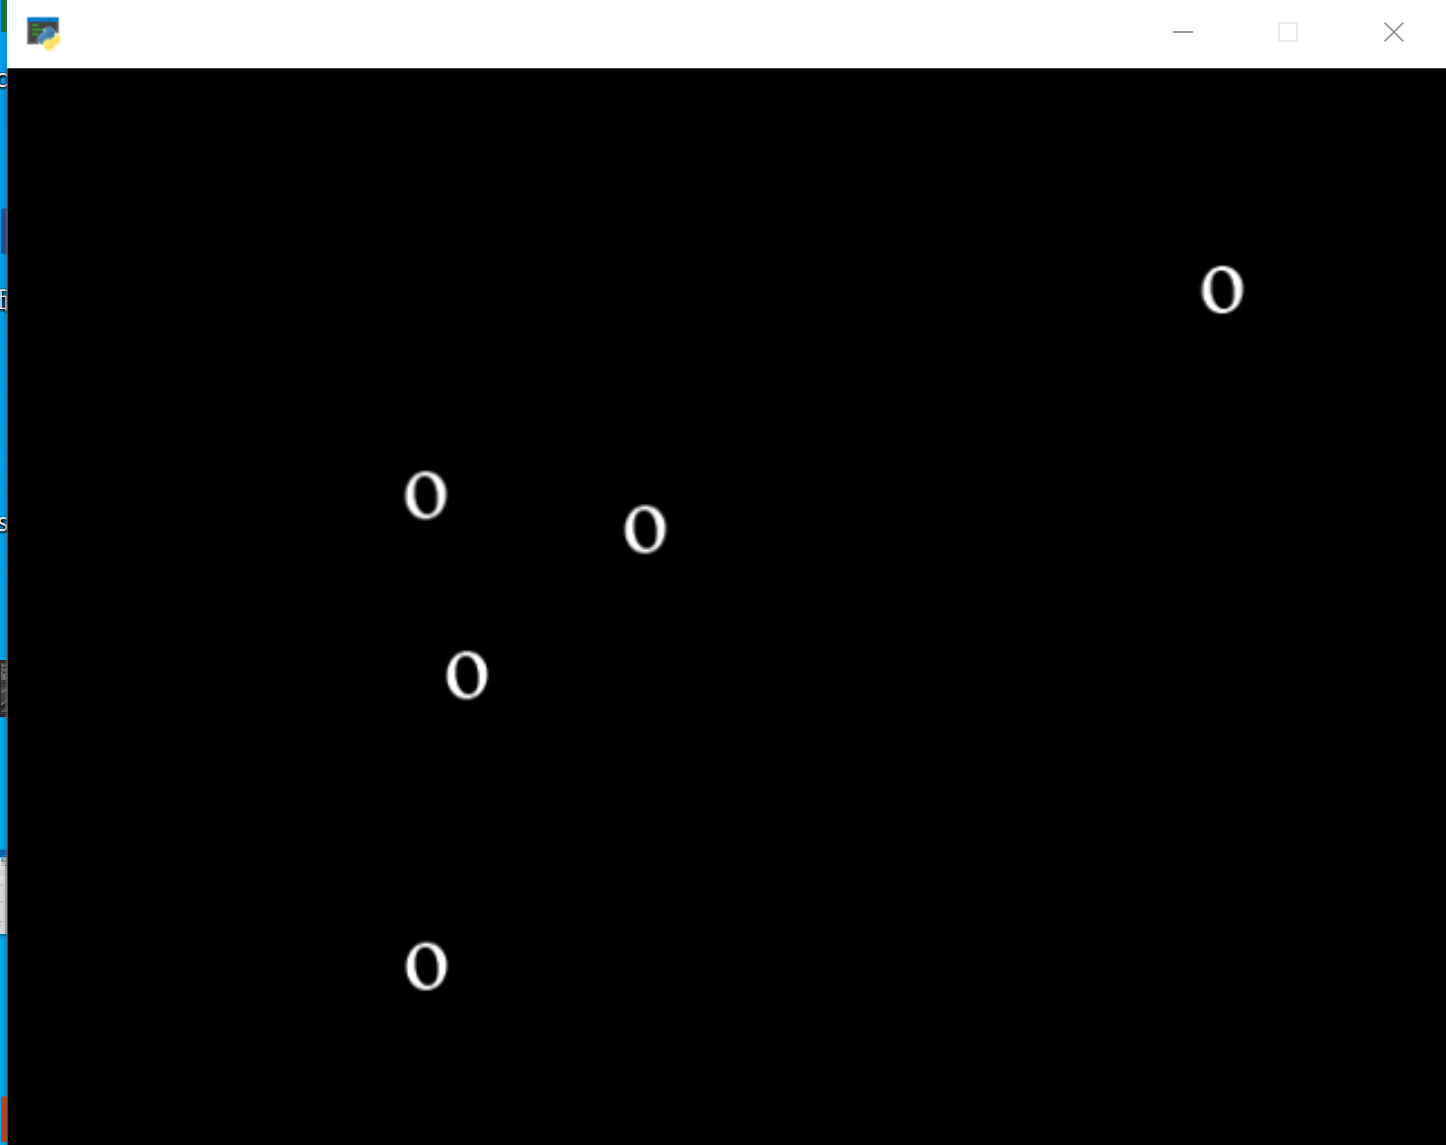
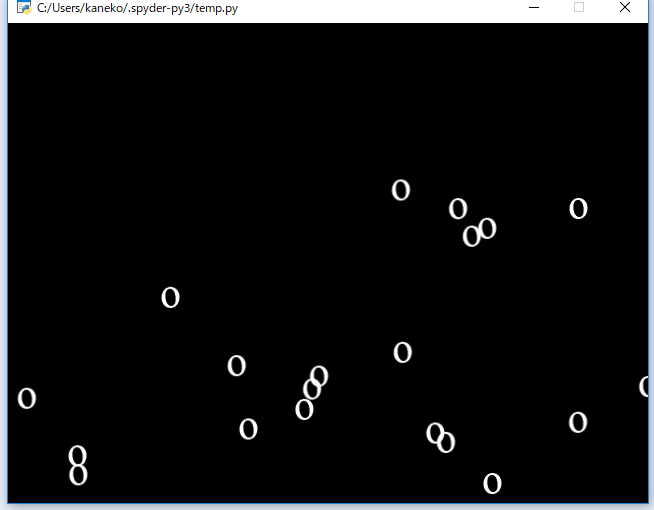
| マウスクリック(5.3 以降) | オブジェクトが増える |
| 矢印キー操作(5.5) | Player(「+」)が上下左右に移動する |
| Player と MyActor の接近(5.5) | MyActor の色が赤 (255,10,10,255) に変化する |
| 終了操作 | 右上の「x」をクリックしてウィンドウを閉じる |
4. 概要・使い方・実行上の注意
4.1 ゲームの登場物,レイヤ
- ゲームの登場物: ball(MyActorクラス) ※ Label クラスのサブクラス
属性 vx, vy に値を設定している.これらは,あとで使う.
- レイヤ: 名前無し(Layer00クラス) ※ Layer クラスのサブクラス
結果を確認したら,右上の「x」をクリックして終了する.
4.2 位置と速度
- MyActor クラス: 速度の属性 vx, vy を持つ.これらはランダムに設定
位置と速度: 速度が大きいと,位置が大きく動く.2次元の世界では,位置は2つの数字(x, y)で表す.速度も同様に2つの数値になる.
- ここでは MyActor クラスのオブジェクトが 自動で動くようにする(位置と速度のシミュレーション).
次を書き加える
- Layer00クラスの __init__() の中
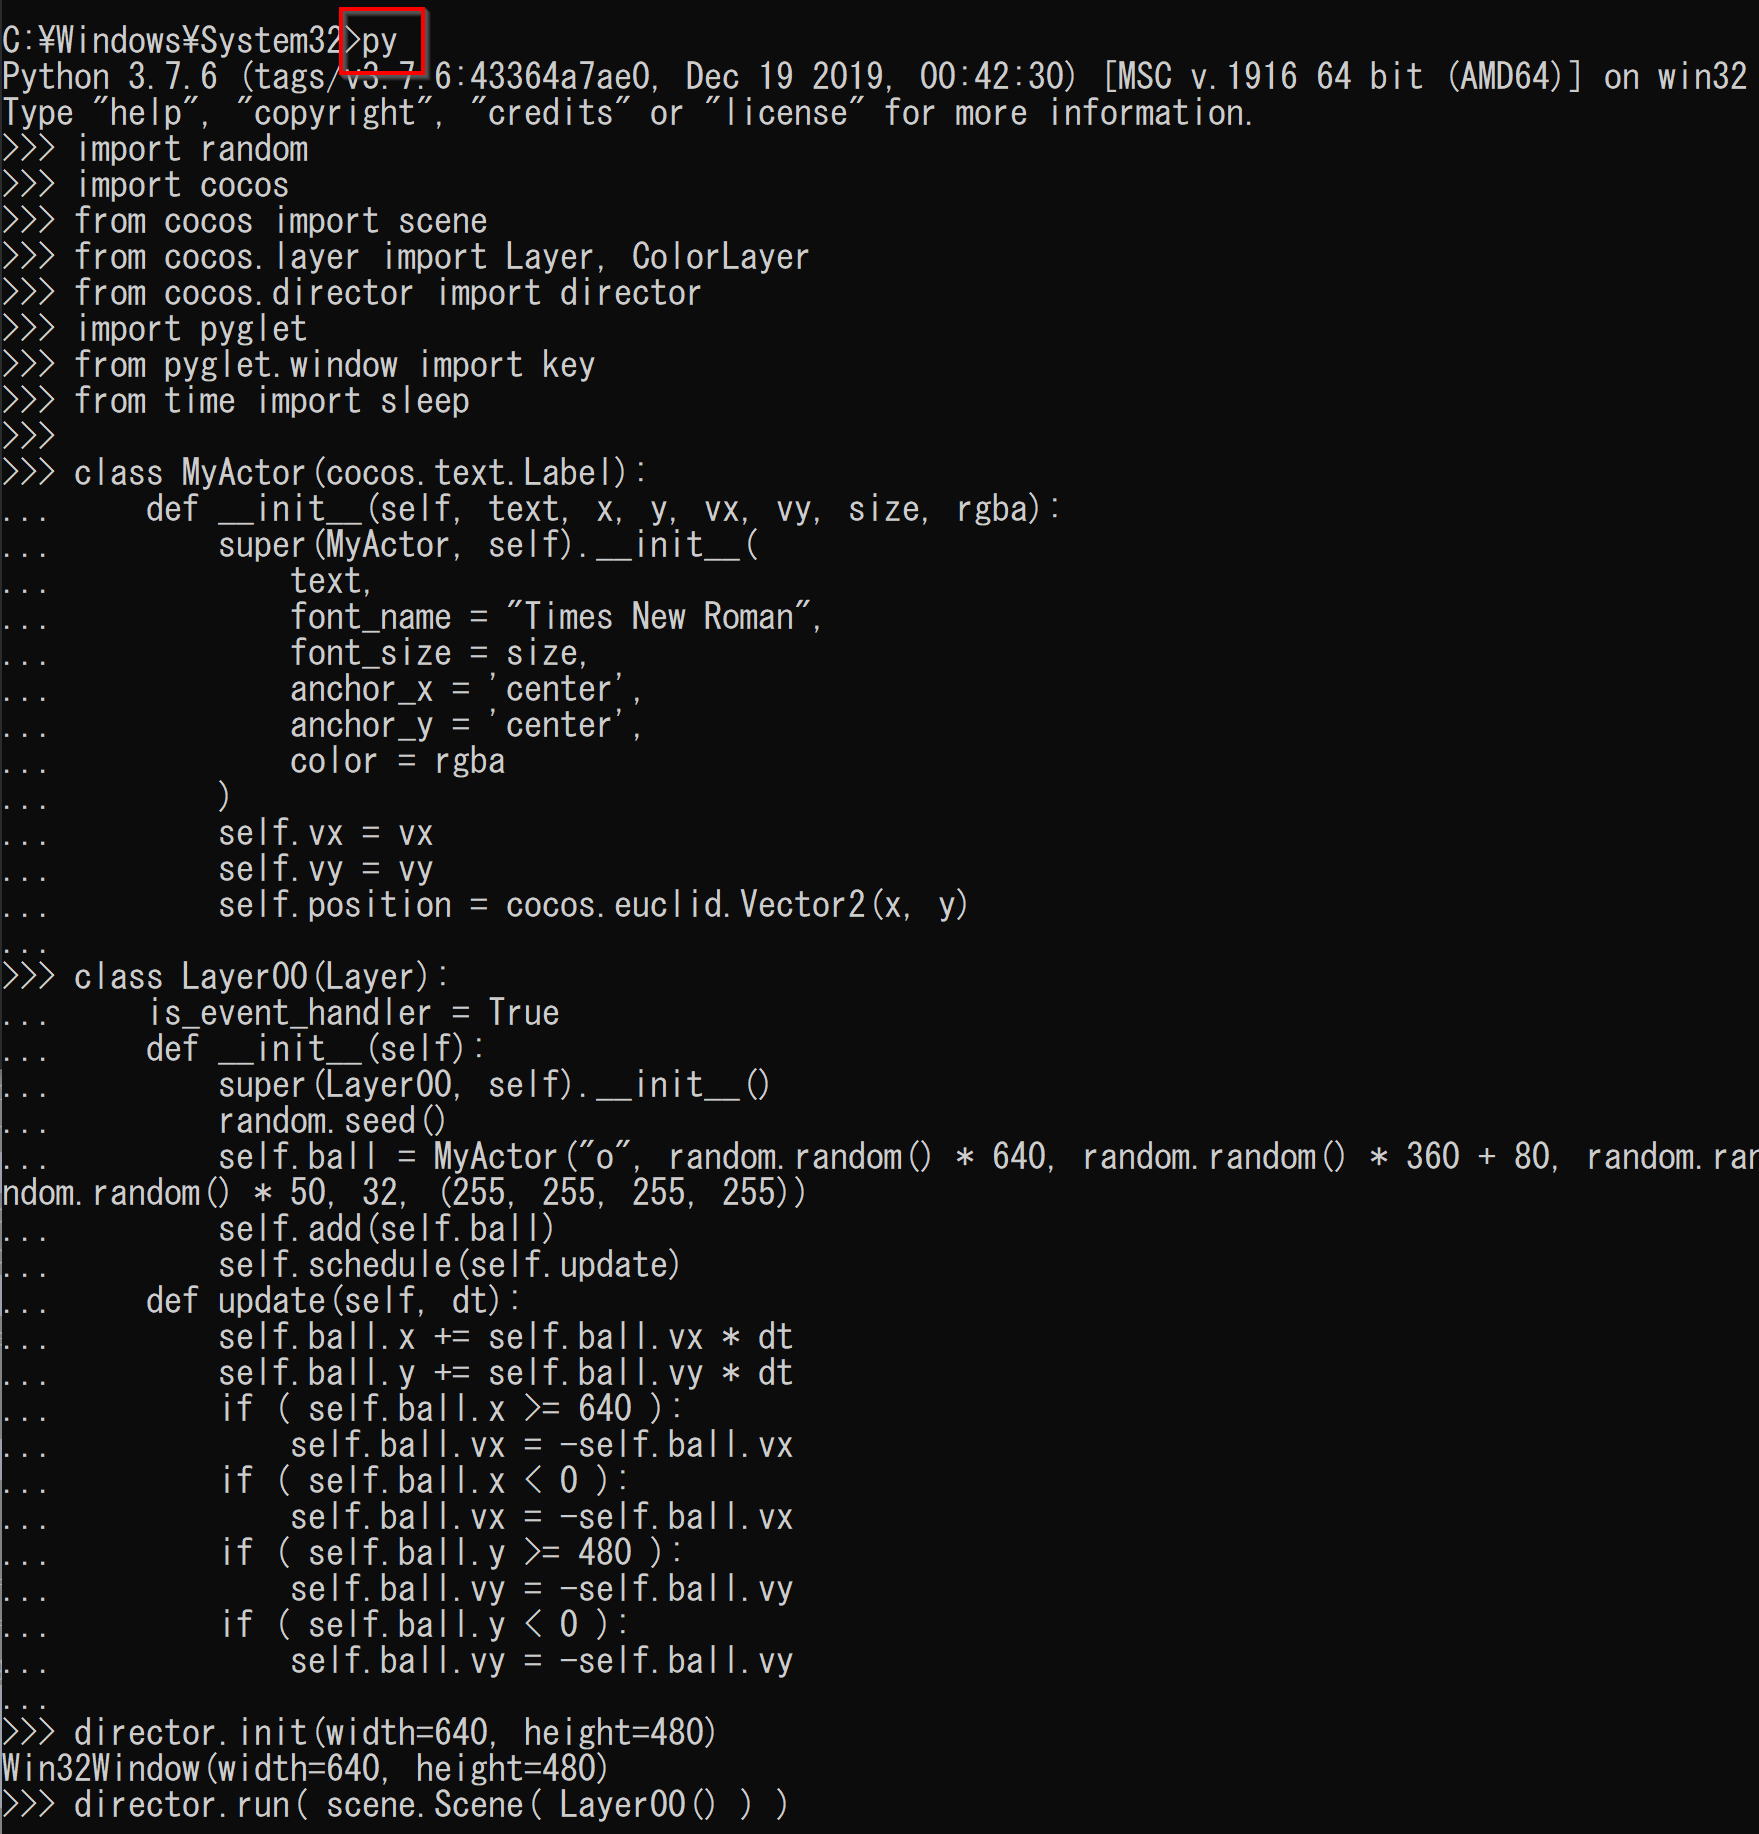
self.schedule(self.update) - Layer00クラスに update() を追加
    def update(self, dt):
        self.ball.x += self.ball.vx * dt
        self.ball.y += self.ball.vy * dt
        if self.ball.x >= 640 or self.ball.x < 0:
            self.ball.vx = -self.ball.vx
        if self.ball.y >= 480 or self.ball.y < 0:
            self.ball.vy = -self.ball.vy
画面が現れるので確認する.文字「o」は少しずつ動く.
* ボールの位置をランダム設定しているので,画面が真っ黒になることがある.その場合は一度終了して再実行する.
結果を確認したら,右上の「x」をクリックして終了する.
4.3 MyActor クラスの複数のオブジェクト
- MyActor クラス: 速度の属性 vx, vy を持つ.これらはランダムに設定
- ここでは MyActor クラスのオブジェクトを増やす

画面が現れるので確認する.文字「o」は少しずつ動く.
結果を確認したら,右上の「x」をクリックして終了する.
次を追加して実行する.「マウスをクリックするとオブジェクトが増える」ことを確認する.
* 字下げに注意すること.1行めは半角スペース4文字,2行目は半角スペース8文字.
    def on_mouse_press(self, x, y, buttons, modifiers):
        self.add( MyActor("o", random.random() * 640, random.random() * 360 + 80, random.random() * 100 - 50, - random.random() * 50, 32, (255, 255, 255, 255)) )

4.4 オブジェクトの種類を増やす
- MyActor クラス: 速度の属性 vx, vy を持つ.これらはランダムに設定
- Player クラス: キーボードの矢印キーで動かす(速度の属性はない)
クラスの判定は「if ( isinstance(node, MyActor) ):」のように行う.
当たり判定は「if ( ( ( self.player.x - 4 ) < node.x ) and ( node.x < ( self.player.x + 4 ) ) and ( ( self.player.y - 4 ) < node.y ) and ( node.y < ( self.player.y + 4 ) ) ):」のように行う.
5. ソースコード
5.1 ゲームの登場物,レイヤ
MyActor クラス(Label クラスのサブクラス)のオブジェクト ball を作成し,レイヤ(Layer00 クラス)に追加して表示する.
import random
import cocos
from cocos import scene
from cocos.layer import Layer
from cocos.director import director

class MyActor(cocos.text.Label):
    def __init__(self, text, x, y, vx, vy, size, rgba):
        super(MyActor, self).__init__(
            text,
            font_name = "Times New Roman",
            font_size = size,
            anchor_x = 'center',
            anchor_y = 'center',
            color = rgba
        )
        self.vx = vx
        self.vy = vy
        self.position = cocos.euclid.Vector2(x, y)

class Layer00(Layer):
    is_event_handler = True
    def __init__(self):
        super(Layer00, self).__init__()
        random.seed()
        self.ball = MyActor("o", random.random() * 640, random.random() * 360 + 80, random.random() * 100 - 50, - random.random() * 50, 32, (255, 255, 255, 255))
        self.add(self.ball)

director.init(width=640, height=480)
director.run( scene.Scene( Layer00() ) )
5.2 位置と速度
Layer00 クラスに update メソッドを追加し,self.schedule(self.update) で毎フレーム呼び出すことで,MyActor オブジェクトを自動で動かす.画面の境界では速度を反転させて反射させる.
import random
import cocos
from cocos import scene
from cocos.layer import Layer
from cocos.director import director

class MyActor(cocos.text.Label):
    def __init__(self, text, x, y, vx, vy, size, rgba):
        super(MyActor, self).__init__(
            text,
            font_name = "Times New Roman",
            font_size = size,
            anchor_x = 'center',
            anchor_y = 'center',
            color = rgba
        )
        self.vx = vx
        self.vy = vy
        self.position = cocos.euclid.Vector2(x, y)

class Layer00(Layer):
    is_event_handler = True
    def __init__(self):
        super(Layer00, self).__init__()
        random.seed()
        self.ball = MyActor("o", random.random() * 640, random.random() * 360 + 80, random.random() * 100 - 50, - random.random() * 50, 32, (255, 255, 255, 255))
        self.add(self.ball)
        self.schedule(self.update)
    def update(self, dt):
        self.ball.x += self.ball.vx * dt
        self.ball.y += self.ball.vy * dt
        if self.ball.x >= 640 or self.ball.x < 0:
            self.ball.vx = -self.ball.vx
        if self.ball.y >= 480 or self.ball.y < 0:
            self.ball.vy = -self.ball.vy

director.init(width=640, height=480)
director.run( scene.Scene( Layer00() ) )
5.3 MyActor クラスの複数のオブジェクト
MyActor オブジェクトを5つに増やし,for ループで子ノードを走査して全オブジェクトを更新する.
import random
import cocos
from cocos import scene
from cocos.layer import Layer
from cocos.director import director

class MyActor(cocos.text.Label):
    def __init__(self, text, x, y, vx, vy, size, rgba):
        super(MyActor, self).__init__(
            text,
            font_name = "Times New Roman",
            font_size = size,
            anchor_x = 'center',
            anchor_y = 'center',
            color = rgba
        )
        self.vx = vx
        self.vy = vy
        self.position = cocos.euclid.Vector2(x, y)

class Layer00(Layer):
    is_event_handler = True
    def __init__(self):
        super(Layer00, self).__init__()
        random.seed()
        for i in range(5):
            self.add(MyActor("o", random.random() * 640, random.random() * 360 + 80, random.random() * 100 - 50, - random.random() * 50, 32, (255, 255, 255, 255)))
        self.schedule(self.update)
    def update(self, dt):
        for _, node in self.children:
            node.x += node.vx * dt
            node.y += node.vy * dt
            if node.x >= 640 or node.x < 0:
                node.vx = -node.vx
            if node.y >= 480 or node.y < 0:
                node.vy = -node.vy

director.init(width=640, height=480)
director.run( scene.Scene( Layer00() ) )
5.4 on_mouse_press によるオブジェクト追加
Layer00 クラスに on_mouse_press メソッドを追加する.マウスクリックでオブジェクトが増える.
    def on_mouse_press(self, x, y, buttons, modifiers):
        self.add( MyActor("o", random.random() * 640, random.random() * 360 + 80, random.random() * 100 - 50, - random.random() * 50, 32, (255, 255, 255, 255)) )
5.5 オブジェクトの種類を増やす
Player クラスを追加し,キーボードの矢印キーで操作する.isinstance によるクラス判定と当たり判定を行い,重力シミュレーション(GRAVITY 定数による vy への加算)を導入する.
import random
import cocos
from cocos import scene
from cocos.layer import Layer
from cocos.director import director
from pyglet.window import key

GRAVITY = -30

class MyActor(cocos.text.Label):
    def __init__(self, text, x, y, vx, vy, size, rgba):
        super(MyActor, self).__init__(
            text,
            font_name = "Times New Roman",
            font_size = size,
            anchor_x = 'center',
            anchor_y = 'center',
            color = rgba
        )
        self.vx = vx
        self.vy = vy
        self.position = cocos.euclid.Vector2(x, y)

class Player(cocos.text.Label):
    def __init__(self, text, x, y, size, rgba):
        super(Player, self).__init__(
            text,
            font_name = "Times New Roman",
            font_size = size,
            anchor_x = 'center',
            anchor_y = 'center',
            color = rgba
        )
        self.position = cocos.euclid.Vector2(x, y)

class Layer00(Layer):
    is_event_handler = True
    def __init__(self):
        super(Layer00, self).__init__()
        random.seed()
        for i in range(5):
            self.add(MyActor("o", random.random() * 640, random.random() * 360 + 80, random.random() * 100 - 50, - random.random() * 50, 32, (255, 255, 255, 255)))
        self.player = Player("+", 320, 80, 40, (120, 200, 255, 255))
        self.add(self.player)
        self.schedule(self.update)
    def update(self, dt):
        for _, node in self.children:
            if ( isinstance(node, MyActor) ):
                node.vy += GRAVITY * dt
                node.x += node.vx * dt
                node.y += node.vy * dt
                if node.x >= 640 or node.x < 0:
                    node.vx = -node.vx
                if node.y >= 480 or node.y < 0:
                    node.vy = -node.vy
                if ( ( ( self.player.x - 4 ) < node.x ) and ( node.x < ( self.player.x + 4 ) ) and ( ( self.player.y - 4 ) < node.y ) and ( node.y < ( self.player.y + 4 ) ) ):
                    node.element.color = (255,10,10,255)
    def on_mouse_press(self, x, y, buttons, modifiers):
        self.add( MyActor("o", random.random() * 640, random.random() * 360 + 80, random.random() * 100 - 50, - random.random() * 50, 32, (255, 255, 255, 255)) )
    def on_key_press(self, symbol, modifiers):
        if symbol == key.RIGHT:
            self.player.x += 8
        elif symbol == key.LEFT:
            self.player.x -= 8
        elif symbol == key.UP:
            self.player.y += 8
        elif symbol == key.DOWN:
            self.player.y -= 8

director.init(width=640, height=480)
director.run( scene.Scene( Layer00() ) )
6. まとめ
6.1 MyActor クラスとゲームの登場物
MyActor クラスは Label クラスのサブクラスで,ゲームの登場物を表す.属性 vx, vy にランダムな速度を設定する.
6.2 位置と速度のシミュレーション
速度が大きいと位置が大きく動く.update メソッドを self.schedule で毎フレーム呼び出すことで,オブジェクトが自動で動く.
6.3 画面境界での反射
オブジェクトが画面端(x: 0〜640,y: 0〜480)に到達すると,速度を反転させて反射する.
6.4 複数オブジェクトとマウスによる追加
MyActor オブジェクトを複数作成し,for ループで子ノードを走査して全オブジェクトを更新する.on_mouse_press によりマウスクリックでオブジェクトを追加できる.
6.5 Player クラスと当たり判定・重力シミュレーション
Player クラスは矢印キーで動かす.isinstance によるクラス判定で MyActor のみを更新対象とし,Player との近接時に色を変化させる当たり判定を実装する.GRAVITY 定数による重力で MyActor が下方向に加速する放物運動を行う.