![[kaneko lab.]](https://www.kkaneko.jp/info/logo_png.png)
SQLite 3 のインストール,データベース作成,テーブル定義とレコード挿入(Ubuntu 上)
SQLite 3 は次の特徴を持つ.
- アカウント(ユーザ名やパスワード)の機能を持たない.データベースファイルへのアクセス権限は,OS のファイル権限で管理される
- サーバプロセスを必要としない.アプリケーションがデータベースファイルを直接読み書きする
- データベースは単一のファイルであり,設定ファイルを用意しなくても動作する
【目次】
- SQLite バージョン 3 コマンドライン・インタフェースのインストール(Ubuntu 上)
- SQLite 3 の起動と終了,ヘルプの表示,エンコーディングの確認
- 空のデータベースの新規作成
- テーブル定義とレコード挿入
【サイト内の主な SQLite 3 関連ページ】
1. SQLite バージョン 3 コマンドライン・インタフェースのインストール(Ubuntu 上)
端末で,次のコマンドを実行する.
# パッケージリストの情報を更新
sudo apt update
sudo apt -y install sqlite3
インストールされたバージョンは次のコマンドで確認できる.
sqlite3 --version

2. SQLite 3 の起動と終了,ヘルプの表示,エンコーディングの確認
端末で,次の操作を行う.
- SQLite 3 の起動
このとき,データベース名として /var/tmp/mydb を指定する.SQLite 3 では,データベース名はファイル名である.指定したファイルが存在しない場合は,新しいデータベースとして扱われる.
* データベース名には,英文字と数字のみを使うのが良い.
* データベース名は「../hoge」のような相対パス形式でもよいし,カレントディレクトリに作るつもりで「hoge2」のようにしてもよい.書き込み権限のあるディレクトリを指定する.
sqlite3 /var/tmp/mydb
- ヘルプの表示
「.help」で,ヘルプが表示される.
.help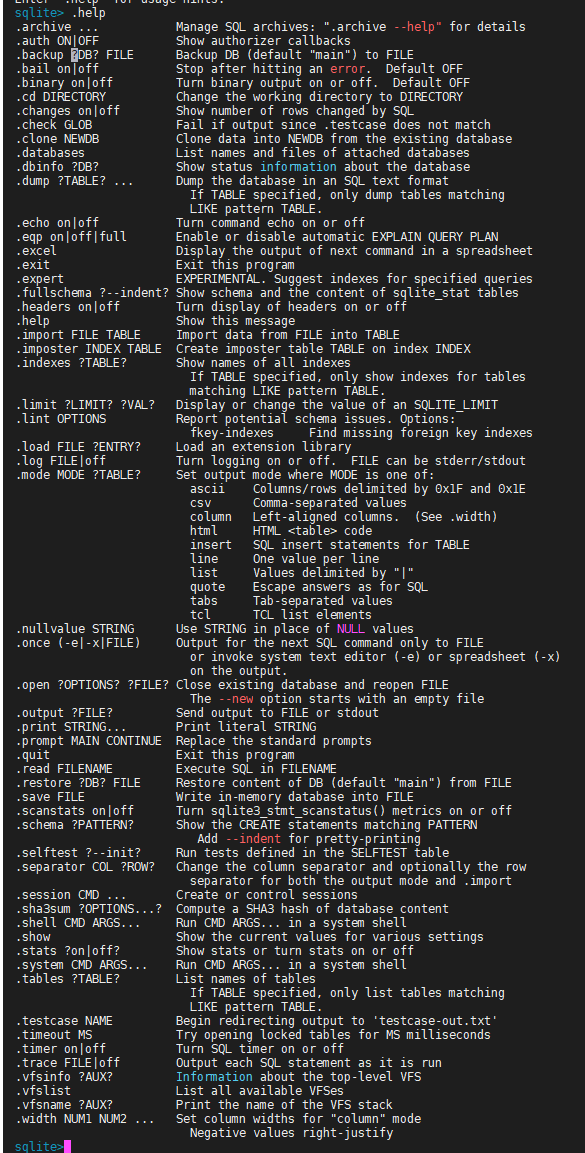
- 現在使用中のデータベースについての,文字のエンコーディングの確認 (encoding)
「PRAGMA encoding;」で,エンコーディングが表示される.新規に作成したデータベースでは UTF-8 である.
PRAGMA encoding;
- SQLite 3 の終了
「.exit」で終了する.
.exit
3. 空のデータベースの新規作成
ここでの設定
- 生成したいデータベースファイル名: /var/tmp/hoge.db ※ 書き込み権限のあるディレクトリを使用する
- 端末で,SQLite 3 を起動する.
sqlite3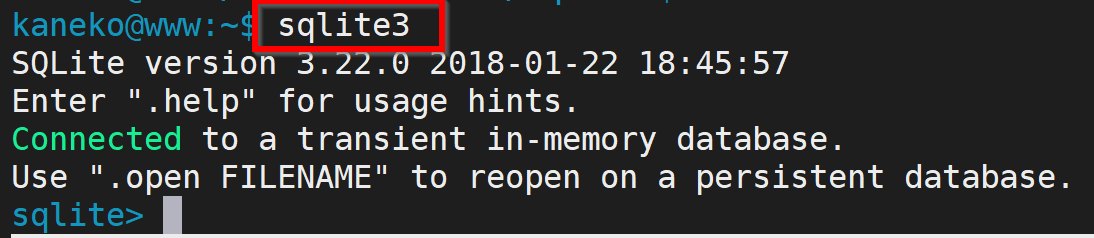
- データベースの新規作成
空のデータベースを作成したいので次のように操作する.
「--new」を付けているので,すでにデータベースファイルが存在するときは,その中身が消去される.
.open --new /var/tmp/hoge.db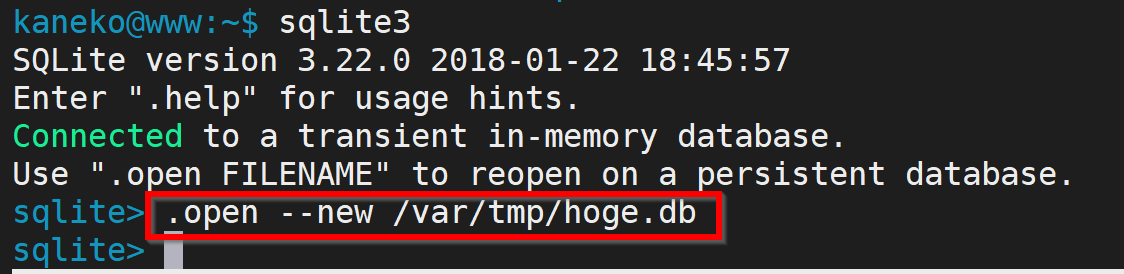
- 「.exit」を実行して,SQLite 3 を終了する.
.exit
4. テーブル定義とレコード挿入
ここで定義するテーブル: order_records(id, year, month, day, customer_name, product_name, unit_price, qty, created_at, updated_at)
- 端末で,SQLite 3 を起動する.
sqlite3
- データベースの新規作成
空のデータベースを作成したいので次のように操作する.
「--new」を付けているので,すでにデータベースファイルが存在するときは,その中身が消去される.
.open --new /var/tmp/hoge.db
- SQL を用いたテーブル定義
CHECK 制約により,列の値やレコード全体が満たすべき条件を指定している.トリガ order_records_update により,レコードの更新時に updated_at が現在時刻に設定される.
create table order_records (
    id            integer primary key not null,
    year          integer not null CHECK ( year > 2008 ),
    month         integer not null CHECK ( month >= 1 AND month <= 12 ),
    day           integer not null CHECK ( day >= 1 AND day <= 31 ),
    customer_name text not null,
    product_name  text not null,
    unit_price    real not null check ( unit_price > 0 ),
    qty           integer not null default 1 check ( qty > 0 ),
    created_at    timestamp not null default (datetime('now', 'localtime')),
    updated_at    timestamp not null default (datetime('now', 'localtime')),
    check ( ( unit_price * qty ) < 200000 ) );

create trigger order_records_update after update on order_records
begin
    update order_records set updated_at = (datetime('now', 'localtime')) where id = new.id;
end;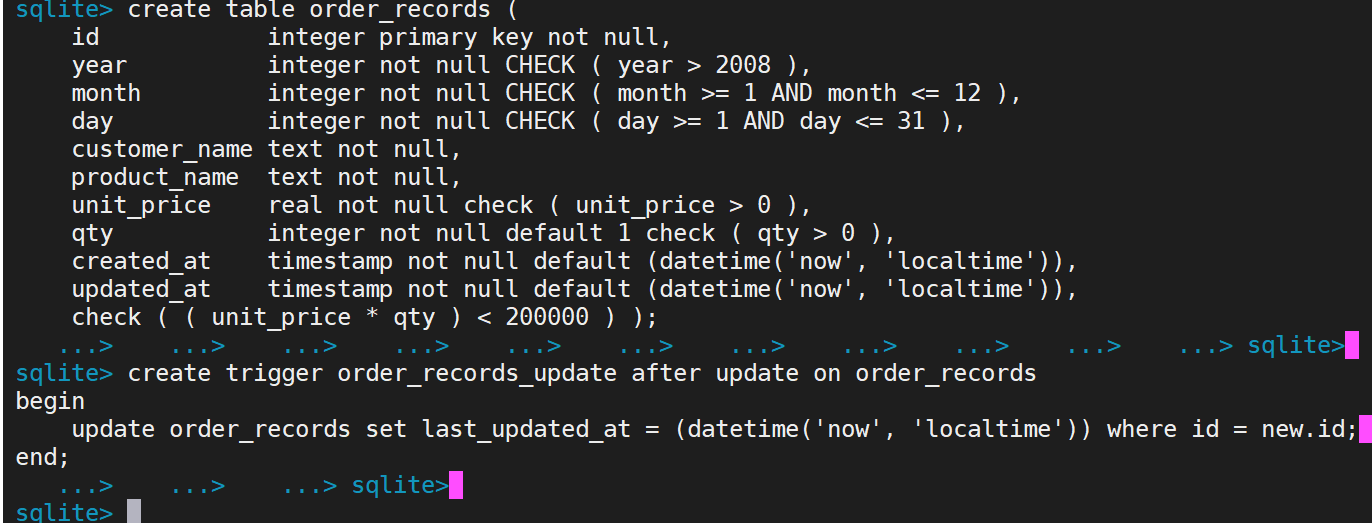
- SQL を用いたレコード挿入
最後のレコードでは qty を指定していないため,default で指定した値 1 が入る.
begin transaction;
insert into order_records (id, year, month, day, customer_name, product_name, unit_price, qty) values( 1, 2023, 7, 26,  'kaneko', 'orange A', 1.2, 10 );
insert into order_records (id, year, month, day, customer_name, product_name, unit_price, qty) values( 2, 2023, 7, 26,  'miyamoto', 'Apple M',  2.5, 2 );
insert into order_records (id, year, month, day, customer_name, product_name, unit_price, qty) values( 3, 2023, 7, 27,  'kaneko',   'orange B', 1.2, 8 );
insert into order_records (id, year, month, day, customer_name, product_name, unit_price) values( 4, 2023, 7, 28,  'miyamoto',   'Apple L', 3 );
commit;
- 確認表示
select * from order_records;
- 更新し確認表示
begin transaction; update order_records set unit_price = 11.2 where id = 1; commit; select * from order_records; - 「.tables」を実行して,テーブルが定義できたことを確認する.
.tables
- 「.exit」を実行して,SQLite 3 を終了する.
.exit