Ubuntu で pyenv, Anaconda 5.3.0, Python 2.7.15, 各種パッケージのインストール
ここで行うこと.
pyenv をインストールする.pyenv の配下に Anaconda 5.3.0 (Python 3.6 同封)、Python 2.7.15 をインストールする.それらにパッケージを追加する.
【目次】
- 前準備 (preparation)
- pyenv のインストールと設定 (Install pyenv, and its settings)
- pyenv を用いて Anaconda 5.3.0 のインストール
- pyenv を用いて Python 2.7.15 のインストール
- pyenv の確認 (Examine pyenv)
- pyenv の Anaconda 5.3.0 環境での各種パッケージのインストール
- pyenv の Anaconda 5.3.0 環境で spyder 開発版 のインストール
- pyenv の Anaconda 5.3.0 環境で SWIG を使ってみる
- Python 3.6 系での既知のバグ
- pyenv の Python 2.7.15 環境での各種パッケージのインストール
- (オプション) Ubuntu 版 Graphviz のインストール (Optionally, Install Graphviz for Ubuntu)
- Pythonのライブラリのインストール (Install / Upgrade Recommended Python Packages)
サイト内の関連 Web ページ:
前準備
Ubuntu のシステム更新
Ubuntu で OS のシステム更新を行うときは, 端末で,次のコマンドを実行する.
Ubuntu で OS のシステム更新を行うときは, 端末で,次のコマンドを実行する。これは、パッケージ情報を最新の状態に保ち、インストール済みのパッケージをセキュリティアップデートやバグ修正を含めて更新するためである。
# パッケージリストの情報を更新
sudo apt update
# インストール済みのパッケージを包括的に更新 (依存関係も考慮)
sudo apt full-upgrade
# カーネル更新等で実際に再起動が必要な場合のみ実行を推奨
# sudo shutdown -r now
C/C++ コンパイラと Make とビルドツールのインストール
ソフトウェアをソースコードからビルドするには、C/C++コンパイラ (通常はGCC) や make ユーティリティといった開発ツールが重要である。Ubuntuでは、これらのツールは build-essential パッケージにまとめられている。インストールするには,端末で,次のコマンドを実行する。
sudo apt -y install build-essential libtool texinfo dpkg-dev pkg-config
libtool, texinfo, dpkg-dev, pkg-config は、より複雑なビルドやパッケージ管理の際に役立つ開発関連ツールである。
git, wget,libbz2-dev,libreadline-dev,libssl-dev,libsqlite3-dev のインストール
端末で,次のコマンドを実行する.
# パッケージリストの情報を更新
sudo apt update
sudo apt -y install --no-install-recommends make build-essential libssl-dev zlib1g-dev libbz2-dev libreadline-dev libsqlite3-dev wget curl llvm libncurses5-dev xz-utils tk-dev libxml2-dev libxmlsec1-dev libffi-dev liblzma-dev
pyenv のインストールと設定
- pyenv のダウンロード (Download pyenv)
cd /tmp git clone https://github.com/pyenv/pyenv.git ~/.pyenv - pyenv の更新 (Updata pyenv)
cd ~/.pyenv
git pull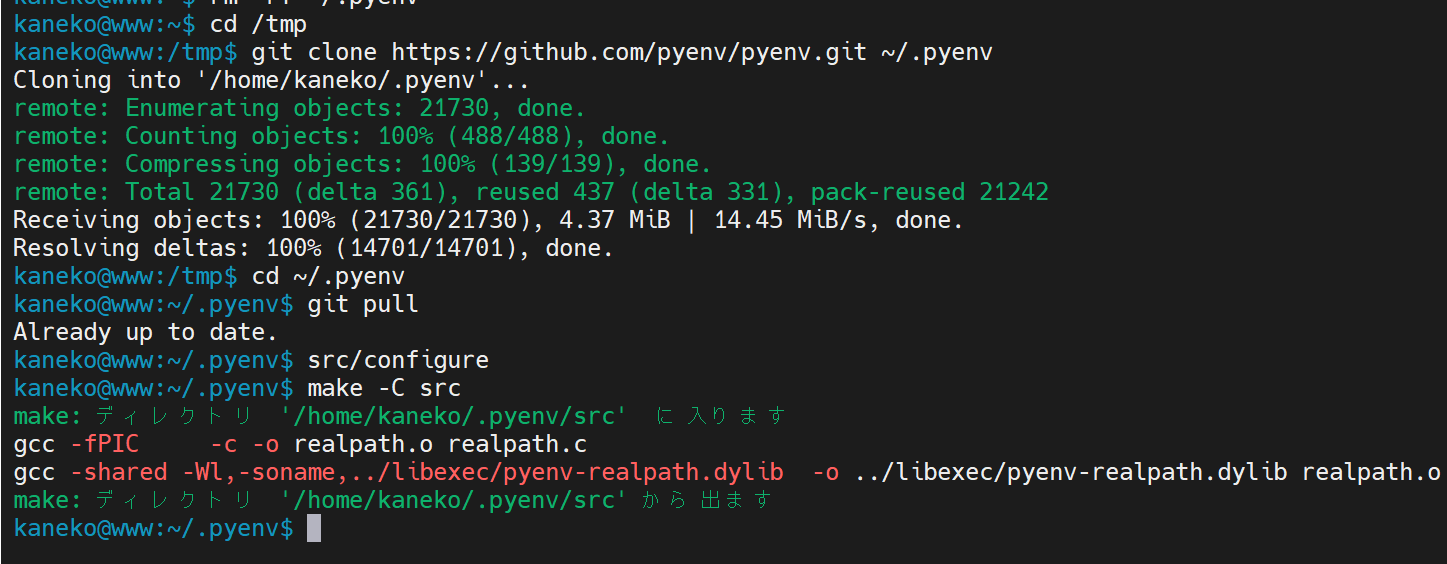
- pyenv の設定 (Settings of pyenv)
echo 'export PYENV_ROOT="${HOME}/.pyenv"' >> ~/.bashrc
echo 'if [ -d "${PYENV_ROOT}" ]; then' >> ~/.bashrc
echo '    export PATH=${PYENV_ROOT}/bin:$PATH' >> ~/.bashrc
echo '    eval "$(pyenv init -)"' >> ~/.bashrc
echo 'fi' >> ~/.bashrc
exec $SHELL -l
pyenv を用いて Anaconda 5.3.0 のインストール
- 新しく端末を開く
- インストールするPython のバージョンの確認 (decide the version)
pyenv rehash
pyenv install -l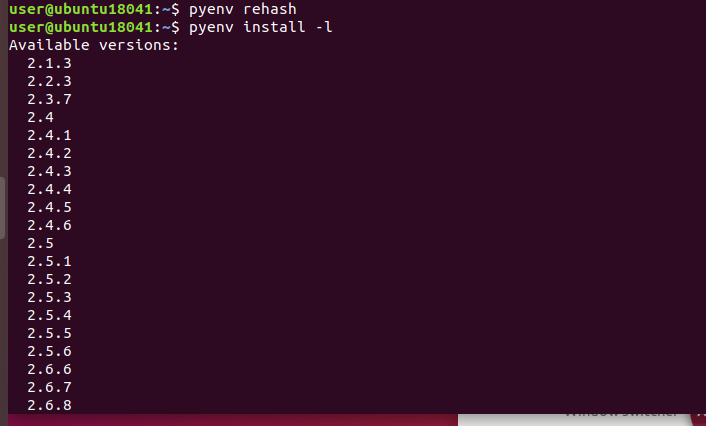
- インストールできる Anaconda3 のバージョンの確認 (Anaconda Versions)
pyenv install -l | grep anaconda
- Anaconda3 の前提ソフトウェアのインストール (Install libraries)
# パッケージリストの情報を更新
sudo apt update
sudo apt -y install libbz2-dev libsqlite3-dev libssl-dev libreadline-dev libpng-dev libjpeg-dev zlib1g-dev libx11-dev libfreetype6-dev
- Anaconda3 の最新版のインストールと設定 (Install Anaconda latest version)
下の実行例では anaconda3-5.3.0 をインストールしている
pyenv install anaconda3-5.3.0
- 確認 (Examine the python versions)
pyenv versions「anaconda3-5.3.0」がインストールされたことが分かる

- 試しに、anaconda3-5.3.0 のPython を起動してみる (Try to launch anaconda3-5.3.0 Python)
「pyenv shell anaconda3-5.3.0」は、anaconda3-5.3.0 のPythonの使用を開始するためのコマンド
pyenv shell anaconda3-5.3.0
python
print(1 + 2)
exit()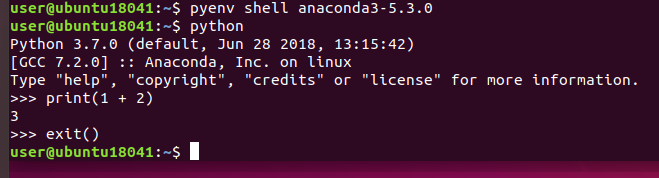
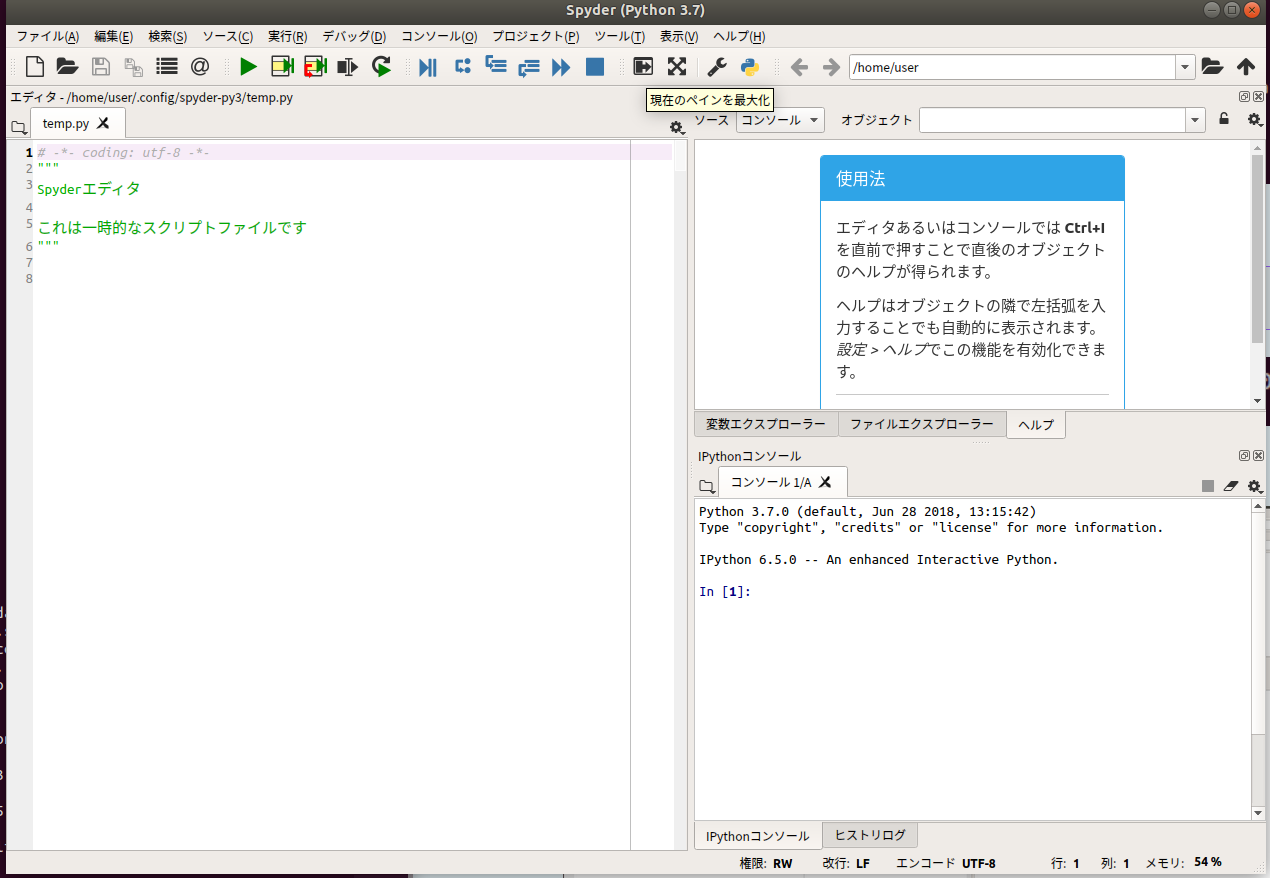
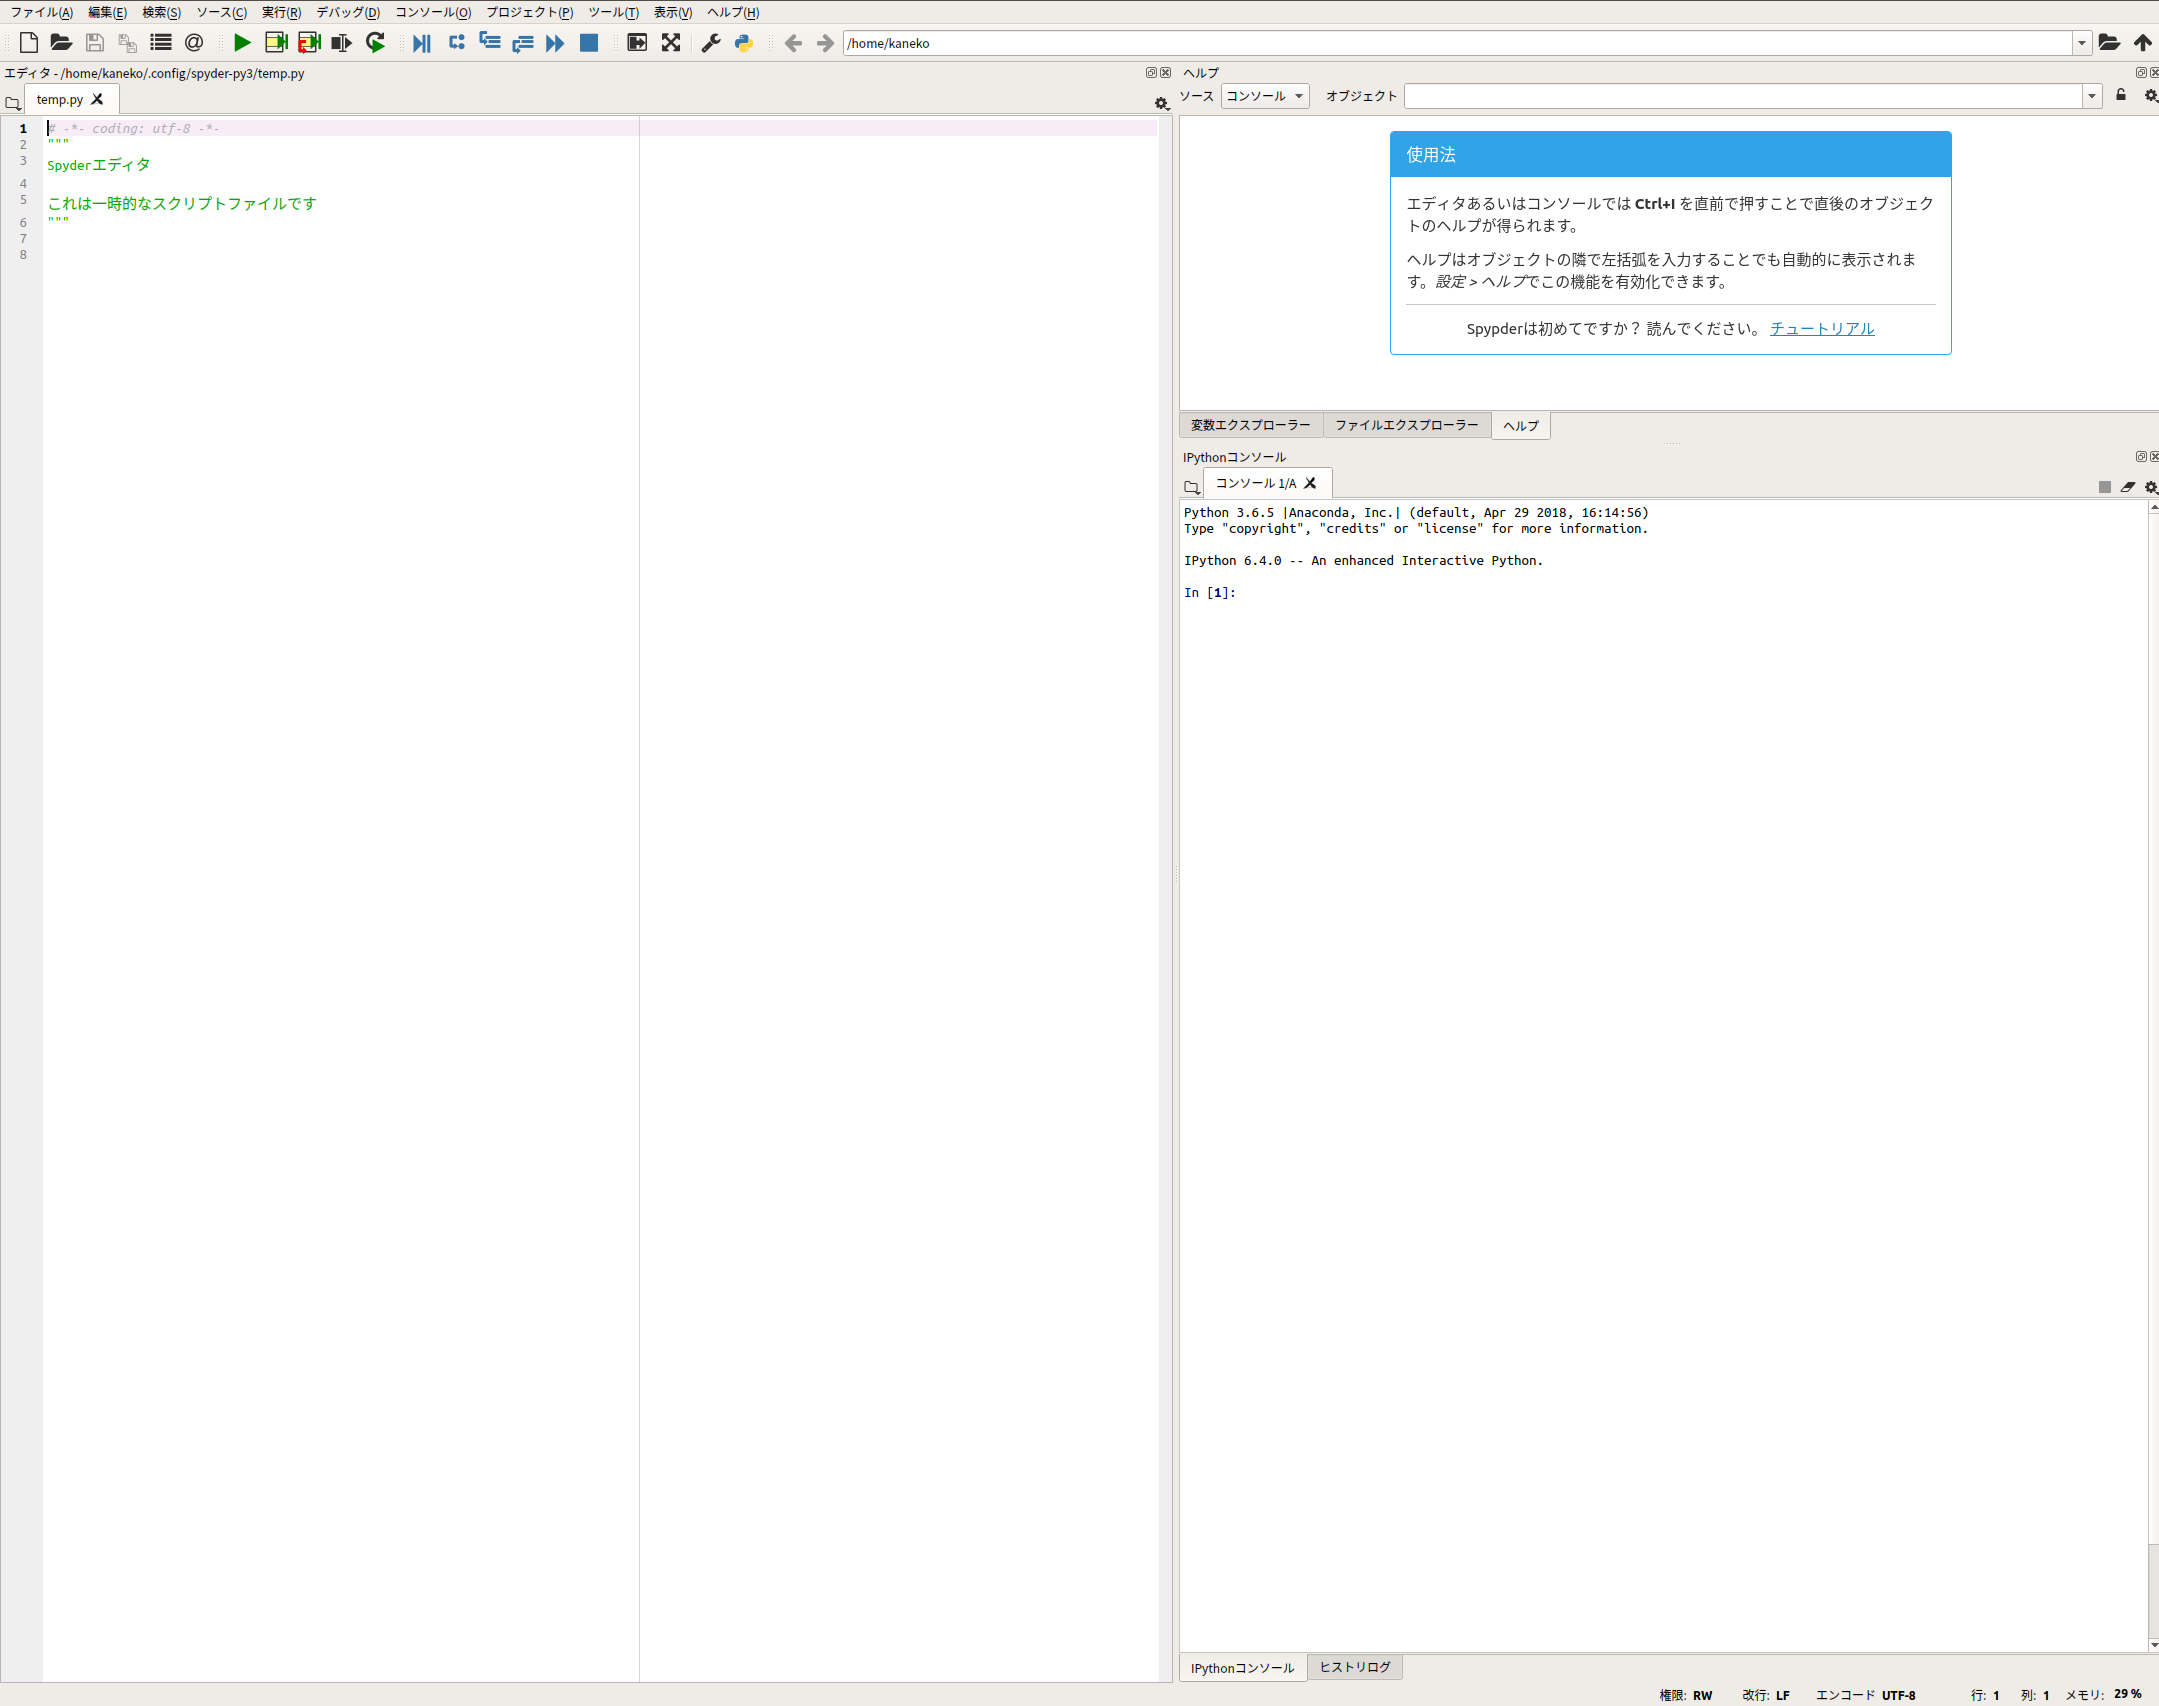
- 試しに spyder を起動してみる
pyenv shell anaconda3-5.3.0
spyder
spyder の画面が開くことを確認する
pyenv を用いて Python 2.7.15 のインストール
- 新しく端末を開く
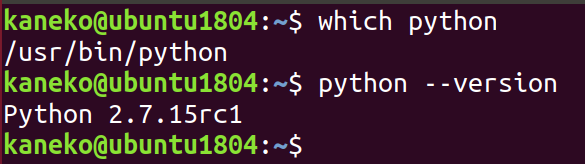
- システムの python のバージョンの確認
Ubuntu 18.04 での実行結果の例
- インストールするPython のバージョンの確認 (decide the version)
pyenv rehash
pyenv install -l
- インストールできる Python 2 のバージョンの確認
pyenv install -l | grep 2.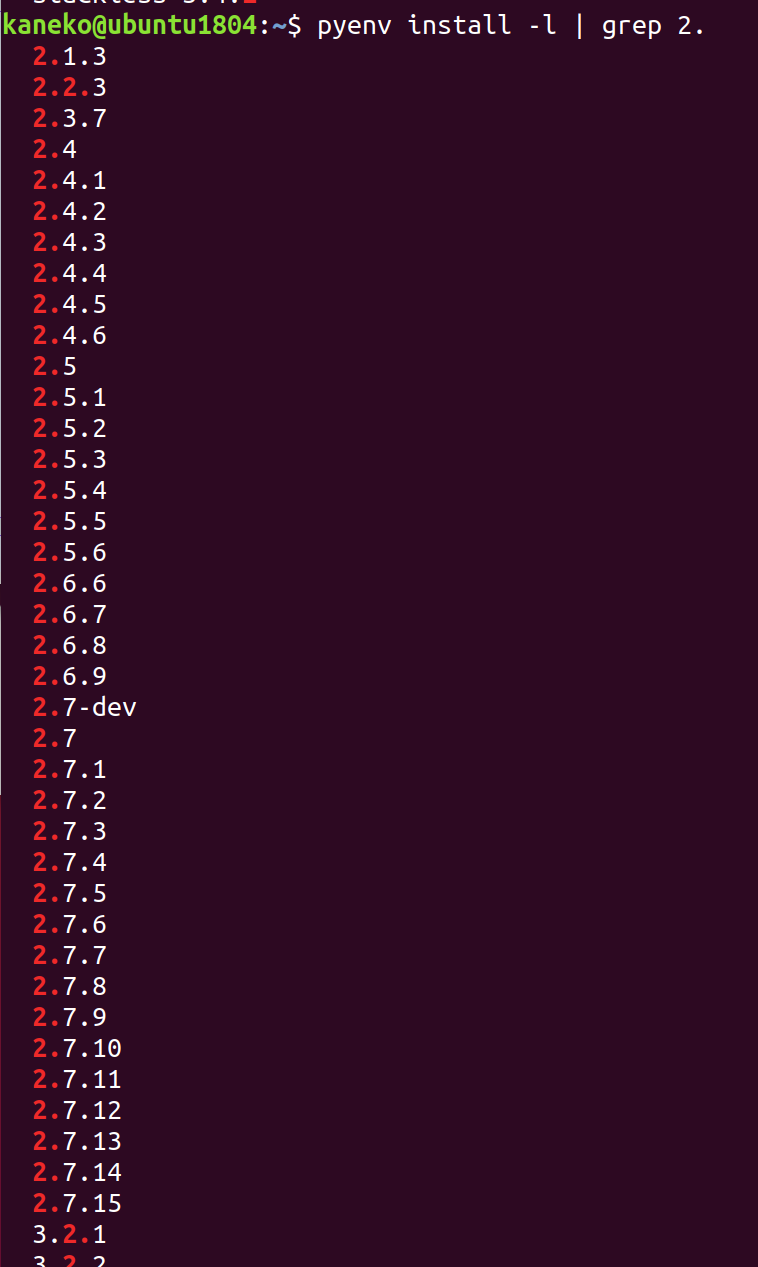
- Python 2.7.15 のインストールと設定 (Install Python 2.7.15 and Settings)
pyenv install 2.7.15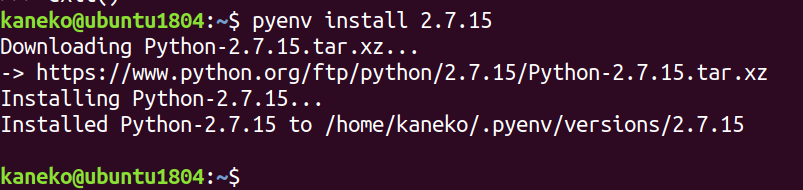
- 確認 (Examine the python versions)
pyenv versions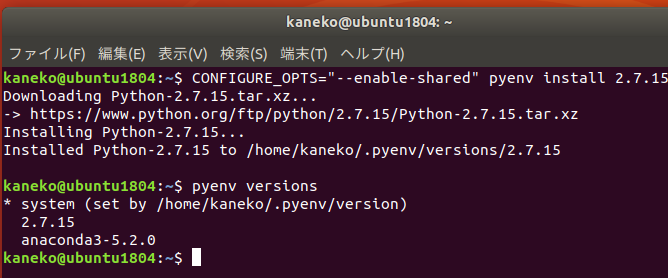
複数のPython がインストールされていることが分かる。
使用する Python の切り替えは 次のコマンドで行う- pyenv shell system
- pyenv shell 2.7.15
- pyenv shell anaconda3-5.3.0
- 試しに Python を起動してみる (Try to launch Python)
pyenv shell 2.7.15
python
print(1 + 2)
exit()
pyenv shell anaconda3-5.3.0
python
print(1 + 2)
exit()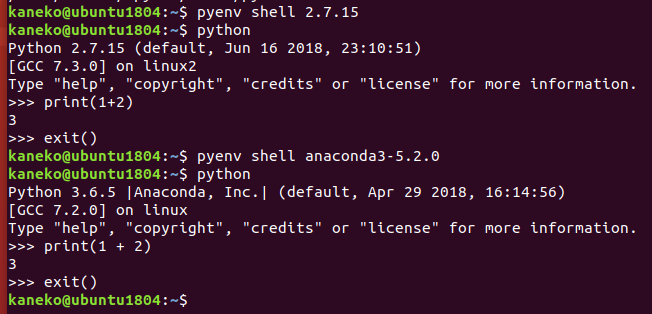
- (オプション)デフォルトで使用する Python の設定 (optionally, setting of default python)
- デフォルトで pyenv 配下の python 2.7.15 を使いたいときの設定
echo 'pyenv shell 2.7.15' >> ~/.bashrc exec $SHELL -l - デフォルトで pyenv 配下の anaconda3-5.3.0 を使いたいときの設定
echo 'pyenv shell anaconda3-5.3.0' >> ~/.bashrc
exec $SHELL -l
- デフォルトで pyenv 配下の python 2.7.15 を使いたいときの設定
pyenv の確認 (Examine pyenv)
- 新しく端末を開く
- ~/.pyenv/versions ディレクトリ (~/.pyenv/versions directory)
ls ~/.pyenv/versions
- pyenv により、pip と easy_install も設定される (pyenv do setting up easy_install and pip)
which pip
which easy_install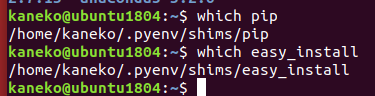
- Python のパッケージも同時にインストールされる (Python packages are also installed)
pyenv shell 2.7.15
which pip
which easy_install
pip list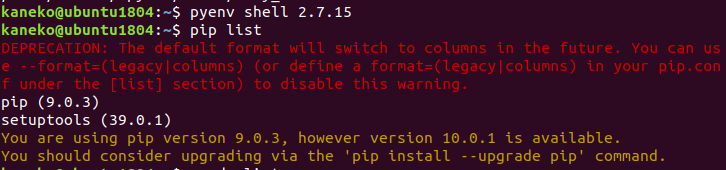
pyenv shell anaconda3-5.3.0
which pip
which easy_install
pip list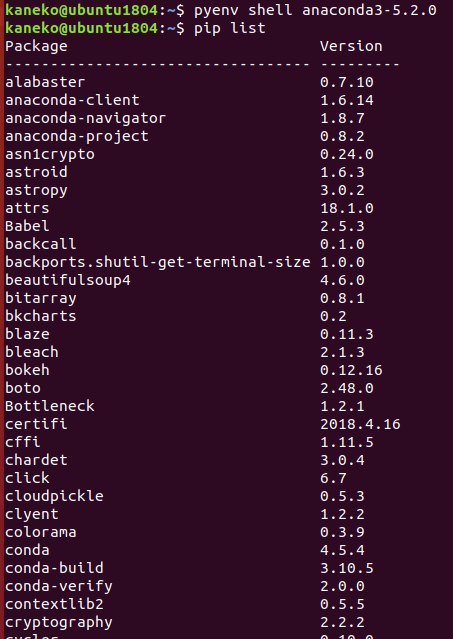
pyenv の Anaconda 5.3.0 環境での各種パッケージのインストール
- まずは,Anaconda3 に、最新の conda-build パッケージが欲しい.次のコマンドを実行
* conda-buildパッケージは,condaパッケージを自前で作成するなどが簡単にできるためのツール.
pyenv shell anaconda3-5.3.0
conda install -y conda-build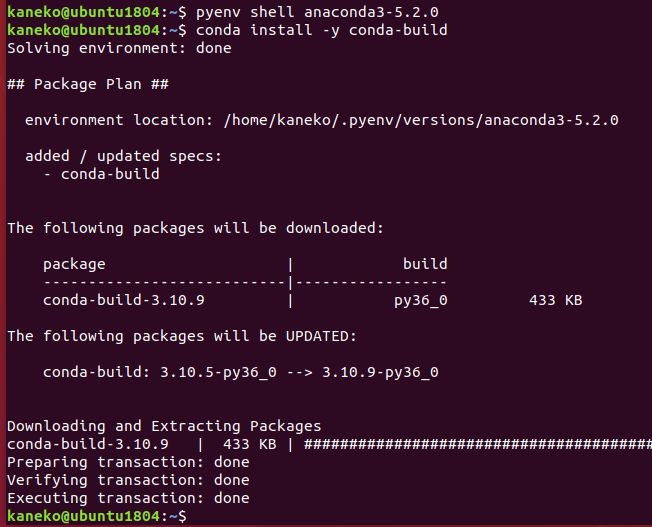
* 「Proceed ([y]/n)?」と表示されたら, y + Enter で続行する.「反応が遅いなあ」と思ったら、Enter キーを押してみる.
- pip の更新 (Update pip)
cd /tmp
sudo rm -f get-pip.py
curl -O https://bootstrap.pypa.io/get-pip.py
python get-pip.py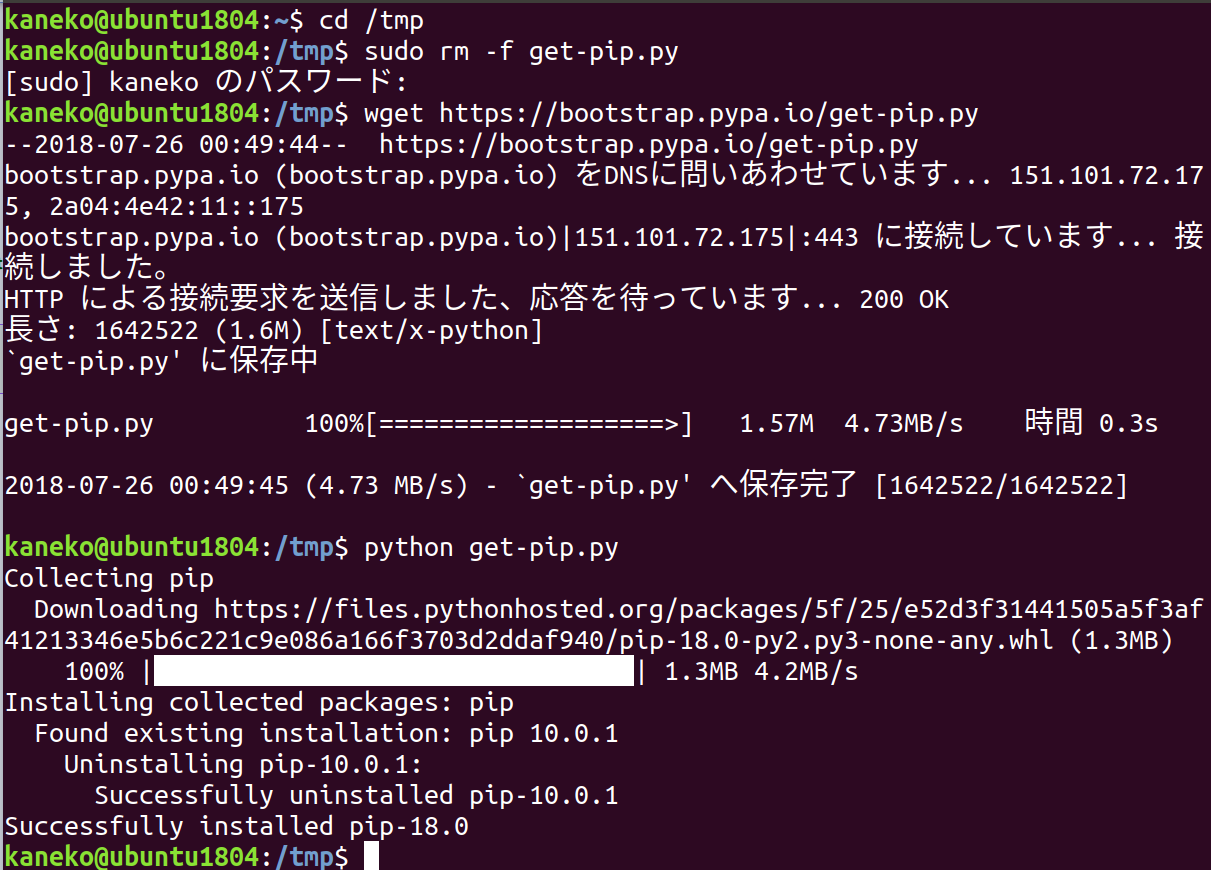
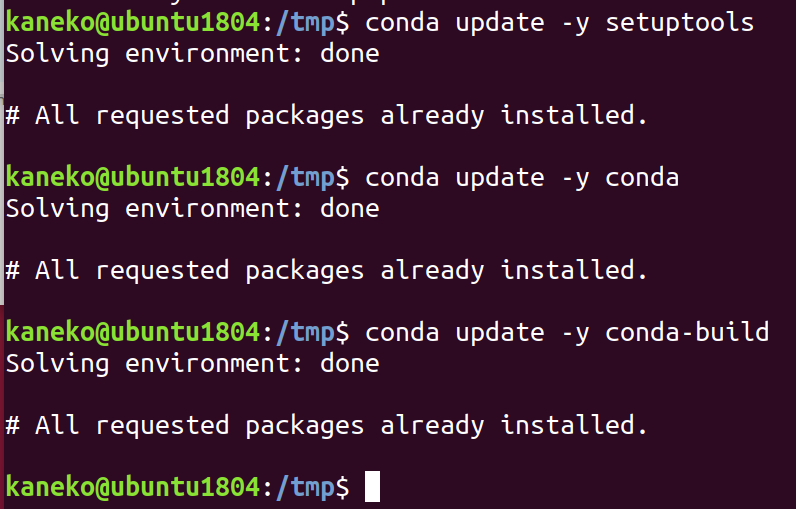
- setuptools, conda, conda-build の更新 (Update setuptools, conda and conda-build)
conda update -y setuptools
conda update -y conda
conda update -y conda-build
* 「Proceed ([y]/n)?」と表示されたら, y + Enter で続行する.「反応が遅いなあ」と思ったら、Enterキーを押してみる.
- gcc_linux, gxx_linux のインストール・インストール済みパッケージの更新
conda install -y gcc_linux-64 conda install -y gxx_linux-64 conda update -y --all - 各種パッケージのインストール
Anaconda では,「conda」という形式の Python のパッケージも、簡単に扱うことができる. Python のパッケージを追加することで,Python にいろいろな機能を追加することができる.conda を用いてPythonパッケージ以外のソフトウェアをインストールすることもできる
端末で,次のコマンドを実行する.
pyenv shell anaconda3-5.3.0
conda install -y numpy
conda install -y six
conda install -y protobuf
conda install -y pillow
conda install -y hdf5
conda install -y h5py
conda install -y chainer
#
conda install -y scikit-learn
conda install -y scikit-image
conda install -y matplotlib
conda install -y seaborn
conda install -y graphviz
conda install -y pydot
conda install -y yaml
conda install -y flask
conda install -y django
conda install -y sympy
conda install -y pandas
conda install -y sqlite
conda install -y redis
conda install -y scipy
conda install -y gensim
conda install -y opencv
conda install -y pylint
conda install -y bz2file
conda install -y PyOpenGL
conda install -y ipykernel
# pip install ... か  github を使うもの
#  最初の conda ... は、下の pip でいれているものの前提ソフトウェア
conda install -y termcolor astor wheel setuptools six protobuf werkzeug markdown absl-py grpcio gast future six click cligj click-plugins munch fiona python-dateutil pytz pyproj shapely
pip install git+https://github.com/msgpack/msgpack-python
pip install git+https://github.com/davisking/dlib
pip install git+https://github.com/ageitgey/face_recognition
pip install git+https://github.com/jrosebr1/imutils

pip install --ignore-installed --upgrade pyglet
pip install --ignore-installed --upgrade pygame
pip install --ignore-installed --upgrade cocos2d
pip install --ignore-installed --upgrade geopandas
pip install git+https://github.com/DinoTools/python-overpy
# conda-forge か pip install git+https://github... でインストールするもの
pip install git+https://github.com/python-visualization/folium
conda install -y -c conda-forge exifread
conda install -y -c conda-forge haversine
conda install -y -c conda-forge utm
conda install -y -c conda-forge gdal
#again
conda install -y conda
conda update -y --all
* 「Proceed ([y]/n)?」と表示されたら, y + Enter で続行する.「反応が遅いなあ」と思ったら、Enterキーを押してみる.
pyenv の Anaconda 5.3.0 環境で spyder 開発版 のインストール
https://github.com/spyder-ide/spyder に記載の手順に従う
pyenv shell anaconda3-5.3.0
pip install -U PyQt5
pip install git+https://github.com/spyder-ide/spyder-kernels
pip install git+https://github.com/spyder-ide/qtpy
cd /tmp
git clone https://github.com/spyder-ide/spyder.git
cd spyder
git pull
python bootstrap.py
python setup.py install
「spyder」で、試しに起動してみる.

pyenv の Anaconda 5.3.0 環境で SWIG を使ってみる
- SWIG のインストール (Install swig)
# パッケージリストの情報を更新
sudo apt update
sudo apt -y install swig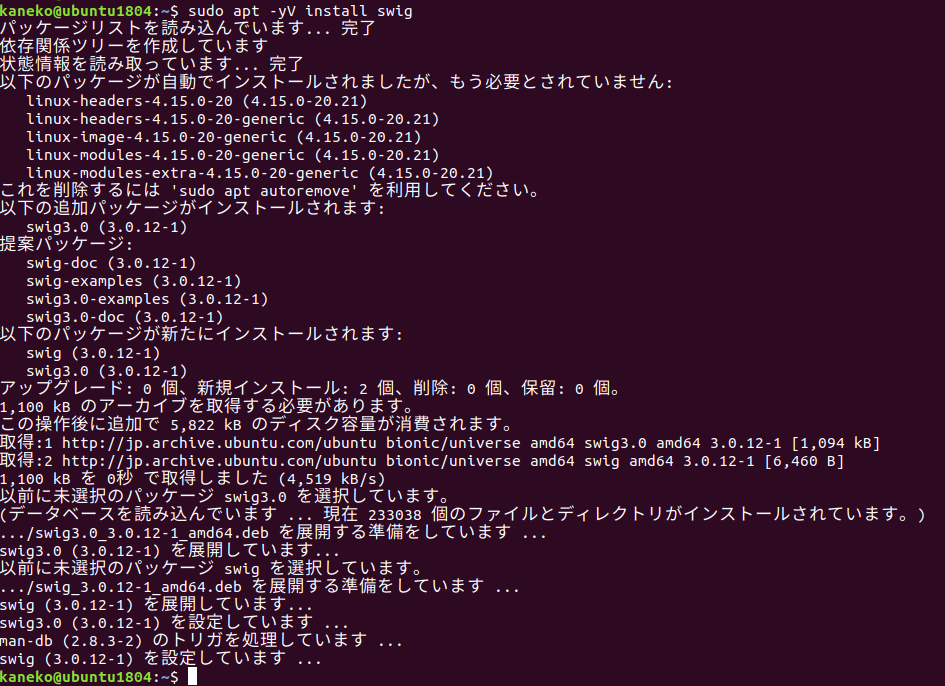
- プログラムファイルの作成
http://www.swig.org/Doc1.3/Python.html#Python_nn6 に記載のサンプルプログラム
- example.i
%module example %{ #define SWIG_FILE_WITH_INIT #include "example.h" %} int fact(int n); - example.c
#include "example.h" int fact(int n) { if (n < 0){ /* This should probably return an error, but this is simpler */ return 0; } if (n == 0) { return 1; } else { /* testing for overflow would be a good idea here */ return n * fact(n-1); } } - example.h
int fact(int n); - setup.py
#!/usr/bin/env python

"""
setup.py file for SWIG example
"""

from distutils.core import setup, Extension


example_module = Extension('_example',
                           sources=['example_wrap.c', 'example.c'],
                           )

setup (name = 'example',
       version = '0.1',
       author      = "SWIG Docs",
       description = """Simple swig example from docs""",
       ext_modules = [example_module],
       py_modules = ["example"],
       )
- example.i
- 新しく端末を開く
- プログラムファイルから、Python で実行可能にするためのファイルを作る
端末で次のように操作
pyenv shell anaconda3-5.3.0
swig -python example.i
python setup.py build_ext --inplace
ls -la example.* build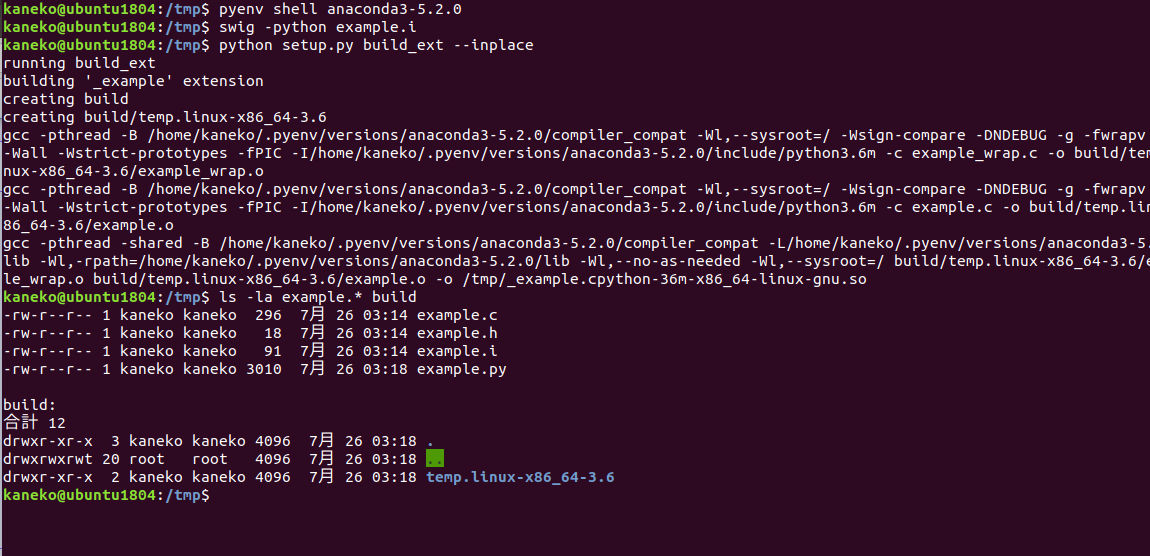
- python 処理系を起動し、次のプログラムを試してみる
import example
example.fact(4)
exit()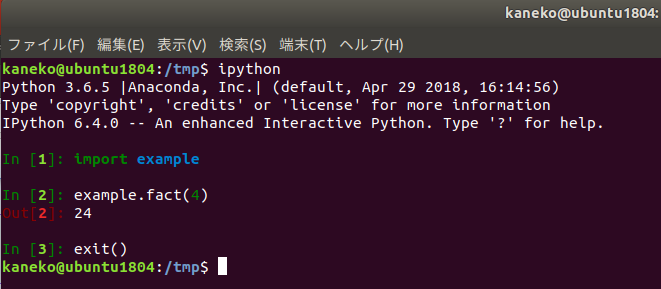
Python 3.6 系での既知のバグ
参考Webページ https://qiita.com/ruteshi_SI_shiteru/items/be6a58276bdbd67dc096
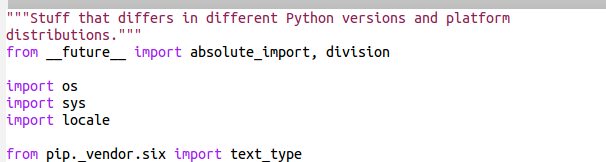
~/.pyenv/versions/anaconda3-5.3.0/pkgs/pip-9.0.3-py36_0/lib/python3.6/site-packages/pip/compat/__init__.py をエディタで修正.
* 「pip-9.0.3-py36_0」のところは違うかも.
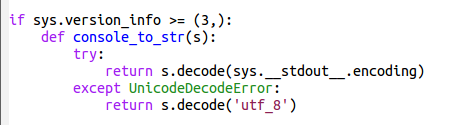
修正前
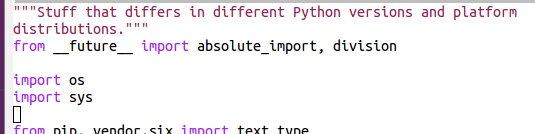
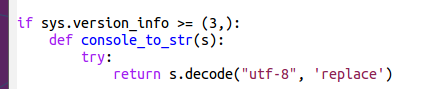
修正後
修正前
修正後
pyenv の Python 2.7.15 環境での各種パッケージのインストール
- まずは,pip の更新
pyenv shell 2.7.15
cd /tmp
sudo rm -f get-pip.py
curl -O https://bootstrap.pypa.io/get-pip.py
python get-pip.py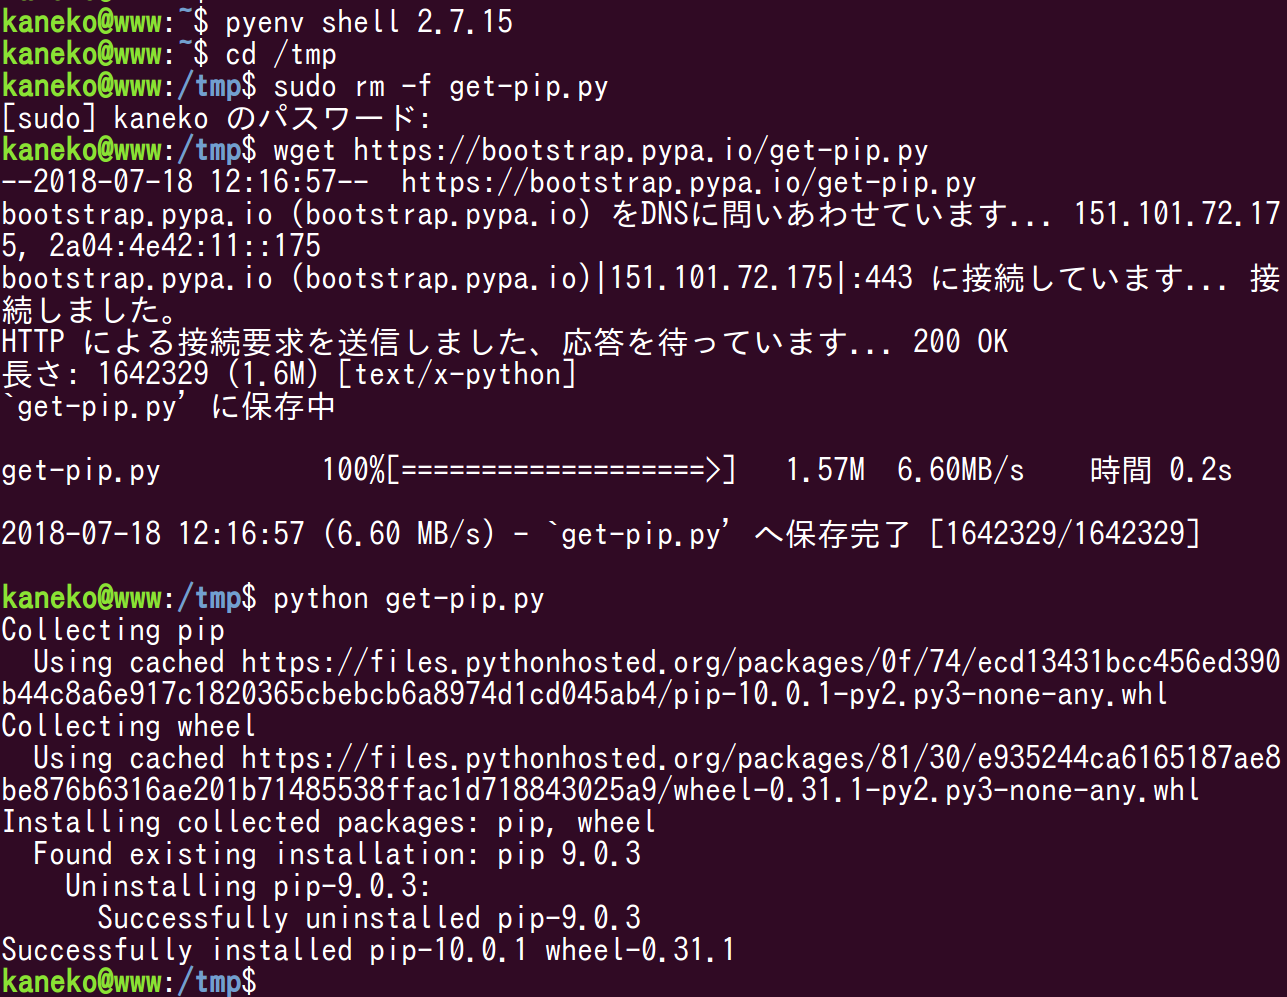
* 「Proceed ([y]/n)?」と表示されたら, y + Enter で続行する.「反応が遅いなあ」と思ったら、Enter キーを押してみる.
- 各種パッケージのインストール
端末で,次のコマンドを実行する. pip を利用.sudo は付けない.
pyenv shell 2.7.15
pip install --ignore-installed --upgrade numpy
pip install --ignore-installed --upgrade six
pip install --ignore-installed --upgrade protobuf
pip install --ignore-installed --upgrade pillow
pip install --ignore-installed --upgrade hdf5
pip install --ignore-installed --upgrade h5py
pip install --ignore-installed --upgrade chainer
#
pip install --ignore-installed --upgrade scikit-learn
pip install --ignore-installed --upgrade scikit-image
pip install --ignore-installed --upgrade matplotlib
pip install --ignore-installed --upgrade seaborn
pip install --ignore-installed --upgrade graphviz
pip install --ignore-installed --upgrade pydot
pip install --ignore-installed --upgrade yaml
pip install --ignore-installed --upgrade flask
pip install --ignore-installed --upgrade django
pip install --ignore-installed --upgrade sympy
pip install --ignore-installed --upgrade pandas
pip install --ignore-installed --upgrade sqlite
pip install --ignore-installed --upgrade redis
pip install --ignore-installed --upgrade scipy
pip install --ignore-installed --upgrade gensim
pip install --ignore-installed --upgrade opencv
pip install --ignore-installed --upgrade pylint
pip install --ignore-installed --upgrade bz2file
pip install --ignore-installed --upgrade PyOpenGL
pip install --ignore-installed --upgrade ipykernel
# pip install ... か  github を使うもの
#  最初の conda ... は、下の pip でいれているものの前提ソフトウェア
pip install --ignore-installed --upgrade termcolor astor wheel setuptools six protobuf werkzeug markdown absl-py grpcio gast future six click cligj click-plugins munch fiona python-dateutil pytz pyproj shapely
pip install git+https://github.com/msgpack/msgpack-python
pip install git+https://github.com/davisking/dlib
pip install git+https://github.com/ageitgey/face_recognition
pip install git+https://github.com/jrosebr1/imutils

pip install --ignore-installed --upgrade pyglet
pip install --ignore-installed --upgrade pygame
pip install --ignore-installed --upgrade cocos2d
pip install --ignore-installed --upgrade geopandas
pip install git+https://github.com/DinoTools/python-overpy
pip install pyproj rtree shapely fiona gdal geopandas
pip install --ignore-installed --upgrade exifread
pip install --ignore-installed --upgrade haversine
pip install --ignore-installed --upgrade utm
# pip install --ignore-installed --upgrade gdal
#again
pip install --ignore-installed --upgrade conda
* 「Proceed ([y]/n)?」と表示されたら, y + Enter で続行する.「反応が遅いなあ」と思ったら、Enterキーを押してみる.