OpenBLAS (BLAS, CBLAS, LAPACK, LAPACKE)のインストール(ソースコードを使用)(MSYS2 ,make を利用 )(Windows 上)
【目次】
OpenBLAS
OpenBLAS はオープンソースの BLAS(Basic Linear Algebra Subprograms)ライブラリである.行列演算や線形代数計算のための関数を提供する.
主な機能:行列乗算(DGEMM)などの関数,マルチスレッド対応,自動的にCPUを検出してコンパイル,
BLAS を用いたプログラムは, https://gist.github.com/xianyi/6930656 などで公開されている.
【BLAS の主な関数】
- Level 1 ベクトルとベクトルの演算
- DOT : 内積
- AXPY : AXPY 演算 ( y <- ax + y の形など)
- NORM : ノルム など
- Level 2 行列とベクトルと計算
- 行列とベクトルの積 ( y <- Ax )
- 行列の rank-1 更新 ( A <- A + xy' )
- Level 3 行列同士の演算
- 行列と行列の積 ( Z <- XY )
【関連する外部ページ】
- OpenBLAS の Web ページ: https://www.openblas.net/
前準備
Git のインストール(Windows 上) [クリックして展開]
管理者権限のコマンドプロンプトで以下を実行する.管理者権限は,winget の --scope machine オプションでシステム全体にインストールするために必要となる.
REM Git をシステム領域にインストール
winget install --scope machine --id Git.Git -e --silent --disable-interactivity --force --accept-source-agreements --accept-package-agreements --override "/VERYSILENT /NORESTART /NOCANCEL /SP- /CLOSEAPPLICATIONS /RESTARTAPPLICATIONS /COMPONENTS=""icons,ext\reg\shellhere,assoc,assoc_sh"" /o:PathOption=Cmd /o:CRLFOption=CRLFCommitAsIs /o:BashTerminalOption=MinTTY /o:DefaultBranchOption=main /o:EditorOption=VIM /o:SSHOption=OpenSSH /o:UseCredentialManager=Enabled /o:PerformanceTweaksFSCache=Enabled /o:EnableSymlinks=Disabled /o:EnableFSMonitor=Disabled"
OpenBLAS のインストール(Windows 上)
【関連する外部ページ】 https://github.com/xianyi/OpenBLAS/wiki/Installation-Guide
MSYS2 の C/C++/Fortran のインストール(Windows 上)
Windows でのMSYS2 の MINGW64 環境のインストールと,LLVM(Clang, Flang, LLD, LLDB)のインストールと,GNU ツールチェーン類 (gcc, g++, gfortran, gdb, make, ninja, ccache, svn 等) のインストール(MSYS2 を利用 ): 別ページ »で説明
OpenBLAS のインストール(Windows 上)
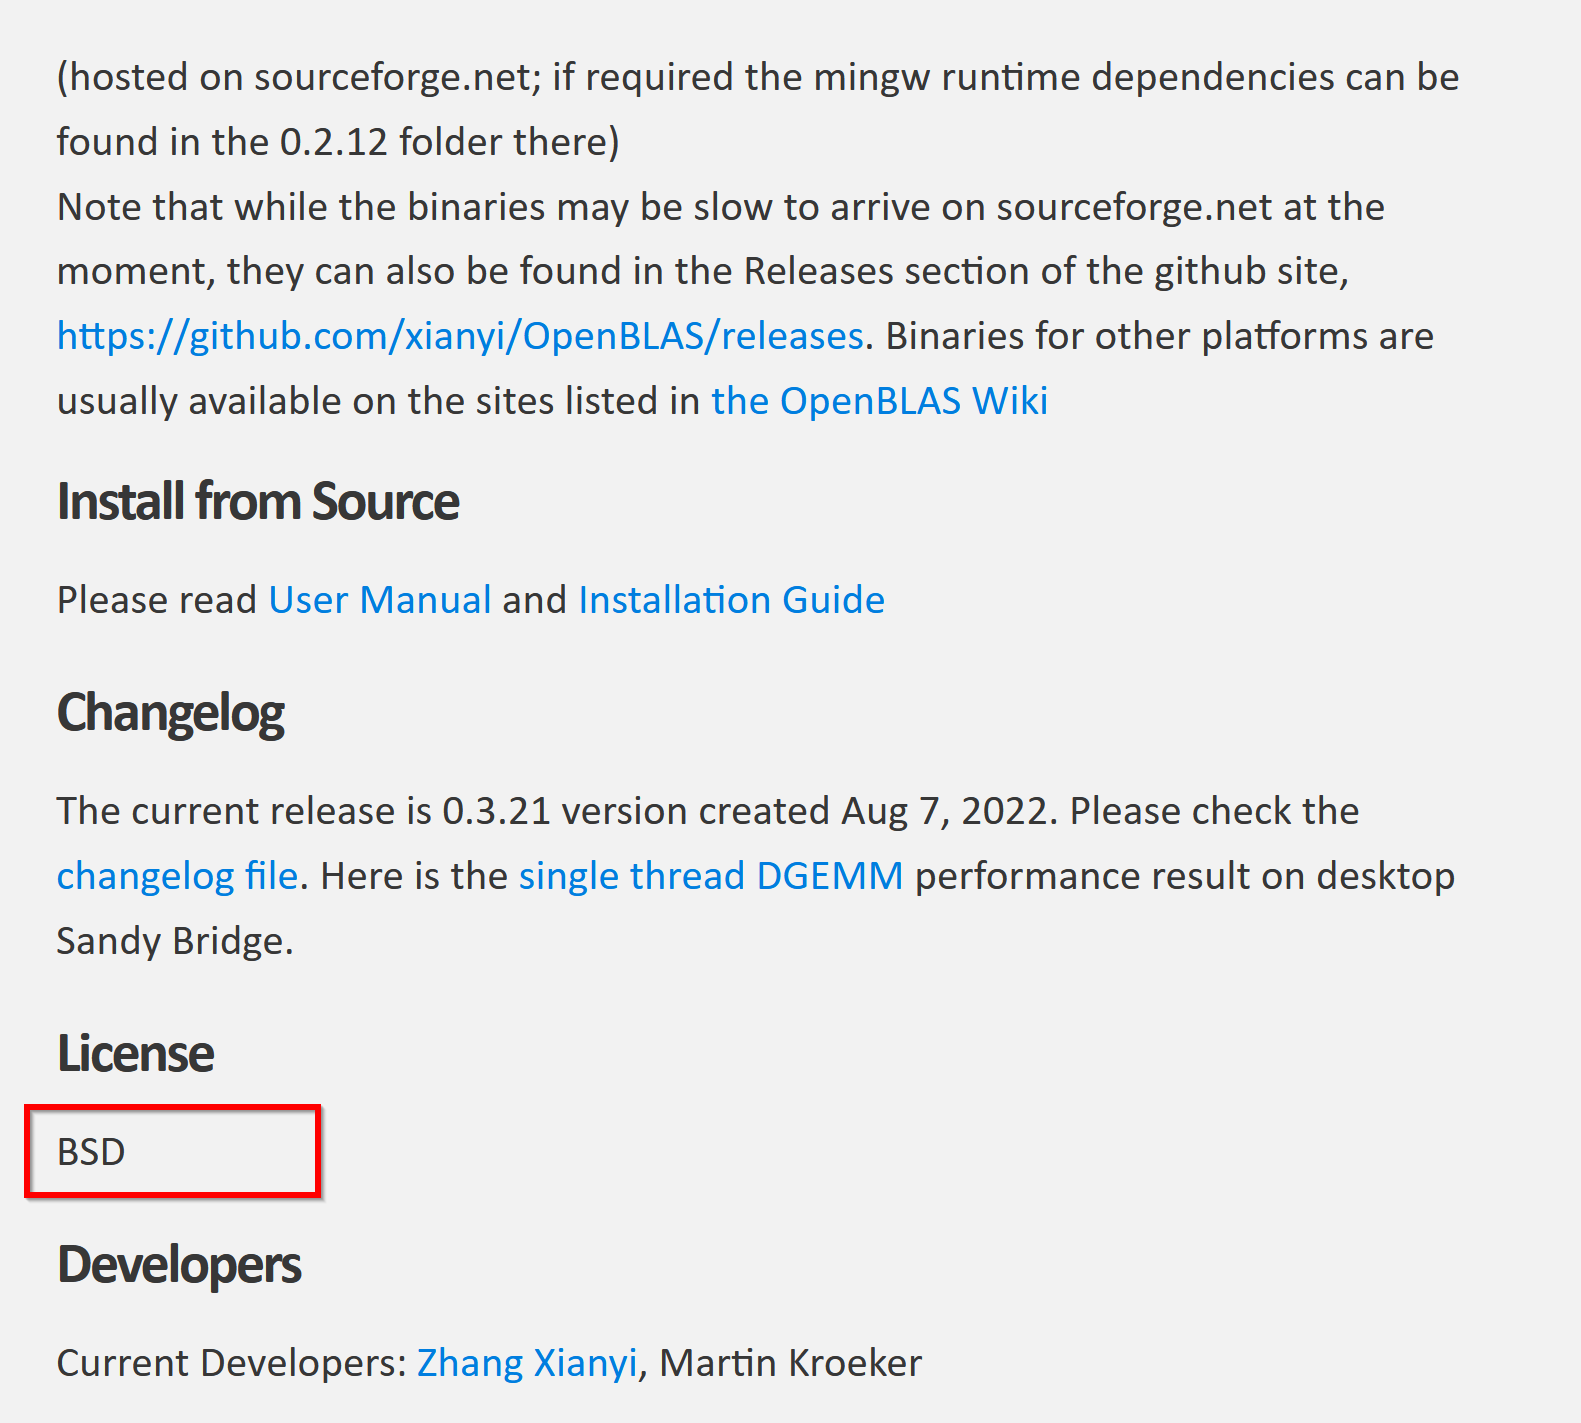
- OpenBLAS のウェブページを開く
- このウェブページで利用条件などを確認
必ず、最新情報を確認すること
- Windows のコマンドプロンプトを実行する.
- ソースコードのダウンロード
cd /d c:%HOMEPATH%
rmdir /s /q OpenBLAS
git clone --recursive https://github.com/xianyi/OpenBLAS.git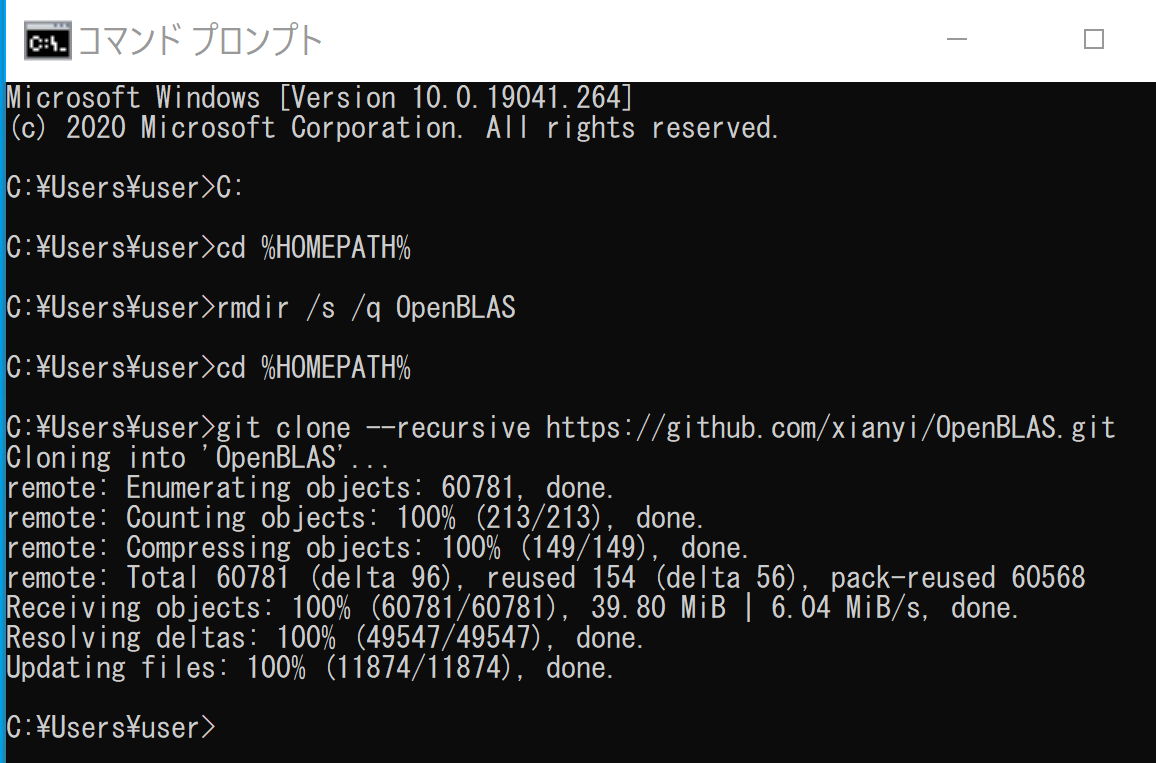
- gcc, gfortran のフルパスの確認
where gcc
where gfortran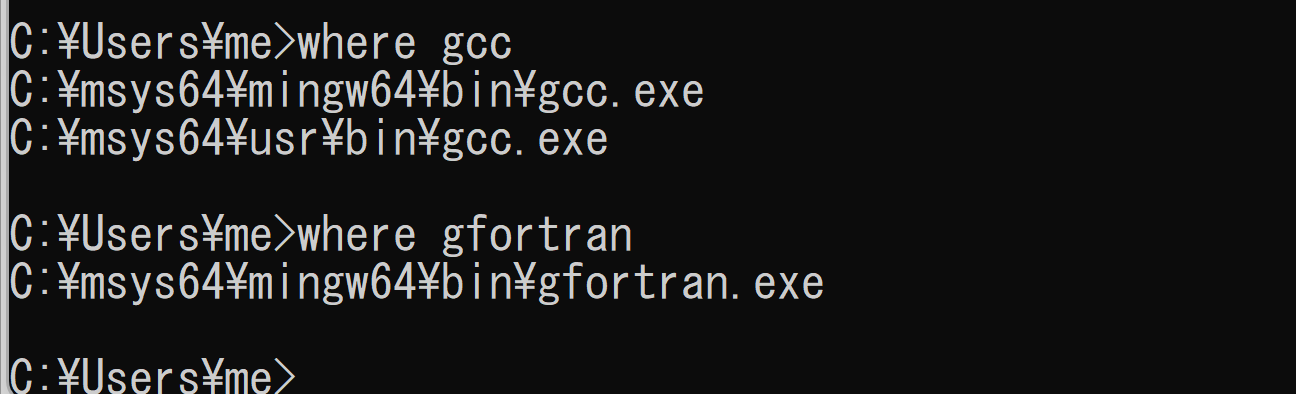
- cmake の実行
https://github.com/xianyi/OpenBLAS/wiki/Installation-Guide の記述による
cd /d c:%HOMEPATH%
cd OpenBLAS
make FC=gfortran BINARY=64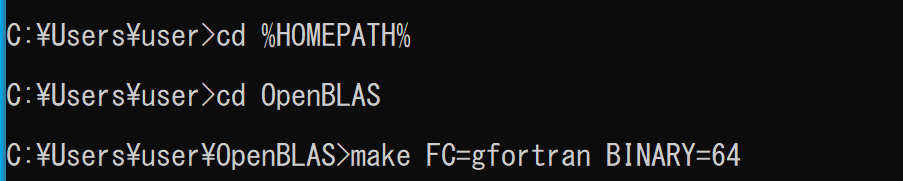
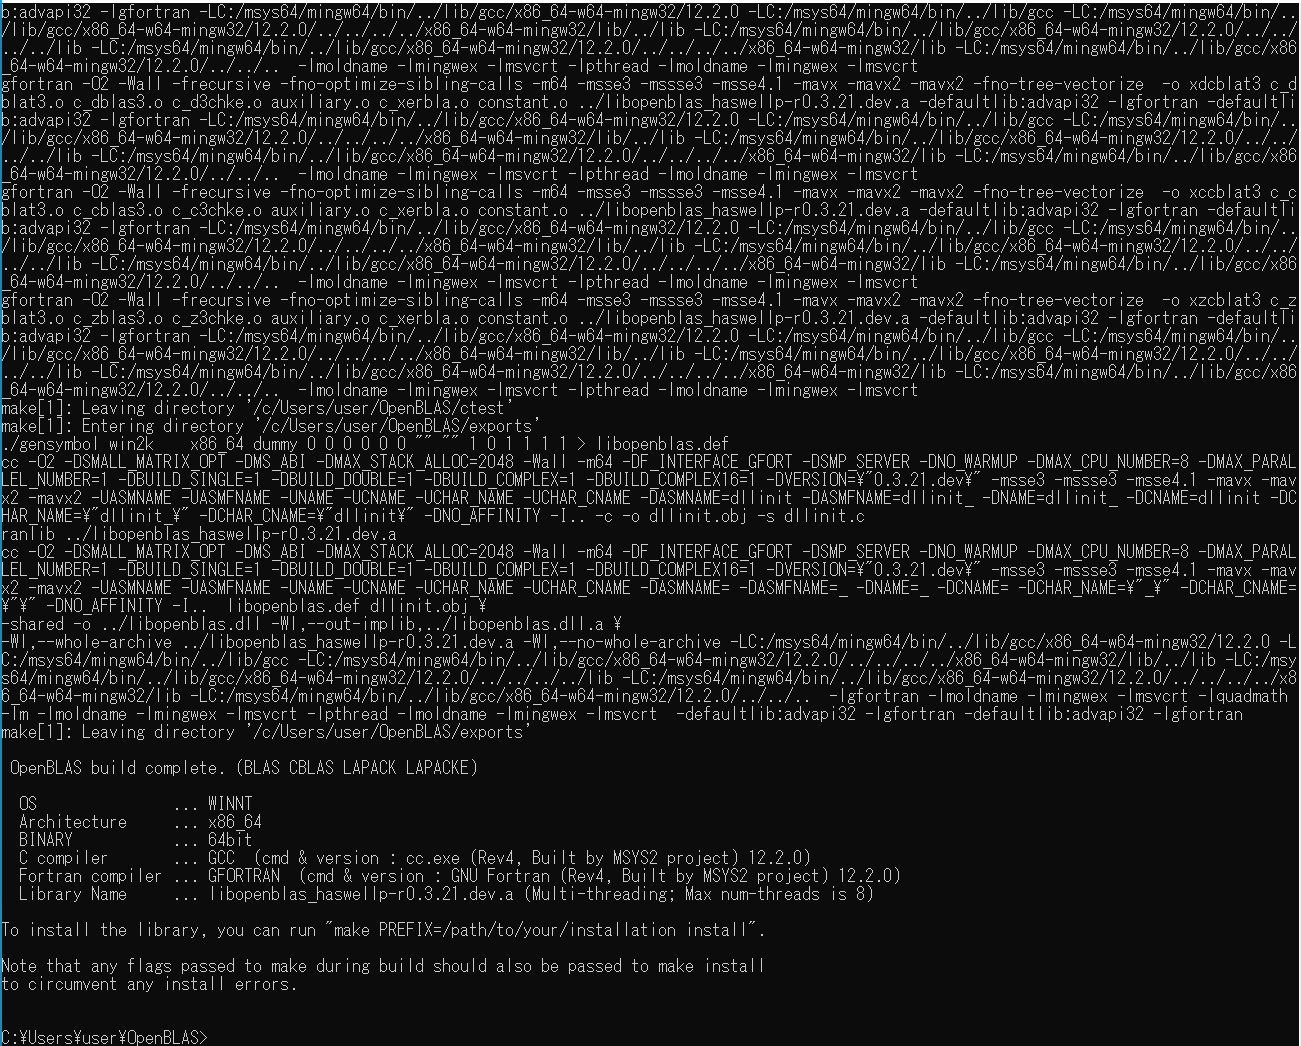
- make の結果の確認
エラーメッセージが出なければ OK.
- インストール
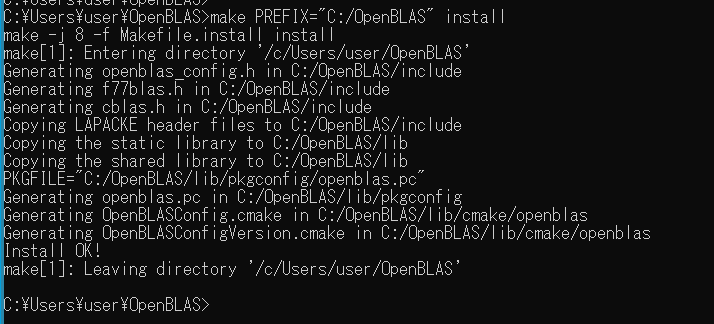
「make install」でインストール.
make PREFIX="C:/OpenBLAS" install
- 終了の確認
エラーメッセージが出なければ OK.
- C:\OpenBLAS の下にファイルができるので確認する
dir C:\OpenBLAS
dir C:\OpenBLAS\include
dir C:\OpenBLAS\lib
dir C:\OpenBLAS\bin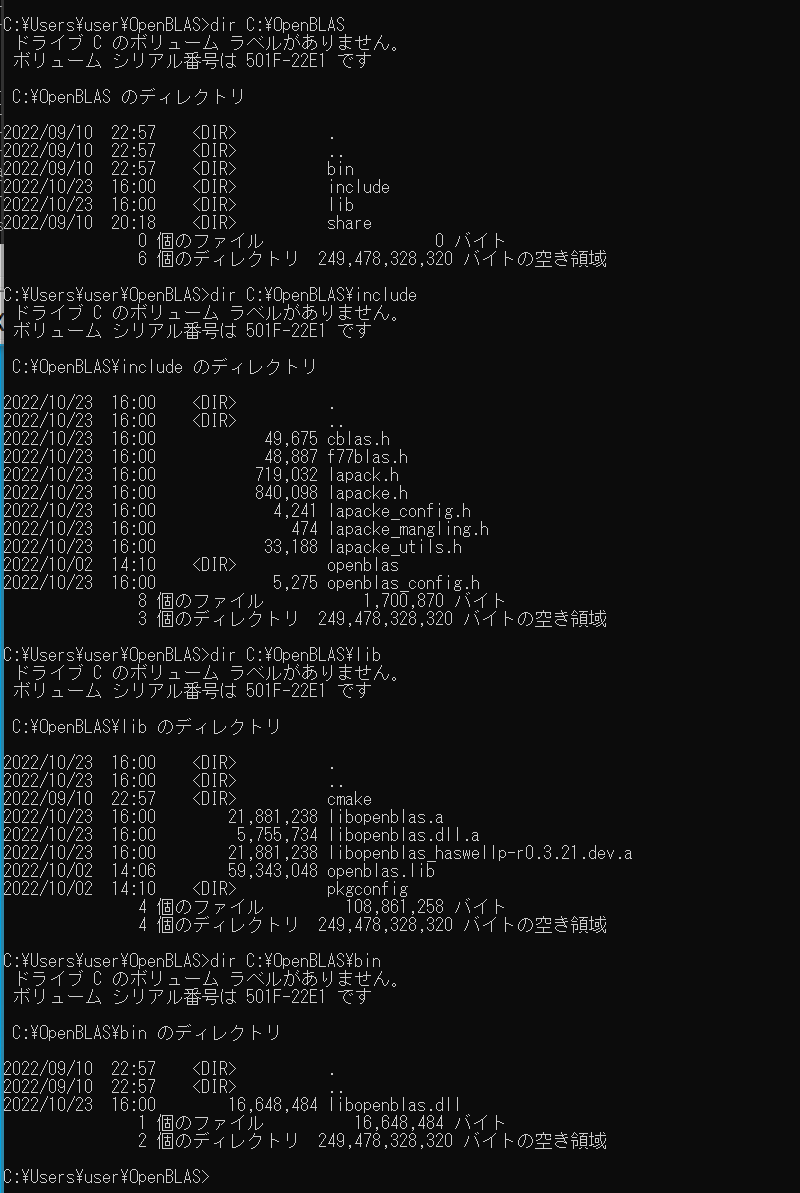
- Windows のシステム環境変数 Path に次の値を追加することにより,パスを通す.
- 追加する値: C:\OpenBLAS\bin
Windows で,管理者権限でコマンドプロンプトを起動(手順:Windowsキーまたはスタートメニュー >
cmdと入力 > 右クリック > 「管理者として実行」)。次のコマンドを実行
powershell -command "$oldpath = [System.Environment]::GetEnvironmentVariable(\"Path\", \"Machine\"); $oldpath += \";C:\OpenBLAS\bin\"; [System.Environment]::SetEnvironmentVariable(\"Path\", $oldpath, \"Machine\")"
- Windows のシステム環境変数 OpenBLAS, OpenBLAS_ROOT に C:\OpenBLAS を設定
- 値: C:\OpenBLAS
Windows で,管理者権限でコマンドプロンプトを起動(手順:Windowsキーまたはスタートメニュー >
cmdと入力 > 右クリック > 「管理者として実行」)。次のコマンドを実行
powershell -command "[System.Environment]::SetEnvironmentVariable(\"OpenBLAS\", \"C:\OpenBLAS\", \"Machine\")"
powershell -command "[System.Environment]::SetEnvironmentVariable(\"OpenBLAS_ROOT\", \"C:\OpenBLAS\", \"Machine\")"
OpenBLAS のプログラムをコンパイルし,実行する
https://gist.github.com/xianyi/6930656 に掲載の プログラムを利用
gcc による動作確認
Windows での確認手順と結果は次の通り
- Windows で,コマンドプロンプトを実行
- プログラムの準備
https://gist.github.com/xianyi/6930656 に掲載の プログラムを利用. hoge.cのようなファイル名で保存.
- ビルドして実行
gcc -I"C:\OpenBLAS\include" -c -o hoge.o hoge.c
gcc -L"C:\OpenBLAS\lib" -o a.exe hoge.o -lopenblas
.\a.exe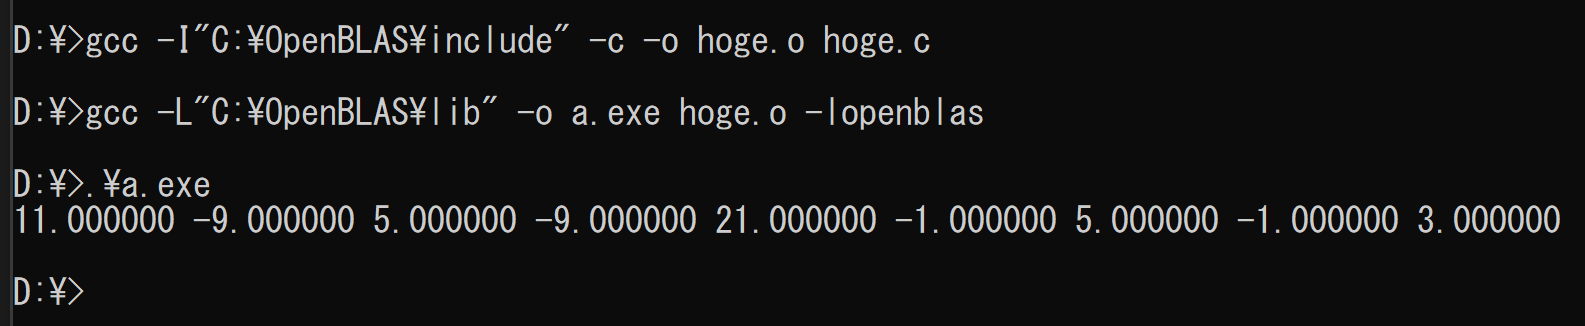
Build Tools for Visual Studio による動作確認
https://gist.github.com/xianyi/6930656 に掲載の プログラムを利用
Windows での確認手順と結果は次の通り
- 以下の操作をx64 Native Tools コマンドプロンプト (x64 Native Tools Command Prompt)で実行する
(手順:スタートメニュー →「Visual C++ Build Tools」の下の「x64 Native Tools コマンドプロンプト (x64 Native Tools Command Prompt)」を選ぶ)。
「x64 Native Tools コマンドプロンプト」がないときは,ビルドツール (Build Tools) をインストールすると,x64 Native Tools コマンドプロンプトもインストールされる.その手順は,別ページ »で説明している.
- プログラムの準備
https://gist.github.com/xianyi/6930656 に掲載の プログラムを利用. hoge.cのようなファイル名で保存.
- ビルドして実行
cl /I"C:\OpenBLAS\include" hoge.c /link /LIBPATH:"C:\OpenBLAS\lib" libopenblas.dll.a
.\hoge.exe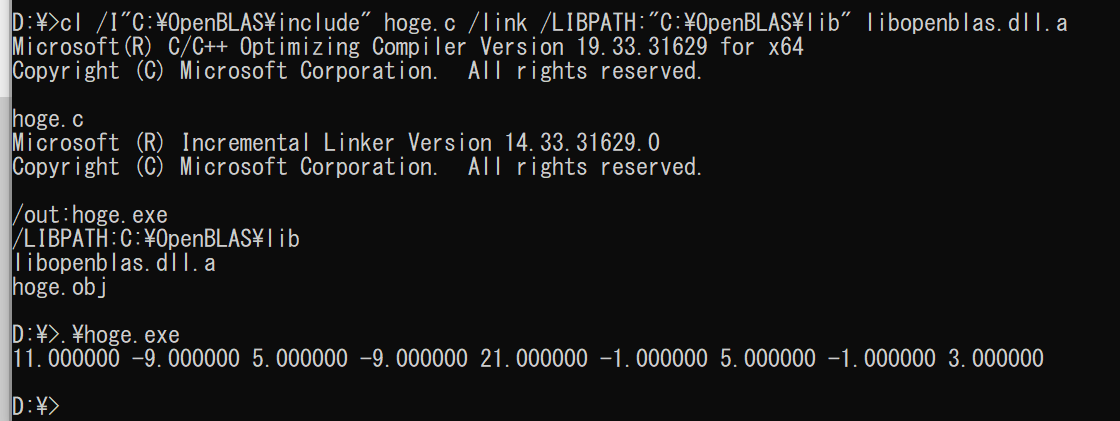
LAPACK のプログラムをコンパイルし,実行する
eig_lapack.c を使用
gcc による動作確認
Windows での確認手順と結果は次の通り
- Windows で,コマンドプロンプトを実行
- プログラムの準備
eig_lapack.c を使用
- ビルドして実行
gcc -I"C:\OpenBLAS\include" -c -o eig_lapack.o eig_lapack.c
gcc -L"C:\OpenBLAS\lib" -o a.exe eig_lapack.o -lopenblas
.\a.exe
Build Tools for Visual Studio による動作確認
https://gist.github.com/xianyi/6930656 に掲載の プログラムを利用
Windows での確認手順と結果は次の通り
- 以下の操作をx64 Native Tools コマンドプロンプト (x64 Native Tools Command Prompt)で実行する
(手順:スタートメニュー →「Visual C++ Build Tools」の下の「x64 Native Tools コマンドプロンプト (x64 Native Tools Command Prompt)」を選ぶ)。
「x64 Native Tools コマンドプロンプト」がないときは,ビルドツール (Build Tools) をインストールすると,x64 Native Tools コマンドプロンプトもインストールされる.その手順は,別ページ »で説明している.
- プログラムの準備
eig_lapack.c を使用
- ビルドして実行
cl /I"C:\OpenBLAS\include" eig_lapack.c /link /LIBPATH:"C:\OpenBLAS\lib" libopenblas.dll.a
.\eig_lapack.exe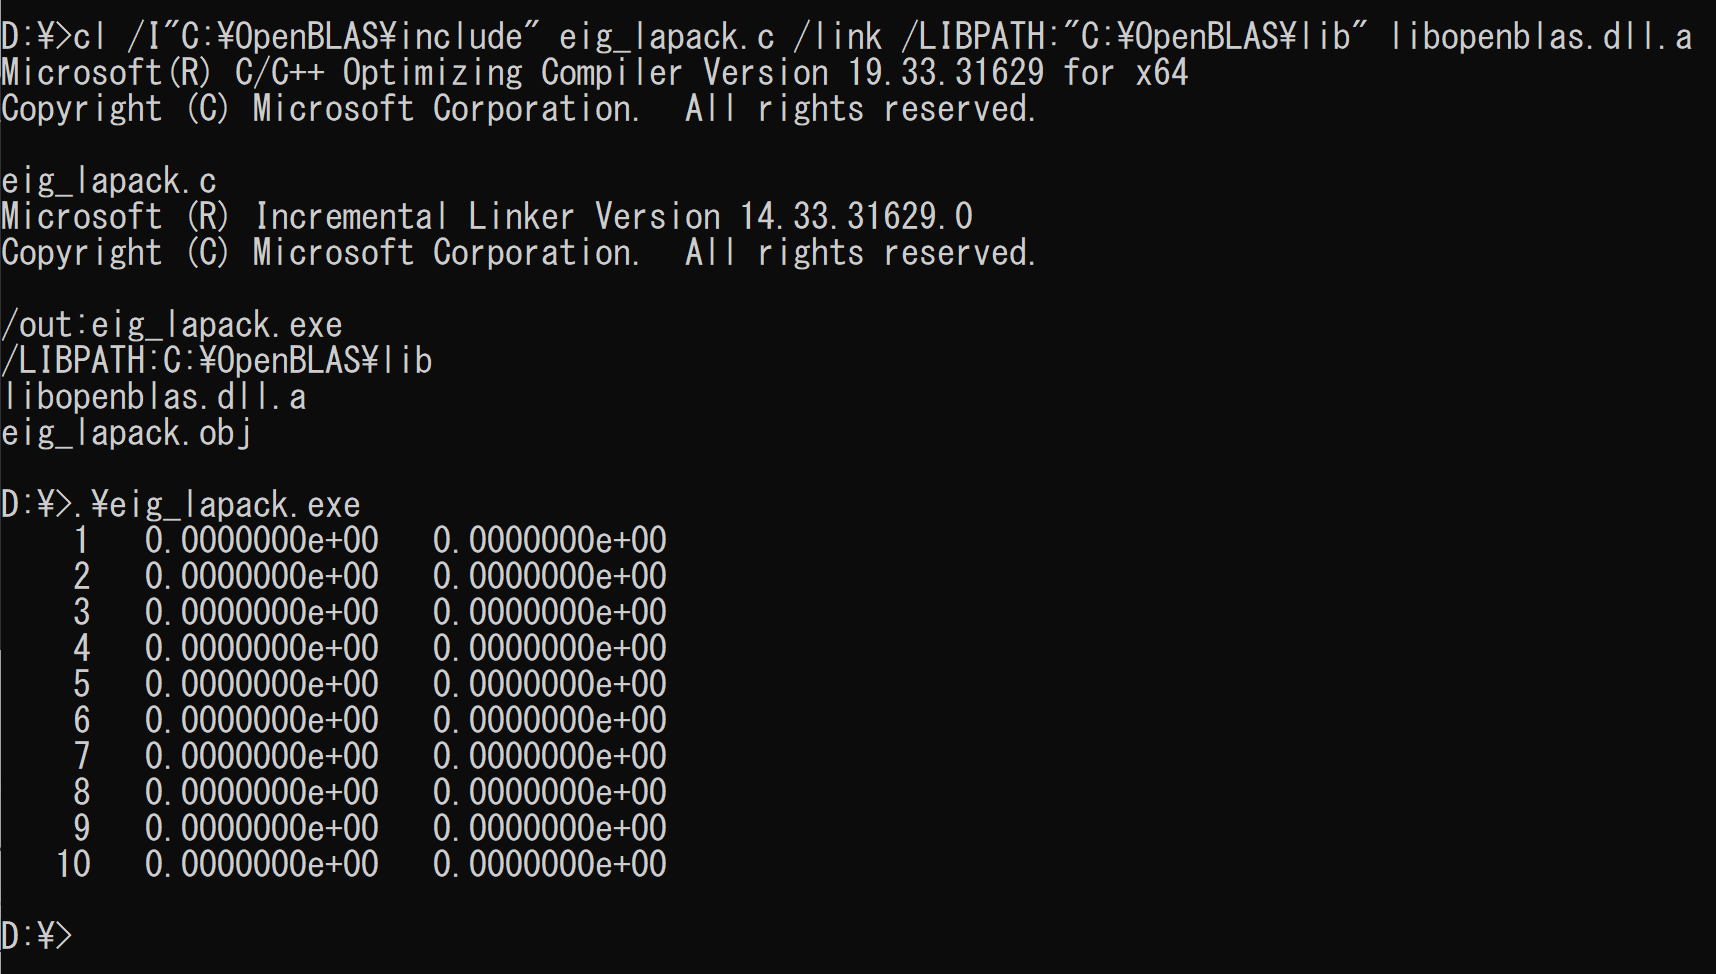
【まとめ】WindowsでのOpenBLASのインストールから,gccとVisual Studioの両方での動作確認までの一連のプロセスを説明.