![[kaneko lab.]](https://www.kkaneko.jp/info/logo_png.png)
SuiteSparse,Metis のインストール(ソースコードを用いたインストール)(Windows 上)
- AMD: symmetric approximate minimum degree
- CCOLAMD: constrained column approximate minimum degree
- COLAMD: column approximate minimum degree
- CHOLMOD: sparse supernodal Cholesky factorization and update/downdate
- CXSparse: an extended version of CSparse
- UMFPACK: 不完全 LU 分解 (sparse multifrontal LU factorization)
- UFconfig: common configuration for all but CSparse
UFconfig は,SuiteSparseQR, AMD, COLAMD, CCOLAMD, CHOLMOD, KLU, BTF, LDL, CXSparse, and UMFPACK のビルドに必要.
AMD は,疎行列の並び替えの機能を持ったソフトウェア. これは,Cholesky factorization や, 不完全 LU 分解 (LU factorization) の前処理として行うもの.
インストールでは,次のページに記載の手順を行う.そして,次のページで公開のプログラム等を使用している.
https://github.com/jlblancoc/suitesparse-metis-for-windows
【目次】
前準備
Build Tools for Visual Studio 2026(ビルドツール)のインストール
Build Tools for Visual Studio 2026(ビルドツール)のインストールを行い、C/C++ コードのビルド環境を整える。
Build Tools for Visual Studio は,Visual Studio の IDE を含まない C/C++ コンパイラ,ライブラリ,ビルドツール等のコマンドライン向け開発ツールセットである。インストール済みの場合,この手順は不要である。 以下のコマンドは、Build Tools が未インストールの場合は winget で新規インストールし、インストール済みの場合は 【インストールコマンドの実行方法】 管理者権限でコマンドプロンプトを起動する(手順:Windows キーまたはスタートメニュー → 上記のコマンドでは、Build Tools 本体と Visual C++ 再頒布可能パッケージをインストールし、続いて以下のコンポーネントを追加している。 追加のコンポーネントが必要になった場合は Visual Studio Installer で個別にインストールできる。 インストール完了の確認 Visual Studio を必要とするとき Visual Studio の機能を必要とする場合は,追加インストールできる。
管理者権限のコマンドプロンプトで以下を実行する.管理者権限は,winget の --scope machine オプションでシステム全体にインストールするために必要となる.
管理者権限のコマンドプロンプトで以下を実行する。管理者権限のコマンドプロンプトを起動するには、Windows キーまたはスタートメニューから「[Build Tools for Visual Studio 2026(ビルドツール)のインストール手順を見るには、ここをクリック]
Windows での Build Tools for Visual Studio 2026 のインストール
setup.exe modify でコンポーネントを追加する(バージョンは変更しない)。cmd と入力 → 右クリック → 「管理者として実行」)。そして、コマンド全体をコマンドプロンプトにコピー&ペーストする。REM ============================================================
REM Visual C++ 再頒布可能パッケージ (VCRedist 2015-)
REM ============================================================
winget install --scope machine --id Microsoft.VCRedist.2015+.x64 -e --silent --disable-interactivity --force --accept-source-agreements --accept-package-agreements --override "/quiet /norestart"
if not "%ERRORLEVEL%"=="0" ( color 0c & echo VCRedist のインストールに失敗しました & ping 127.0.0.1 -n 6 >nul & color )
REM ============================================================
REM Visual Studio Build Tools + Desktop development with C++
REM (VCTools、MSBuildTools、CMake連携、Clang、Windows 11 SDK)
REM ============================================================
REM 進行中のインストーラーを停止(ロック競合回避。対象プロセスが存在しない場合は
REM taskkillがエラーを返すが、これは想定内であるため出力のみ抑制する)
taskkill /F /IM vs_setup.exe /T >nul 2>&1
taskkill /F /IM vs_installer.exe /T >nul 2>&1
taskkill /F /IM vs_installerservice.exe /T >nul 2>&1
taskkill /F /IM msiexec.exe /T >nul 2>&1
REM Build Tools + Desktop development with C++(VCTools)+ 追加コンポーネント(一括)
REM 未インストール時: winget で新規インストール
REM インストール済み時: setup.exe modify でコンポーネント追加(バージョンは変更しない)
winget list --id Microsoft.VisualStudio.BuildTools 2>nul | findstr /i "BuildTools" >nul 2>&1
if %ERRORLEVEL% EQU 0 (
for /f "usebackq delims=" %P in (`"C:\Program Files (x86)\Microsoft Visual Studio\Installer\vswhere.exe" -products Microsoft.VisualStudio.Product.BuildTools -property installationPath`) do start /wait "" "C:\Program Files (x86)\Microsoft Visual Studio\Installer\setup.exe" modify --installPath "%P" --add Microsoft.VisualStudio.Workload.VCTools --add Microsoft.VisualStudio.Workload.MSBuildTools --add Microsoft.VisualStudio.Component.VC.CMake.Project --add Microsoft.VisualStudio.Component.VC.Llvm.Clang --add Microsoft.VisualStudio.Component.VC.Llvm.ClangToolset --add Microsoft.VisualStudio.Component.Windows11SDK.26100 --add Microsoft.VisualStudio.Component.VC.v143.x86.x64 --includeRecommended --quiet --norestart --nocache
if not "%ERRORLEVEL%"=="0" ( color 0c & echo Build Tools のコンポーネント追加に失敗しました & ping 127.0.0.1 -n 6 >nul & color )
) else (
winget install --scope machine --id Microsoft.VisualStudio.BuildTools -e --silent --disable-interactivity --force --accept-source-agreements --accept-package-agreements --override "--quiet --wait --norestart --nocache --add Microsoft.VisualStudio.Workload.VCTools --includeRecommended --add Microsoft.VisualStudio.Workload.MSBuildTools --add Microsoft.VisualStudio.Component.VC.CMake.Project --add Microsoft.VisualStudio.Component.VC.Llvm.Clang --add Microsoft.VisualStudio.Component.VC.Llvm.ClangToolset --add Microsoft.VisualStudio.Component.Windows11SDK.26100 --add Microsoft.VisualStudio.Component.VC.v143.x86.x64"
if not "%ERRORLEVEL%"=="0" ( color 0c & echo Build Tools のインストールに失敗しました & ping 127.0.0.1 -n 6 >nul & color )
)
REM
REM BuildTools のインストールパスを vswhere.exe で取得(メジャーバージョンに依存しない)
set "VSWHERE=C:\Program Files (x86)\Microsoft Visual Studio\Installer\vswhere.exe"
set "BT_PATH="
for /f "usebackq delims=" %P in (`"%VSWHERE%" -products Microsoft.VisualStudio.Product.BuildTools -property installationPath`) do set "BT_PATH=%P"
if not defined BT_PATH ( color 0c & echo Build Tools のインストールパスを取得できませんでした & ping 127.0.0.1 -n 6 >nul & color )
REM 破損時の修復(任意、動作がおかしくなった場合)
REM if defined BT_PATH "C:\Program Files (x86)\Microsoft Visual Studio\Installer\setup.exe" repair --installPath "%BT_PATH%" --quiet --norestart
REM 導入確認(インストールパスが表示されれば正常)
"%VSWHERE%" -products * -requires Microsoft.VisualStudio.Workload.VCTools -property installationPath
--includeRecommended により、MSVC コンパイラ、C++ AddressSanitizer、vcpkg、CMake ツール、Windows 11 SDK 等の推奨コンポーネントが含まれる)winget list Microsoft.VisualStudio.BuildToolsGit のインストール(Windows 上) [クリックして展開]
REM Git をシステム領域にインストール
winget install --scope machine --id Git.Git -e --silent --disable-interactivity --force --accept-source-agreements --accept-package-agreements --override "/VERYSILENT /NORESTART /NOCANCEL /SP- /CLOSEAPPLICATIONS /RESTARTAPPLICATIONS /COMPONENTS=""icons,ext\reg\shellhere,assoc,assoc_sh"" /o:PathOption=Cmd /o:CRLFOption=CRLFCommitAsIs /o:BashTerminalOption=MinTTY /o:DefaultBranchOption=main /o:EditorOption=VIM /o:SSHOption=OpenSSH /o:UseCredentialManager=Enabled /o:PerformanceTweaksFSCache=Enabled /o:EnableSymlinks=Disabled /o:EnableFSMonitor=Disabled"
CMakeのインストール(Windows 上) [クリックして展開]
cmd」と入力し、表示された「コマンドプロンプト」を右クリックして「管理者として実行」を選択する。REM CMake をシステム領域にインストール
winget install --scope machine --id Kitware.CMake -e --silent --disable-interactivity --force --accept-source-agreements --accept-package-agreements --override "/qn /norestart ADD_CMAKE_TO_PATH=System"
SuiteSparse,Metis のインストール(ソースコードを用いたインストール)(Windows 上)
次のページに記載の手順を行う.
https://github.com/jlblancoc/suitesparse-metis-for-windows
このページでは,いずれも,c:\suitesparse 下にインストールするものとして説明する.
- 以下の操作を管理者権限のコマンドプロンプトで実行する
(手順:Windowsキーまたはスタートメニュー →
cmdと入力 → 右クリック → 「管理者として実行」)。 - SuiteSparse の作業ディレクトリを削除する(以前作業したときのものが残っていたら削除したいため)
c:
cd c:\
rmdir /s /q suitesparse-metis-for-windows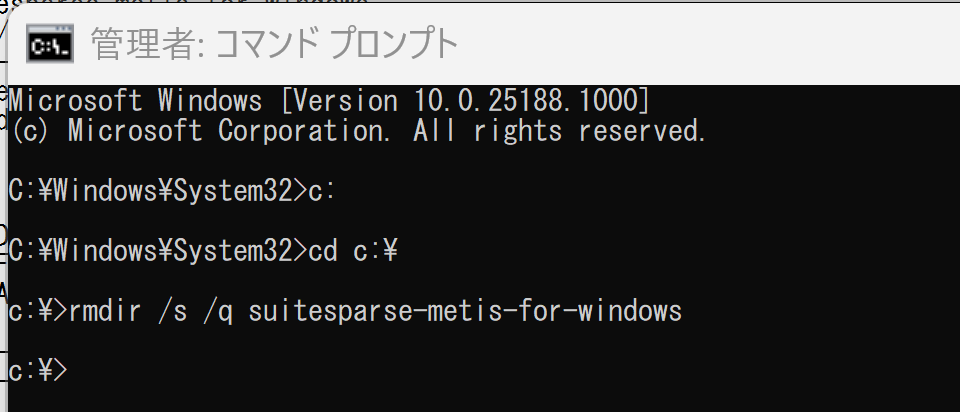
- ソースコードをダウンロード,環境変数 SP_ROOTにダウンロードしたディレクトリを設定
cd c:\
git clone --recursive https://github.com/jlblancoc/suitesparse-metis-for-windows
powershell -command "[System.Environment]::SetEnvironmentVariable(\"SP_ROOT\", \"c:\suitesparse-metis-for-windows\", \"Machine\")"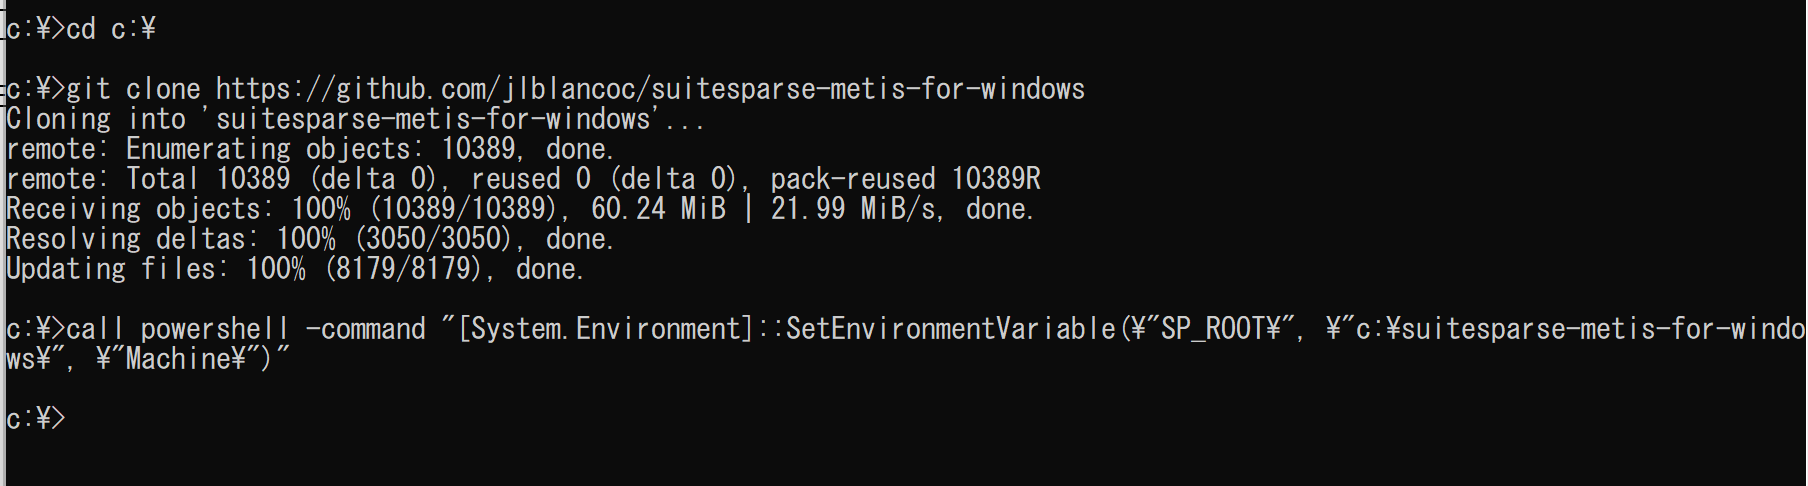
- cmake の実行
cmake の実行手順例は次の通り
cd c:\
cd suitesparse-metis-for-windows
rmdir /s /q build
mkdir build
cd build
del CMakeCache.txt
rmdir /s /q CMakeFiles
cmake .. -A x64 -T host=x64 ^
    -DBUILD_SHARED_LIBS=ON ^
     -DCMAKE_INSTALL_PREFIX="C:/suitesparse"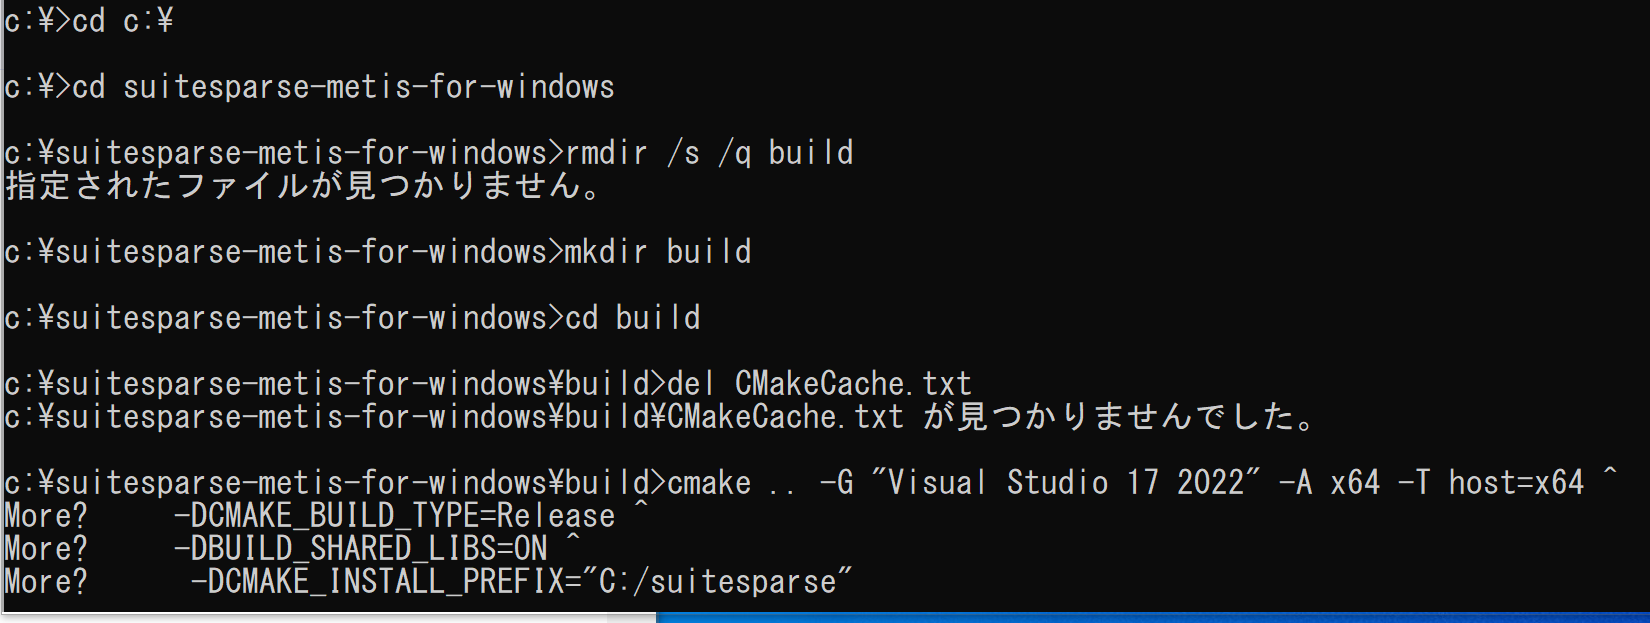
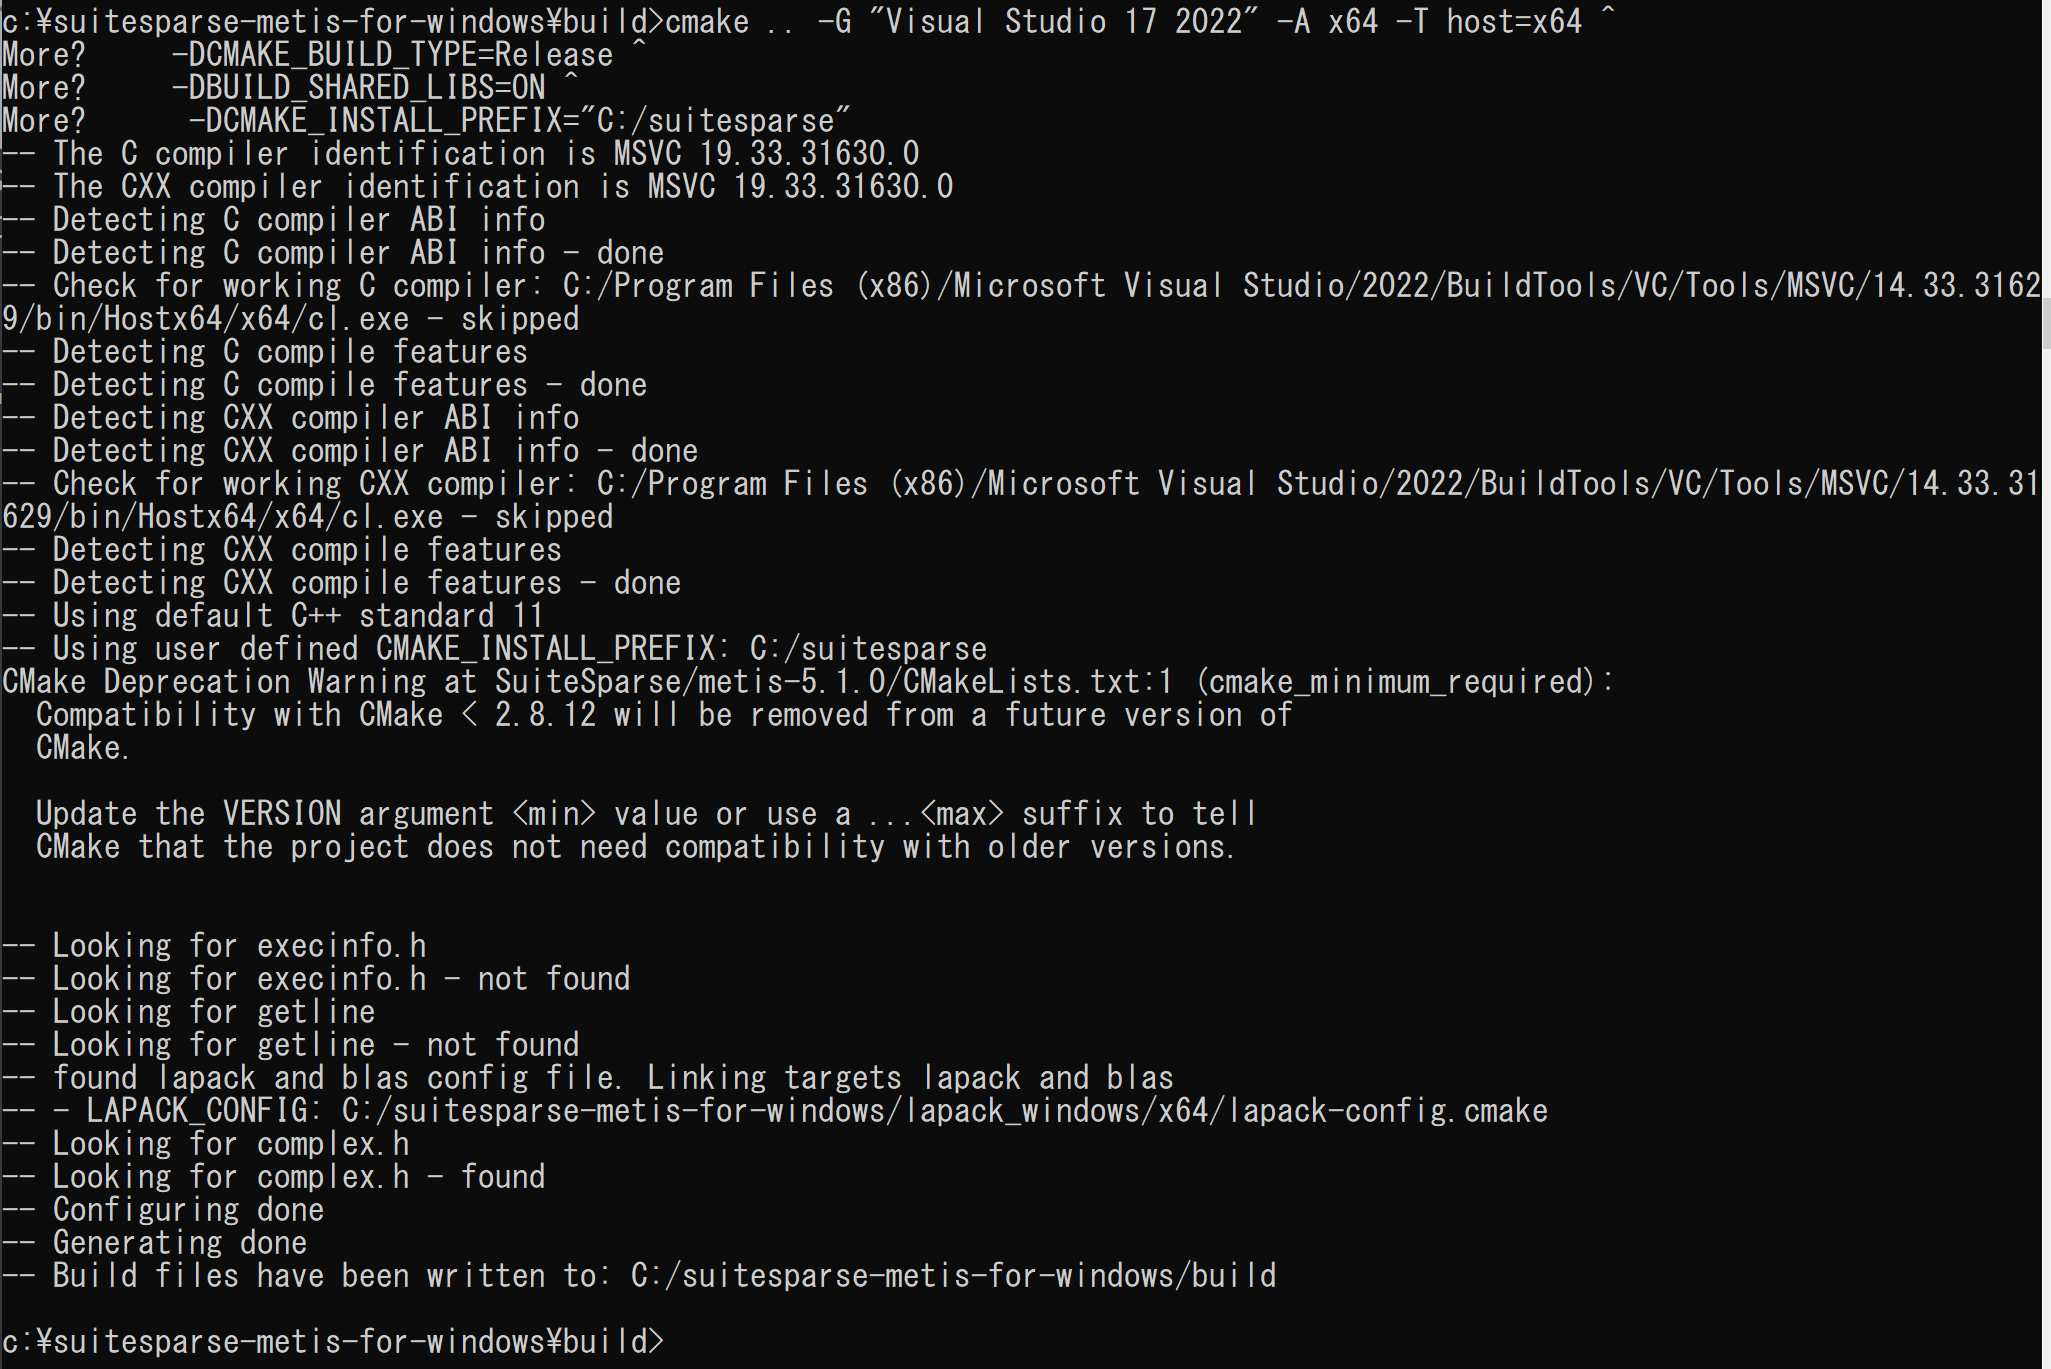
- 実行結果の確認
エラーメッセージが出ていないこと.
- インストールの実行
cmake --build . --config Release --target INSTALL -- /m - 実行結果の確認
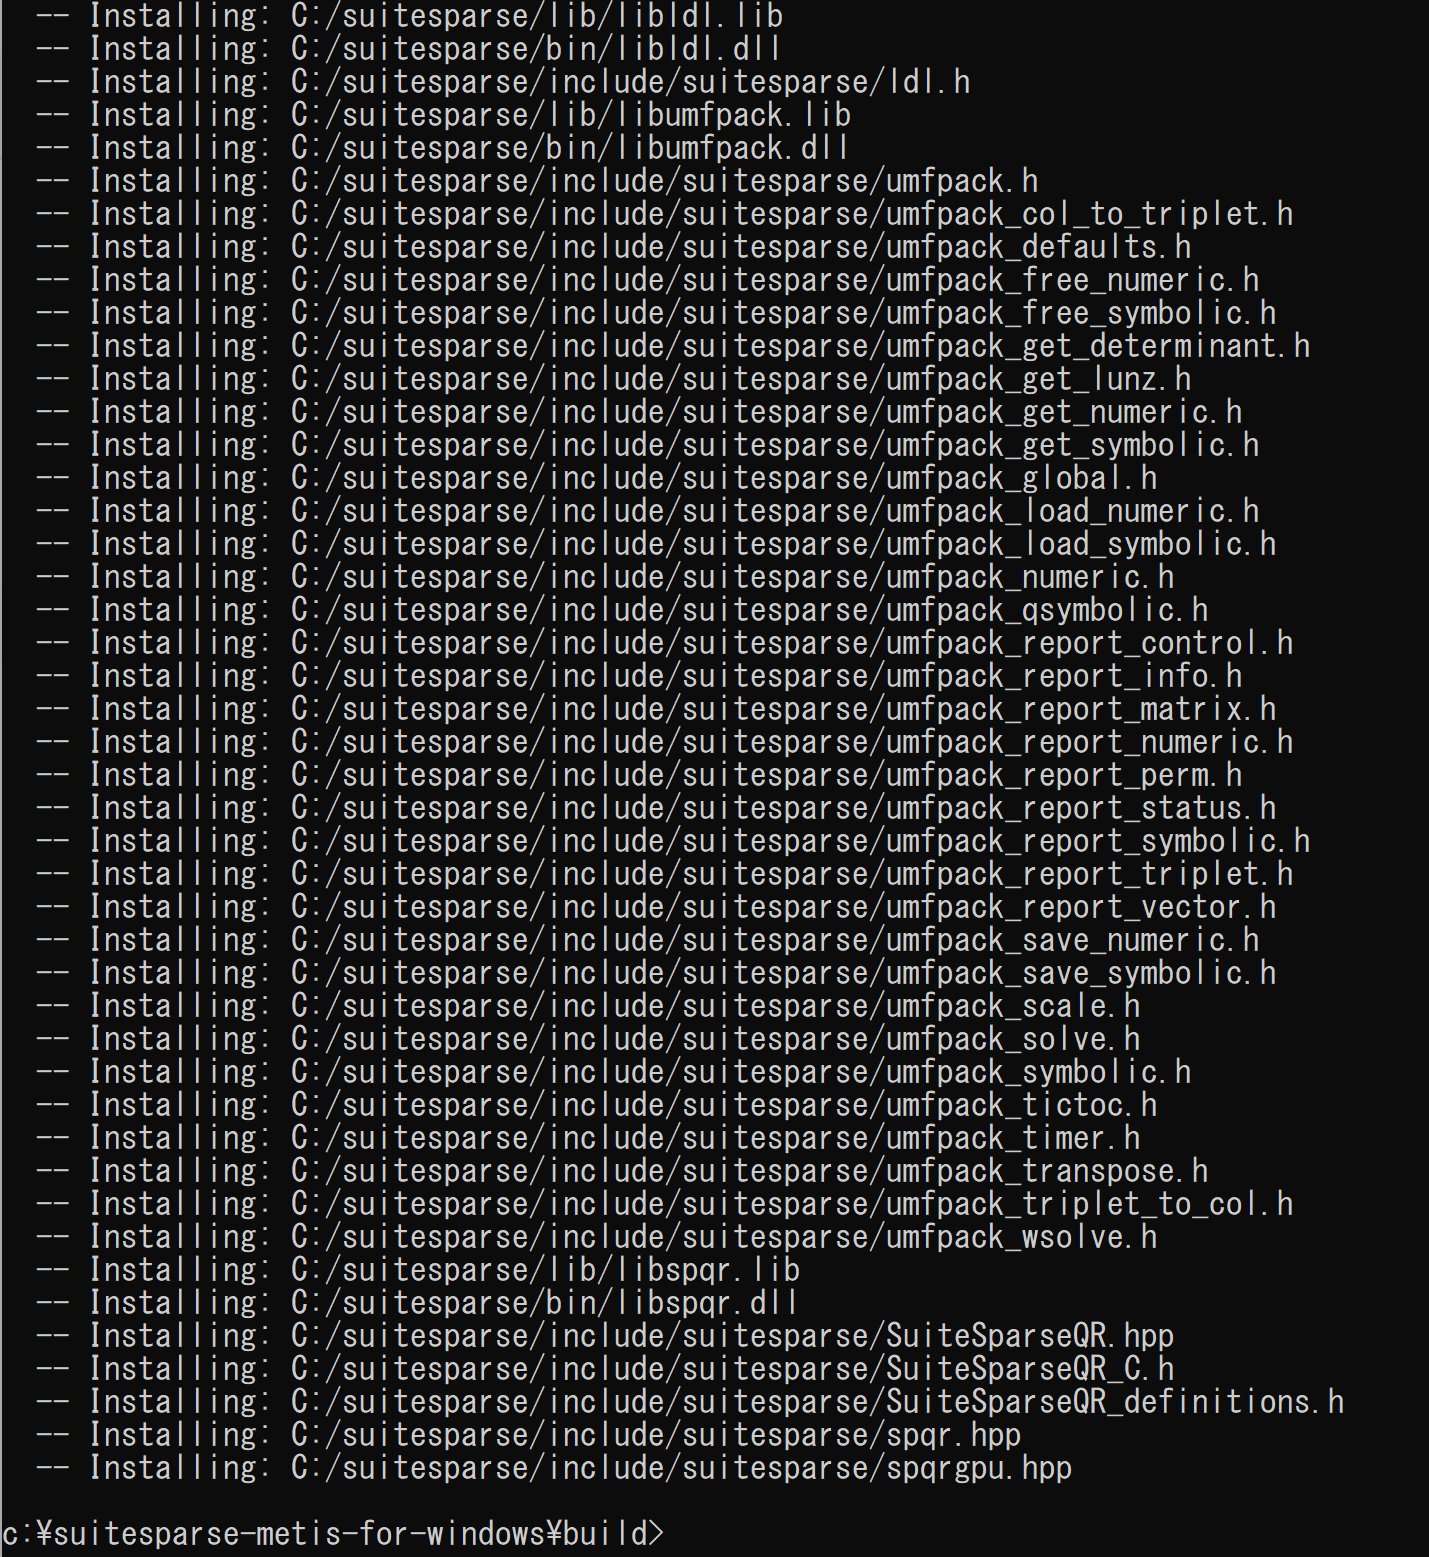
- Windows の システム環境変数 Pathに,次を追加することにより,パスを通す.
- C:\suitesparse\lib\lapack_blas_windows
- C:\suitesparse\lib
- C:\suitesparse\bin
Windows で,管理者権限でコマンドプロンプトを起動(手順:Windowsキーまたはスタートメニュー >
cmdと入力 > 右クリック > 「管理者として実行」)。次のコマンドを実行
powershell -command "$oldpath = [System.Environment]::GetEnvironmentVariable(\"Path\", \"Machine\"); $oldpath += \";C:\suitesparse\lib\lapack_blas_windows\"; [System.Environment]::SetEnvironmentVariable(\"Path\", $oldpath, \"Machine\")"
powershell -command "$oldpath = [System.Environment]::GetEnvironmentVariable(\"Path\", \"Machine\"); $oldpath += \";C:\suitesparse\lib\"; [System.Environment]::SetEnvironmentVariable(\"Path\", $oldpath, \"Machine\")"
powershell -command "$oldpath = [System.Environment]::GetEnvironmentVariable(\"Path\", \"Machine\"); $oldpath += \";C:\suitesparse\bin\"; [System.Environment]::SetEnvironmentVariable(\"Path\", $oldpath, \"Machine\")"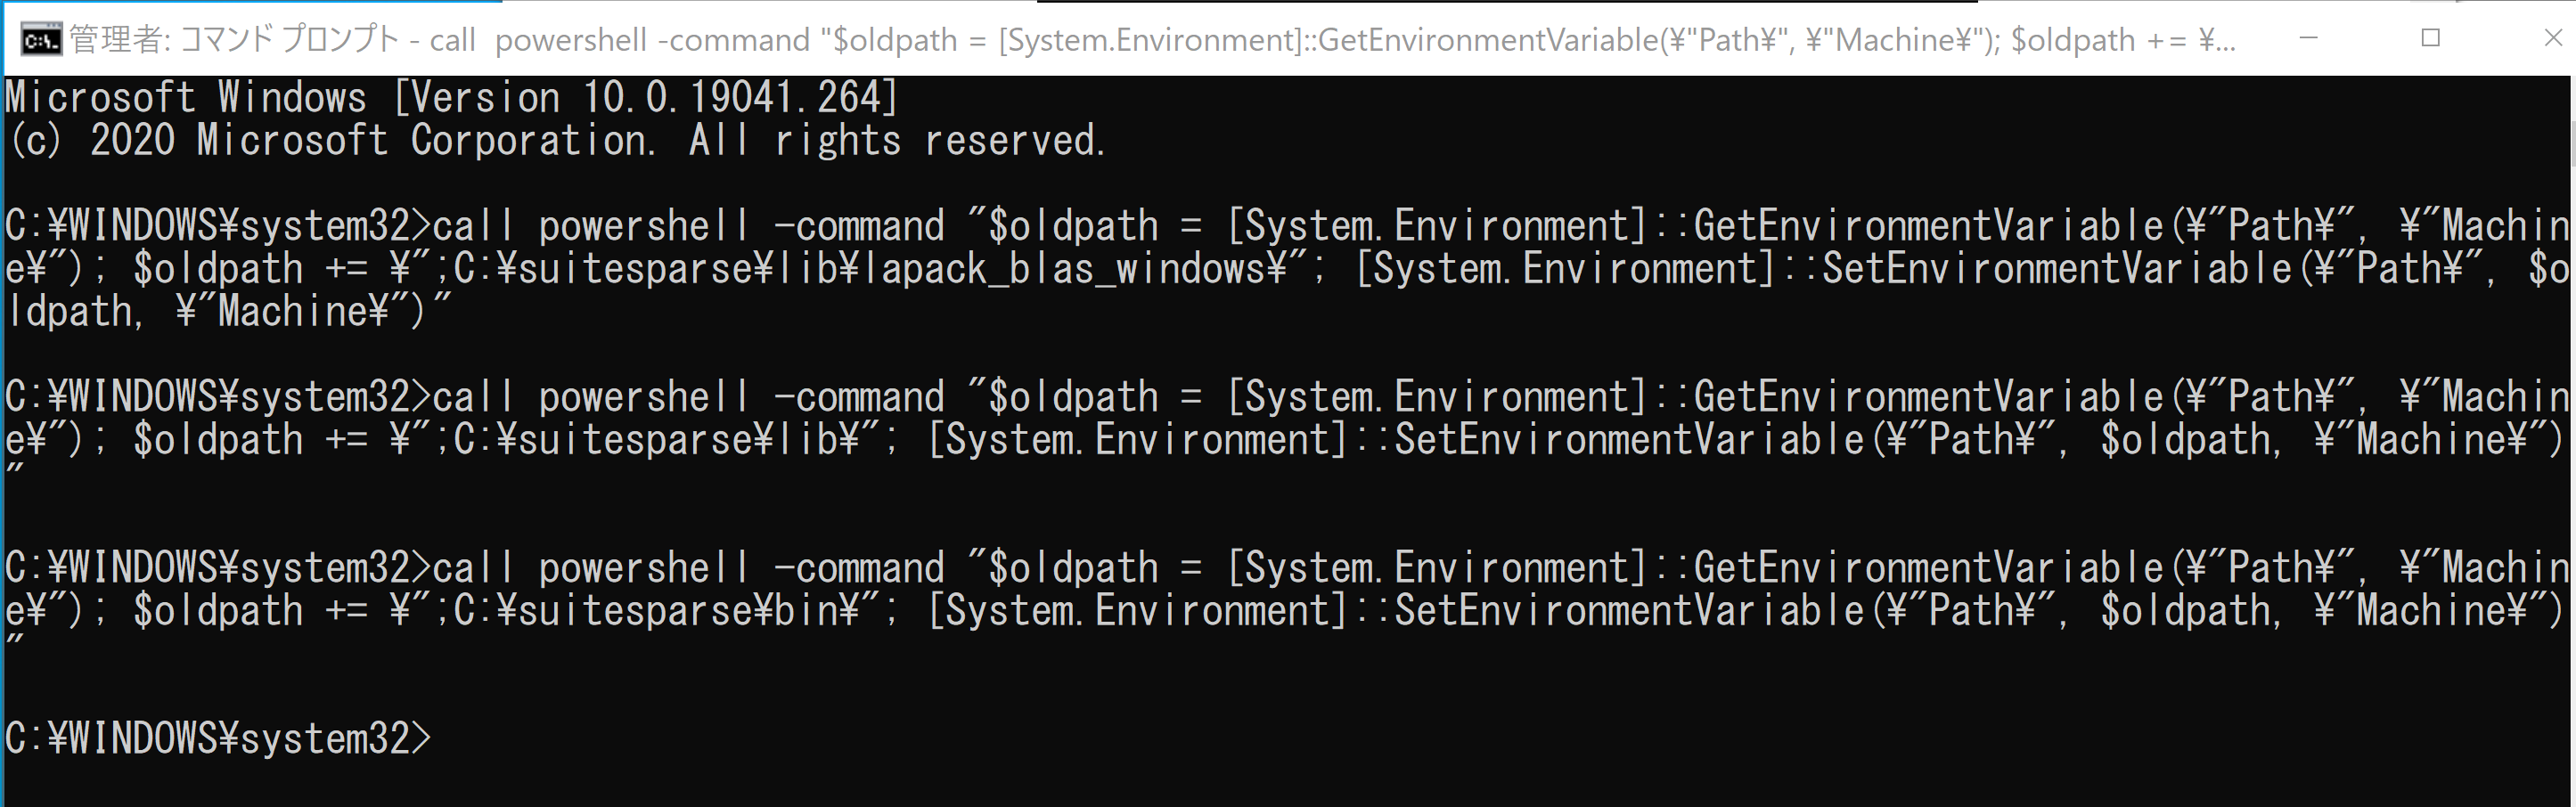
- Windows の システム環境変数 SUITESPARSE_ROOT に,c:\suitesparse を設定
Windows で,管理者権限でコマンドプロンプトを起動(手順:Windowsキーまたはスタートメニュー >
cmdと入力 > 右クリック > 「管理者として実行」)。次のコマンドを実行
powershell -command "[System.Environment]::SetEnvironmentVariable(\"SUITESPARSE_ROOT\", \"c:\suitesparse\", \"Machine\")"
- Windows の システム環境変数 METIS_ROOT に,c:\suitesparse を設定
Windows で,管理者権限でコマンドプロンプトを起動(手順:Windowsキーまたはスタートメニュー >
cmdと入力 > 右クリック > 「管理者として実行」)。次のコマンドを実行
powershell -command "[System.Environment]::SetEnvironmentVariable(\"METIS_ROOT\", \"c:\suitesparse\", \"Machine\")"