ImageNet で事前学習済みの畳み込みニューラルネットワーク (CNN) を用いた画像分類(MobileNetV2,ResNet50,DenseNet 121,DenseNet 169,NASNetを使用)(Google Colaboratroy へのリンク有り)
Keras では,ImageNet で事前学習済みのモデルを,簡単に使うことができる.
このページでは, Keras の ImageNet で事前学習済みの MobileNetV2, Inception Resnet, ResNet50, DenseNet 121, DenseNet 169, NASNetを用いて画像分類を行う.
Keras で利用可能な画像分類のモデルは,https://keras.io/api/applications/ で説明されている.
【目次】
- Google Colaboratory での実行
- Windows での実行
- このページで説明のために使用する画像
- ImageNet で学習済みの MobileNetV2 を用いた画像分類
- ImageNet で学習済みの ResNet50 を用いた画像分類
- ImageNet で学習済みの Inception-ResNet を用いた画像分類
- ImageNet で学習済みの DenseNet 121 を用いた画像分類
- ImageNet で学習済みの DenseNet 169 を用いた画像分類
- ImageNet で学習済みの NASNet Large を用いた画像分類
このページの URL: https://www.kkaneko.jp/ai/imclassify/resnet50.html
参考文献:
- ResNet50: Deep Residual Learning for Image Recognition, https://arxiv.org/abs/1512.03385
- Inception-ResNet: Inception-v4, Inception-ResNet and the Impact of Residual Connections on Learning, https://arxiv.org/abs/1602.07261
- DenseNet: Densely Connected Convolutional Networks, https://arxiv.org/abs/1608.06993
- NASNet: Learning Transferable Architectures for Scalable Image Recognition, https://arxiv.org/abs/1707.07012
- MobileNetV2: https://arxiv.org/abs/1801.04381
1. Google Colaboratory での実行
Google Colaboratory のページ:
https://colab.research.google.com/drive/1c0uJaZB7B6SDTnxS_5FJukKd9FbYg4-e?usp=sharing
2. Windows での実行
Python 3.12 のインストール(Windows 上) [クリックして展開]
以下のいずれかの方法で Python 3.12 をインストールする。Python がインストール済みの場合、この手順は不要である。
方法1:winget によるインストール
管理者権限のコマンドプロンプトで以下を実行する。管理者権限のコマンドプロンプトを起動するには、Windows キーまたはスタートメニューから「cmd」と入力し、表示された「コマンドプロンプト」を右クリックして「管理者として実行」を選択する。
winget install --id Python.Python.3.12 -e --scope machine --silent --accept-source-agreements --accept-package-agreements --override "/quiet InstallAllUsers=1 PrependPath=1 Include_test=0 Include_pip=1 Include_launcher=1 InstallLauncherAllUsers=1 TargetDir=\"C:\Program Files\Python312\""
powershell -Command "$p='C:\Program Files\Python312'; $s=\"$p\Scripts\"; $m=[Environment]::GetEnvironmentVariable('Path','Machine'); if($m -notlike \"*$s*\") { [Environment]::SetEnvironmentVariable('Path', \"$p;$s;$m\", 'Machine') }"
--scope machine を指定することで、システム全体(全ユーザー向け)にインストールされる。このオプションの実行には管理者権限が必要である。インストール完了後、コマンドプロンプトを再起動すると PATH が自動的に設定される。
方法2:インストーラーによるインストール
- Python 公式サイト(https://www.python.org/downloads/)にアクセスし、「Download Python 3.x.x」ボタンから Windows 用インストーラーをダウンロードする。
- ダウンロードしたインストーラーを実行する。
- 初期画面の下部に表示される「Add python.exe to PATH」に必ずチェックを入れてから「Customize installation」を選択する。このチェックを入れ忘れると、コマンドプロンプトから
pythonコマンドを実行できない。 - 「Install Python 3.xx for all users」にチェックを入れ、「Install」をクリックする。
インストールの確認
コマンドプロンプトで以下を実行する。
python --versionバージョン番号(例:Python 3.12.x)が表示されればインストール成功である。「'python' は、内部コマンドまたは外部コマンドとして認識されていません。」と表示される場合は、インストールが正常に完了していない。
TensorFlow,Keras のインストール
Windows での TensorFlow,Keras のインストール: 別ページ »で説明
(このページで,Build Tools for Visual Studio 2022,NVIDIA ドライバ, NVIDIA CUDA ツールキット, NVIDIA cuDNNのインストールも説明している.)
Graphviz のインストール
Windows での Graphviz のインストール: 別ページ »で説明
numpy,matplotlib, seaborn, scikit-learn, pandas, pydot のインストール
- 次のコマンドを管理者権限のコマンドプロンプトで実行する
(手順:Windowsキーまたはスタートメニュー →
cmdと入力 → 右クリック → 「管理者として実行」)。 する.
python -m pip install -U numpy matplotlib seaborn scikit-learn pandas pydot
GraphViz のインストール
- Windows での GraphViz のインストール: 別ページ »で説明
- Ubuntu での GraphViz のインストール
sudo apt -y insatll graphviz python3-graphviz libgraphviz-dev
3. このページで説明のために使用する画像
画像ファイル fruits.jpg, home.jpg のダウンロード
画像ファイル fruits.jpg, home.jpg のダウンロードは, Windows でコマンドプロンプトを管理者として開き 次のコマンドを実行する.
mkdir c:\image
cd c:\image
curl -L https://github.com/opencv/opencv/blob/master/samples/data/fruits.jpg?raw=true -o fruits.jpg
curl -L https://github.com/opencv/opencv/blob/master/samples/data/home.jpg?raw=true -o home.jpg
上のコマンドがうまく
謝辞:ここでは、https://keras.io/ja/applications に記載のプログラムを変更して使用している
次の Python プログラムを実行
「C:/image/fruits.jpg」,
「C:/image/home.jpg」のところには,画像ファイル名を指定すること.
ResNet50 を使用.
謝辞:ここでは、https://keras.io/ja/applications に記載のプログラムを変更して使用している
「C:/image/fruits.jpg」,
「C:/image/home.jpg」のところには,画像ファイル名を指定すること.
謝辞:ここでは、https://keras.io/ja/applications に記載のプログラムを変更して使用している
次の Python プログラムを実行
「C:/image/fruits.jpg」,
「C:/image/home.jpg」のところには,画像ファイル名を指定すること.
DenseNet 121 を使用.
謝辞:ここでは、https://keras.io/ja/applications に記載のプログラムを変更して使用している
次の Python プログラムを実行
「C:/image/fruits.jpg」,
「C:/image/home.jpg」のところには,画像ファイル名を指定すること.
DenseNet 169 を使用.
謝辞:ここでは、https://keras.io/ja/applications に記載のプログラムを変更して使用している
次の Python プログラムを実行
「C:/image/fruits.jpg」,
「C:/image/home.jpg」のところには,画像ファイル名を指定すること.
NASNet Large を使用.
謝辞:ここでは、https://keras.io/ja/applications に記載のプログラムを変更して使用している
次の Python プログラムを実行
「C:/image/fruits.jpg」,
「C:/image/home.jpg」のところには,画像ファイル名を指定すること.
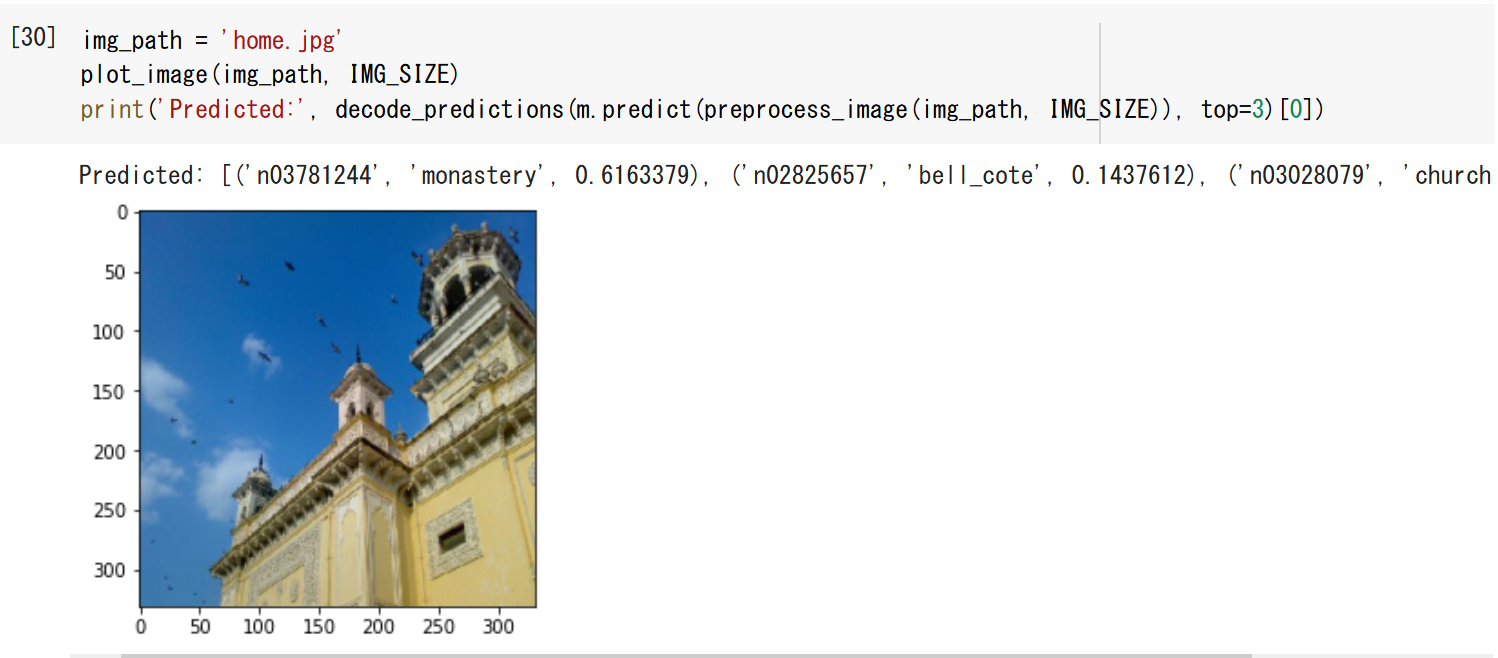
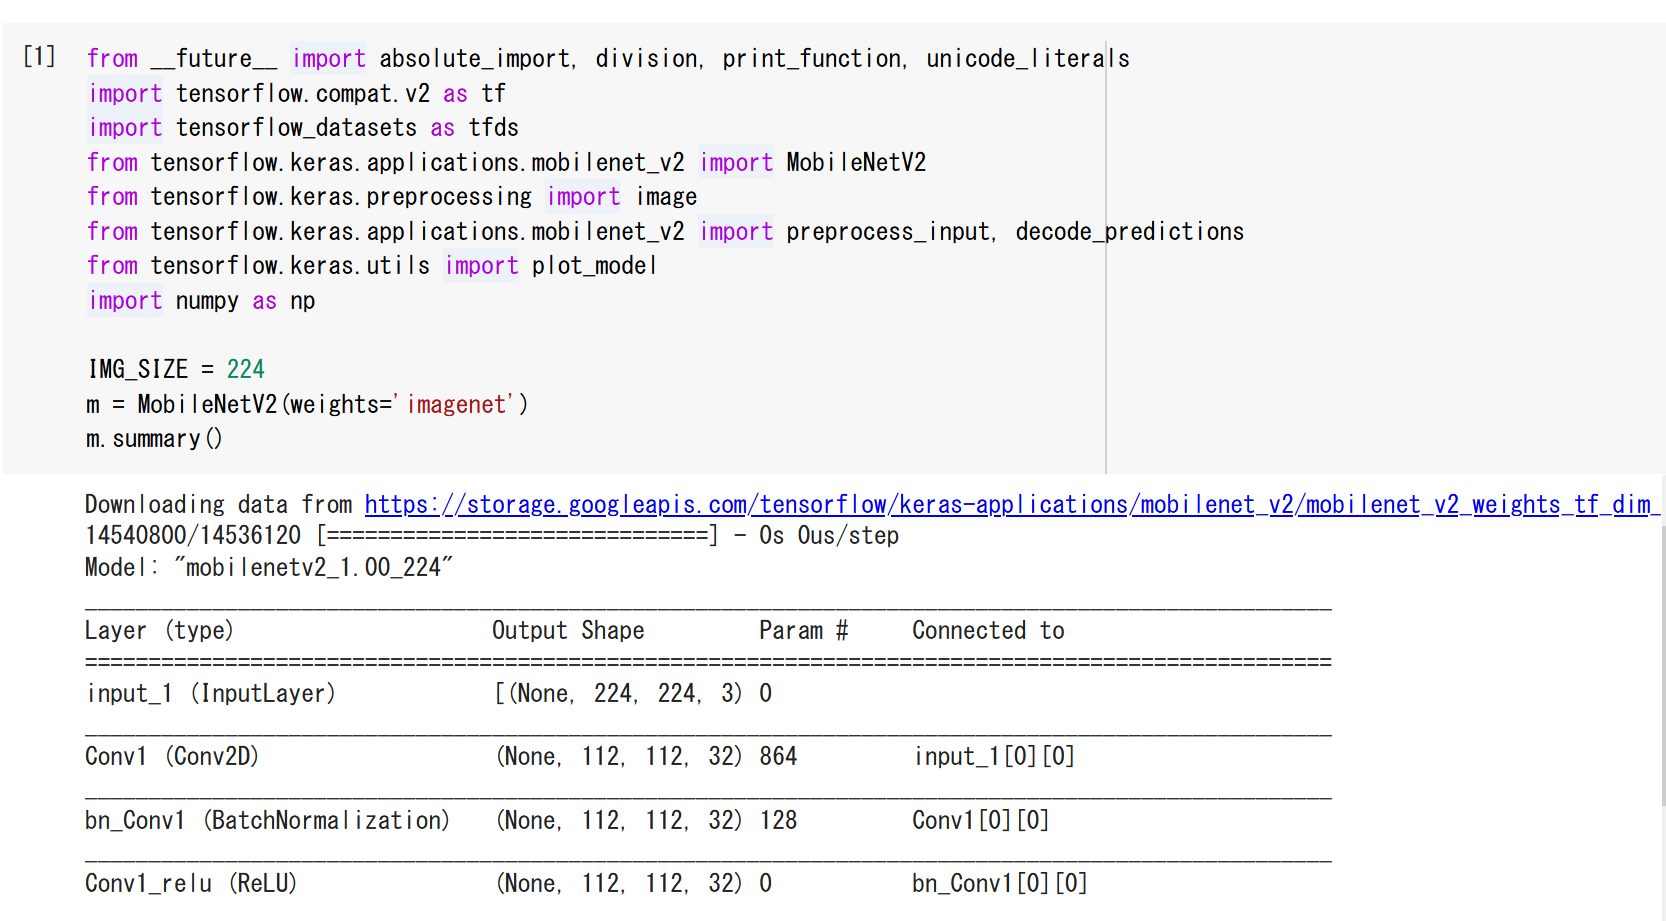
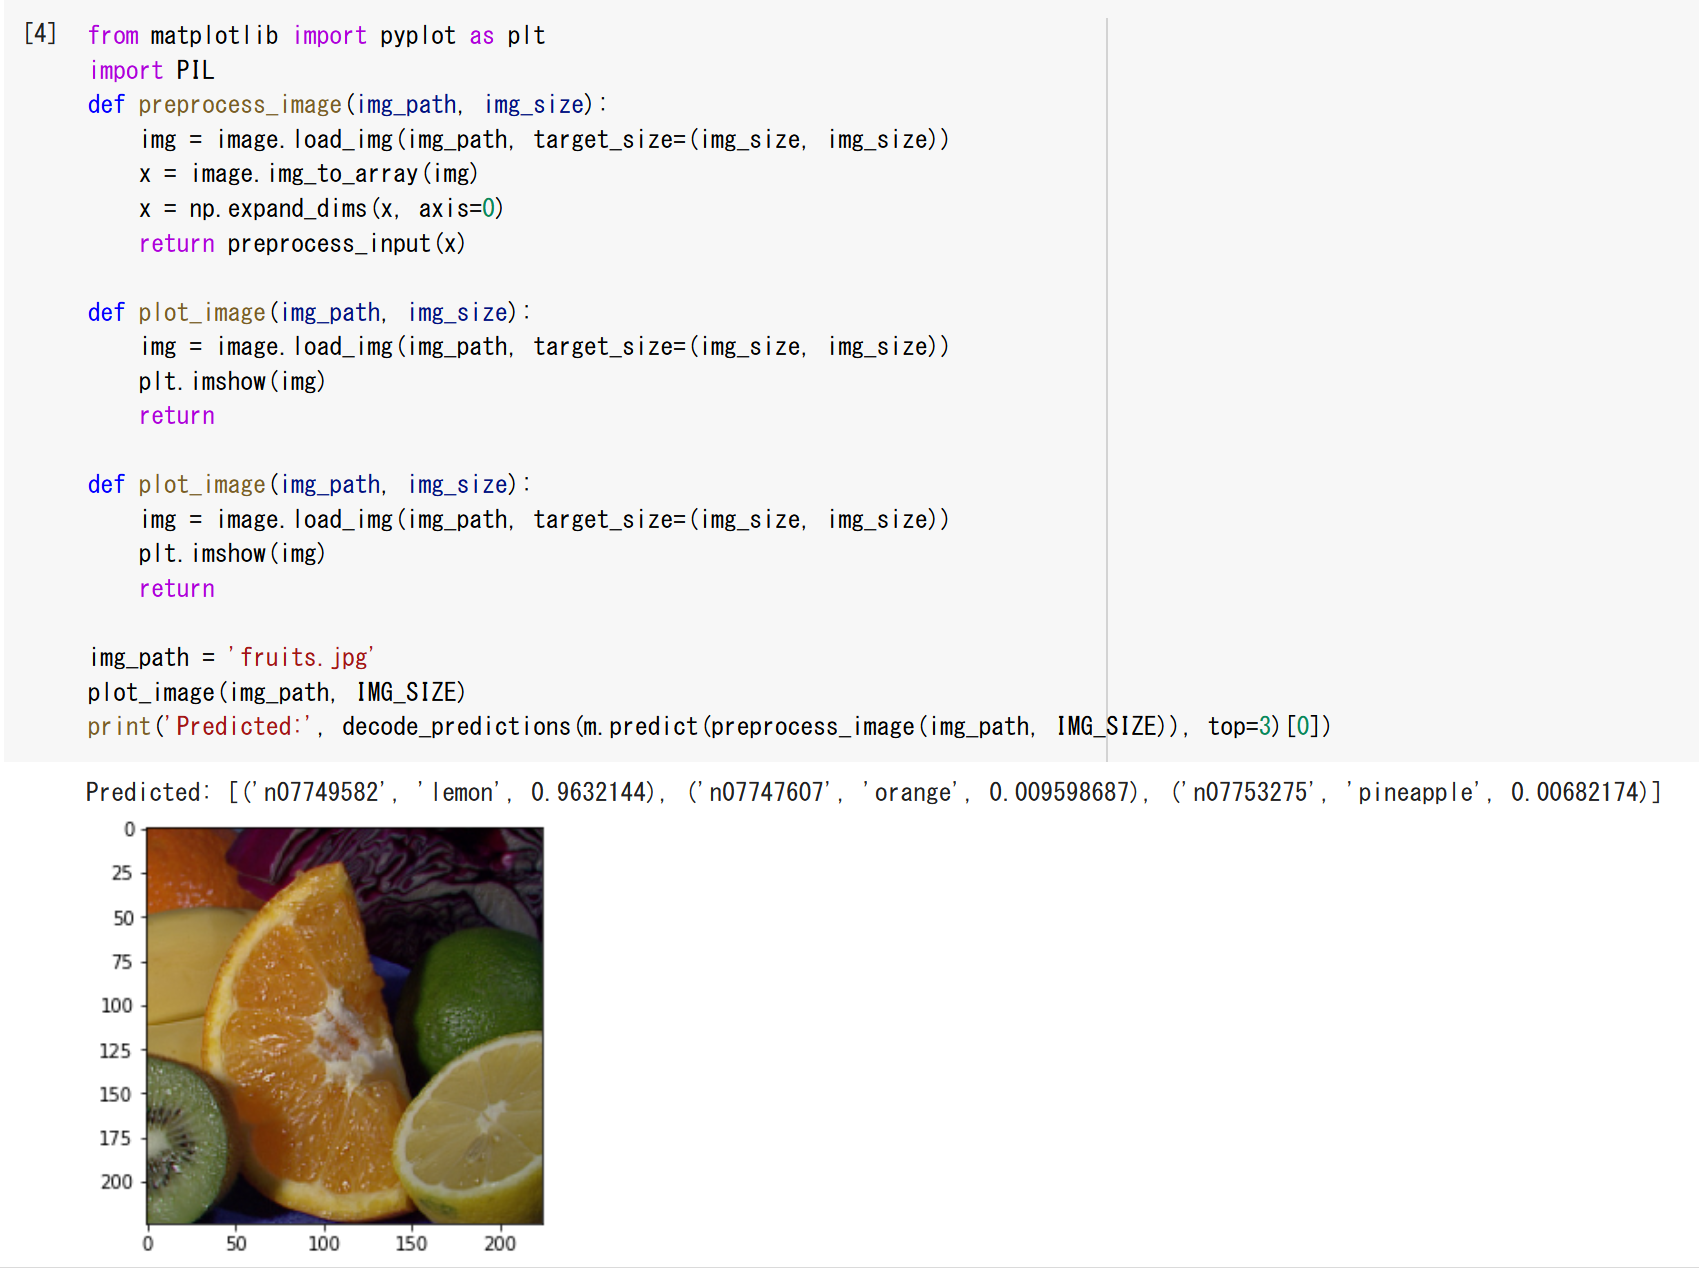
4. ImageNet で学習済みの MobileNetV2 を用いた画像分類
from __future__ import absolute_import, division, print_function, unicode_literals
import tensorflow as tf
from tensorflow.keras import backend as K
K.clear_session()
import numpy as np
import tensorflow_datasets as tfds
from tensorflow.keras.preprocessing import image

%matplotlib inline
import matplotlib.pyplot as plt
import warnings
warnings.filterwarnings('ignore')   # Suppress Matplotlib warnings

from tensorflow.keras.applications.mobilenet_v2 import MobileNetV2
from tensorflow.keras.applications.mobilenet_v2 import preprocess_input, decode_predictions

IMG_SIZE = 224
m = MobileNetV2(weights='imagenet')
m.summary()
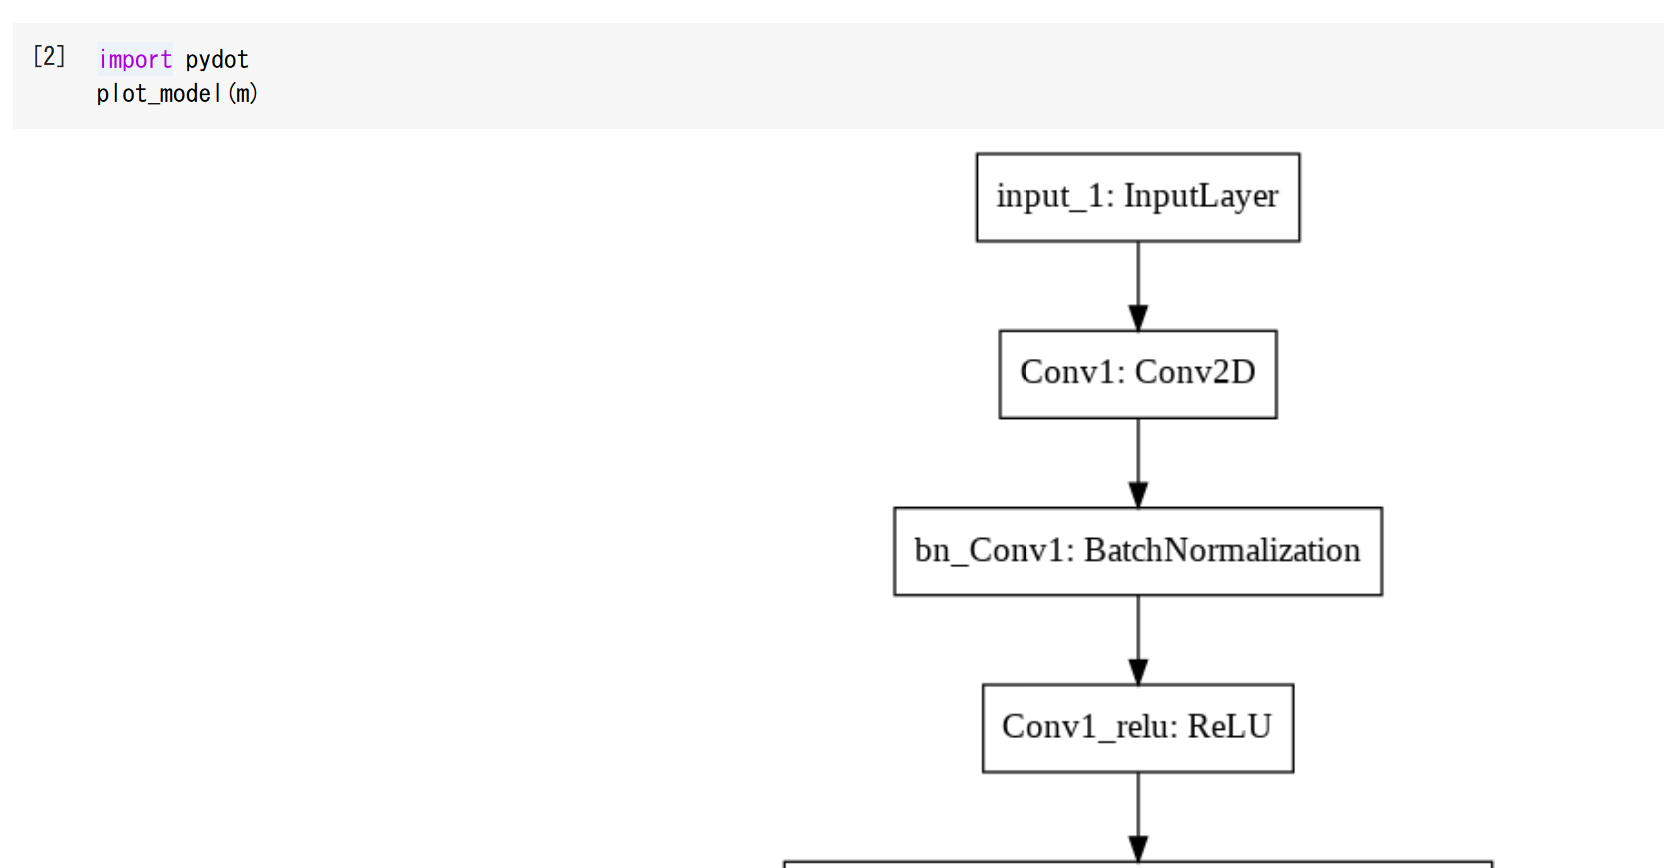
from tensorflow.keras.utils import plot_model
import pydot
plot_model(m)
from matplotlib import pyplot as plt
%matplotlib inline
import warnings
warnings.filterwarnings('ignore')   # Suppress Matplotlib warnings
import PIL

def preprocess_image(img_path, img_size):
    img = image.load_img(img_path, target_size=(img_size, img_size))
    x = image.img_to_array(img)
    x = np.expand_dims(x, axis=0)
    return preprocess_input(x)

def plot_image(img_path, img_size):
    img = image.load_img(img_path, target_size=(img_size, img_size))
    plt.imshow(img)
    return

img_path = 'C:/image/fruits.jpg'
plot_image(img_path, IMG_SIZE)
print('Predicted:', decode_predictions(m.predict(preprocess_image(img_path, IMG_SIZE)), top=3)[0])
img_path = 'C:/image/home.jpg'
plot_image(img_path, IMG_SIZE)
print('Predicted:', decode_predictions(m.predict(preprocess_image(img_path, IMG_SIZE)), top=3)[0])
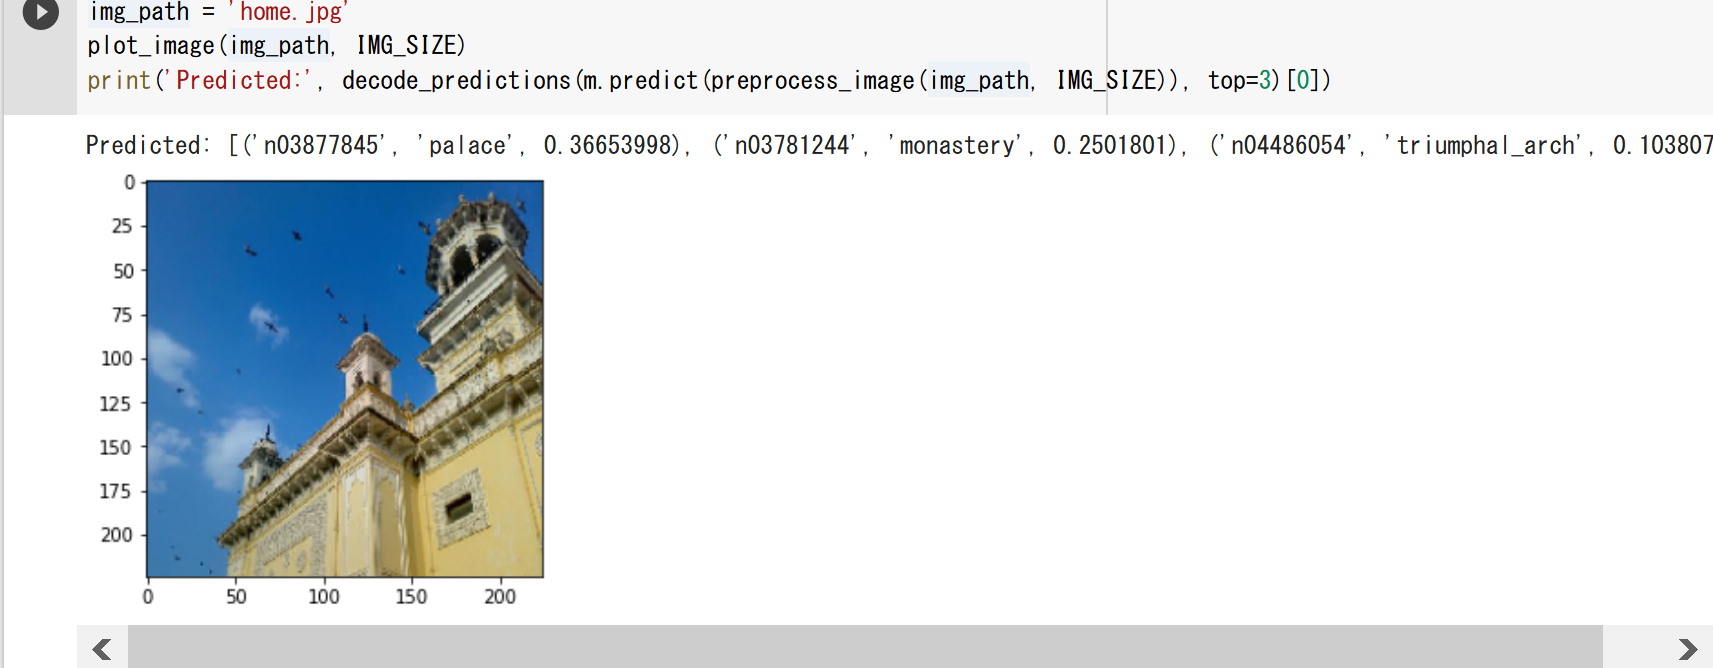
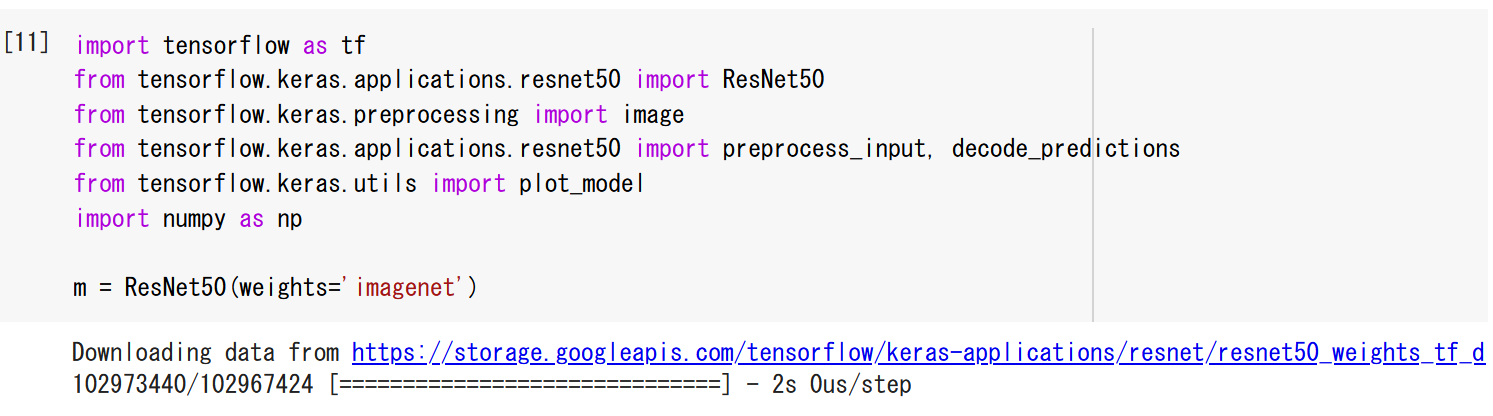
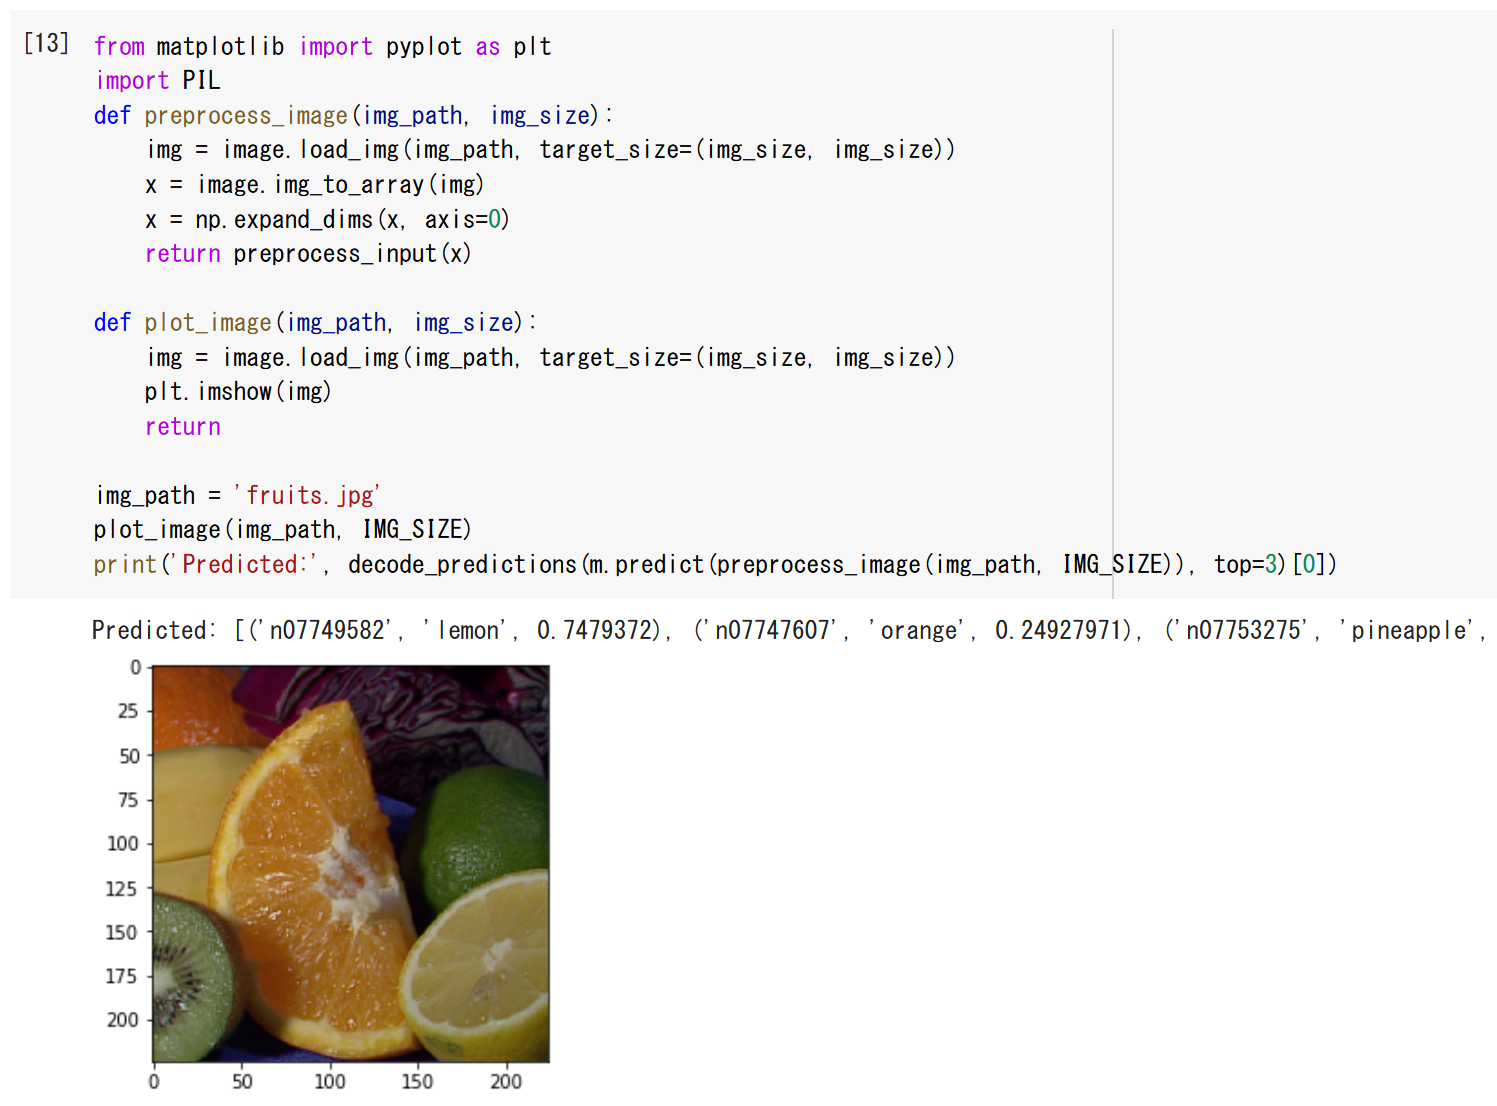
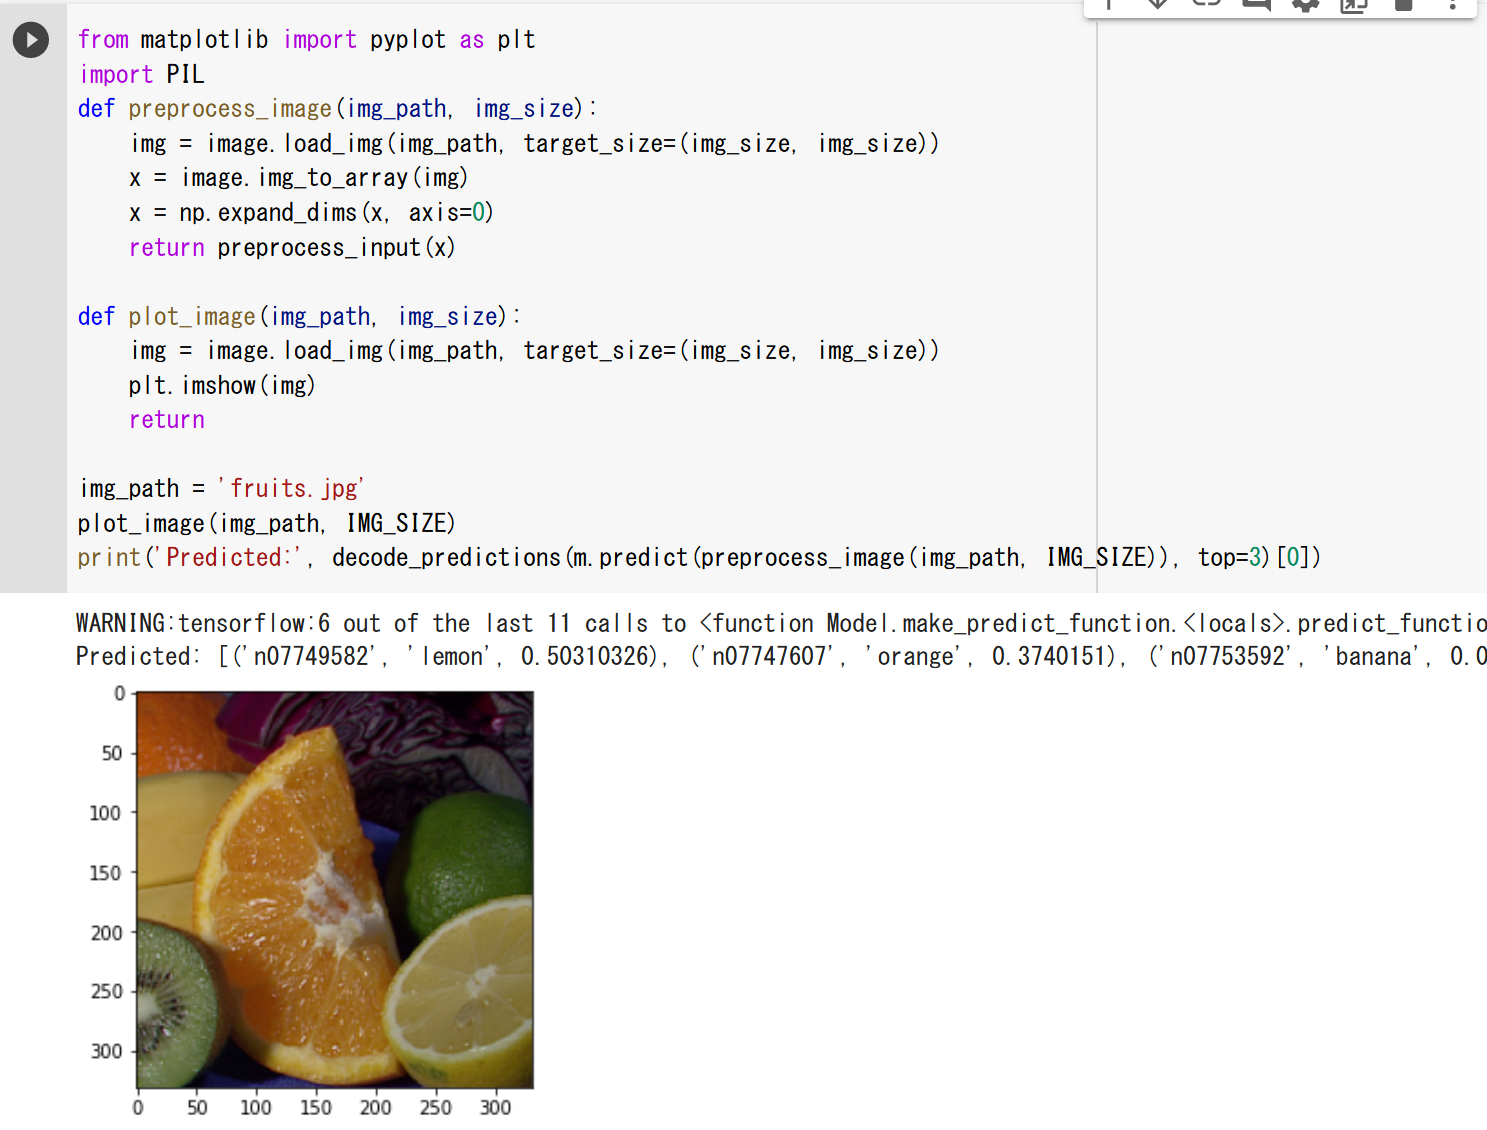
5. ImageNet で学習済みの ResNet50 を用いた画像分類
from __future__ import absolute_import, division, print_function, unicode_literals
import tensorflow.compat.v2 as tf
import tensorflow_datasets as tfds
from tensorflow.keras.applications.resnet50 import ResNet50
from tensorflow.keras.preprocessing import image
from tensorflow.keras.applications.resnet50 import preprocess_input, decode_predictions
import numpy as np

IMG_SIZE = 224
m = ResNet50(weights='imagenet')
m.summary()
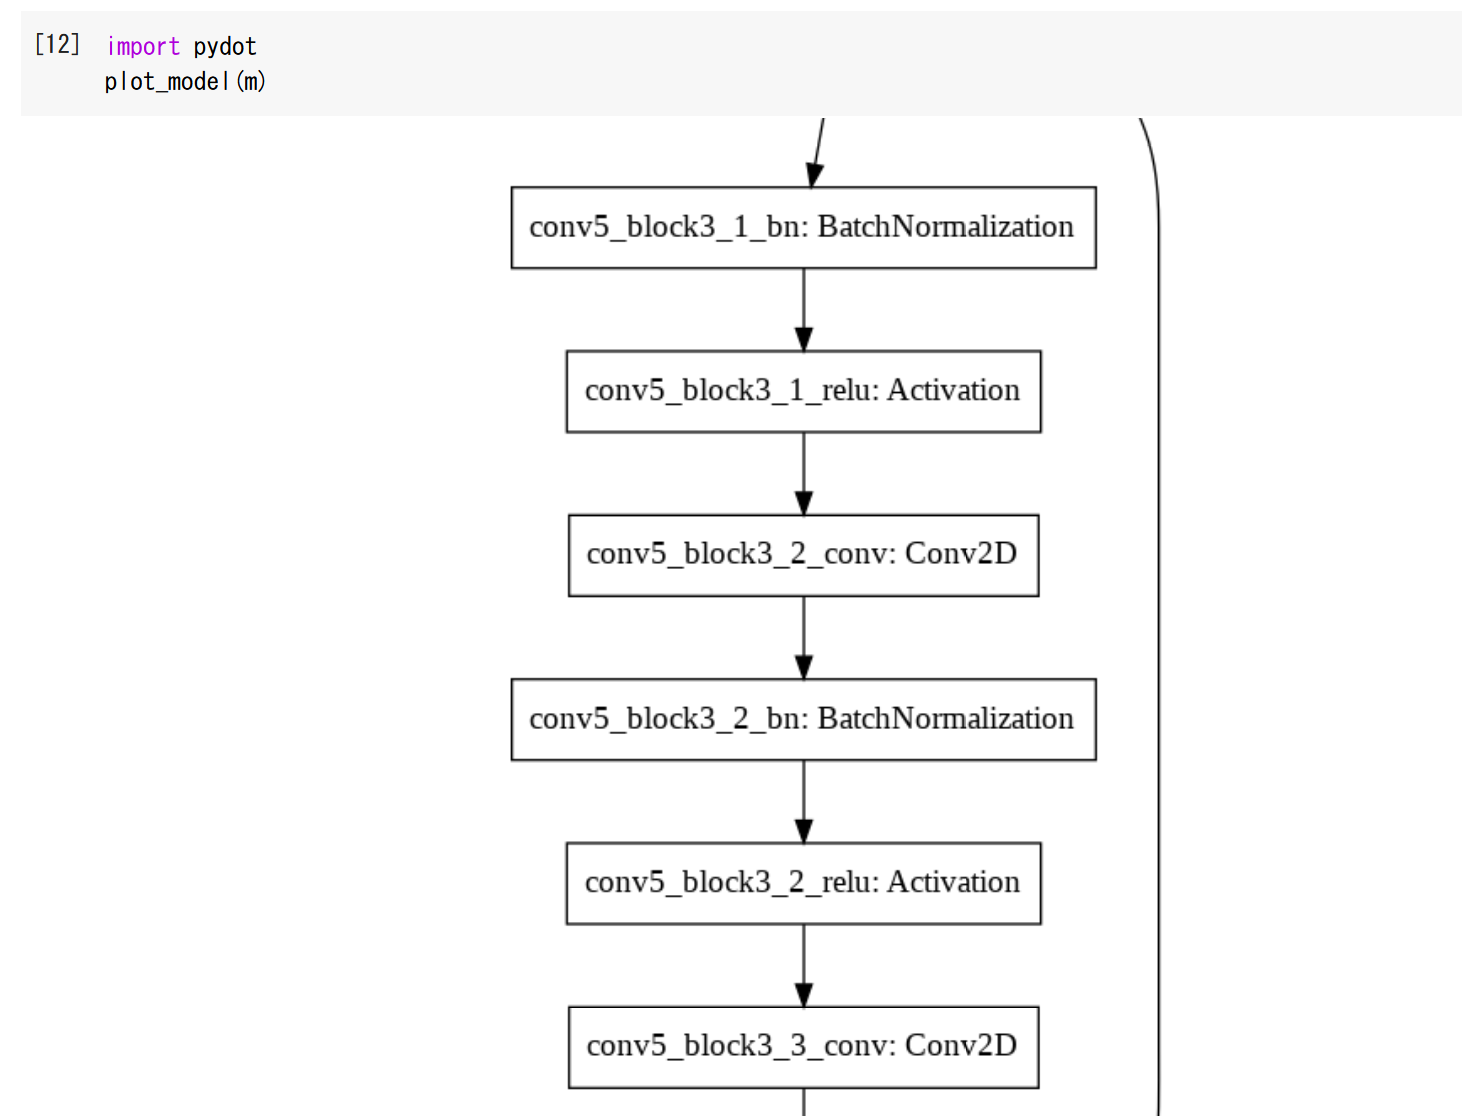
from tensorflow.keras.utils import plot_model
import pydot
plot_model(m)
from matplotlib import pyplot as plt
%matplotlib inline
import warnings
warnings.filterwarnings('ignore')   # Suppress Matplotlib warnings
import PIL

def preprocess_image(img_path, img_size):
    img = image.load_img(img_path, target_size=(img_size, img_size))
    x = image.img_to_array(img)
    x = np.expand_dims(x, axis=0)
    return preprocess_input(x)

def plot_image(img_path, img_size):
    img = image.load_img(img_path, target_size=(img_size, img_size))
    plt.imshow(img)
    return

img_path = 'C:/image/fruits.jpg'
plot_image(img_path, IMG_SIZE)
print('Predicted:', decode_predictions(m.predict(preprocess_image(img_path, IMG_SIZE)), top=3)[0])
img_path = 'C:/image/home.jpg'
plot_image(img_path, IMG_SIZE)
print('Predicted:', decode_predictions(m.predict(preprocess_image(img_path, IMG_SIZE)), top=3)[0])

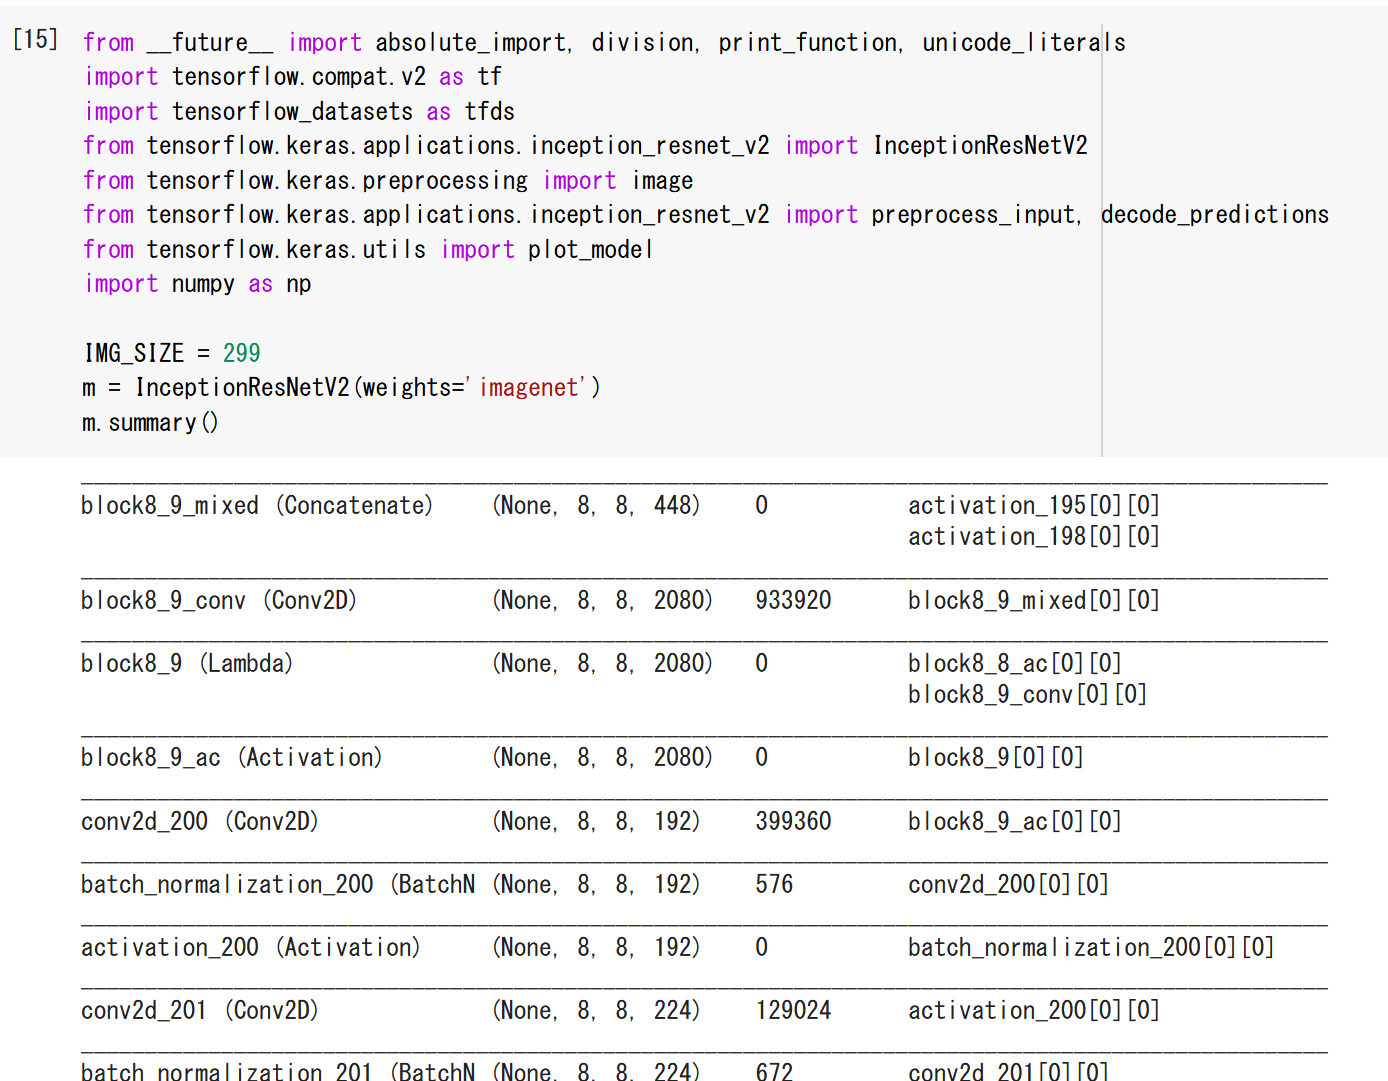
6. ImageNet で学習済みの Inception-ResNet を用いた画像分類
from __future__ import absolute_import, division, print_function, unicode_literals
import tensorflow.compat.v2 as tf
import tensorflow_datasets as tfds
from tensorflow.keras.applications.inception_resnet_v2 import InceptionResNetV2
from tensorflow.keras.preprocessing import image
from tensorflow.keras.applications.inception_resnet_v2 import preprocess_input, decode_predictions
import numpy as np

IMG_SIZE = 299
m = InceptionResNetV2(weights='imagenet')
m.summary()
from tensorflow.keras.utils import plot_model
import pydot
plot_model(m)
from matplotlib import pyplot as plt
%matplotlib inline
import warnings
warnings.filterwarnings('ignore')   # Suppress Matplotlib warnings
import PIL

def preprocess_image(img_path, img_size):
    img = image.load_img(img_path, target_size=(img_size, img_size))
    x = image.img_to_array(img)
    x = np.expand_dims(x, axis=0)
    return preprocess_input(x)

def plot_image(img_path, img_size):
    img = image.load_img(img_path, target_size=(img_size, img_size))
    plt.imshow(img)
    return

img_path = 'C:/image/fruits.jpg'
plot_image(img_path, IMG_SIZE)
print('Predicted:', decode_predictions(m.predict(preprocess_image(img_path, IMG_SIZE)), top=3)[0])

img_path = 'C:/image/home.jpg'
plot_image(img_path, IMG_SIZE)
print('Predicted:', decode_predictions(m.predict(preprocess_image(img_path, IMG_SIZE)), top=3)[0])

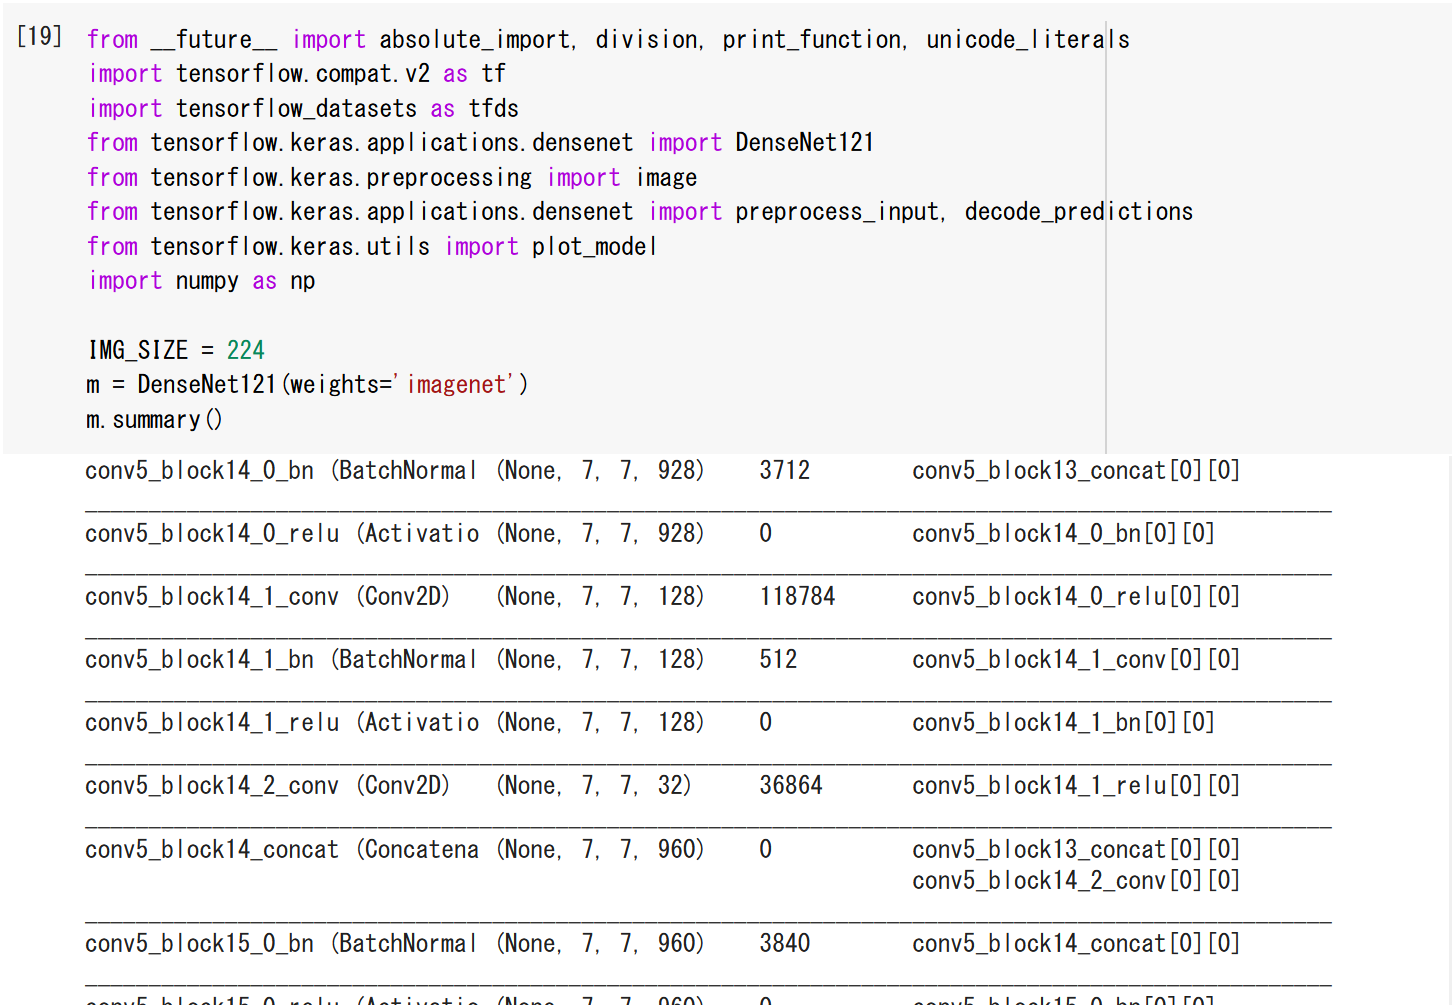
7. ImageNet で学習済みの DenseNet 121 を用いた画像分類
from __future__ import absolute_import, division, print_function, unicode_literals
import tensorflow.compat.v2 as tf
import tensorflow_datasets as tfds
from tensorflow.keras.applications.densenet import DenseNet121
from tensorflow.keras.preprocessing import image
from tensorflow.keras.applications.densenet import preprocess_input, decode_predictions
import numpy as np

IMG_SIZE = 224
m = DenseNet121(weights='imagenet')
m.summary()
from tensorflow.keras.utils import plot_model
import pydot
plot_model(m)
from matplotlib import pyplot as plt
%matplotlib inline
import warnings
warnings.filterwarnings('ignore')   # Suppress Matplotlib warnings
import PIL

def preprocess_image(img_path, img_size):
    img = image.load_img(img_path, target_size=(img_size, img_size))
    x = image.img_to_array(img)
    x = np.expand_dims(x, axis=0)
    return preprocess_input(x)

def plot_image(img_path, img_size):
    img = image.load_img(img_path, target_size=(img_size, img_size))
    plt.imshow(img)
    return

img_path = 'C:/image/fruits.jpg'
plot_image(img_path, IMG_SIZE)
print('Predicted:', decode_predictions(m.predict(preprocess_image(img_path, IMG_SIZE)), top=3)[0])
img_path = 'C:/image/home.jpg'
plot_image(img_path, IMG_SIZE)
print('Predicted:', decode_predictions(m.predict(preprocess_image(img_path, IMG_SIZE)), top=3)[0])
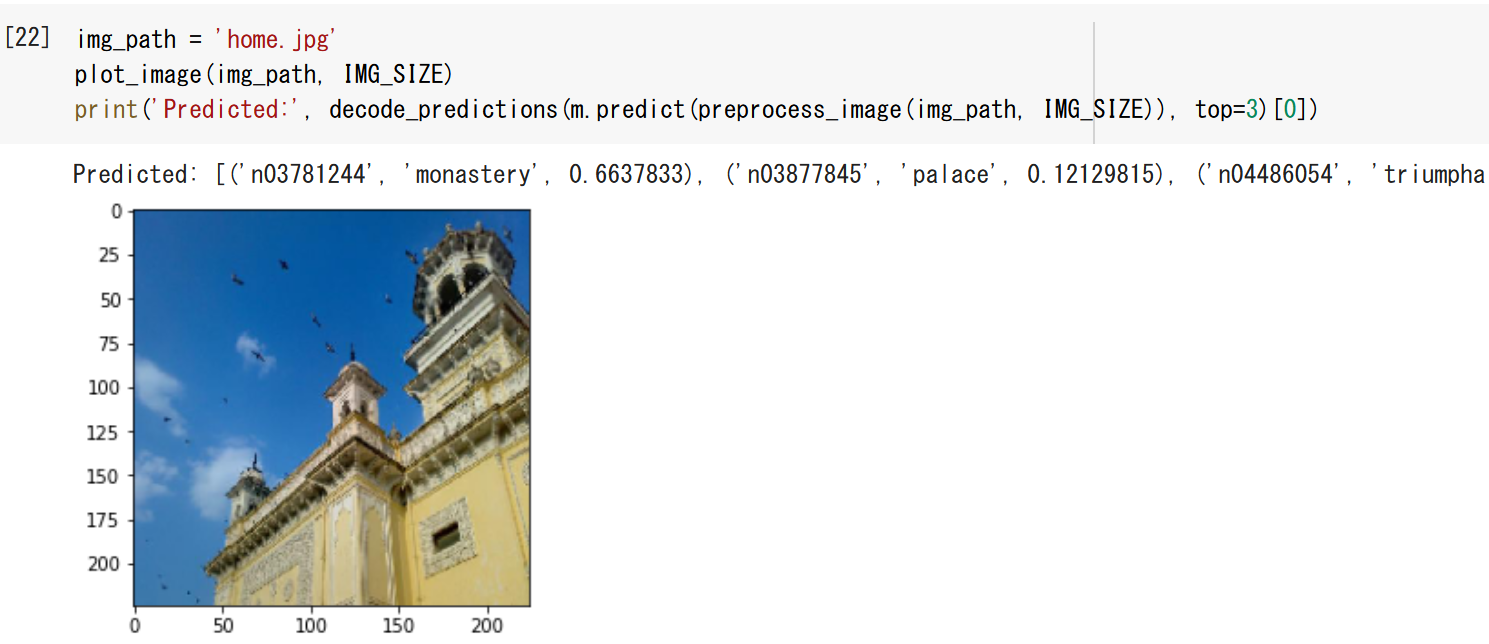
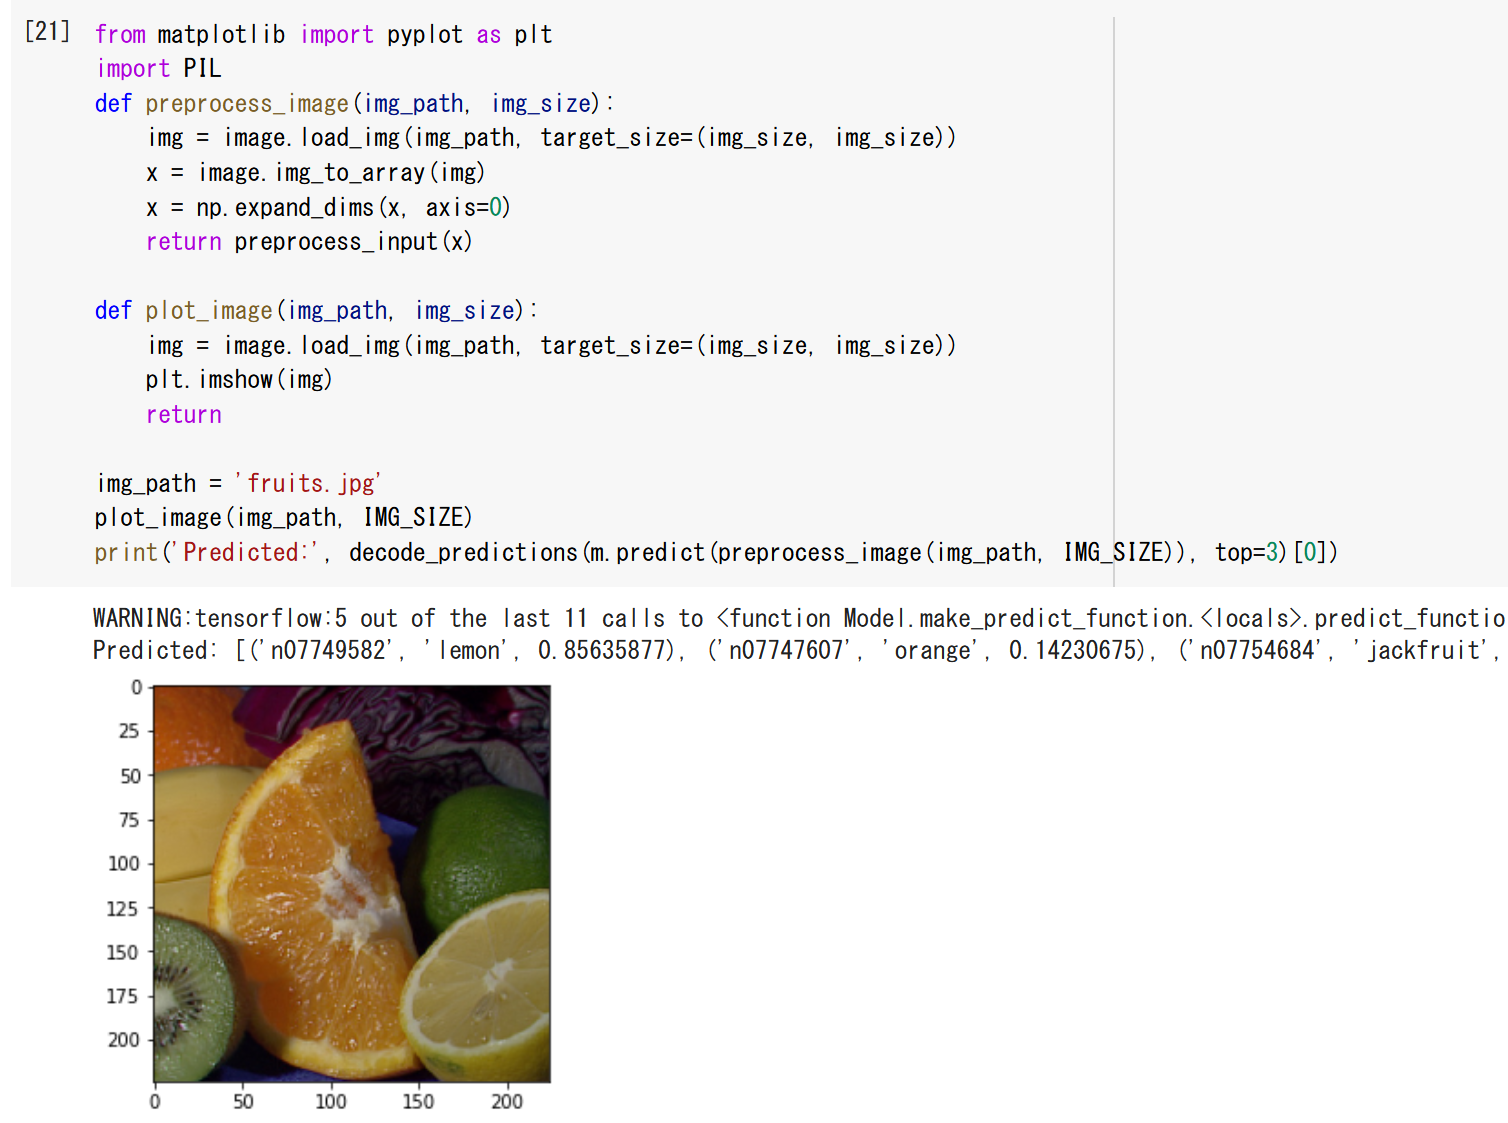
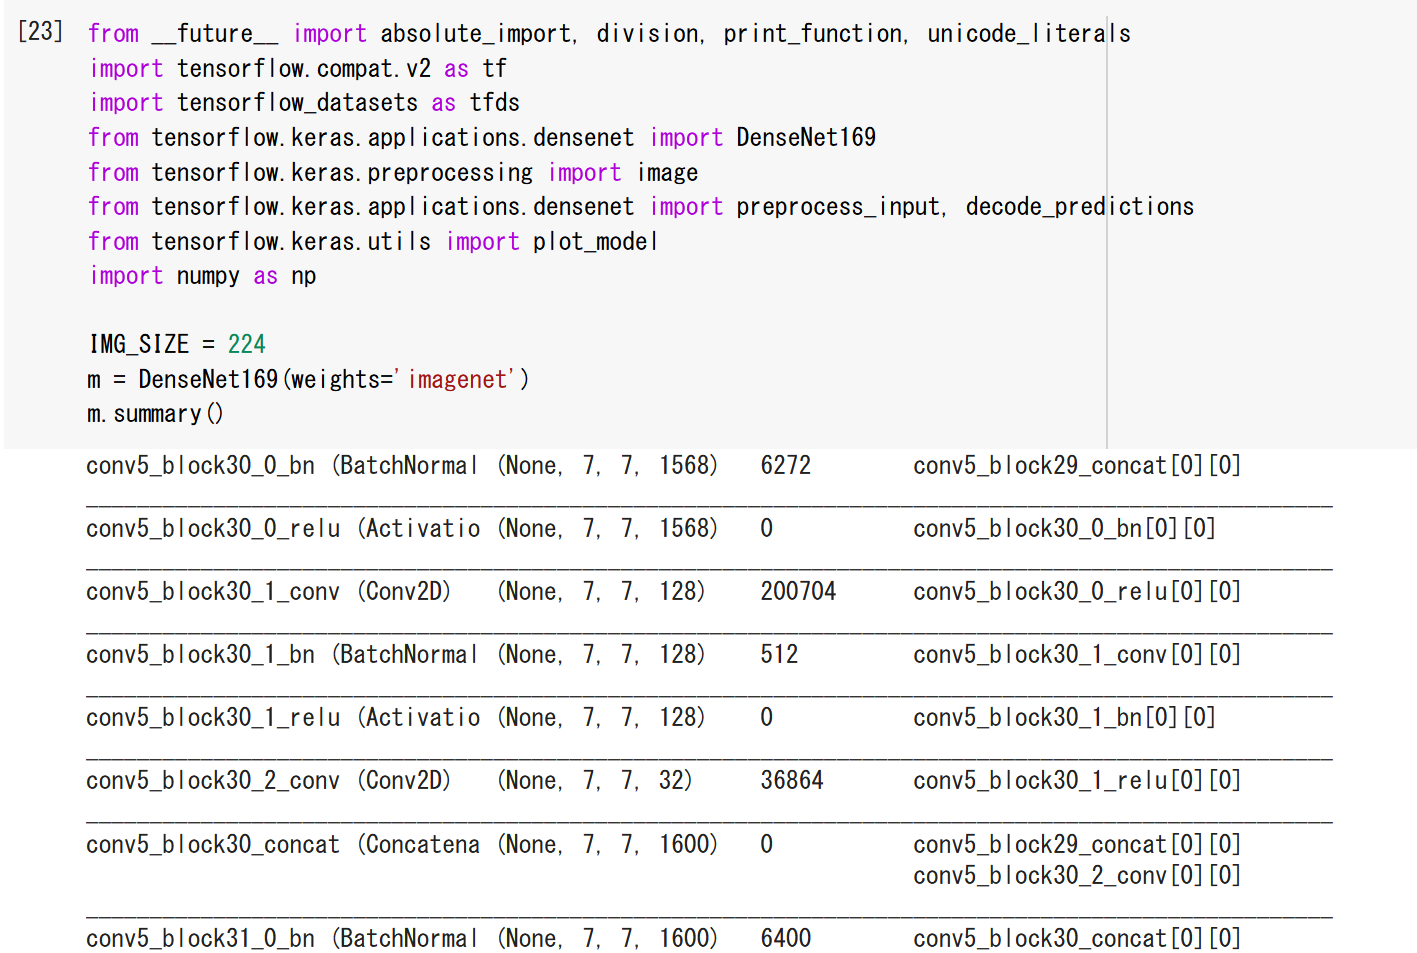
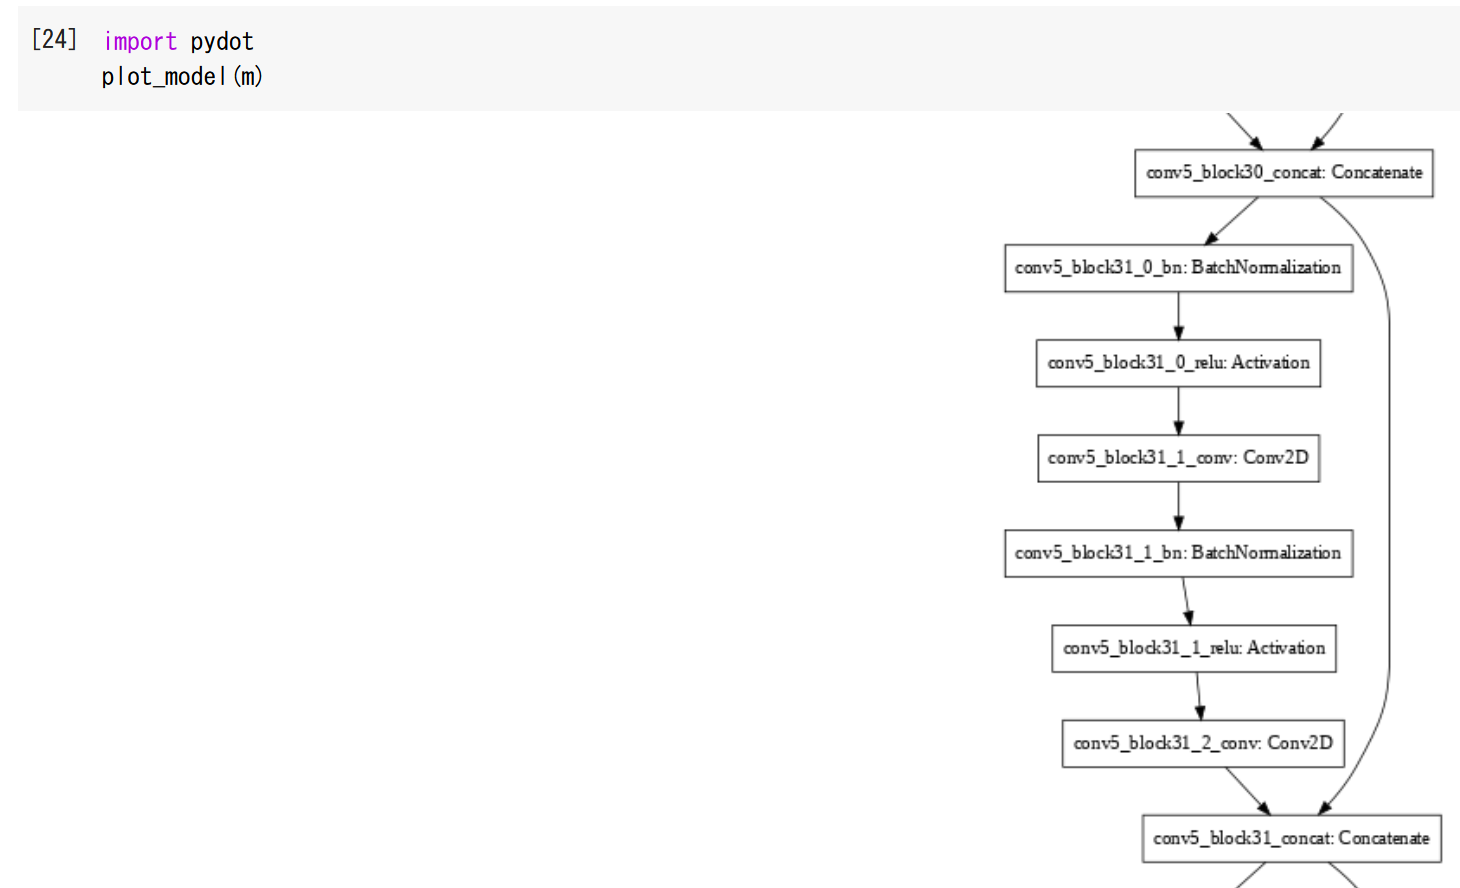
8. ImageNet で学習済みの DenseNet 169 を用いた画像分類
from __future__ import absolute_import, division, print_function, unicode_literals
import tensorflow.compat.v2 as tf
import tensorflow_datasets as tfds
from tensorflow.keras.applications.densenet import DenseNet169
from tensorflow.keras.preprocessing import image
from tensorflow.keras.applications.densenet import preprocess_input, decode_predictions
import numpy as np

IMG_SIZE = 224
m = DenseNet169(weights='imagenet')
m.summary()
from tensorflow.keras.utils import plot_model
import pydot
plot_model(m)
from matplotlib import pyplot as plt
%matplotlib inline
import warnings
warnings.filterwarnings('ignore')   # Suppress Matplotlib warnings
import PIL

def preprocess_image(img_path, img_size):
    img = image.load_img(img_path, target_size=(img_size, img_size))
    x = image.img_to_array(img)
    x = np.expand_dims(x, axis=0)
    return preprocess_input(x)

def plot_image(img_path, img_size):
    img = image.load_img(img_path, target_size=(img_size, img_size))
    plt.imshow(img)
    return

img_path = 'C:/image/fruits.jpg'
plot_image(img_path, IMG_SIZE)
print('Predicted:', decode_predictions(m.predict(preprocess_image(img_path, IMG_SIZE)), top=3)[0])
img_path = 'C:/image/home.jpg'
plot_image(img_path, IMG_SIZE)
print('Predicted:', decode_predictions(m.predict(preprocess_image(img_path, IMG_SIZE)), top=3)[0])
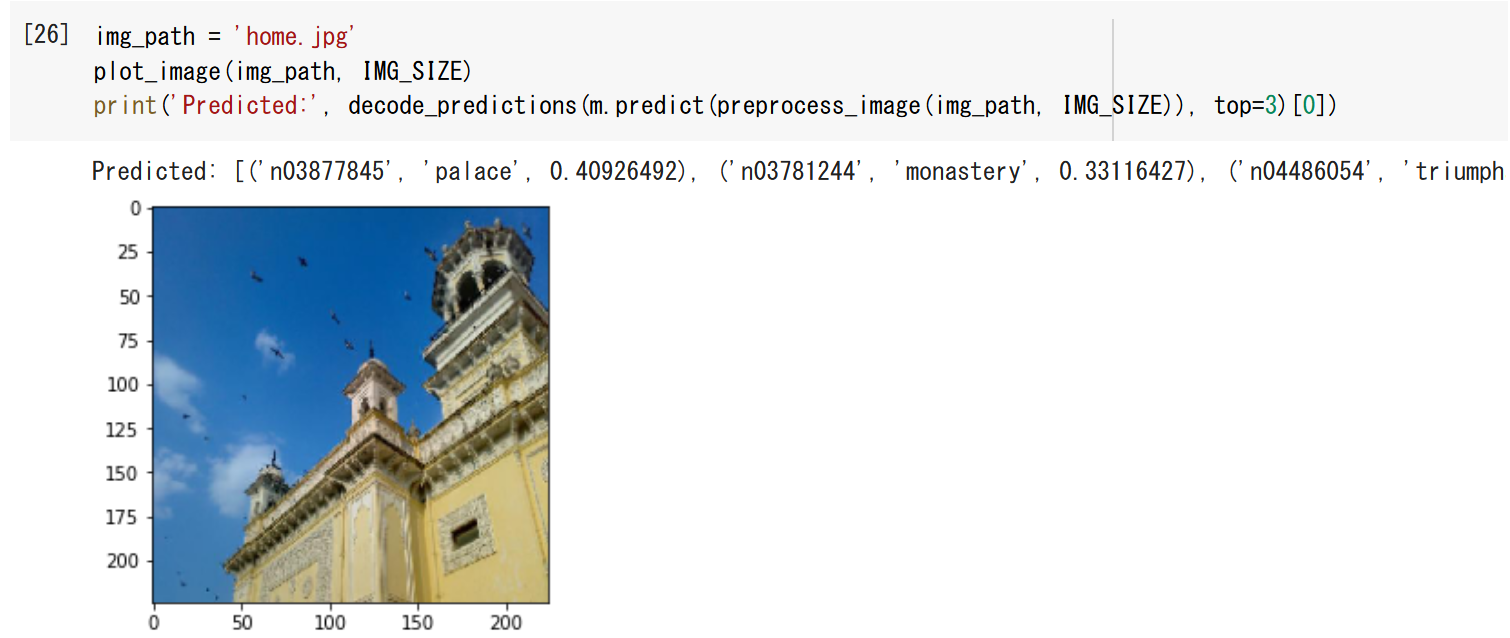
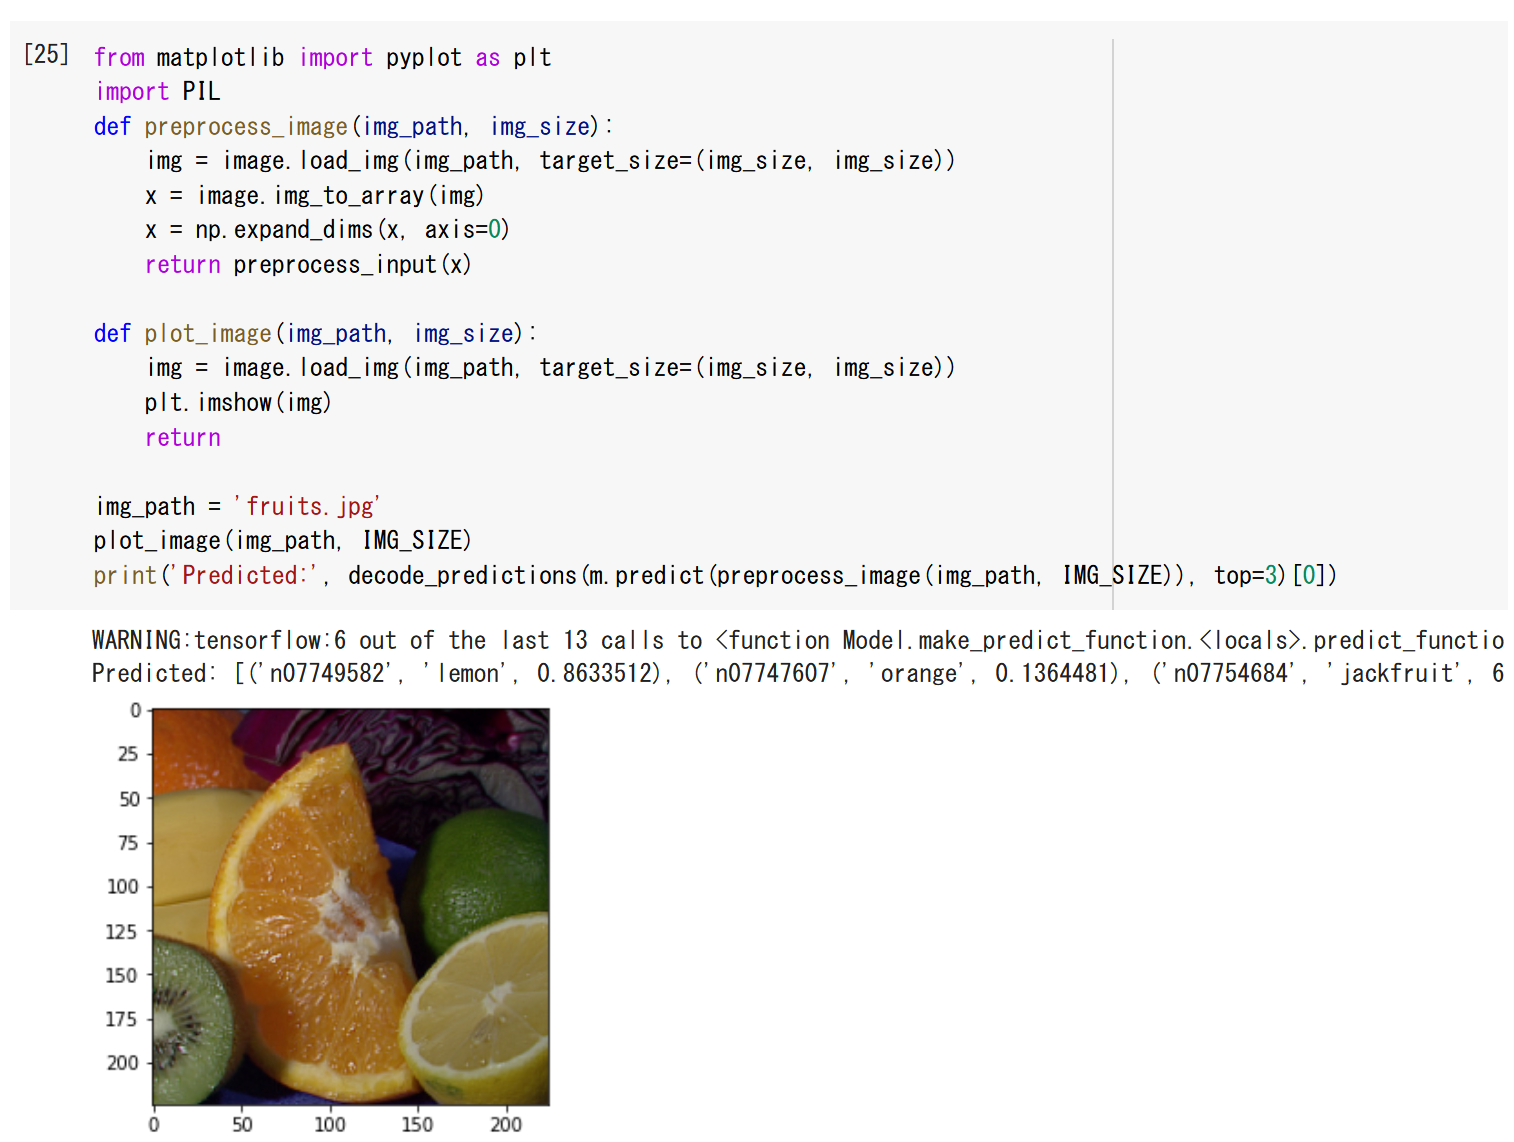
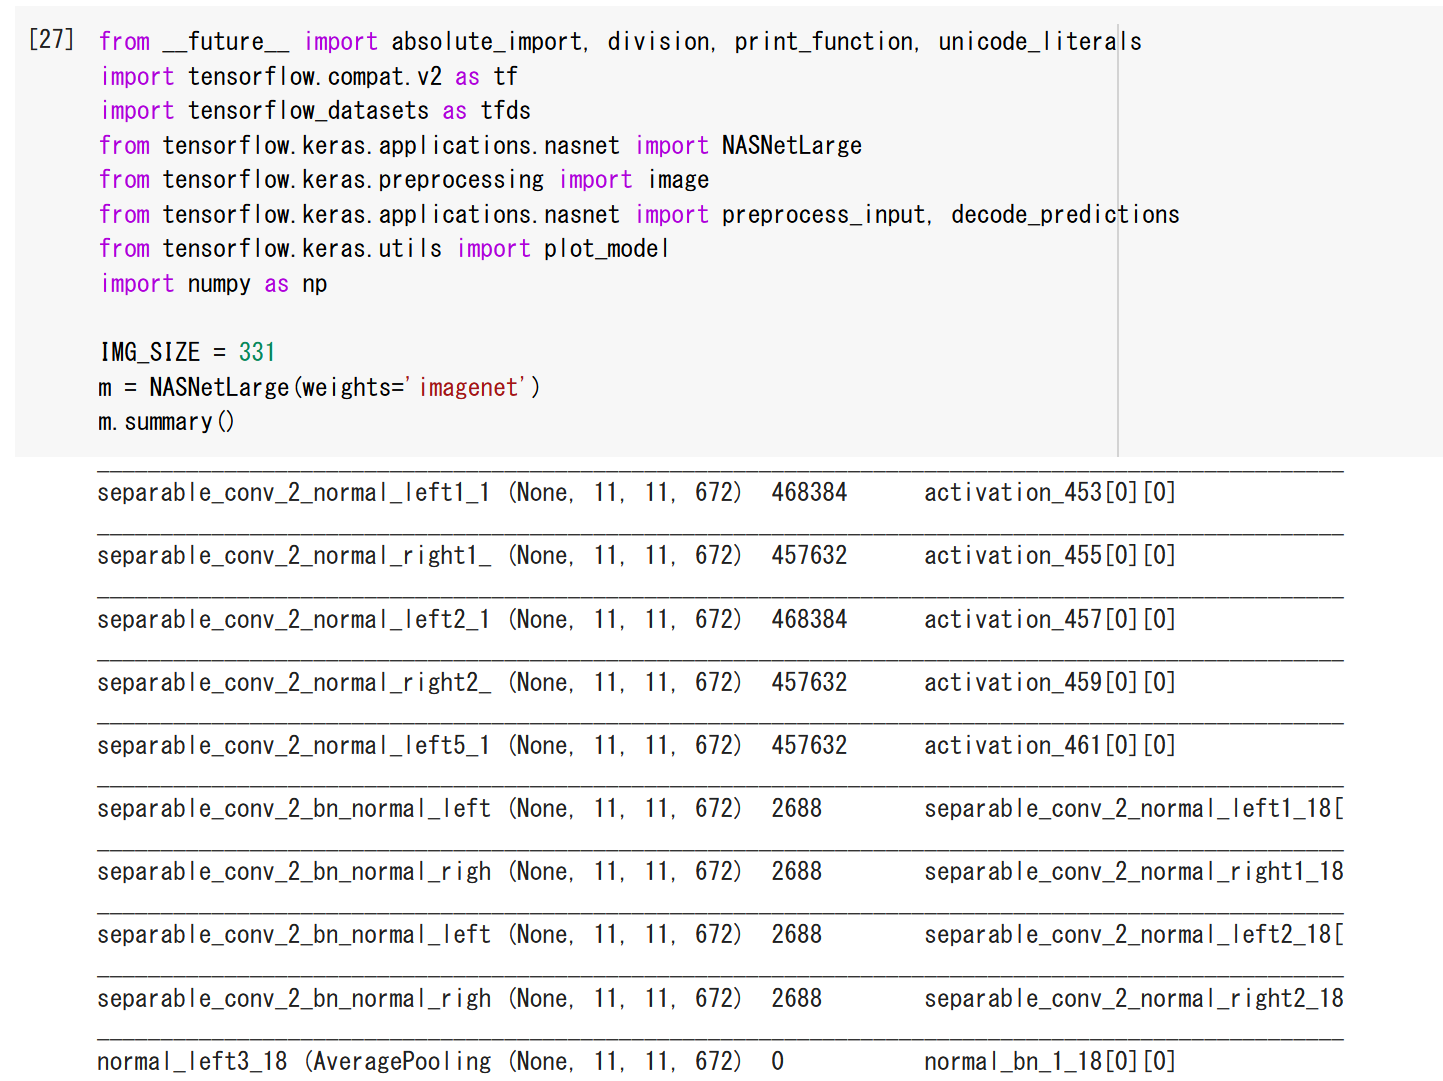
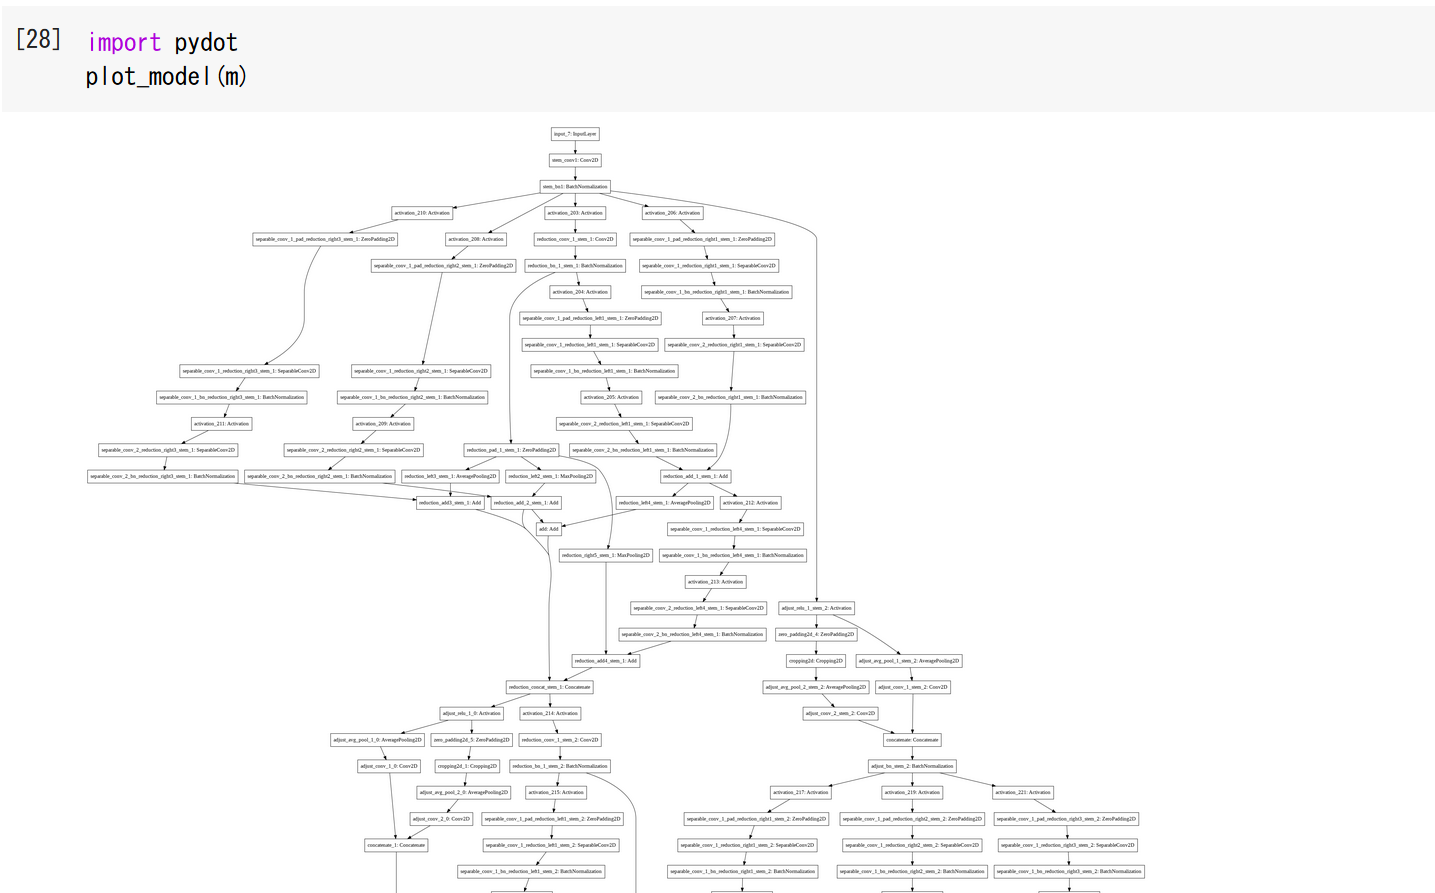
9. ImageNet で学習済みの NASNet Large を用いた画像分類
from __future__ import absolute_import, division, print_function, unicode_literals
import tensorflow.compat.v2 as tf
import tensorflow_datasets as tfds
from tensorflow.keras.applications.nasnet import NASNetLarge
from tensorflow.keras.preprocessing import image
from tensorflow.keras.applications.nasnet import preprocess_input, decode_predictions
import numpy as np

IMG_SIZE = 331
m = NASNetLarge(weights='imagenet')
m.summary()
from tensorflow.keras.utils import plot_model
import pydot
plot_model(m)
from matplotlib import pyplot as plt
%matplotlib inline
import warnings
warnings.filterwarnings('ignore')   # Suppress Matplotlib warnings
import PIL

def preprocess_image(img_path, img_size):
    img = image.load_img(img_path, target_size=(img_size, img_size))
    x = image.img_to_array(img)
    x = np.expand_dims(x, axis=0)
    return preprocess_input(x)

def plot_image(img_path, img_size):
    img = image.load_img(img_path, target_size=(img_size, img_size))
    plt.imshow(img)
    return

img_path = 'C:/image/fruits.jpg'
plot_image(img_path, IMG_SIZE)
print('Predicted:', decode_predictions(m.predict(preprocess_image(img_path, IMG_SIZE)), top=3)[0])
img_path = 'C:/image/home.jpg'
plot_image(img_path, IMG_SIZE)
print('Predicted:', decode_predictions(m.predict(preprocess_image(img_path, IMG_SIZE)), top=3)[0])