Ruboto を使ってみる (Ubuntu を使用)
前もって行なっておくこと
Java 処理系のインストール (install Java)
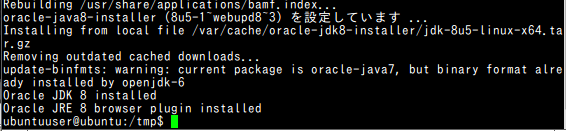
oracle java 8 のインストール手順例
- インストール
# パッケージリストの情報を更新
sudo apt update
sudo apt -y install oracle-java8-installer
- 変数 JAVA_HOME の設定
oracle java 8 を使う場合の設定手順例
cd echo 'export JAVA_HOME=/usr/lib/jvm/java-8-oracle' >> .bashrc - java のバージョンの確認
java -version
Android SDK のインストールと、変数 ANDROID_HOME の設定 (install Android SDK and set ANDROID_HOME)
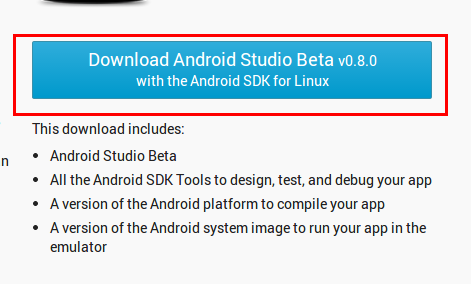
- Android Studio BETA の Web ページを開く
- 「Download Android Studio Beta ... with the Android SDK for Linux」をクリック
- ライセンス条項を熟読し確認
納得できる場合のみ続行

- ライセンス条項を確認の上、ダウンロード
- ダウンロードが始まる
ファイルは、分かりやすいディレクトリ(例えば /tmp)に保存する

- 解凍
分かりやすいディレクトリ(例えば /usr/local)に展開(解凍)する
* 「sudo chown -R $USER:$USER /usr/local/android-studio」を忘れないこと.
cd /usr/local
sudo rm -rf /usr/local/android-studio
sudo tar -xvzof /tmp/android-studio-bundle-135.1245622-linux.tgz
sudo chown -R $USER:$USER /usr/local/android-studio
- 変数 PATH の設定
cd
echo 'export PATH=$PATH:/usr/local/android-studio/sdk/tools:/usr/local/android-studio/sdk/platform-tools:/usr/local/android-studio/bin' >> .bashrc
- 変数 ANDROID_HOME の設定
あるツールで必要になる(みたい)ので設定しておく。
cd echo 'export ANDROID_HOME=/usr/local/android-studio/sdk' >> .bashrc - (オプション) 64ビットUbuntu を使っている場合には、ia32-libsのインストール
# パッケージリストの情報を更新
sudo apt update
sudo apt -y install ia32-libs
rbenv と JRuby のインストール (install rbenv and JRuby)
- rbenv のインストール
# パッケージリストの情報を更新
sudo apt update
sudo apt -y install rbenv
sudo apt -y install git
cd
git clone https://github.com/sstephenson/rbenv.git ~/.rbenv
git clone https://github.com/sstephenson/ruby-build.git ~/.rbenv/plugins/ruby-build
cd ~/.rbenv/plugins/ruby-build
sudo ./install.sh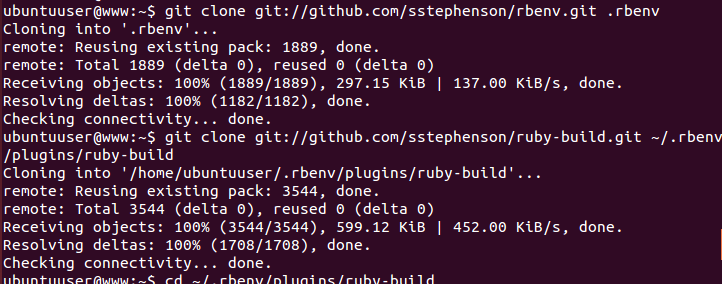
- rbenv 設定ファイルの更新
cd ~/.rbenv
git pull
cd ~/.rbenv/plugins/ruby-build
git pull
- jruby のインストール
rbenv install jruby-1.7.13
eval "$(rbenv init -)"
rbenv global jruby-1.7.13
jruby -v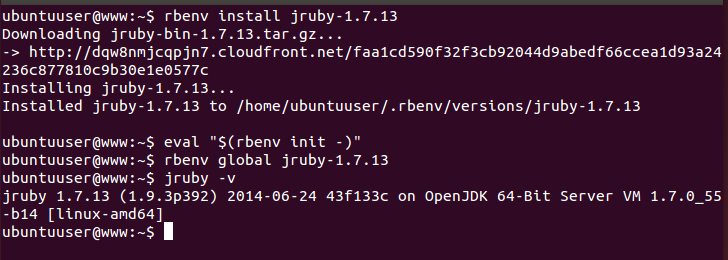
Ruboto のインストールと設定
Ruboto のインストール (install Ruboto)
rbenv global jruby-1.7.13
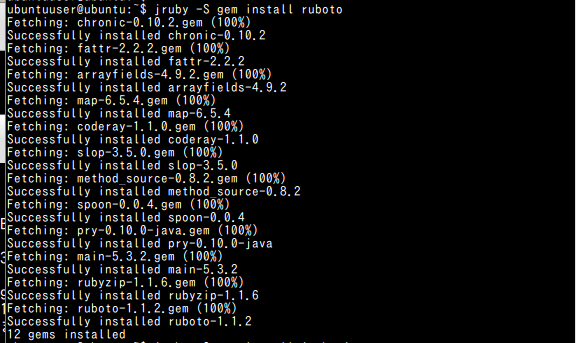
jruby -S gem install ruboto
rbenv global jruby-1.7.13
jruby -S gem install jruby-jars

Ruboto を起動してみる (try to run Ruboto)
- 設定
cd /tmp ruboto setup source ~/.bashrc - Android 仮想デバイスの生成 (Generate an Android Virtual Device (AVD))
android -s create avd -f -n Android_4.0.3 -c 1000M -t android-15 --abi x86 android list avd - エミュレータの起動 (Start emulator)
ruboto emulator -t android-15 - Ruboto プロジェクトの生成 (Creating a Ruboto project)
cd /tmp ruboto gen app --package org.ruboto.example.quick_start --target android-15 - 生成された Ruby ファイルの更新 (Modify the generated .rb file)
http://rubylearning.com/blog/ruboto-quick-start/ の中のプログラムを /tmp/quick_start/src/quick_start_activity.rb 貼り付ける
rake install
rake start
require 'ruboto/widget'
require 'ruboto/util/toast'

ruboto_import_widgets :Button, :LinearLayout, :TextView

# http://xkcd.com/378/

class QuickStartActivity
  def onCreate(bundle)
    super
    set_title 'Domo arigato, Mr Ruboto!'

    self.content_view =
        linear_layout :orientation => :vertical do
          @text_view = text_view :text => 'What hath Matz wrought?', :id => 42,
                                 :layout => {:width => :match_parent},
                                 :gravity => :center, :text_size => 48.0
          button :text => 'M-x butterfly',
                 :layout => {:width => :match_parent},
                 :id => 43, :on_click_listener => proc { butterfly }
        end
  rescue Exception
    puts "Exception creating activity: #{$!}"
    puts $!.backtrace.join("\n")
  end

  private

  def butterfly
    @text_view.text = 'What hath Matz wrought!'
    toast 'Flipped a bit via butterfly'
  end

end