Python で Excel ファイルを扱う(Python,Win32 を使用)
前準備
Python の準備(Windows,Ubuntu 上)
- Windows での Python 3.10,関連パッケージ,Python 開発環境のインストール(winget を使用しないインストール): 別ページ »で説明
- Ubuntu では,システム Pythonを使うことができる.Python3 開発用ファイル,pip, setuptools のインストール: 別ページ »で説明
【サイト内の関連ページ】
- Python のまとめ: 別ページ »にまとめ
- Google Colaboratory の使い方など: 別ページ »で説明
【関連する外部ページ】 Python の公式ページ: https://www.python.org/
pywin32 のインストール
- Windows で,管理者権限でコマンドプロンプトを起動(手順:Windowsキーまたはスタートメニュー >
cmdと入力 > 右クリック > 「管理者として実行」)。 - pip と setuptools の更新
python -m pip install -U pip setuptools
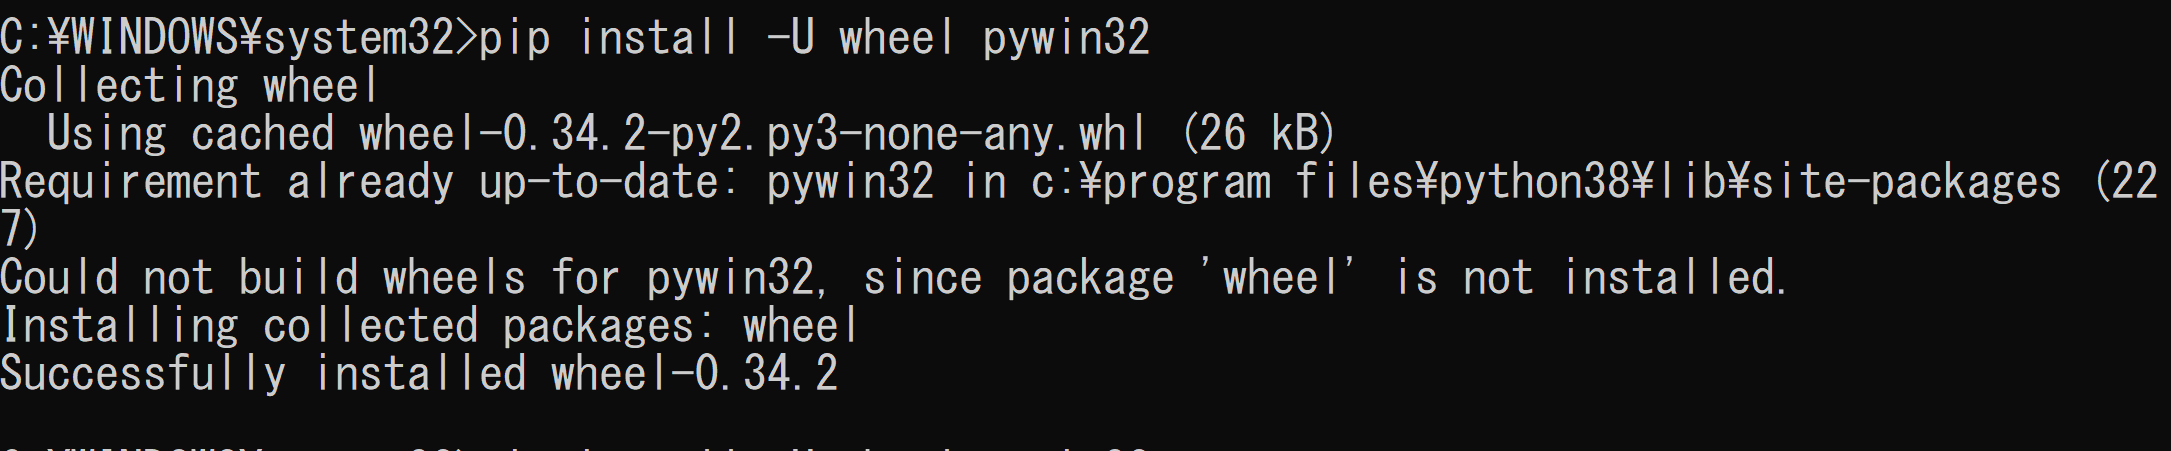
- pywin32 のインストール
次のコマンドを実行.
pip install -U wheel pywin32
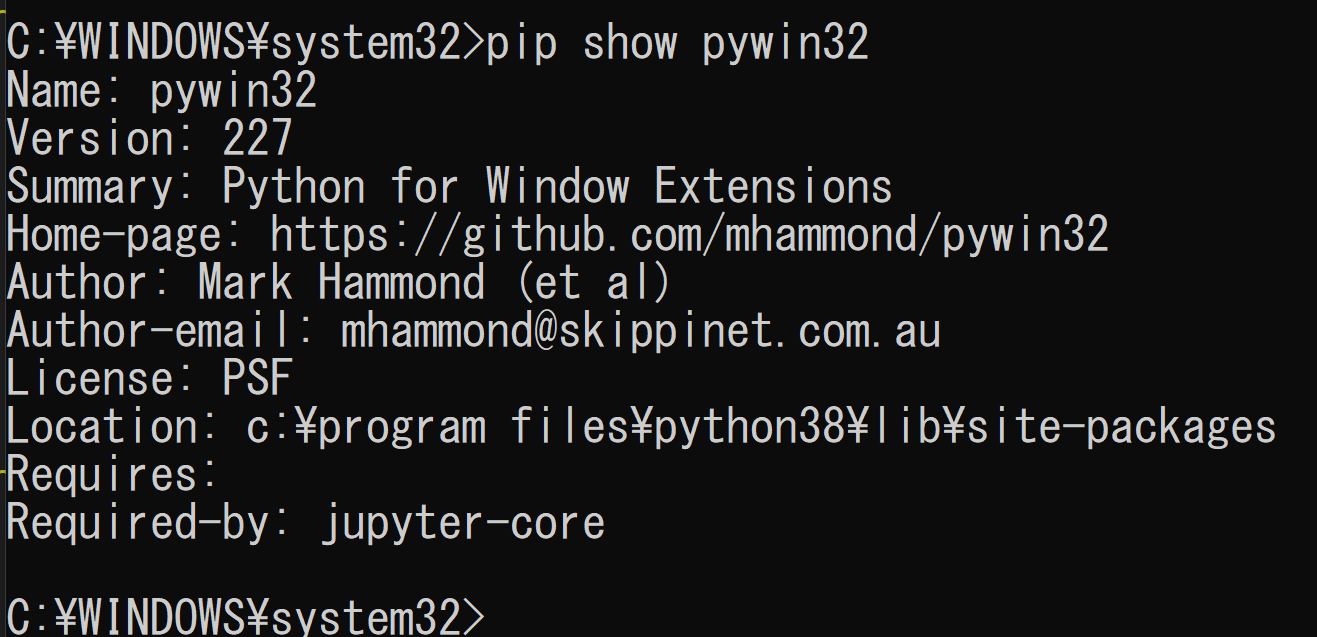
- 確認のため次のコマンドを実行して,情報を表示
エラーメッセージが出ないこと
pip show pywin32
Python で Excel ファイルを扱う(Python,Win32 を使用)(Windows 上)
- 前準備として Excel の xlsx ファイルを準備
ここでは,csvkit に同封されているデータファイルである ne_1033_data.xlsxを, 次の URL からダウンロードして使用. https://github.com/wireservice/csvkit/tree/master/examples/realdata
- Python プログラムの実行
Python プログラムの実行
- Windows では python (Python ランチャーは py)
- Ubuntu では python3
【サイト内の関連ページ】 Python のまとめ: 別ページ »
## -*- coding: utf-8 -*- import win32com.client as win32 FNAME="d:/ne_1033_data.xlsx" #COMを利用して、Excelに接続 xlApp = win32.Dispatch("Excel.Application") #Excelを開く wb = xlApp.Workbooks.Open(FNAME) #Sheet取得 #番号またはSheet名 sheet = wb.Worksheets(1) #Cell取得. 行は1038, 列は1 cell = sheet.Cells(1038,1) #Cellに数字を入れる cell.Value = 10 #関数を入れる sheet.Range("H1038").Formula = "=SUM(H1:H1037)" #シート名を変更 sheet.Name = "TEST NAME" #セーブして閉じる wb.Save() wb.Close() exit() - 結果の確認
