![[kaneko lab.]](https://www.kkaneko.jp/info/logo_png.png)
Raspberry Pi で Python 仮想環境 (venv), TensorFlow, Keras をインストール
- 前準備
- Git, cmake, wget, 7zip のインストール
- Python の仮想環境の作成(venv を使用)
- 作成した Python 仮想環境を使いたいとき
- Raspberry Pi で TensorFlow, Keras をインストール
- 確認のため Keras を使ってみる
【サイト内の Raspberry Pi OS 関連ページ】
小型コンピュータ Raspberry Pi について: 別ページ »にまとめ
【前提条件】
TensorFlow の公式ビルド(PyPI で配布される wheel ファイル)は、Linux では aarch64 (ARM64) と x86_64 向けに提供されている。Raspberry Pi で使う場合は 64 ビット版の Raspberry Pi OS が必要である。32 ビット版 (armv7l) 向けの公式 wheel ファイルは提供されていない。
また、TensorFlow 2.21 が対応する Python のバージョンは 3.10 から 3.13 である(Raspberry Pi OS の Debian 13 系 (trixie) の既定の Python は 3.13)。
前準備
Raspberry Pi OS のインストール
- Raspberry Pi Imager を用いて、64 ビット版の Raspberry Pi OS を microSD カード等に書き込む: 別ページ »で説明
書き込みの前の設定画面で、ホスト名、ユーザ名、パスワードを設定し、SSH を有効化しておく。2022 年 4 月以降の Raspberry Pi OS では、ユーザ名 pi とパスワード raspberry の既定のアカウントは作成されない。
- Raspberry Pi OS の初期設定: 別ページ »で説明
Windows から Raspberry Pi にログイン
- Windows で MobaXTerm を起動
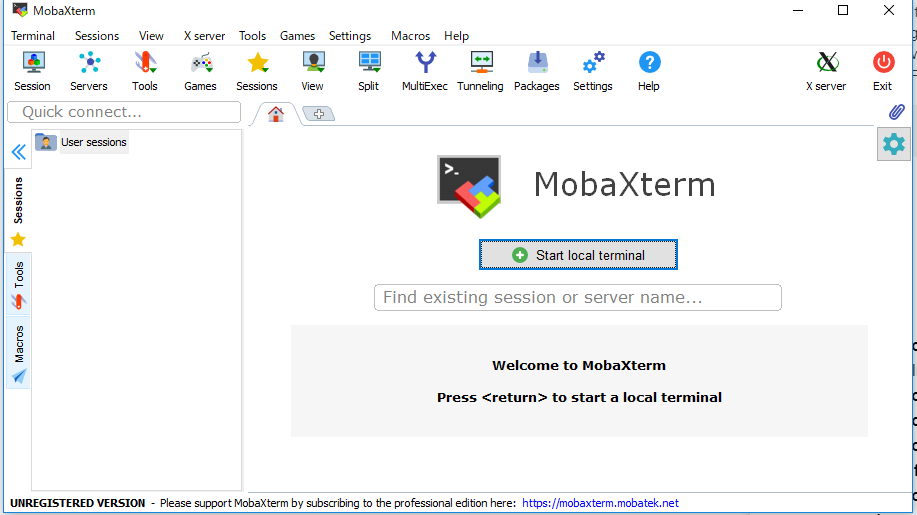 MobaXTerm は、次のサイトで配布されている。MobaXTerm Home Edition (installer edition) をダウンロードしてインストールする。
https://mobaxterm.mobatek.net/

「MobaXTerm のインストール」については、別のページで説明している
- MobaXTerm で「Start local terminal」をクリック
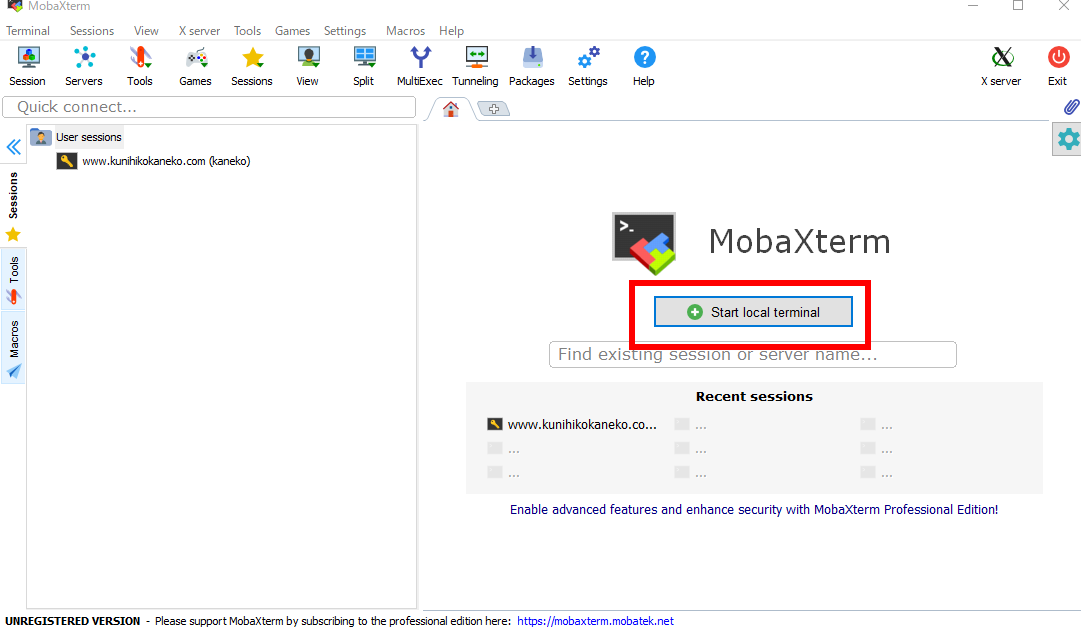
- 「ssh -X」を実行し、Raspberry Pi にリモートログイン
「-X」は X11 転送のオプションである。Raspberry Pi 側で起動した画面表示を伴うプログラムを、Windows の画面に表示できる。
ユーザ名とホスト名は、Raspberry Pi Imager で設定したものを指定する。
ssh -X pi@raspberrypi.local - パスワードを入力
* Raspberry Pi Imager で設定したパスワードを入力する
* パスワードを入力するとき、画面には何も表示されない。これは正常な動作である。
初回接続時は、接続先の鍵を登録してよいかの確認表示が出るので「yes」と入力する
Raspberry Pi OS のシステム更新
最初に、システムの更新を行っておく。 Raspberry Pi にリモートログインした後、次のコマンドを実行する。 最後の「sudo reboot」で、システムが再起動する(Windows との接続は切れる)。
# パッケージリストの情報を更新
sudo apt update
sudo apt -yV full-upgrade
sudo apt -yV autoremove
sudo apt autoclean
sudo reboot
Raspberry Pi OS の初期設定
Raspberry Pi OS の初期設定については、 「Raspberry Pi OS の初期設定」のページで説明している。
Git, cmake, wget, 7zip のインストール
Windows パソコンで、上の「Windows から Raspberry Pi にログイン」の操作を行った後、 次のコマンドを実行する
# パッケージリストの情報を更新
sudo apt update
sudo apt -y install git cmake wget 7zip
Python の仮想環境の作成(venv を使用)
Raspberry Pi OS では、PEP 668 により、システムの Python に pip でパッケージを追加しようとすると externally-managed-environment のエラーになる。パッケージの追加は、Python の仮想環境を作成して、その中で行う。仮想環境の作成には、Python に標準で付属する venv を使用する。
- 今から作成するPython の仮想環境の名前を決めておく
- Python の仮想環境の名前: tf
- 作成先のディレクトリ: $HOME/tf
- Windows パソコンで、上の「Windows から Raspberry Pi にログイン」の操作を行う
- venv の利用に必要なパッケージのインストール
sudo apt update sudo apt -y install python3-venv python3-pip python3-dev - venv を使って、隔離された Python 環境を作る
python3 -m venv $HOME/tf - Python 環境が作成できたことを確認
「source」で仮想環境を有効化し、Python のバージョンとインストール済みパッケージを表示する
source $HOME/tf/bin/activate
python -V
python -m pip install -U pip setuptools wheel
pip list
これで、もとからのシステムの Python 環境と、 新規作成された Python 環境($HOME/tf)が共存できた。
作成した Python 仮想環境を使いたいとき
端末で、次のコマンドを実行し、Python 環境($HOME/tf)を有効にする。 プロンプトの先頭に「(tf)」と表示される。
source $HOME/tf/bin/activate
仮想環境を抜けるときは、次のコマンドを実行する
deactivate
Raspberry Pi で TensorFlow, Keras をインストール
- Windows パソコンで、上の「Windows から Raspberry Pi にログイン」の操作を行う
- 端末で、次のコマンドを実行し、Python 仮想環境 $HOME/tf を有効にする
source $HOME/tf/bin/activate - TensorFlow, Keras のインストール
TensorFlow 2.16 以降では、「pip install tensorflow」により Keras 3 が同時にインストールされる。ダウンロードするファイルが大きい(aarch64 版で約 280M バイト)ため、インストールには時間がかかる。
# パッケージリストの情報を更新 sudo apt update sudo apt -y install libopenblas-dev libhdf5-dev python -m pip install -U tensorflow pip list - TensorFlow のバージョン確認
バージョン番号が表示されれば、インストールは成功している
python -c "import tensorflow as tf; print( tf.__version__ )" - Keras のバージョン確認
バージョン番号が表示されれば、インストールは成功している
python -c "import keras; print( keras.__version__ )"
確認のため Keras を使ってみる
- Windows パソコンで、上の「Windows から Raspberry Pi にログイン」の操作を行う
- 端末で、次のコマンドを実行し、Python 仮想環境 $HOME/tf を有効にする
source $HOME/tf/bin/activate - 前準備として ImageMagick をインストール
画像ファイルを画面に表示するために使用する
# パッケージリストの情報を更新 sudo apt update sudo apt -y install imagemagick - 前準備として pillow のインストール
Keras の画像読み込み機能が pillow を使用する
python -m pip install -U pillow - 次の画像を使うことにする
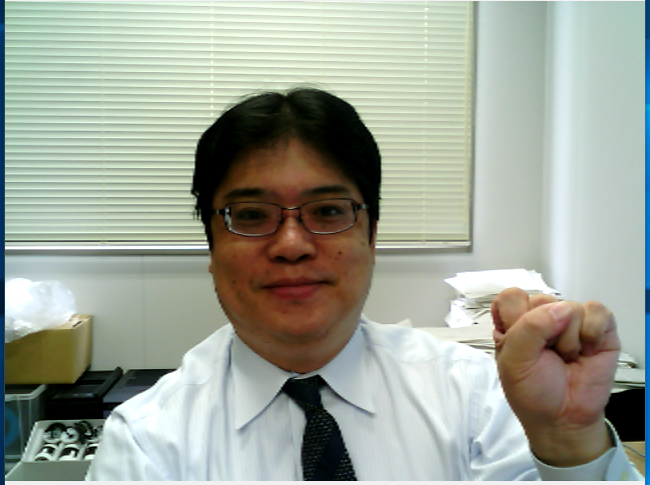
* 次のコマンドで、画像をダウンロードし、ImageMagick の display コマンドで表示する。display コマンドの画面表示には、ssh の -X オプションによる X11 転送が必要である。
cd /tmp wget https://www.kkaneko.jp/tools/raspbian/124.png display 124.png - ディープラーニングで、画像分類を行ってみる
Python のプログラムを実行したいので、まず、端末で「python」を実行する
python - 次のプログラムをコピー&ペーストする
VGG16 を使うプログラム。ImageNet の学習済みモデルを用いて、画像を 1000 クラスに分類し、スコアの上位 5 件を表示する。学習済みモデルのファイルは、初回実行時に自動でダウンロードされる。VGG16 の入力サイズは 224 × 224 である。
import numpy as np
from keras.applications.vgg16 import VGG16, preprocess_input, decode_predictions
from keras.utils import load_img, img_to_array

m = VGG16(weights='imagenet')

img_path = '/tmp/124.png'
img = load_img(img_path, target_size=(224, 224))
x = img_to_array(img)
x = np.expand_dims(x, axis=0)
x = preprocess_input(x)

preds = m.predict(x)

print('Predicted:')
for p in decode_predictions(preds, top=5)[0]:
    print("Score {}, Label {}".format(p[2], p[1]))
InceptionV3 を使うプログラム。InceptionV3 の入力サイズは 299 × 299 である。
import numpy as np from keras.applications.inception_v3 import InceptionV3, preprocess_input, decode_predictions from keras.utils import load_img, img_to_array m = InceptionV3(weights='imagenet') img_path = '/tmp/124.png' img = load_img(img_path, target_size=(299, 299)) x = img_to_array(img) x = np.expand_dims(x, axis=0) x = preprocess_input(x) preds = m.predict(x) print('Predicted:') for p in decode_predictions(preds, top=5)[0]: print("Score {}, Label {}".format(p[2], p[1])) - exit() で Python を終了する
exit()