![[kaneko lab.]](https://www.kkaneko.jp/info/logo_png.png)
LiteCLI のインストール,データベース作成,テーブル定義,レコード挿入,SQL問い合わせ,主なコマンド(Ubuntu 上)
【目次】
前準備
Ubuntu のシステム更新
Ubuntu で OS のシステム更新を行うときは, 端末で,次のコマンドを実行する。これは、パッケージ情報を最新の状態に保ち、インストール済みのパッケージをセキュリティアップデートやバグ修正を含めて更新するためである。
# パッケージリストの情報を更新
sudo apt update
# インストール済みのパッケージを包括的に更新 (依存関係も考慮)
sudo apt full-upgrade
# カーネル更新等で実際に再起動が必要な場合のみ実行を推奨
# sudo shutdown -r now
LiteCLI のインストール
LiteCLI は Ubuntu の公式リポジトリ(universe)で litecli パッケージとして提供されている。Ubuntu 22.04 LTS 以降で利用できる。
- インストール
端末で,次のコマンドを実行する.
# パッケージリストの情報を更新
sudo apt update
sudo apt -y install litecli
最新版を使いたい場合は,端末で,次のコマンドを実行し,pipx を用いて公式リポジトリ(PyPI)の版をインストールする.pipx は,コマンドラインアプリケーションを専用の仮想環境に隔離してインストールする.
# パッケージリストの情報を更新
sudo apt update
sudo apt -y install pipx
pipx install litecli
pipx ensurepath
pipx ensurepath は,インストール先である ~/.local/bin を PATH に追加する。追加後は端末を開き直す.
- 確認のため litecli を起動してみる.
litecli
「exit」で終了
exit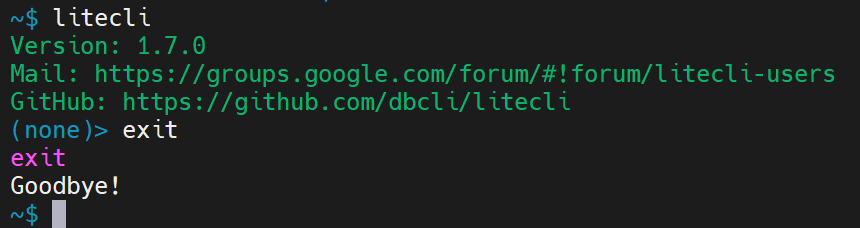
LiteCLI の起動と終了,ヘルプの表示,エンコーディングの確認
- litecli の起動
このとき,データベース名として mydb を指定する.SQLite 3 では,データベース名はファイル名である.指定したファイルが存在しないときは新規に作成される.
ファイル名は,カレントディレクトリからの相対パスまたは絶対パスで指定する.
litecli mydb
- ヘルプの表示
「help」で,LiteCLI の特殊コマンドの一覧が表示される.
help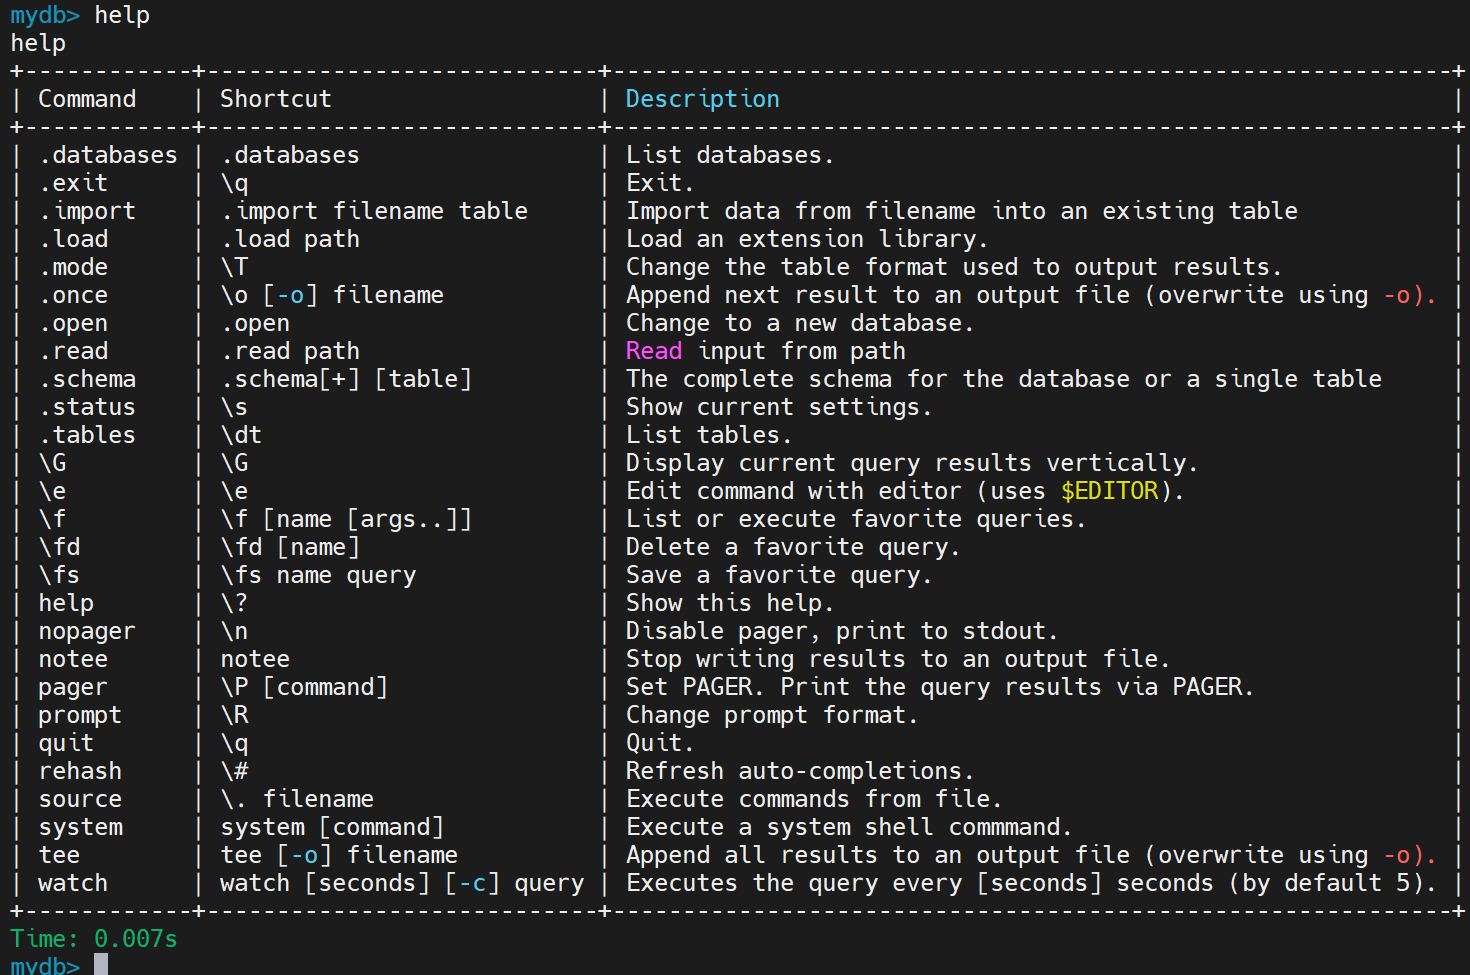
- 現在使用中のデータベースについての,文字のエンコーディングの確認
「PRAGMA encoding;」で,エンコーディングが表示される.SQLite 3 で新規作成したデータベースの既定値は UTF-8 である.
pragma encoding;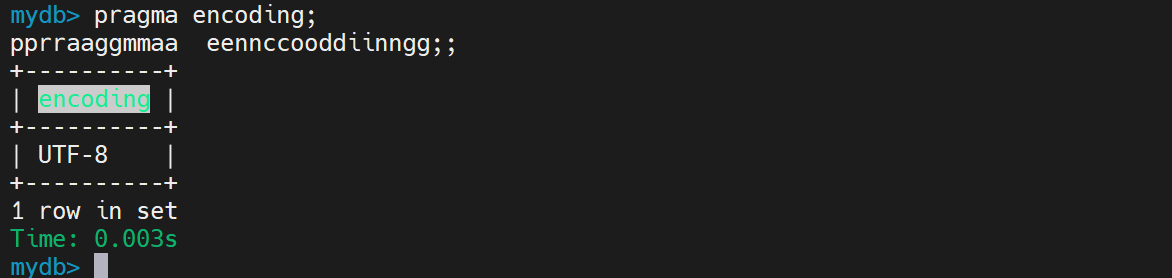
- litecli の終了
「exit」で終了.
exit
SQLite 3 の説明は https://www.sqlite.org/sqlite.html
データベースの新規作成
ここでの設定
- 生成したいデータベースファイル名: ~/hoge.db(ホームディレクトリの hoge.db) ※ 書き込み権限のあるディレクトリを使用する
- litecli を実行する.
cd ~
litecli
- データベースのオープン
指定したファイルが存在しないときは,新しいデータベースファイルとして作成される.
.open hoge.db
- 「exit」を実行して,litecli を終了.
exit
テーブル定義,レコード挿入,SQL問い合わせ
- litecli を実行する.
cd ~
litecli
- データベースオープン
.open hoge.db
- テーブル定義
check 制約により,年,月,日,単価,数量,および合計金額の範囲を検査する.
create table order_records (
    id            integer primary key not null,
    year          integer not null CHECK ( year > 2008 ),
    month         integer not null CHECK ( month >= 1 AND month <= 12 ),
    day           integer not null CHECK ( day >= 1 AND day <= 31 ),
    customer_name text not null,
    product_name  text not null,
    unit_price    real not null check ( unit_price > 0 ),
    qty           integer not null default 1 check ( qty > 0 ),
    created_at    timestamp with time zone not null,
    updated_at    timestamp with time zone,
    check ( ( unit_price * qty ) < 200000 ) );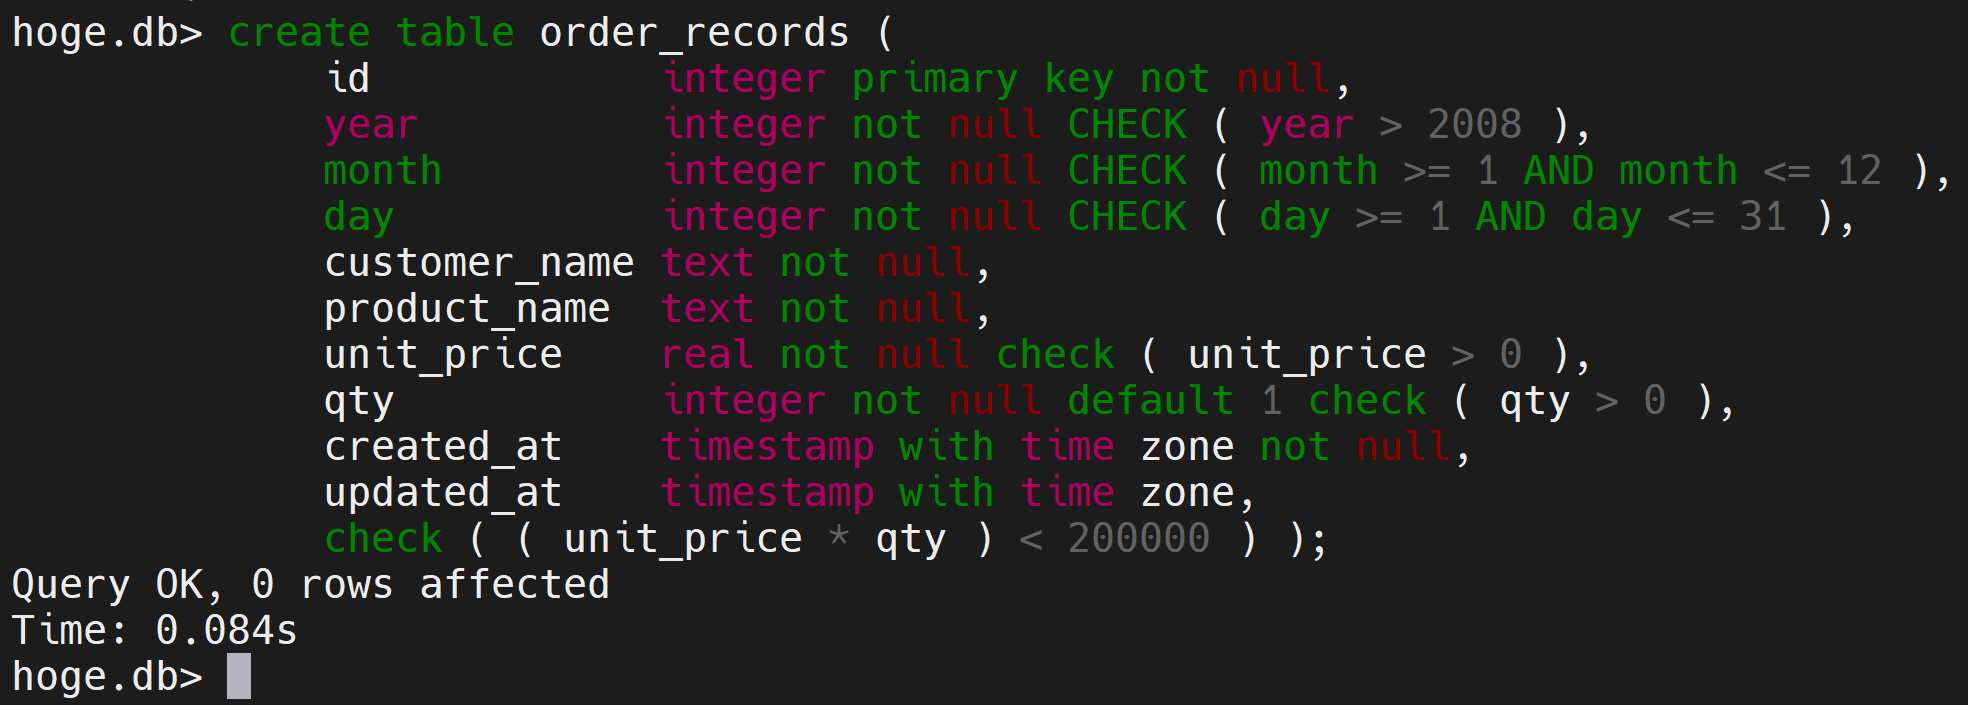
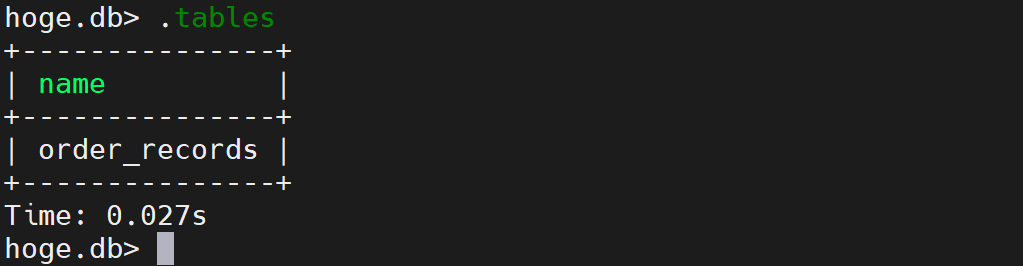
- 「.tables」を実行して,テーブルが定義できたことを確認.
.tables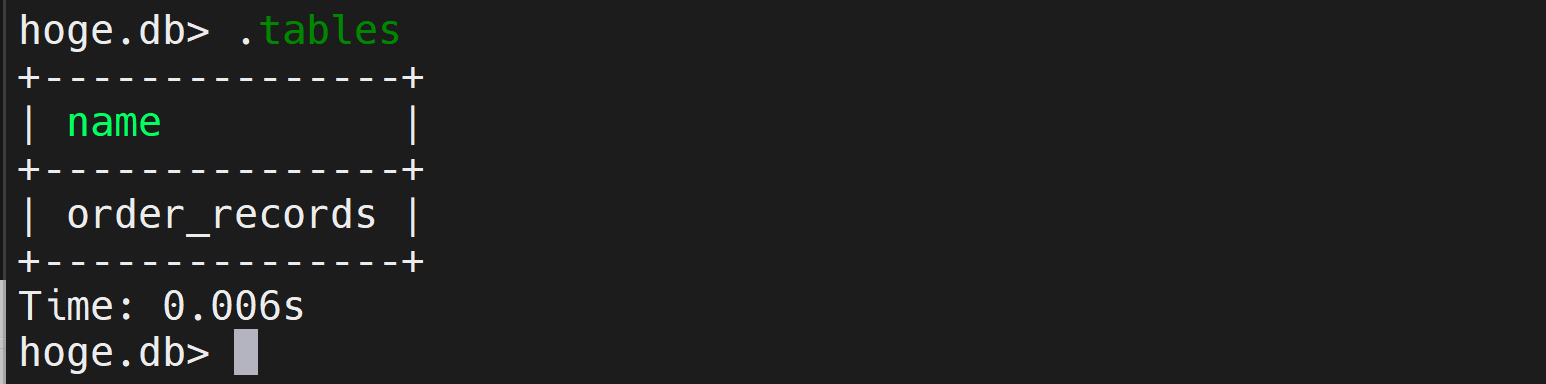
- SQL を用いたレコード挿入
複数の insert 文を begin transaction と commit で囲み,1つのトランザクションとして実行する.
begin transaction;
insert into order_records (id, year, month, day, customer_name, product_name, unit_price, qty, created_at) values( 1, 2022, 1, 26,  'kaneko', 'orange A', 1.2, 10, datetime('now', 'localtime') );
insert into order_records (id, year, month, day, customer_name, product_name, unit_price, qty, created_at) values( 2, 2022, 1, 26,  'miyamoto', 'Apple M',  2.5, 2, datetime('now', 'localtime') );
insert into order_records (id, year, month, day, customer_name, product_name, unit_price, qty, created_at) values( 3, 2022, 1, 27,  'kaneko',   'orange B', 1.2, 8, datetime('now', 'localtime') );
insert into order_records (id, year, month, day, customer_name, product_name, unit_price, created_at) values( 4, 2022, 1, 28,  'miyamoto',   'Apple L', 3, datetime('now', 'localtime') );
commit;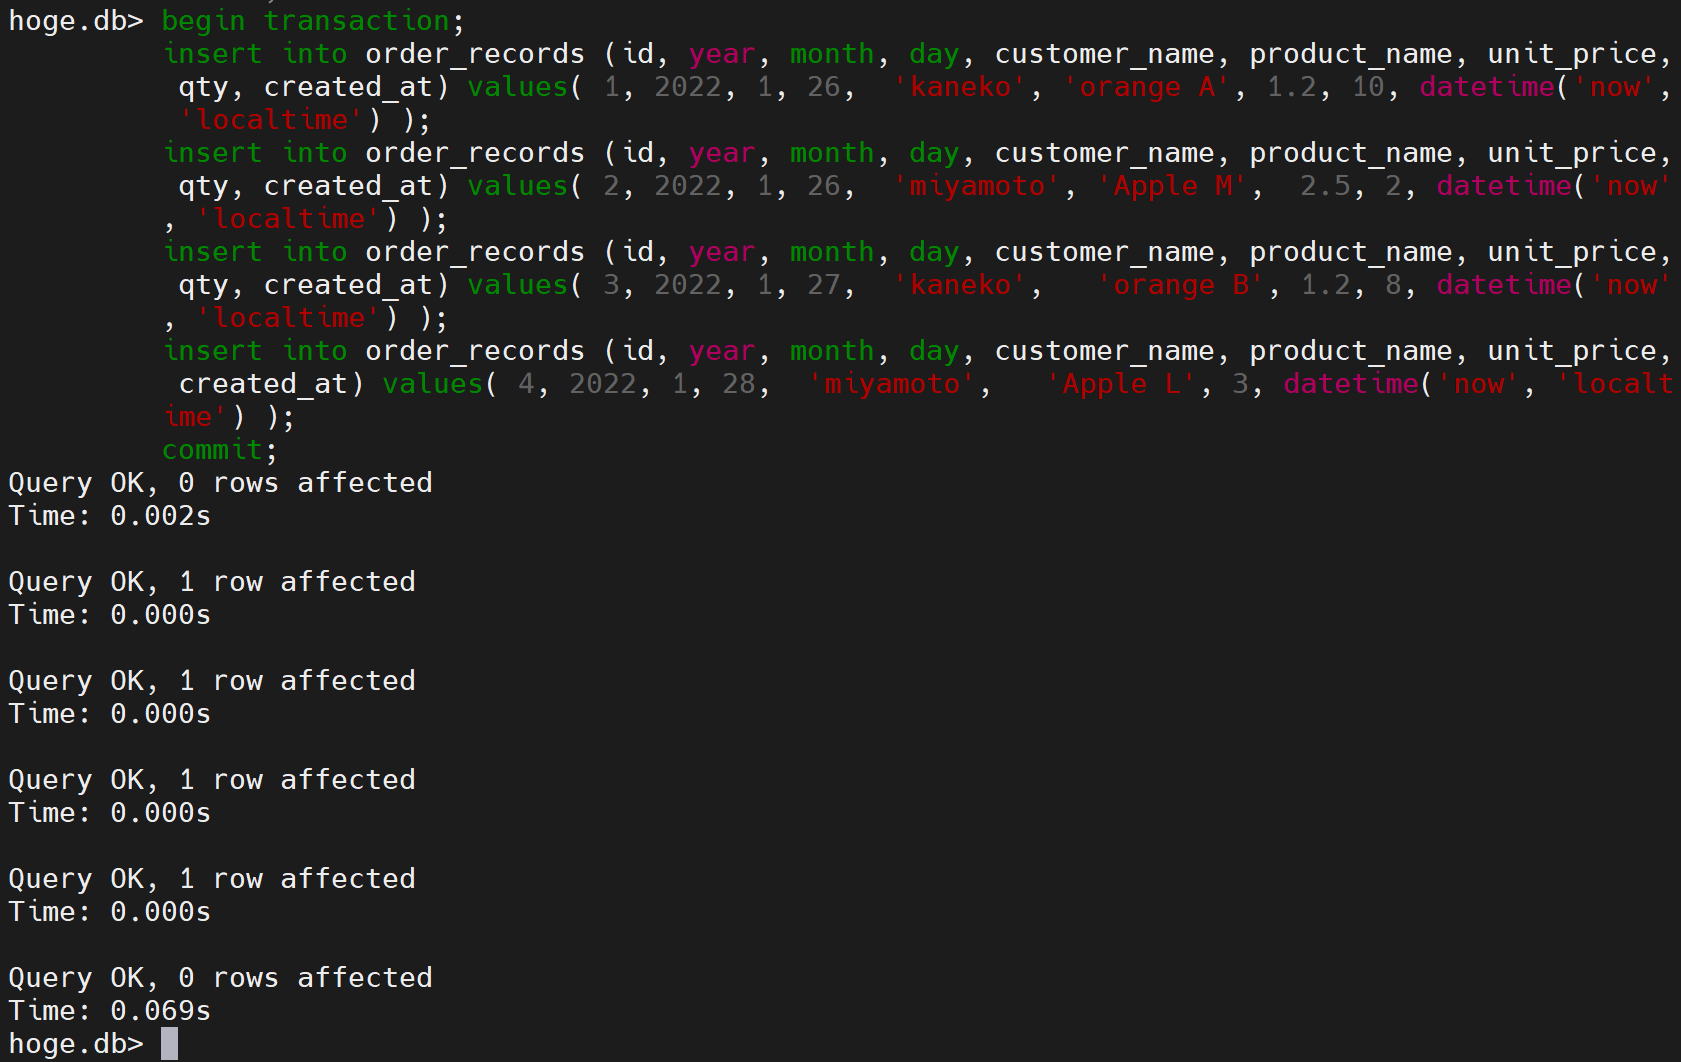
- SQL 問い合わせ
select * from order_records;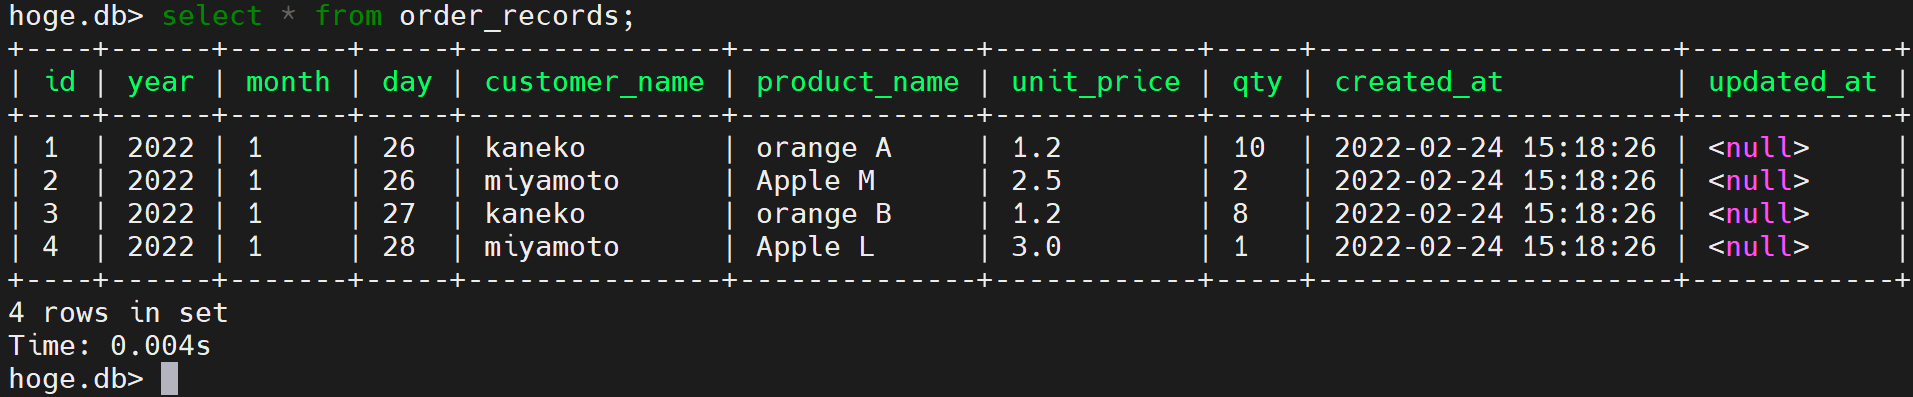
- 「exit」を実行して,litecli を終了.
exit
LiteCLI の主なコマンド
pragma については https://www.sqlite.org/pragma.html
- テーブル一覧表示: .tables
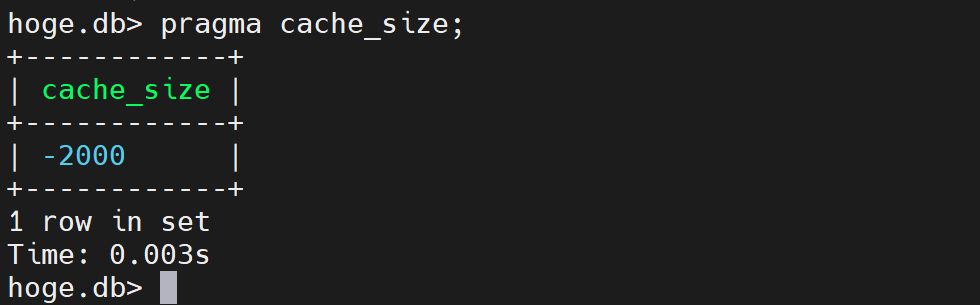
- キャッシュサイズの確認: pragma cache_size;
キャッシュサイズは,オープン中のデータベースについて,データベースファイルの内容を最大どれだけメモリに保持するかを示す.値が負のときは絶対値が KiB(1024 バイト)単位,正のときはページ数である.既定値は -2000(約 2 MiB)である.
- キャッシュサイズの変更: pragma cache_size=<値>;
「-500」のように負の値を指定すると 500 KiB,「512000」のように正の値を指定すると 512000 ページとなる.この設定は現在の接続にのみ有効である.

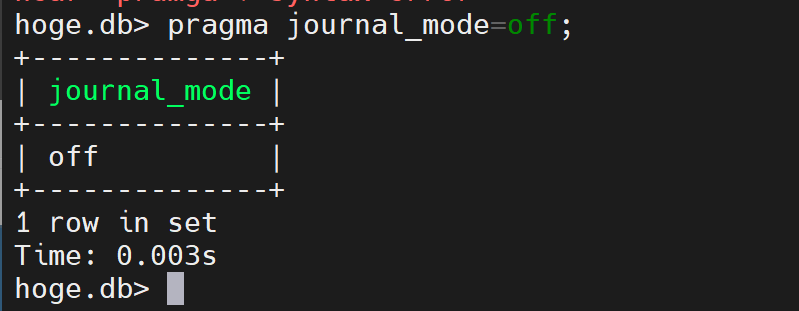
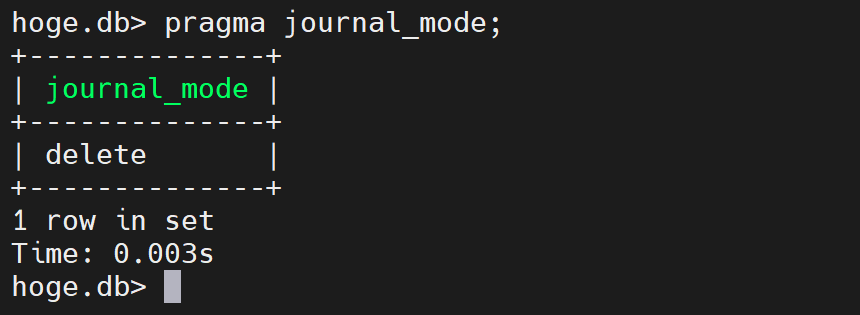
- ジャーナルモードの確認: pragma journal_mode;
ジャーナルは,トランザクションのロールバックとクラッシュ後の復旧のために用いる記録である.
- ジャーナルモードの変更: pragma journal_mode=<モード>;
delete, truncate, persist, memory, wal, off に設定できる.このうち wal(Write-Ahead Logging)は,読み込みと書き込みの並行実行が可能であり,設定はデータベースファイルに永続化される.off はジャーナルを作成しないため,トランザクションのロールバックができない.