Stable Diffusion XL 1.0 (SDXL 1.0) のインストール,画像生成(img2txt),画像変換(img2img),APIを利用して複数画像を一括生成(AUTOMATIC1111,Python,PyTorch を使用)(Windows 上)
画像生成 (txt2img),画像変換 (img2img)
複数の画像を一度に画像生成


【目次】
- 前準備
- AUTOMATIC1111 の stable-diffusion-webui のインストールと動作生成(Windows 上)
- Stable Diffusion XL 1.0 のインストール,画像生成 (txt2img),画像変換 (img2img)
- AUTOMATIC1111 の API を利用して,複数の画像を1回の操作で生成する Python プログラム
Stable Diffusion XL (SDXL)
Stable Diffusion XL (SDXL) は,Stability AIによって開発されたDiffusionベースの image-to-text の画像生成モデルである. SDXLはStable Diffusion with Larger UNet Backboneの略称である.
SDXLは,以前のStable Diffusionモデルと比較して,UNetバックボーンのサイズが3倍に増加している.この増加は,アテンションブロック数の増加とクロスアテンションコンテキストの拡大によるものである.また,SDXLはリファインメントモデルを導入している.このリファインメントモデルは,SDXLによって生成された画像の視覚的な精度を向上させるために使用される.
【文献】
D ustin Podell, Zion English, Kyle Lacey, Andreas Blattmann, Tim Dockhorn, Jonas Müller, Joe Penna, Robin Rombach: SDXL: Improving Latent Diffusion Models for High-Resolution Image Synthesis. CoRR abs/2307.01952, 2023.
https://arxiv.org/pdf/2307.01952v1.pdf
【サイト内の関連ページ】
- Fooocus のインストール,Stable Diffusion XL (SDXL) の実行,画像生成(img2txt),画像変換(img2img),APIを利用して複数画像を一括生成(Fooocus,Stable Diffusion XL,PyTorch,Python を使用)(Windows 上)
- Stable Diffusion XL を用いて複数の画像を一度に生成するアプリケーション(AUTOMATIC1111 の txt2img の API,Python,PyTorch を使用)(Windows 上): 別ページ »で説明,
【関連する外部ページ】
- Paper with Code のページ: https://paperswithcode.com/paper/sdxl-improving-latent-diffusion-models-for
- 公式のソースコード (GitHub のページ): https://github.com/Stability-AI/generative-models
- AUTOMATIC1111 の stable-diffusion-webui の GitHUb のページ: https://github.com/AUTOMATIC1111/stable-diffusion-webui
前準備
Build Tools for Visual Studio 2026(ビルドツール)のインストール
Build Tools for Visual Studio 2026(ビルドツール)のインストールを行い、C/C++ コードのビルド環境を整える。
Build Tools for Visual Studio は,Visual Studio の IDE を含まない C/C++ コンパイラ,ライブラリ,ビルドツール等のコマンドライン向け開発ツールセットである。インストール済みの場合,この手順は不要である。 以下のコマンドは、Build Tools が未インストールの場合は winget で新規インストールし、インストール済みの場合は 【インストールコマンドの実行方法】 管理者権限でコマンドプロンプトを起動する(手順:Windows キーまたはスタートメニュー → 上記のコマンドでは、Build Tools 本体と Visual C++ 再頒布可能パッケージをインストールし、続いて以下のコンポーネントを追加している。 上記以外の追加のコンポーネントが必要になった場合は Visual Studio Installer で個別にインストールできる。 インストール完了の確認 Visual Studio を必要とするとき Visual Studio の機能を必要とする場合は,追加インストールできる。[Build Tools for Visual Studio 2026(ビルドツール)のインストール手順を見るには、ここをクリック]
Windows での Build Tools for Visual Studio 2026 のインストール
setup.exe modify でコンポーネントを追加する(バージョンは変更しない)。cmd と入力 → 右クリック → 「管理者として実行」)。そして、コマンド全体をコマンドプロンプトにコピー&ペーストする。REM VC++ ランタイム
winget install --scope machine --id Microsoft.VCRedist.2015+.x64 -e --silent --disable-interactivity --force --accept-source-agreements --accept-package-agreements --override "/quiet /norestart"
REM ============================================================
REM Visual Studio Build Tools + Desktop development with C++
REM (VCTools、MSBuildTools、CMake連携、Clang、Windows 11 SDK)
REM ============================================================
REM 進行中のインストーラーを停止(ロック競合回避)
taskkill /F /IM vs_setup.exe /T >nul 2>&1
taskkill /F /IM vs_installer.exe /T >nul 2>&1
taskkill /F /IM vs_installerservice.exe /T >nul 2>&1
REM 未インストール時: winget で新規インストール
REM インストール済み時: setup.exe modify でコンポーネント追加(バージョンは変更しない)
winget list --id Microsoft.VisualStudio.BuildTools 2>nul | findstr /i "BuildTools" >nul 2>&1
if %ERRORLEVEL% EQU 0 (
for /f "usebackq delims=" %P in (`"C:\Program Files (x86)\Microsoft Visual Studio\Installer\vswhere.exe" -products Microsoft.VisualStudio.Product.BuildTools -property installationPath`) do start /wait "" "C:\Program Files (x86)\Microsoft Visual Studio\Installer\setup.exe" modify --installPath "%P" --add Microsoft.VisualStudio.Workload.VCTools --add Microsoft.VisualStudio.Workload.MSBuildTools --add Microsoft.VisualStudio.Component.VC.CMake.Project --add Microsoft.VisualStudio.Component.VC.Llvm.Clang --add Microsoft.VisualStudio.Component.VC.Llvm.ClangToolset --add Microsoft.VisualStudio.Component.Windows11SDK.26100 --includeRecommended --quiet --norestart --nocache
) else (
winget install --scope machine --id Microsoft.VisualStudio.BuildTools -e --silent --disable-interactivity --force --accept-source-agreements --accept-package-agreements --override "--quiet --wait --norestart --nocache --add Microsoft.VisualStudio.Workload.VCTools --includeRecommended --add Microsoft.VisualStudio.Workload.MSBuildTools --add Microsoft.VisualStudio.Component.VC.CMake.Project --add Microsoft.VisualStudio.Component.VC.Llvm.Clang --add Microsoft.VisualStudio.Component.VC.Llvm.ClangToolset --add Microsoft.VisualStudio.Component.Windows11SDK.26100"
)
REM 破損時の修復(任意、動作がおかしくなった場合)
REM "C:\Program Files (x86)\Microsoft Visual Studio\Installer\setup.exe" repair --installPath "C:\Program Files (x86)\Microsoft Visual Studio\18\BuildTools" --quiet --norestart
REM 導入確認(インストールパスが表示されれば正常)
"C:\Program Files (x86)\Microsoft Visual Studio\Installer\vswhere.exe" -products * -requires Microsoft.VisualStudio.Workload.VCTools -property installationPath
--includeRecommended により、MSVC コンパイラ、C++ AddressSanitizer、vcpkg、CMake ツール、Windows 11 SDK 等の推奨コンポーネントが含まれる)winget list Microsoft.VisualStudio.BuildTools
Python 3.12 のインストール
Pythonのインストールを行い、Pythonのプログラムを実行する環境を整える。扱う環境は、Windows搭載パソコンである。金子研究室では、Python 3.12.10を推奨する。
[Windows での Python 3.12 のインストール手順を見るには、ここをクリック]
Windows での Python 3.12 のインストール
以下のいずれかの方法でPython 3.12をインストールする。Pythonがインストール済みの場合、この手順は不要である。
方法 1:winget によるインストール
【インストールコマンドの実行方法】
管理者権限でコマンドプロンプトを起動する(手順:Windowsキーまたはスタートメニュー → cmd と入力 → 右クリック → 「管理者として実行」)。そして、コマンド全体をコマンドプロンプトにコピー&ペーストする。
--scope machine を指定することで、システム全体(全ユーザー向け)にインストールされる。このオプションの実行には管理者権限が必要である。インストール完了後、コマンドプロンプトを再起動するとPATHが反映される。
REM Python 3.12 をシステム領域にインストール
winget install --id Python.Python.3.12 -e --scope machine --silent --accept-source-agreements --accept-package-agreements --override "/quiet InstallAllUsers=1 PrependPath=1 Include_test=0 Include_pip=1 Include_launcher=1 InstallLauncherAllUsers=1 TargetDir=\"C:\Program Files\Python312\""

REM Python と Scripts を PATH 先頭に追加
powershell -NoProfile -Command "$p='C:\Program Files\Python312'; $s=\"$p\Scripts\"; $c=[Environment]::GetEnvironmentVariable('Path','Machine'); if((Test-Path $p) -and (';'+$c+';' -notlike \"*;$p;*\") -and (';'+$c+';' -notlike \"*;$s;*\")){[Environment]::SetEnvironmentVariable('Path',\"$p;$s;$c\",'Machine')}"
方法 2:インストーラーによるインストール
- Python公式サイト(https://www.python.org/downloads/)にアクセスし、「Download Python 3.x.x」ボタンからWindows用インストーラーをダウンロードする。
- ダウンロードしたインストーラーを実行する。
- 初期画面の下部に表示される「Add python.exe to PATH」にチェックを入れてから「Customize installation」を選択する。このチェックを入れ忘れると、コマンドプロンプトから
pythonコマンドを実行できない。 - 「Install Python 3.xx for all users」にチェックを入れ、「Install」をクリックする。
インストールの確認
コマンドプロンプトで以下を実行する。
python --versionバージョン番号(例:Python 3.12.x)が表示されればインストール成功である。「'python' は、内部コマンドまたは外部コマンドとして認識されていません。」と表示される場合は、インストールが正常に完了していない。
Git のインストール
管理者権限のコマンドプロンプトで以下を実行する。管理者権限のコマンドプロンプトを起動するには、Windows キーまたはスタートメニューから「cmd」と入力し、表示された「コマンドプロンプト」を右クリックして「管理者として実行」を選択する。
REM Git をシステム領域にインストール
winget install --scope machine --id Git.Git -e --silent --disable-interactivity --force --accept-source-agreements --accept-package-agreements --override "/VERYSILENT /NORESTART /NOCANCEL /SP- /CLOSEAPPLICATIONS /RESTARTAPPLICATIONS /COMPONENTS=""icons,ext\reg\shellhere,assoc,assoc_sh"" /o:PathOption=Cmd /o:CRLFOption=CRLFCommitAsIs /o:BashTerminalOption=MinTTY /o:DefaultBranchOption=main /o:EditorOption=VIM /o:SSHOption=OpenSSH /o:UseCredentialManager=Enabled /o:PerformanceTweaksFSCache=Enabled /o:EnableSymlinks=Disabled /o:EnableFSMonitor=Disabled"
【関連する外部ページ】
- Git の公式ページ: https://git-scm.com/
Build Tools for Visual Studio 2022,NVIDIA ドライバ,NVIDIA CUDA ツールキット 11.8,NVIDIA cuDNN 8.9.7 のインストール(Windows 上)
【サイト内の関連ページ】 NVIDIA グラフィックスボードを搭載しているパソコンの場合には, NVIDIA ドライバ, NVIDIA CUDA ツールキット, NVIDIA cuDNN のインストールを行う.
- Windows での Build Tools for Visual Studio 2022 のインストール: 別ページ »で説明
- Windows での NVIDIA ドライバ,NVIDIA CUDA ツールキット 11.8,NVIDIA cuDNN v8.9.7 のインストール手順: 別ページ »で説明
【関連する外部ページ】
- Build Tools for Visual Studio 2022 (ビルドツール for Visual Studio 2022)の公式ダウンロードページ: https://visualstudio.microsoft.com/ja/visual-cpp-build-tools/
- NVIDIA ドライバのダウンロードの公式ページ: https://www.nvidia.co.jp/Download/index.aspx?lang=jp
- NVIDIA CUDA ツールキットのアーカイブの公式ページ: https://developer.nvidia.com/cuda-toolkit-archive
- NVIDIA cuDNN のダウンロードの公式ページ: https://developer.nvidia.com/cudnn
PyTorch のインストール(Windows 上)
- 以下の手順を管理者権限のコマンドプロンプトで実行する
(手順:Windowsキーまたはスタートメニュー →
cmdと入力 → 右クリック → 「管理者として実行」)。 - PyTorch のページを確認
- 次のようなコマンドを実行(実行するコマンドは,PyTorch のページの表示されるコマンドを使う).
次のコマンドを実行することにより, PyTorch 2.3 (NVIDIA CUDA 11.8 用)がインストールされる. 但し,Anaconda3を使いたい場合には別手順になる.
事前に NVIDIA CUDA のバージョンを確認しておくこと(ここでは,NVIDIA CUDA ツールキット 11.8 が前もってインストール済みであるとする).
PyTorch で,GPU が動作している場合には,「torch.cuda.is_available()」により,True が表示される.
python -m pip install -U --ignore-installed pip python -m pip uninstall -y torch torchvision torchaudio torchtext xformers python -m pip install -U torch torchvision torchaudio numpy --index-url https://download.pytorch.org/whl/cu118 python -c "import torch; print(torch.__version__, torch.cuda.is_available())"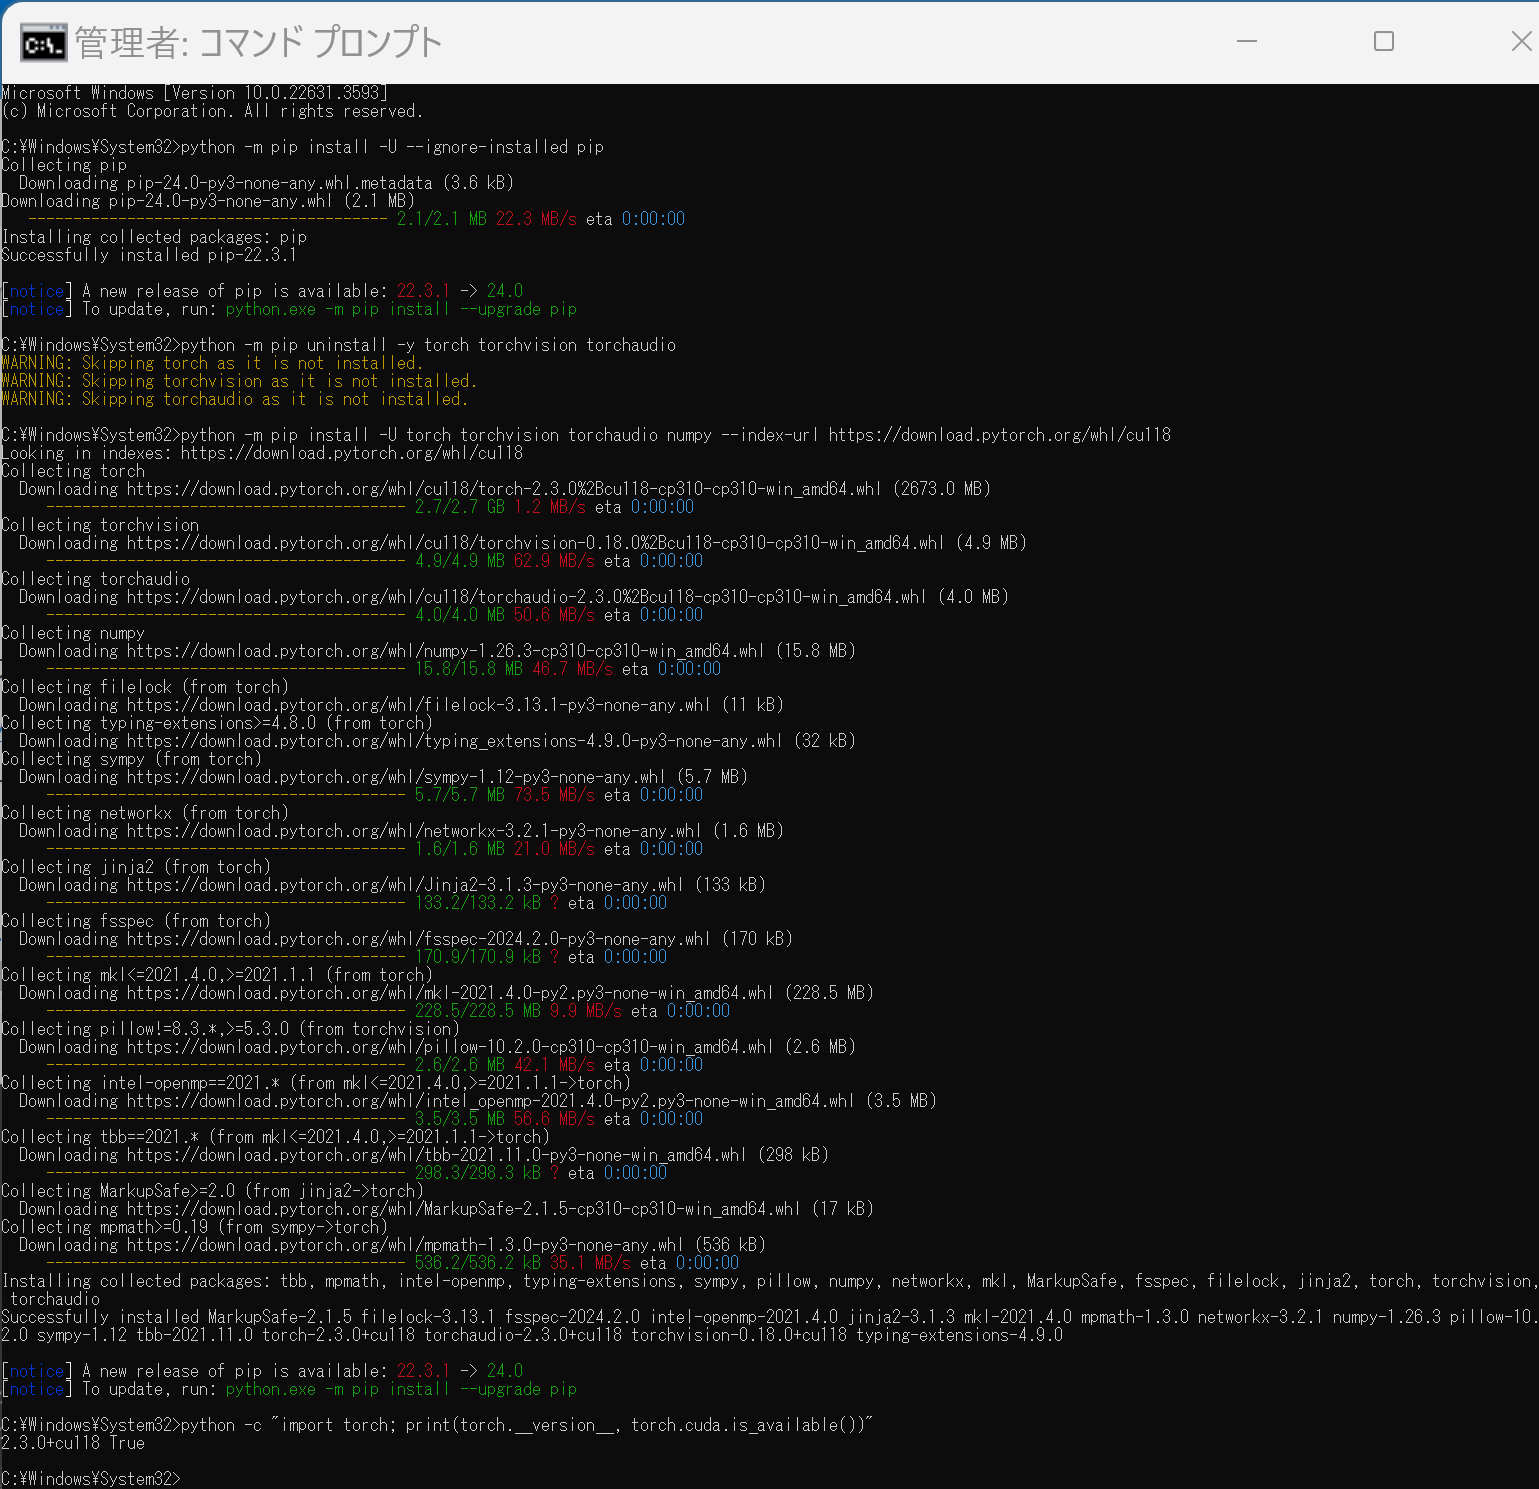 Anaconda3を使いたい場合には, Anaconda プロンプト (Anaconda Prompt) を管理者として実行し, 次のコマンドを実行する. (PyTorch と NVIDIA CUDA との連携がうまくいかない可能性があるため,Anaconda3を使わないことも検討して欲しい).
conda install -y pytorch torchvision torchaudio pytorch-cuda=11.8 cudnn -c pytorch -c nvidia py -c "import torch; print(torch.__version__, torch.cuda.is_available())"【サイト内の関連ページ】
【関連する外部ページ】
AUTOMATIC1111 の stable-diffusion-webui のインストールと動作確認(Windows 上)
AUTOMATIC1111 の stable-diffusion-webui の GitHUb のページ: https://github.com/AUTOMATIC1111/stable-diffusion-webui
- 以下の手順を管理者権限のコマンドプロンプトで実行する
(手順:Windowsキーまたはスタートメニュー →
cmdと入力 → 右クリック → 「管理者として実行」)。 - Stable Diffusion web UI(AUTOMATIC1111版) のダウンロード
cd /d c:%HOMEPATH%
rmdir /s /q stable-diffusion-webui
git clone https://github.com/AUTOMATIC1111/stable-diffusion-webui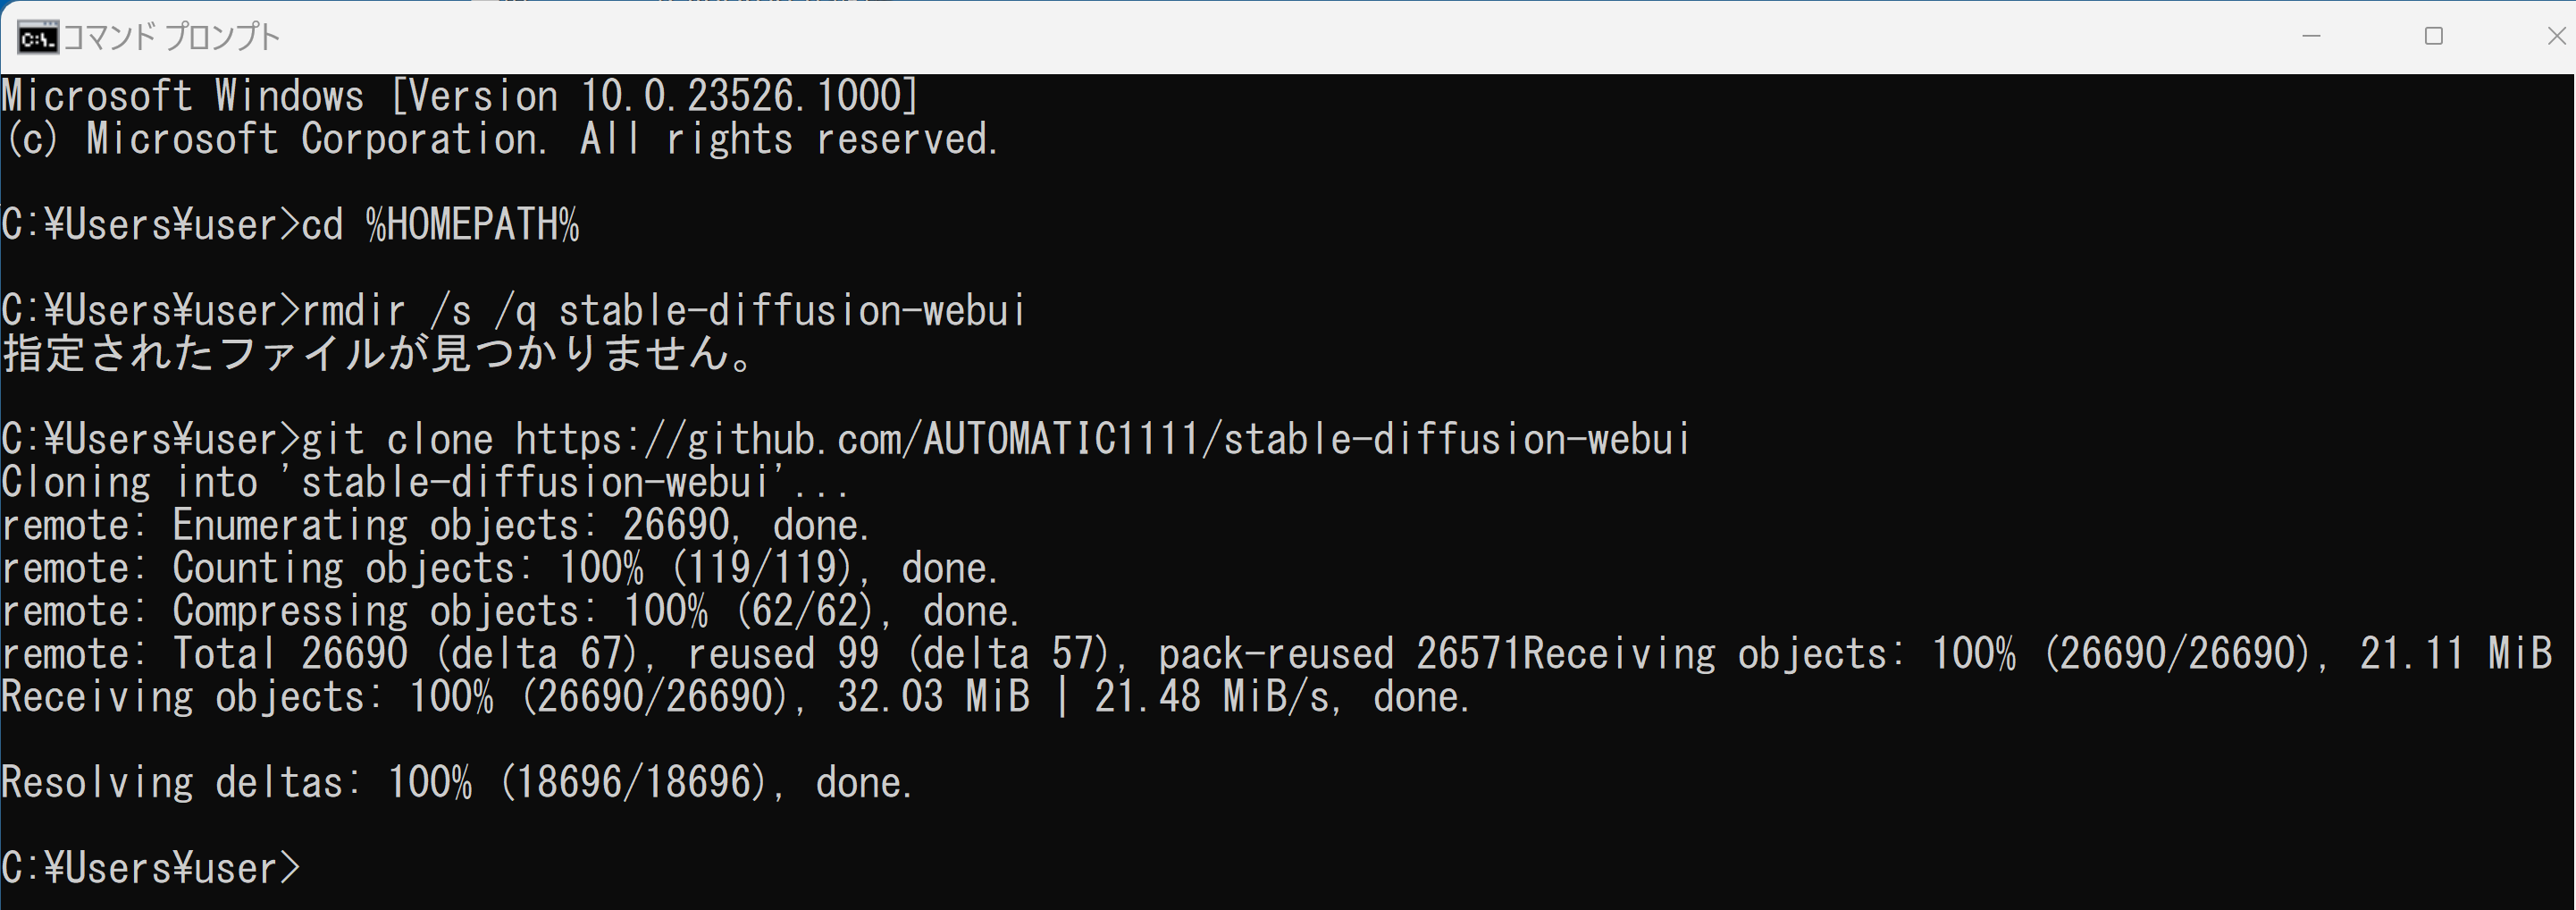
- 動作確認のため,コマンドプロンプトで,「webui.bat --update-all-extensions」 を実行
「--update-all-extensions」を付けて実行することで,拡張機能(extension) の更新を行っている.
このとき, WebUI のバージョンが表示されるので確認.
エラーメッセージが出ていないことを確認.
cd /d c:%HOMEPATH% cd stable-diffusion-webui webui.bat --update-all-extensions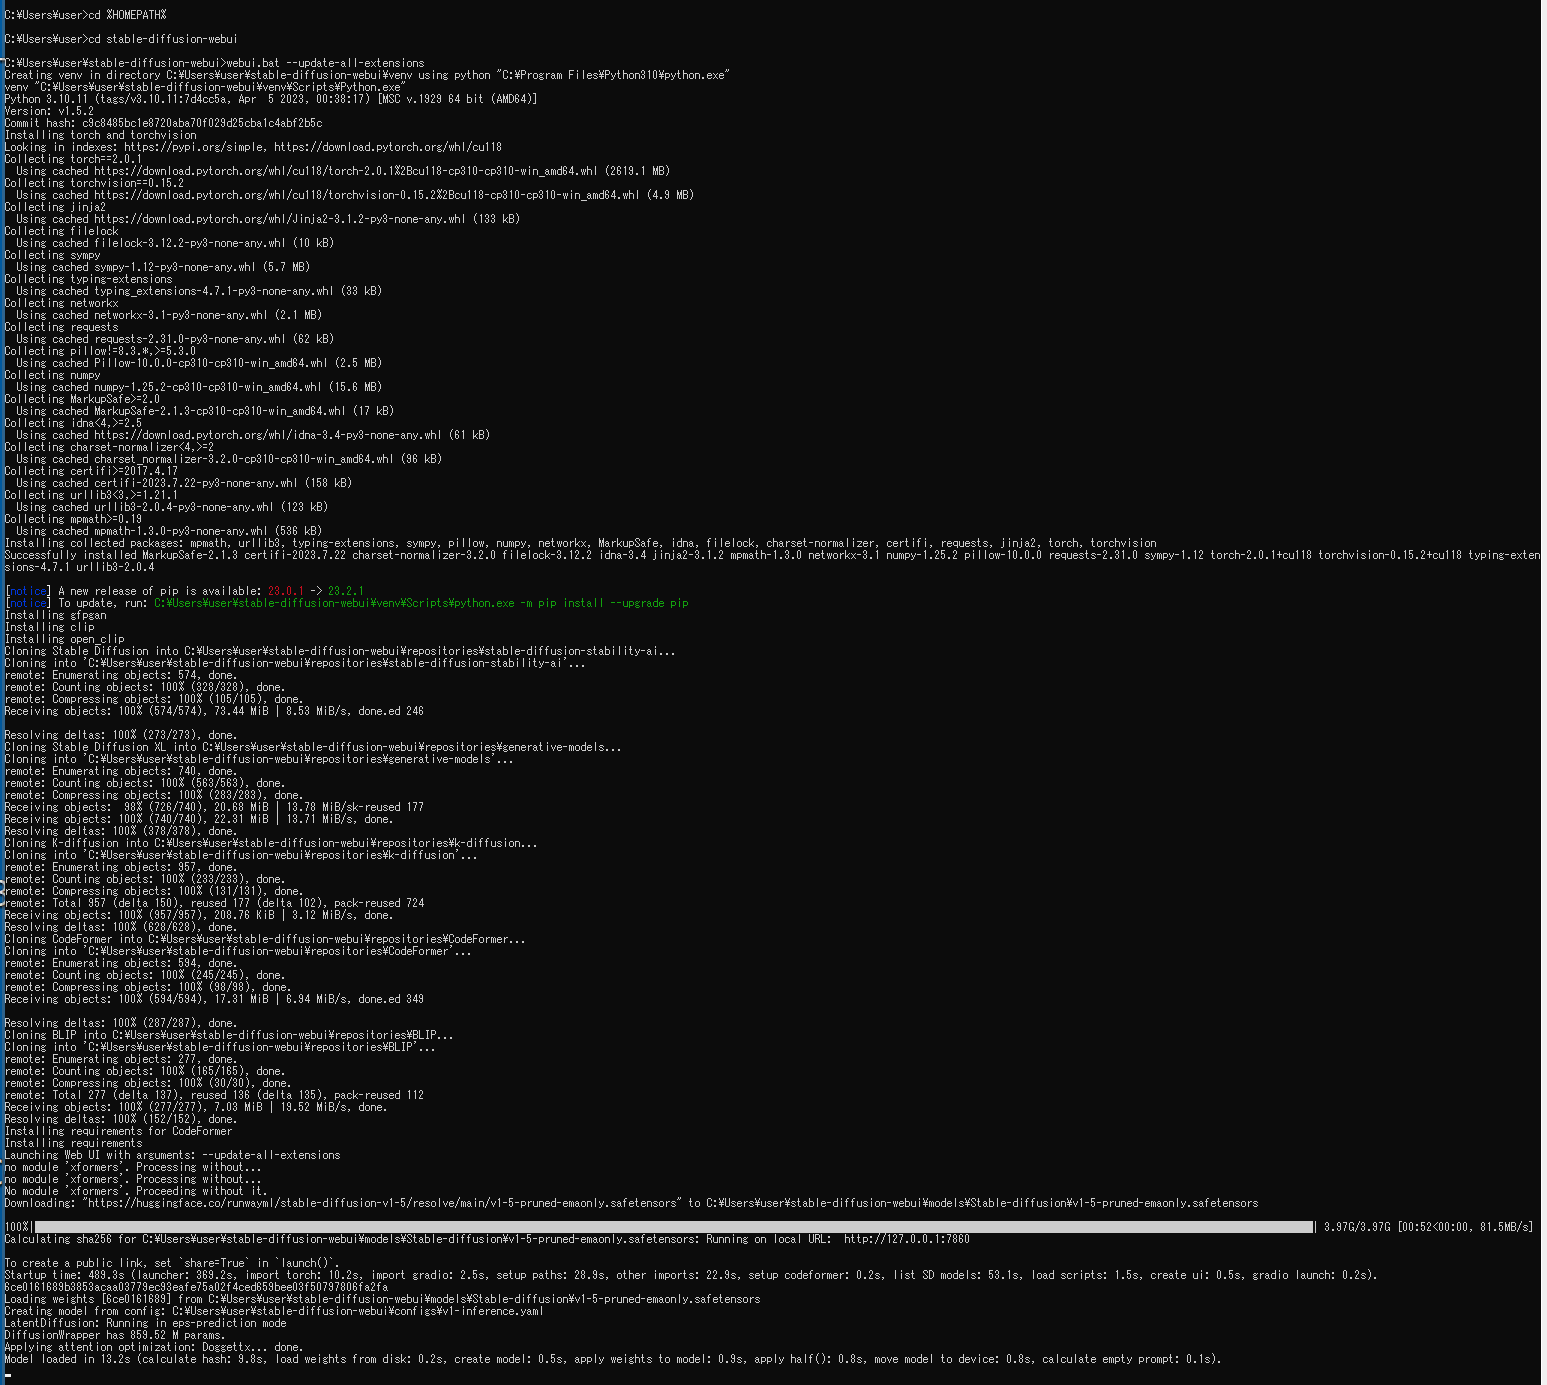 このとき,次のような「Couldn't launch python exit code: 9009 stderr: Python Launch unsuccessful. Exiting 」という表示が出た場合は, Python のインストールを行ってから,上の操作をやり直す.
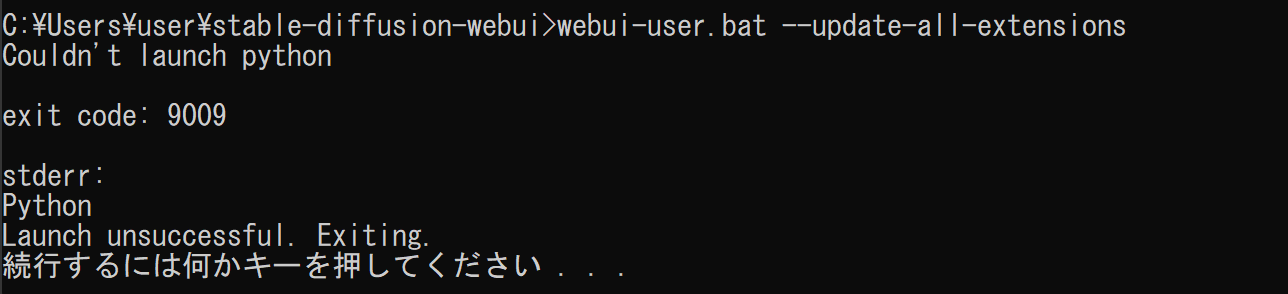
- このときの表示に従い,Web ブラウザで,http://127.0.0.1:7860 にアクセス
- 画面が開く.
右上のメニューでは,学習済みモデルを選ぶことができる. 2023年6月時点では,インストール直後に,V1-5-pruned-emaonly,safetensorsを選ぶことができる.
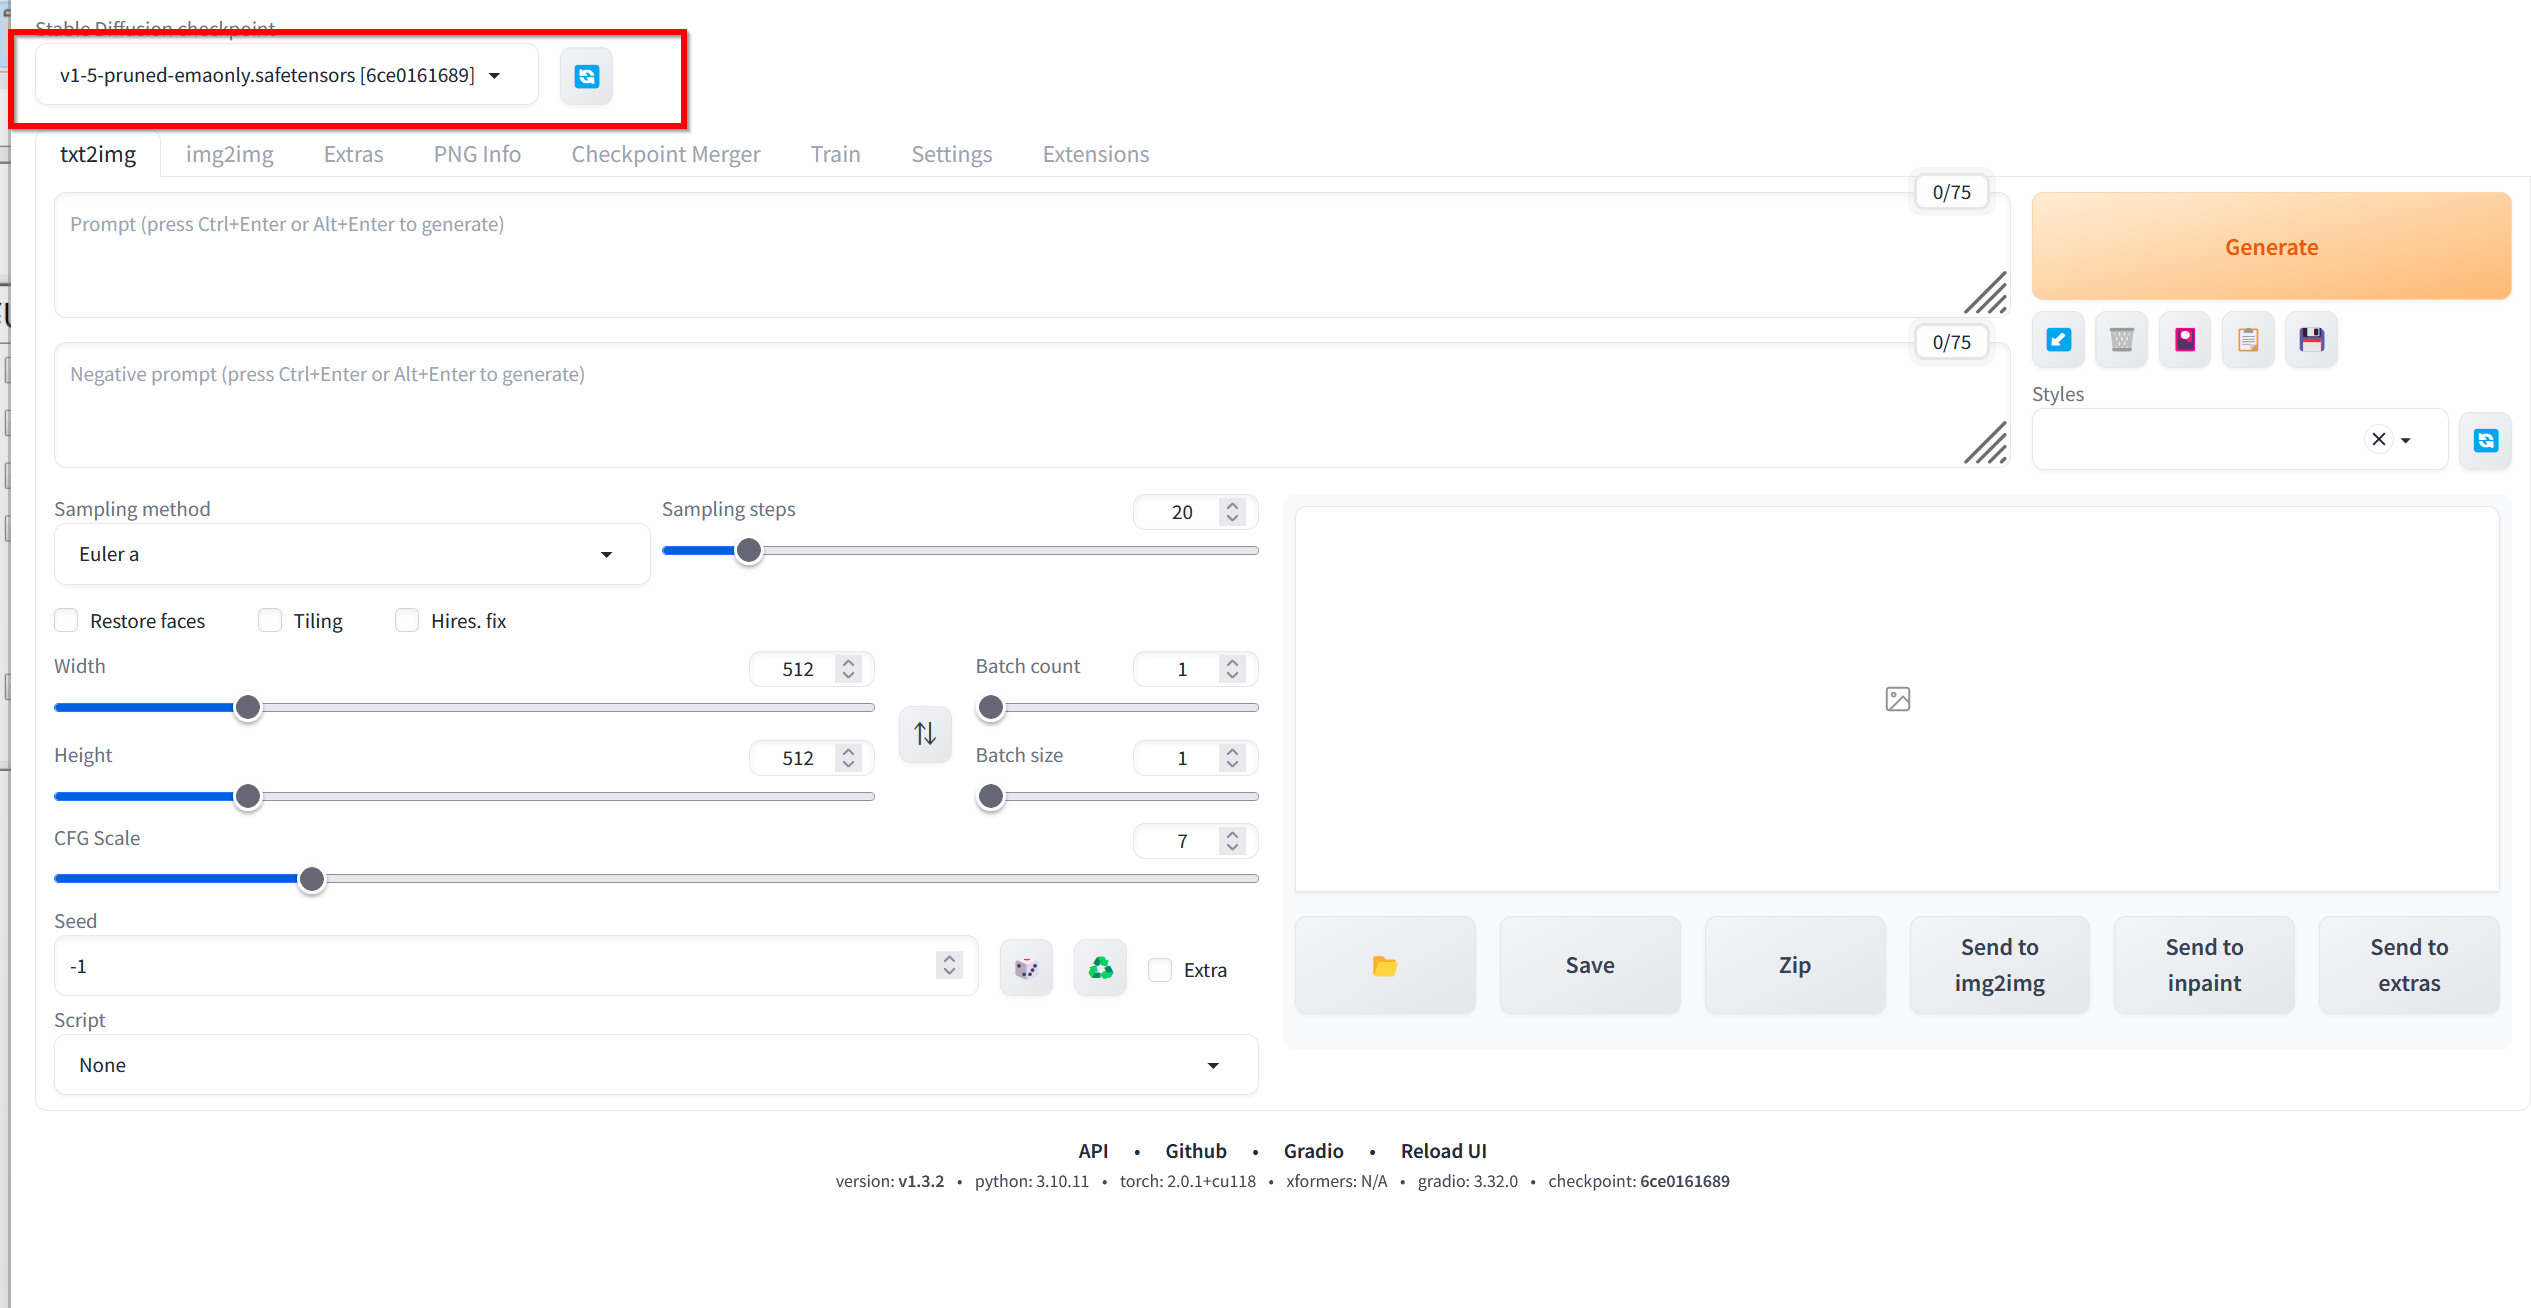
- 英語の文章を入れて,「Generate」をクリック.結果を確認.
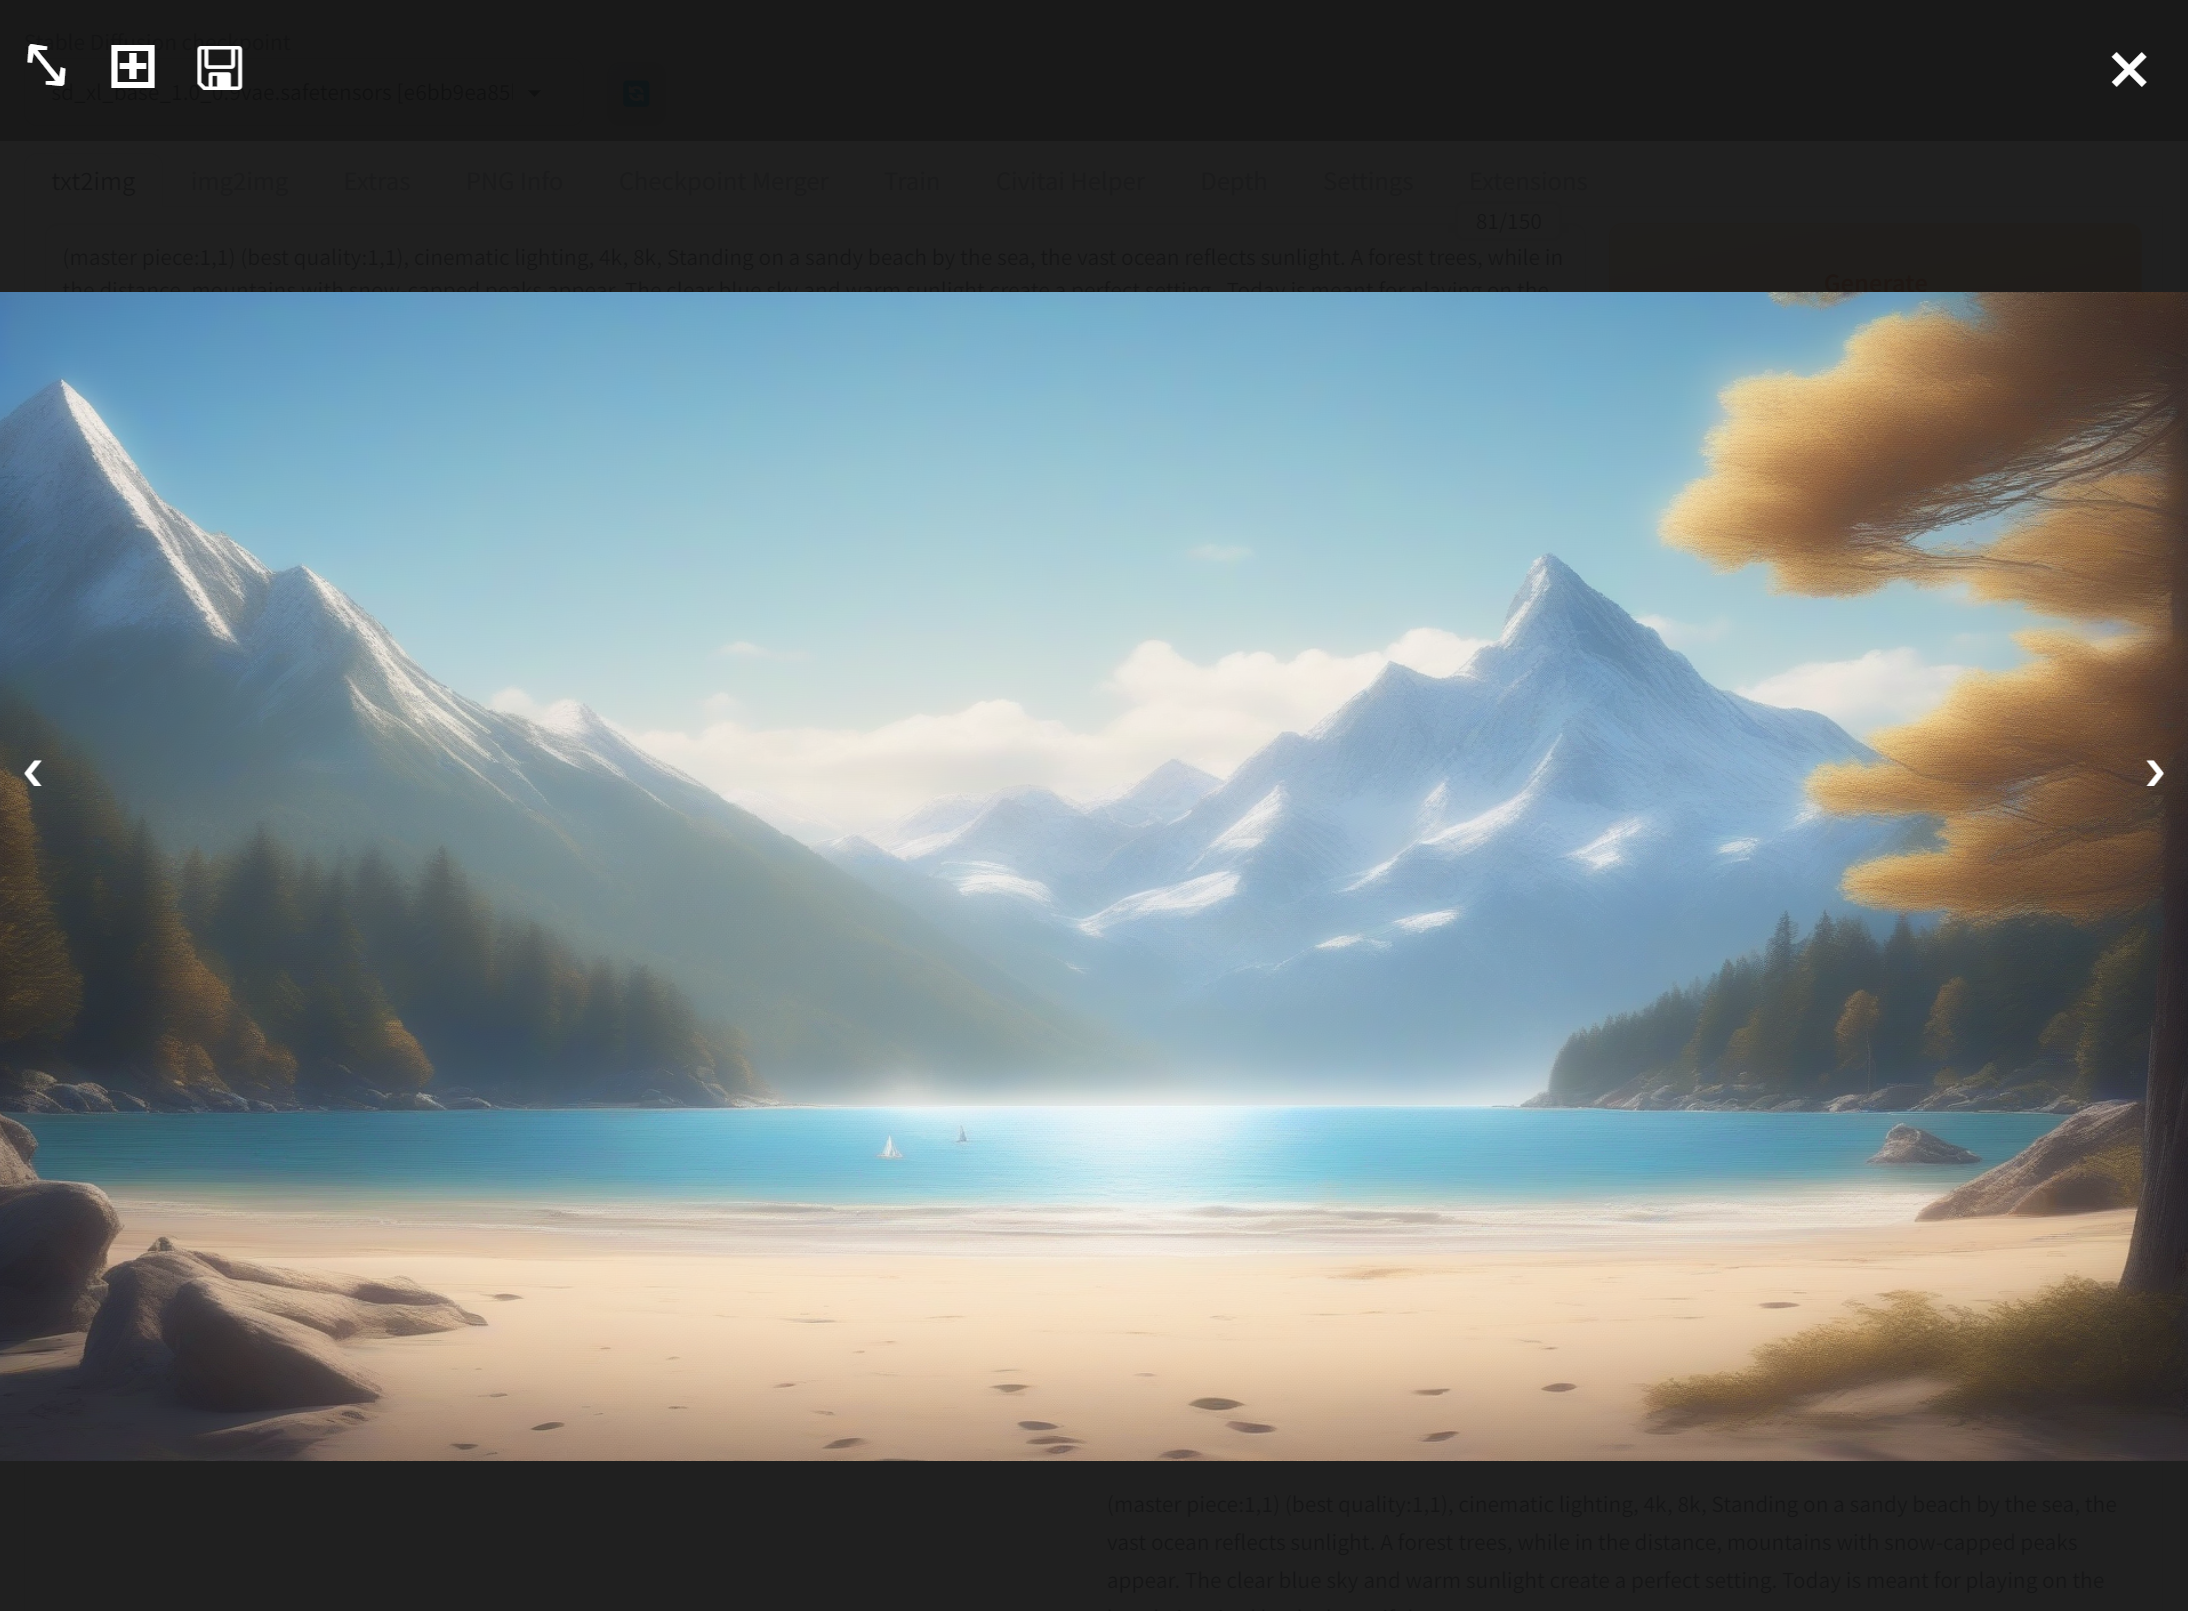
解像度は1920 x 1024 にしている.
プロンプトとして次を入れている.
(master piece:1,1) (best quality:1,1), cinematic lighting, 4k, 8k, Standing on a sandy beach by the sea, the vast ocean reflects sunlight. A forest trees, while in the distance, mountains with snow-capped peaks appear. The clear blue sky and warm sunlight create a perfect setting. Today is meant for playing on the beach, inspired by the beautiful scenery.
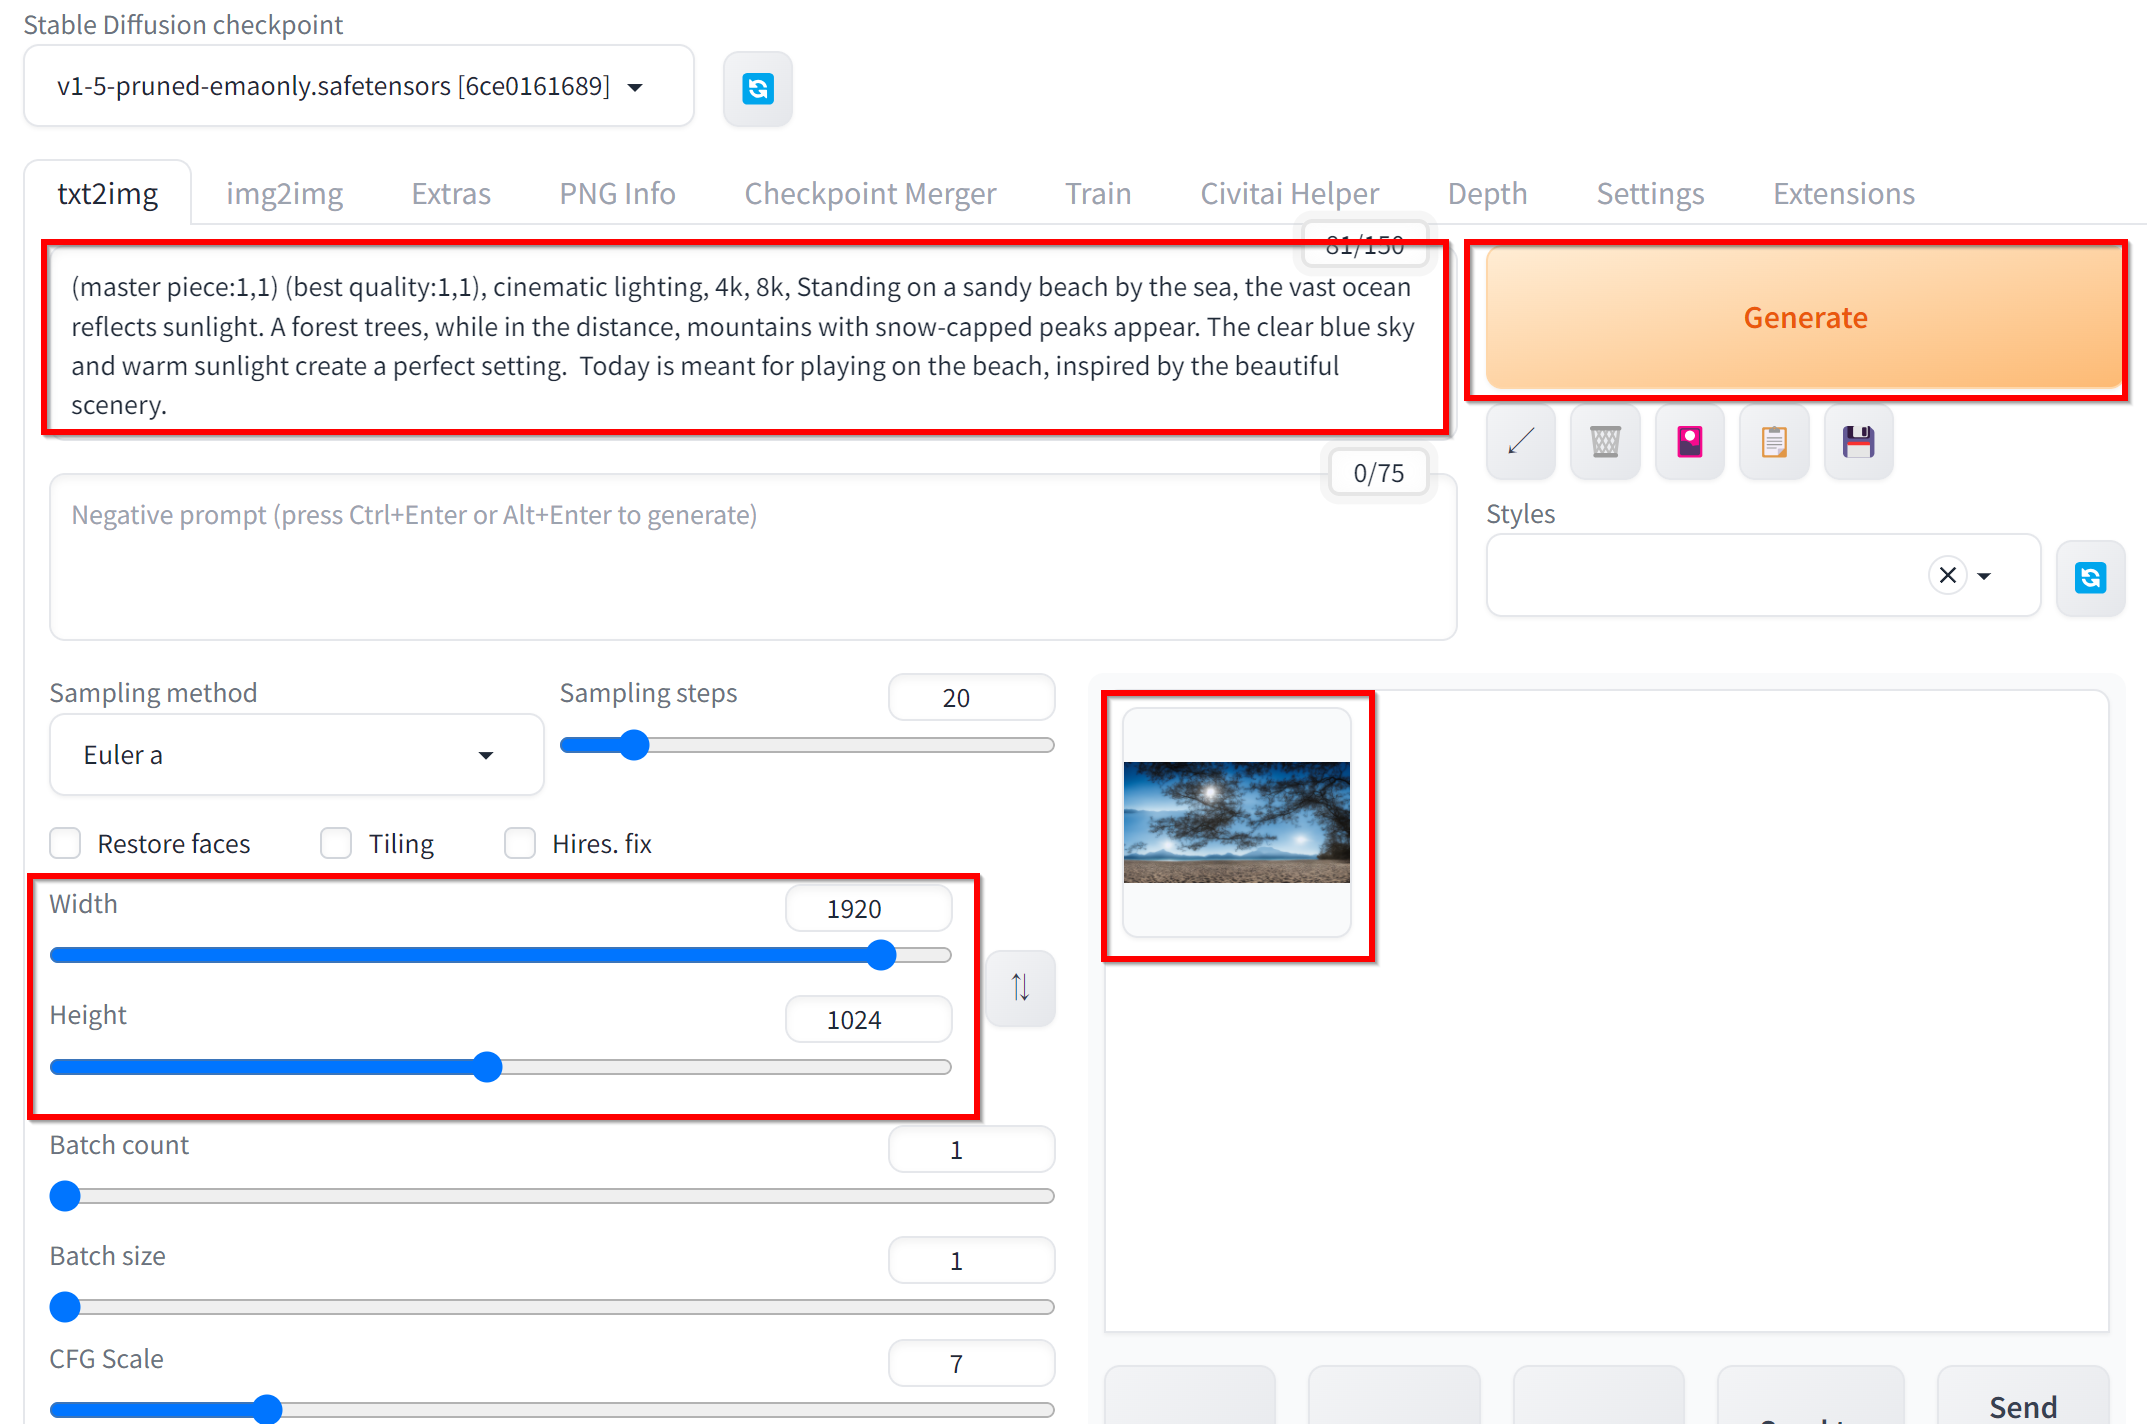
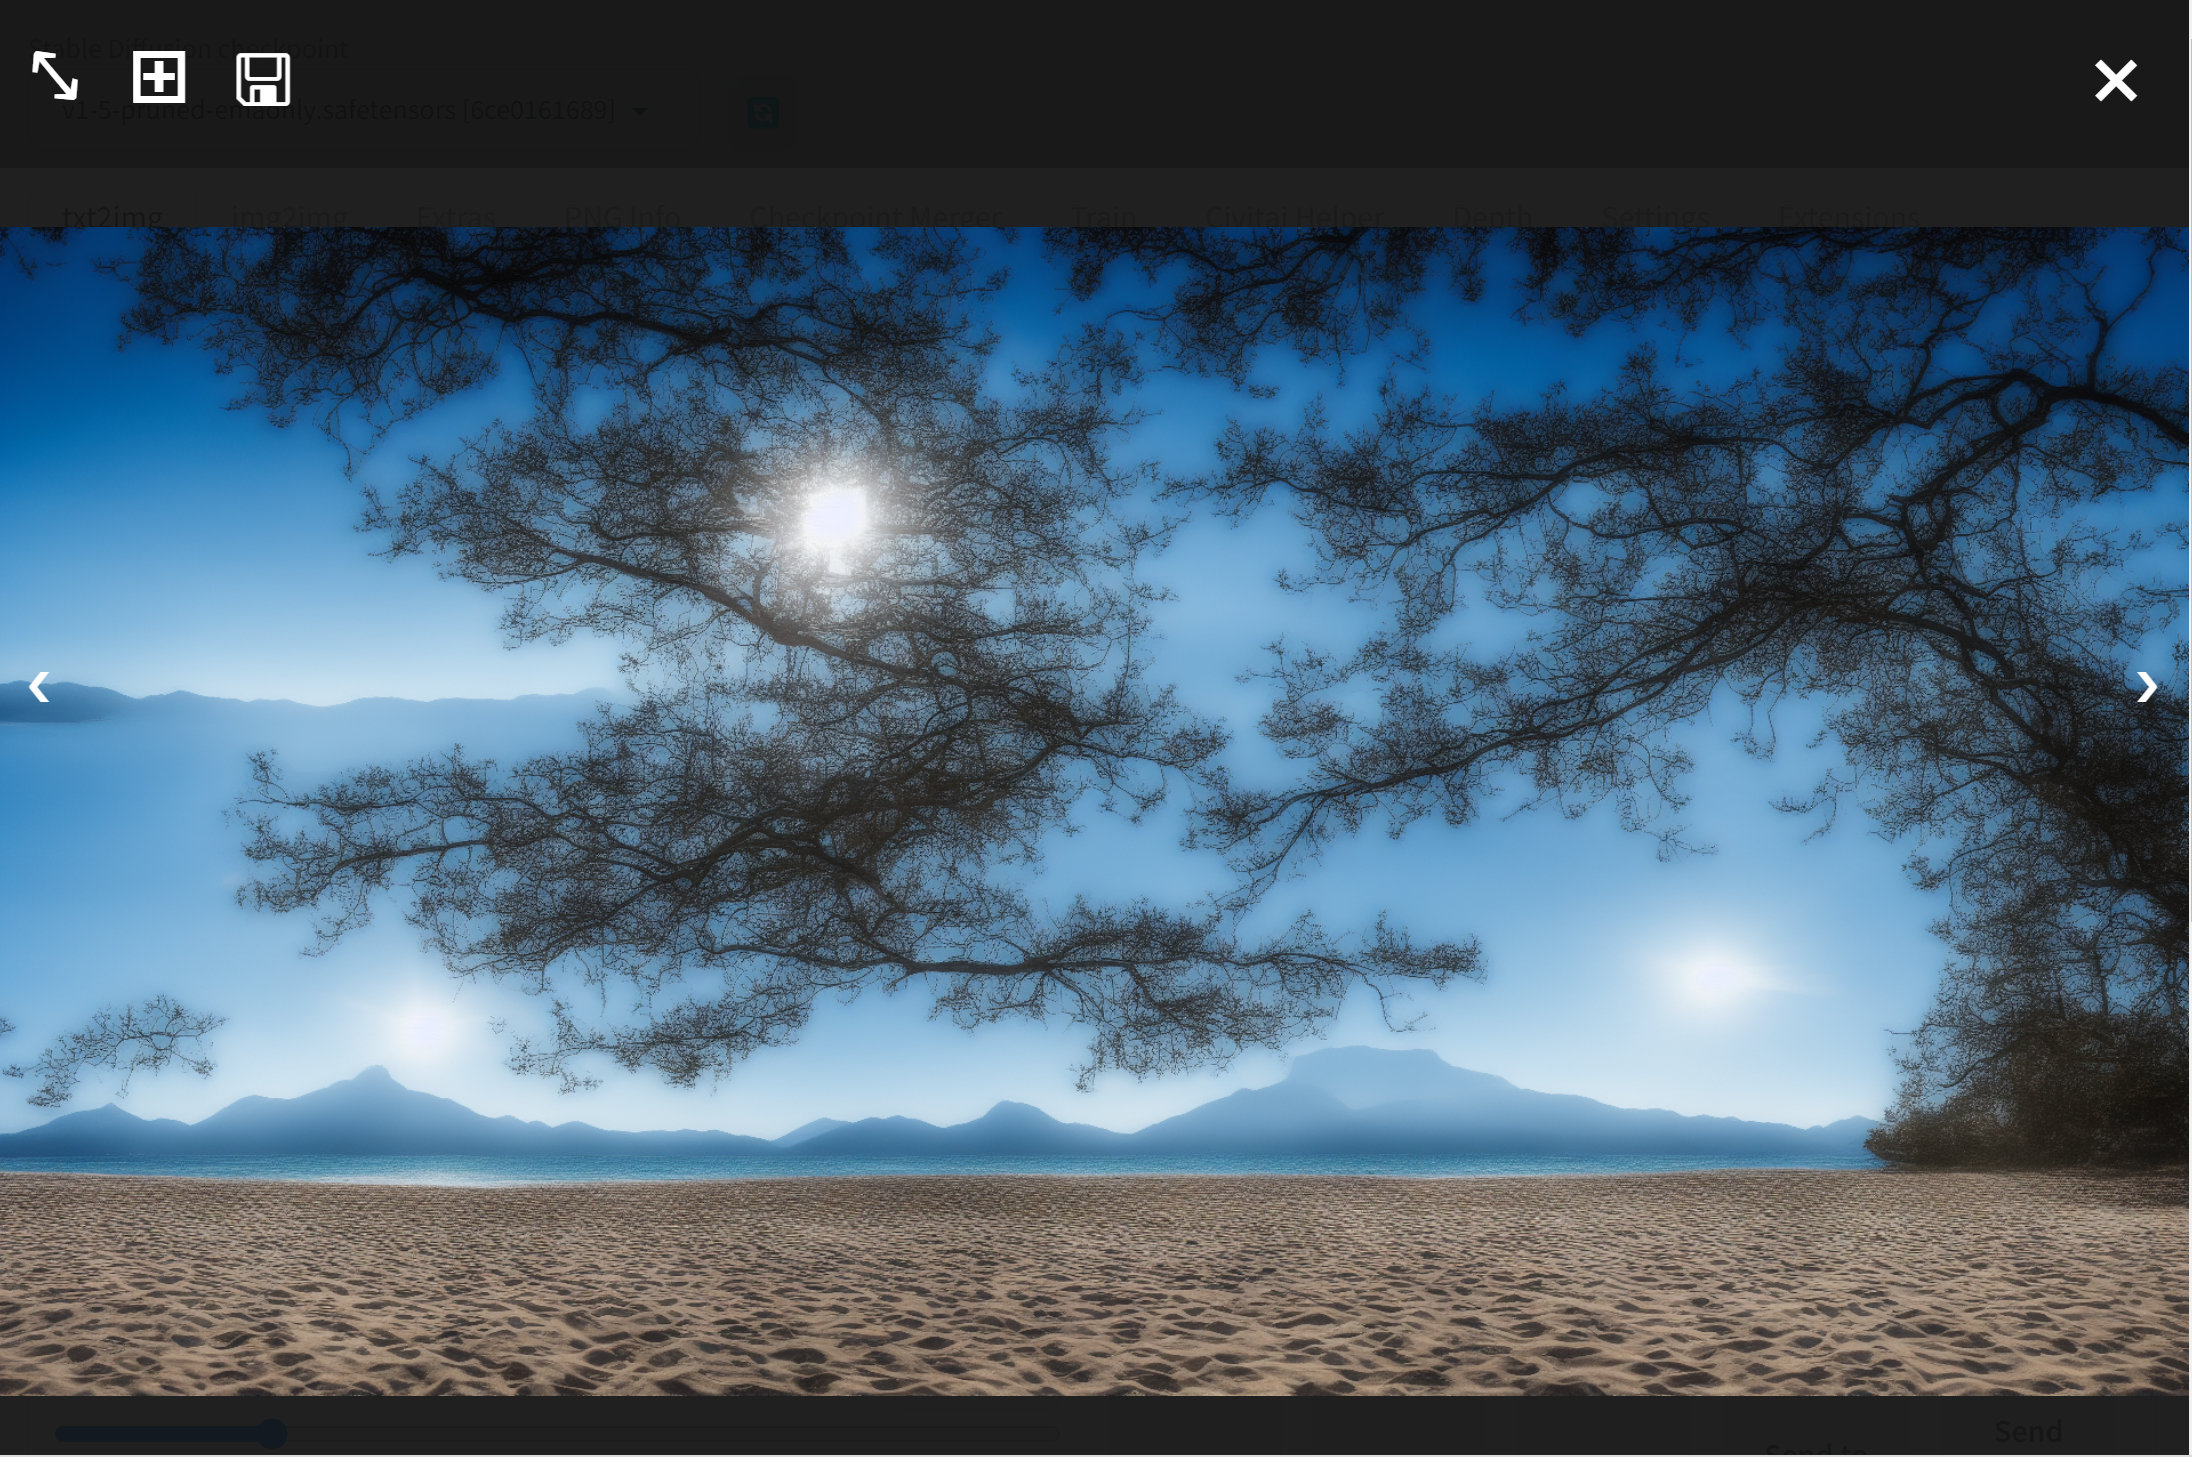
画像をクリックすると拡大表示できる.
Stable Diffusion XL 1.0 のインストール,画像生成 (txt2img),画像変換 (img2img)
xformers を Automatic 1111 のvenv下にインストール
- 次のコマンドを管理者権限のコマンドプロンプトで実行する
(手順:Windowsキーまたはスタートメニュー →
cmdと入力 → 右クリック → 「管理者として実行」)。
cd /d c:%HOMEPATH%
cd stable-diffusion-webui
cd venv
cd scripts
.\python -m pip install -U xformers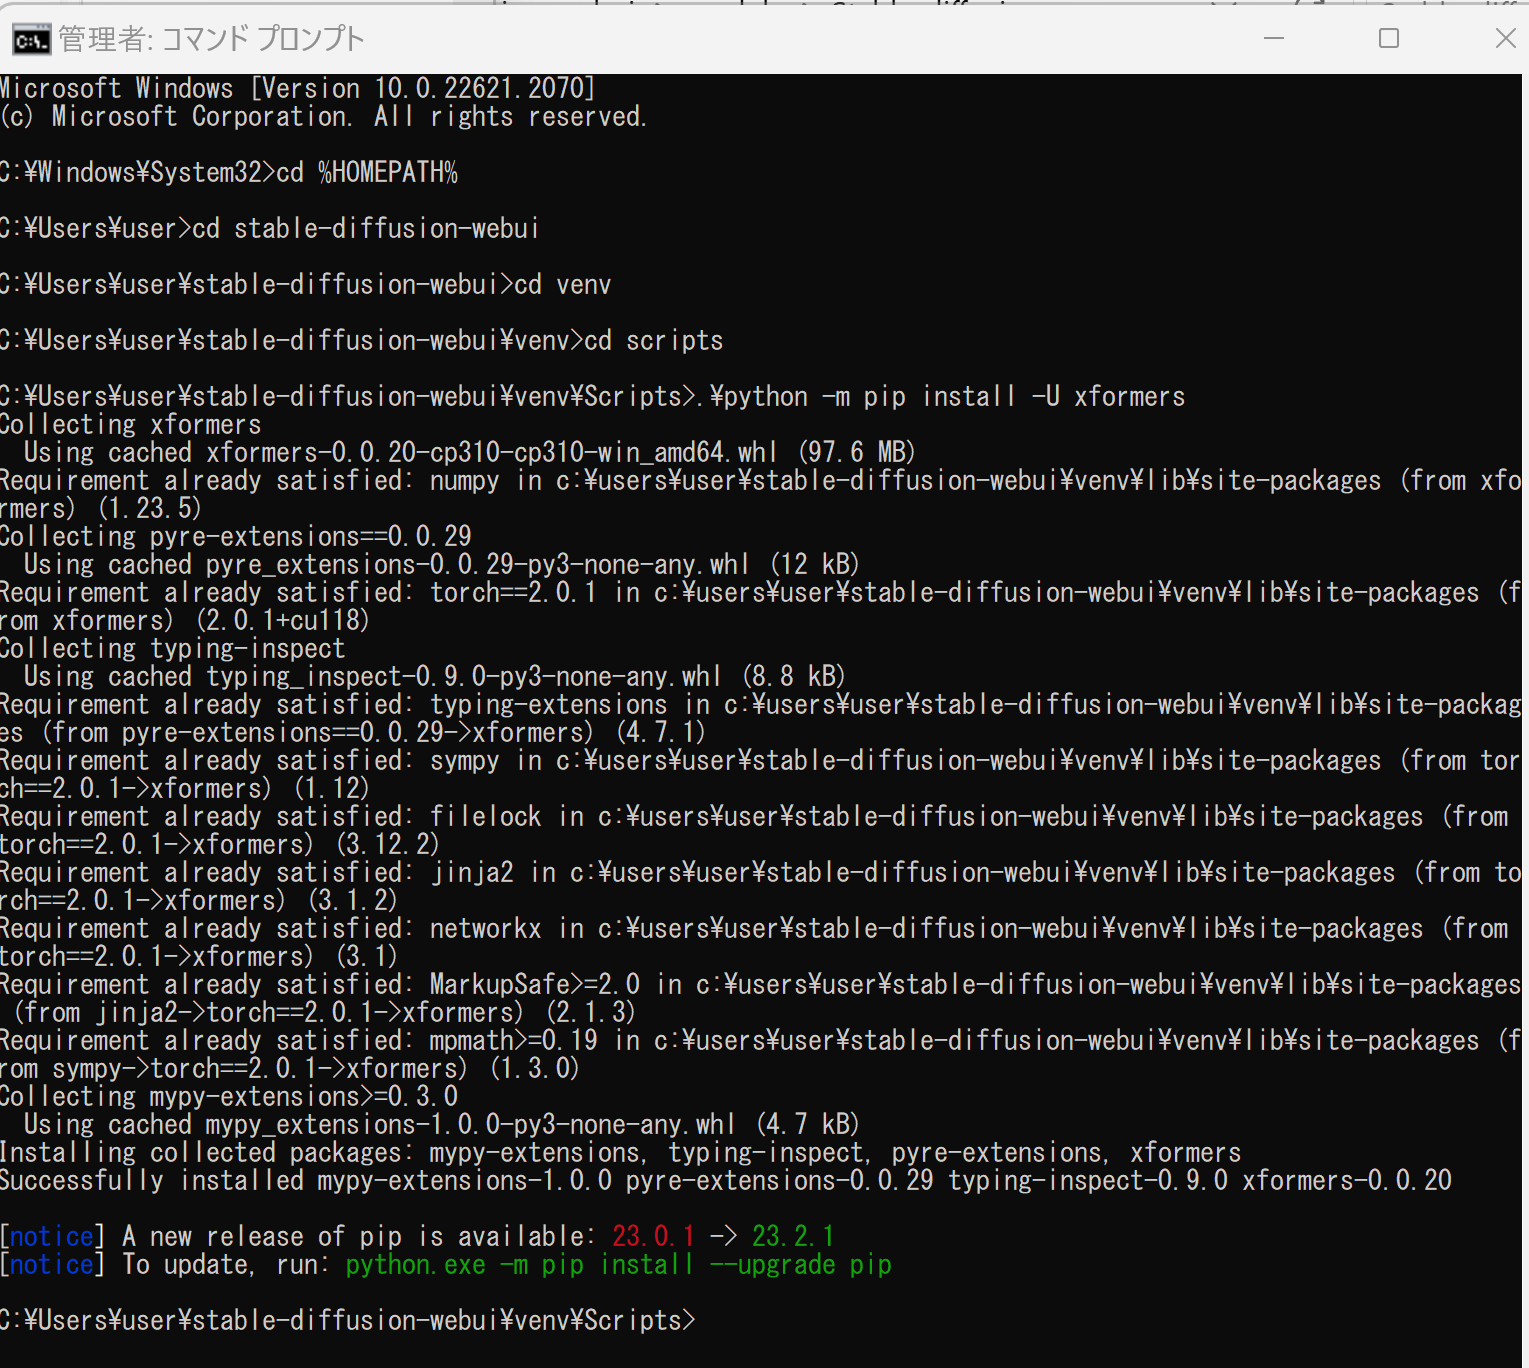
Stable Diffusion XL 1.0 のインストール,画像生成 (txt2img),画像変換 (img2img)
- AUTOMATIC1111 の Wiki のページを開く.
https://github.com/AUTOMATIC1111/stable-diffusion-webui/wiki/Features#stable-diffusion-20
- SD-XL の下の「sd_xl_base_1.0_0.9vae」をクリック
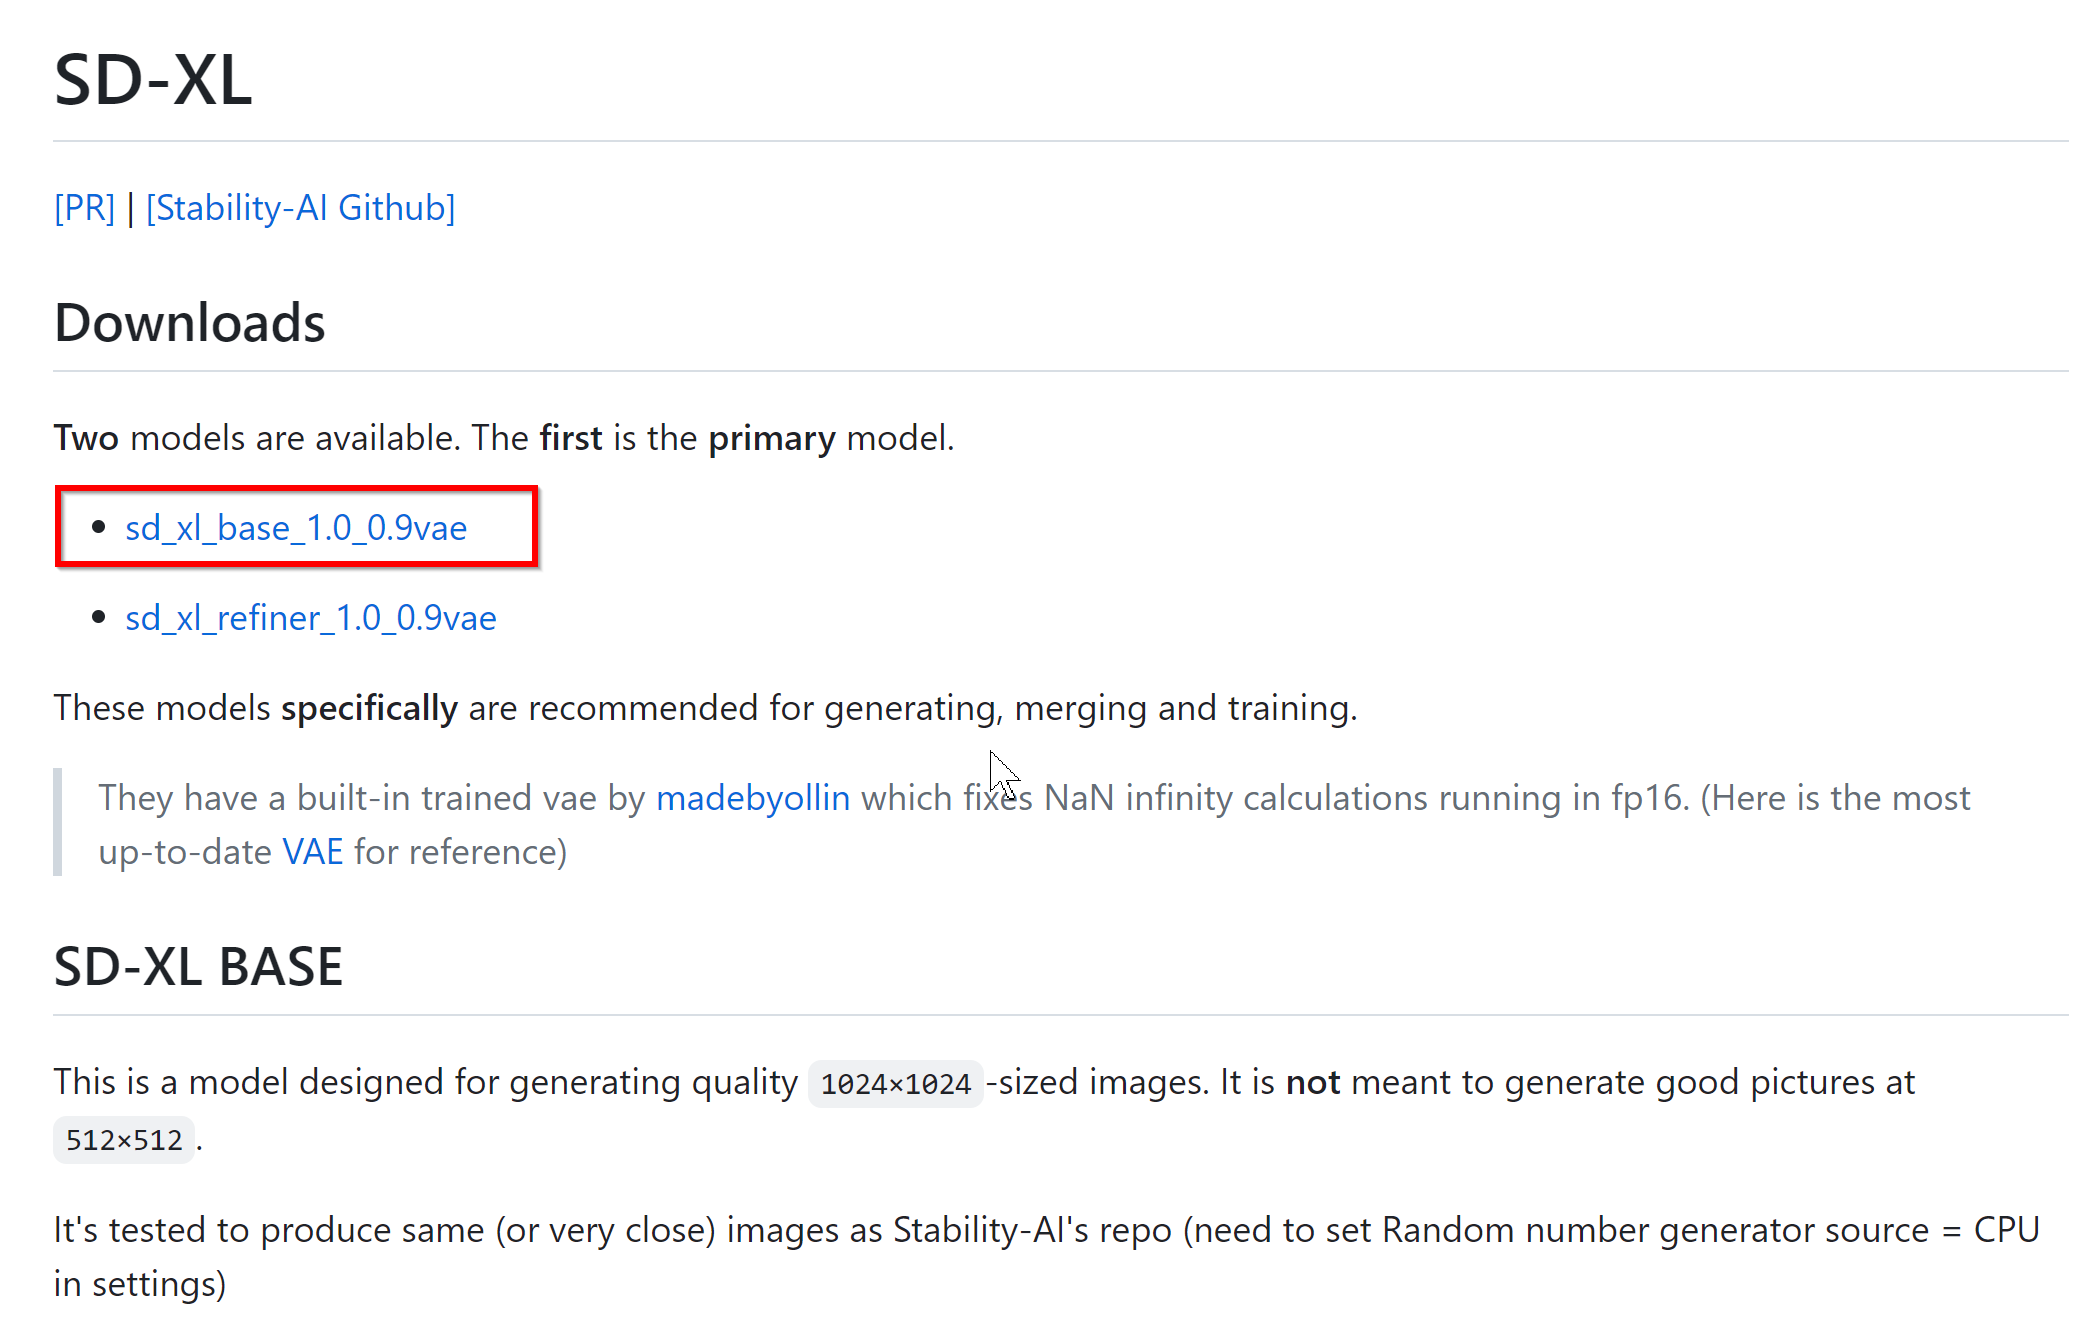
- 「download」をクリック

- ダウンロードが始まる
ダウンロードしたファイルはあとで使用する.

- 再び,AUTOMATIC1111 の Wiki のページを開く.
https://github.com/AUTOMATIC1111/stable-diffusion-webui/wiki/Features#stable-diffusion-20
- 今度は,SD-XL の下の「sd_xl_refiner_1.0_0.9vae」をクリック
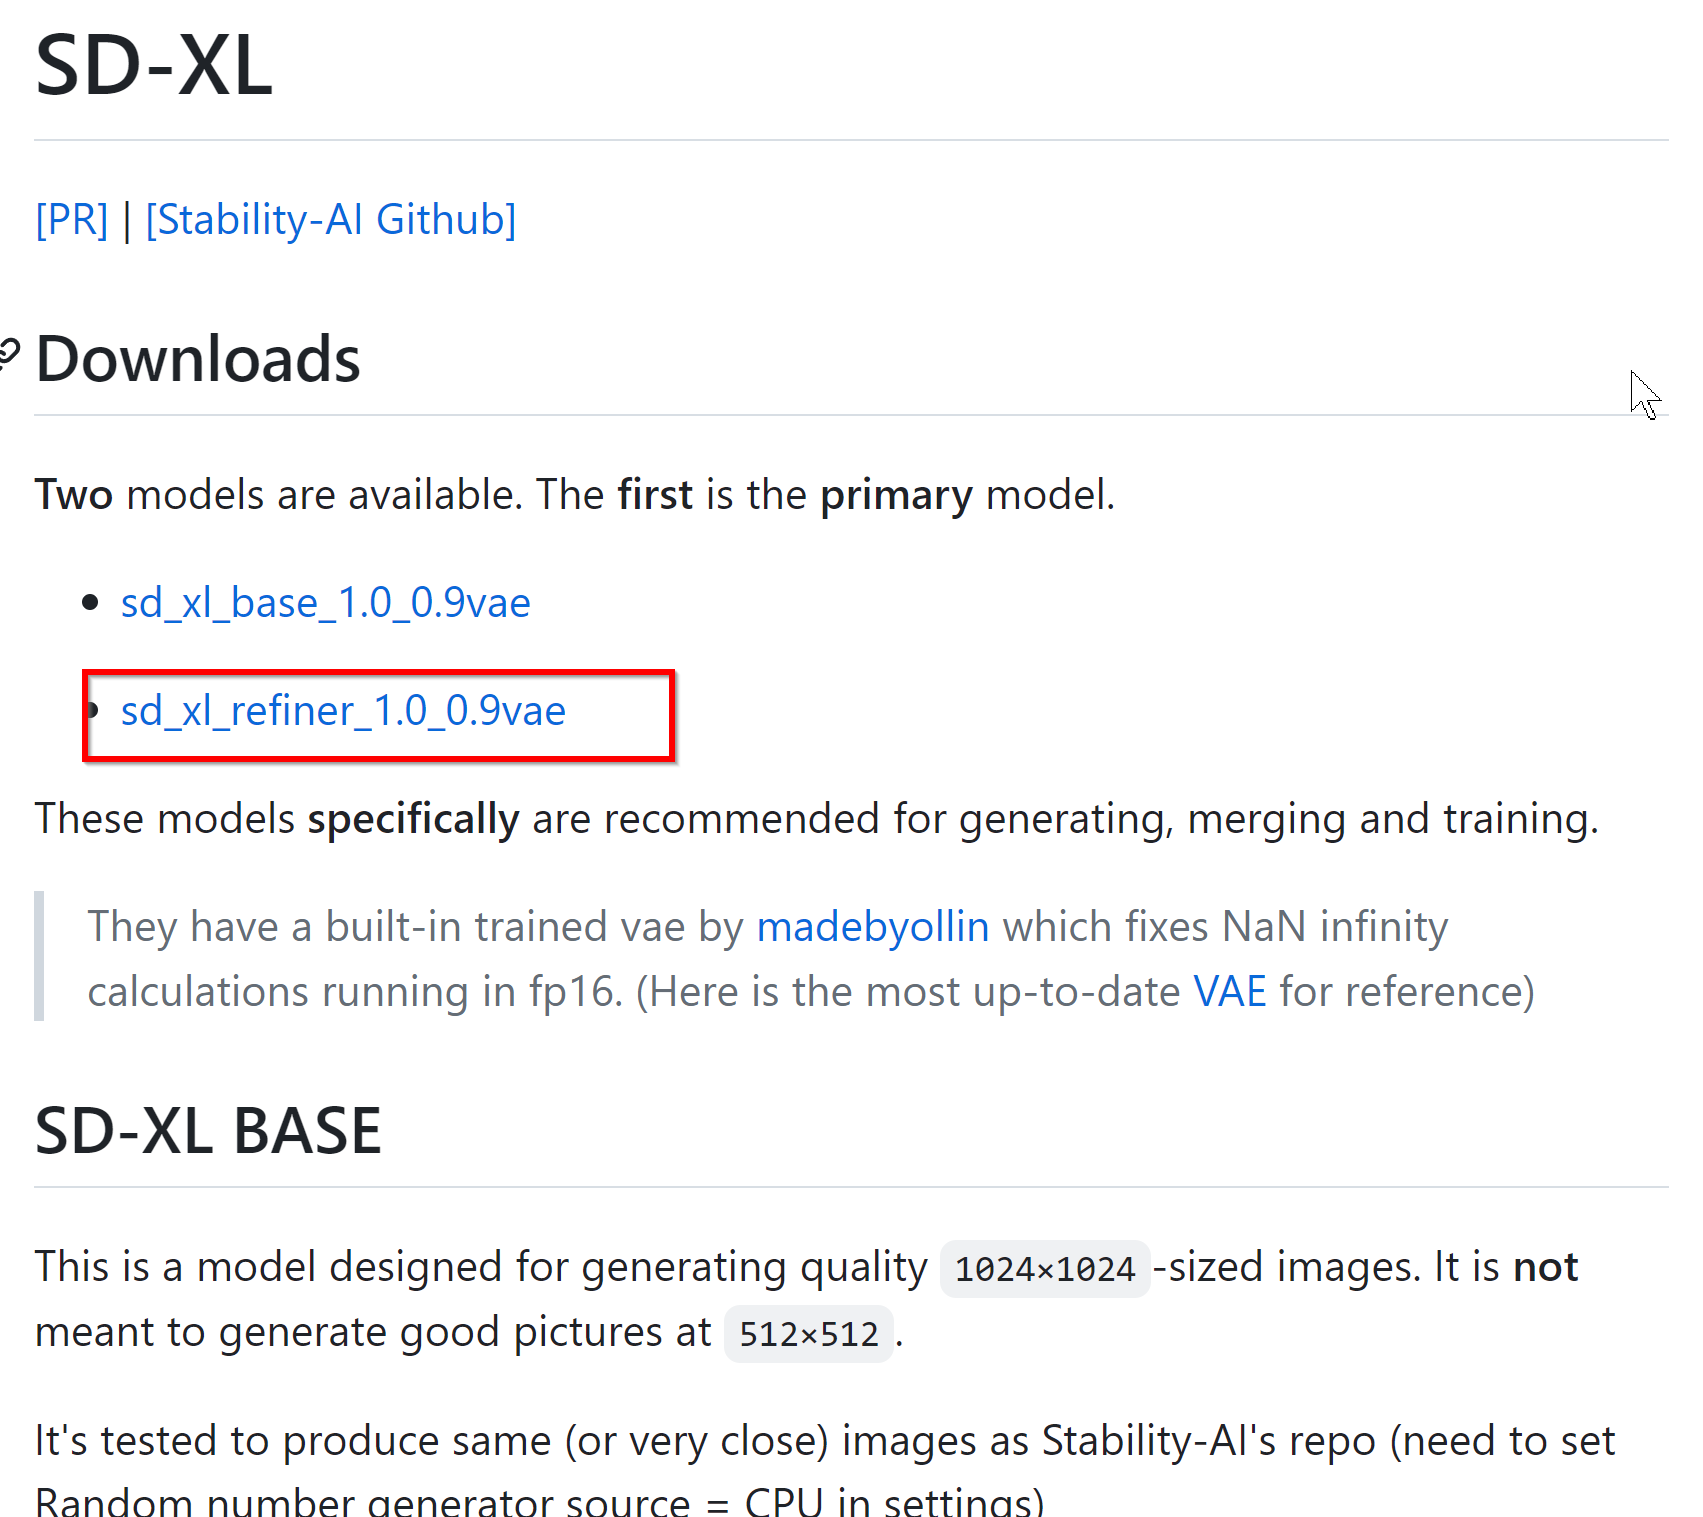
- 「download」をクリック
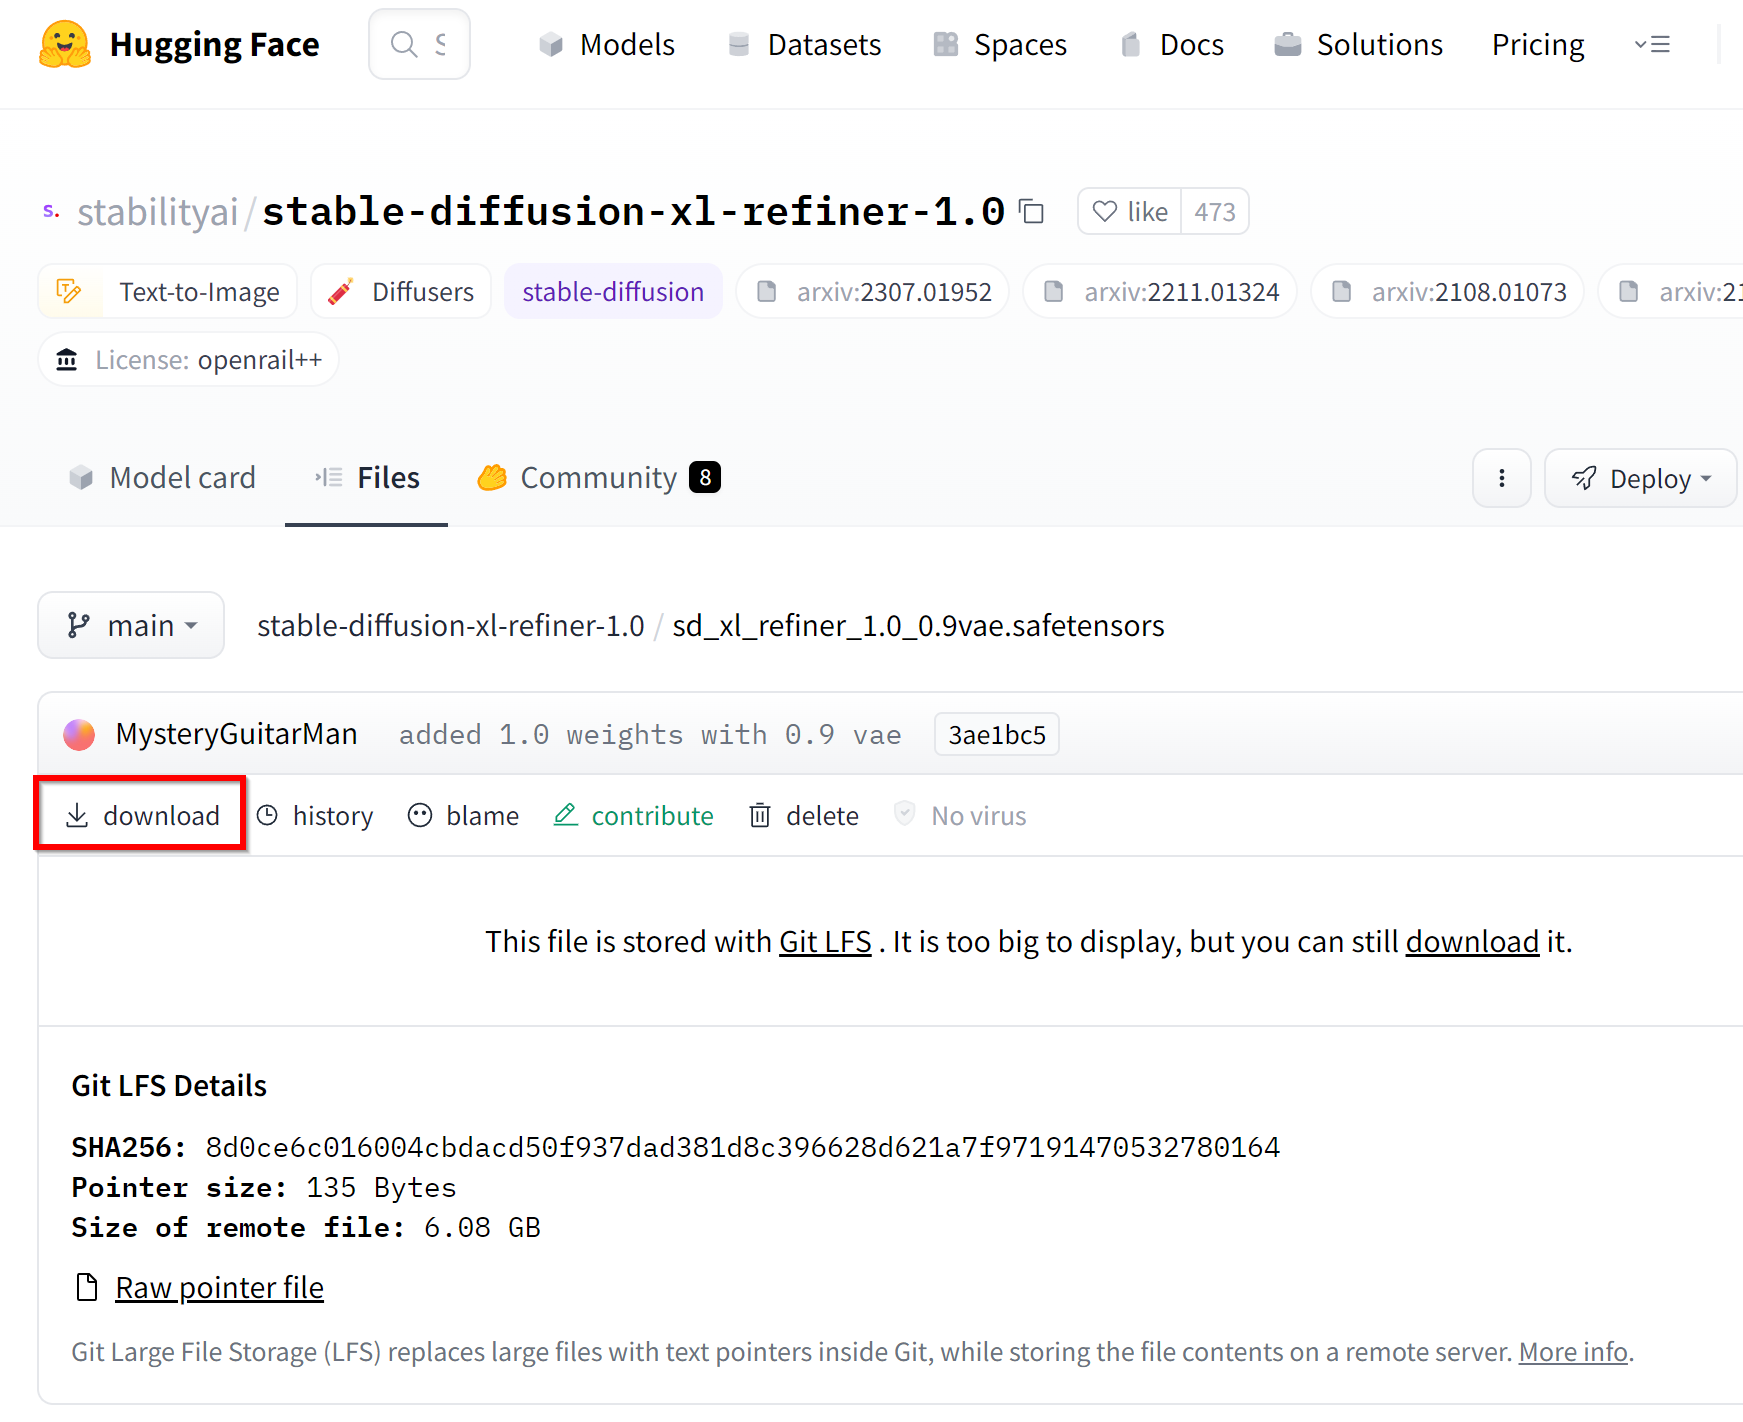
- ダウンロードが始まる
ダウンロードしたファイルはあとで使用する.

- いまダウンロードした2つのファイルを %HOMEPATH%stable-diffusion-webui\models\Stable-diffusion の下にコピー
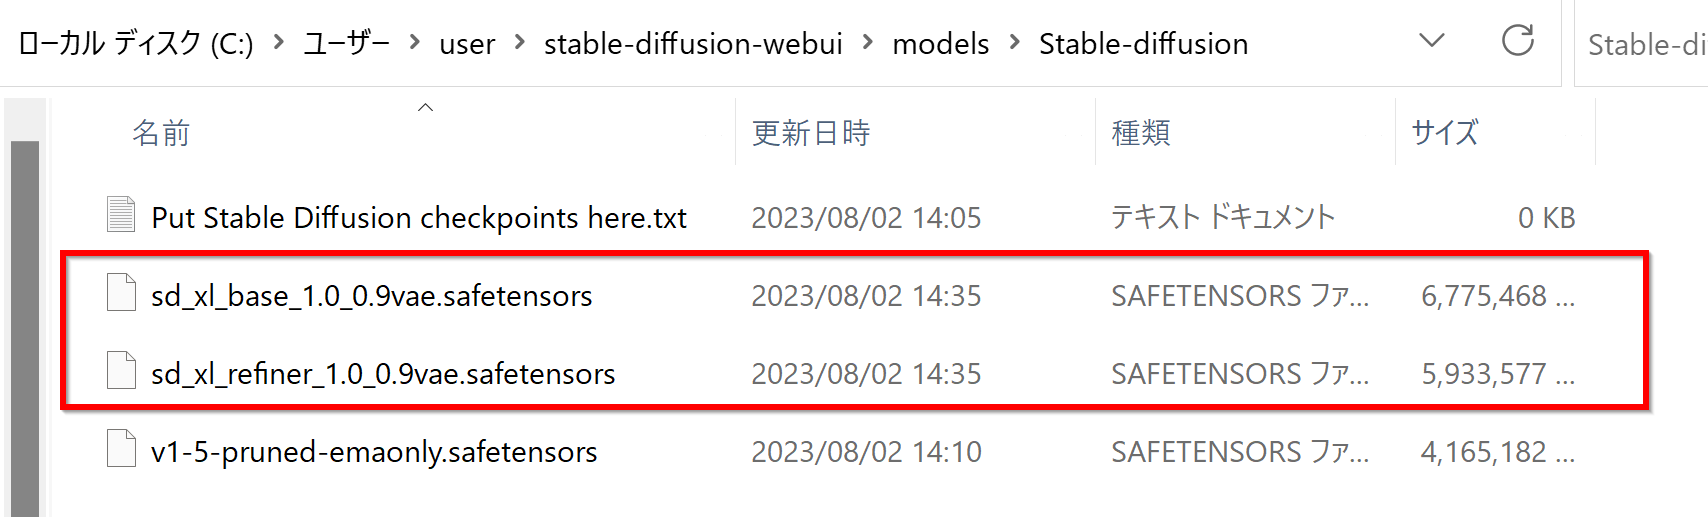
- Windows で,管理者権限でコマンドプロンプトを起動(手順:Windowsキーまたはスタートメニュー >
cmdと入力 > 右クリック > 「管理者として実行」)。
画像生成
- コマンドプロンプトで,webui-user.bat を実行
cd /d c:%HOMEPATH% cd stable-diffusion-webui webui-user.bat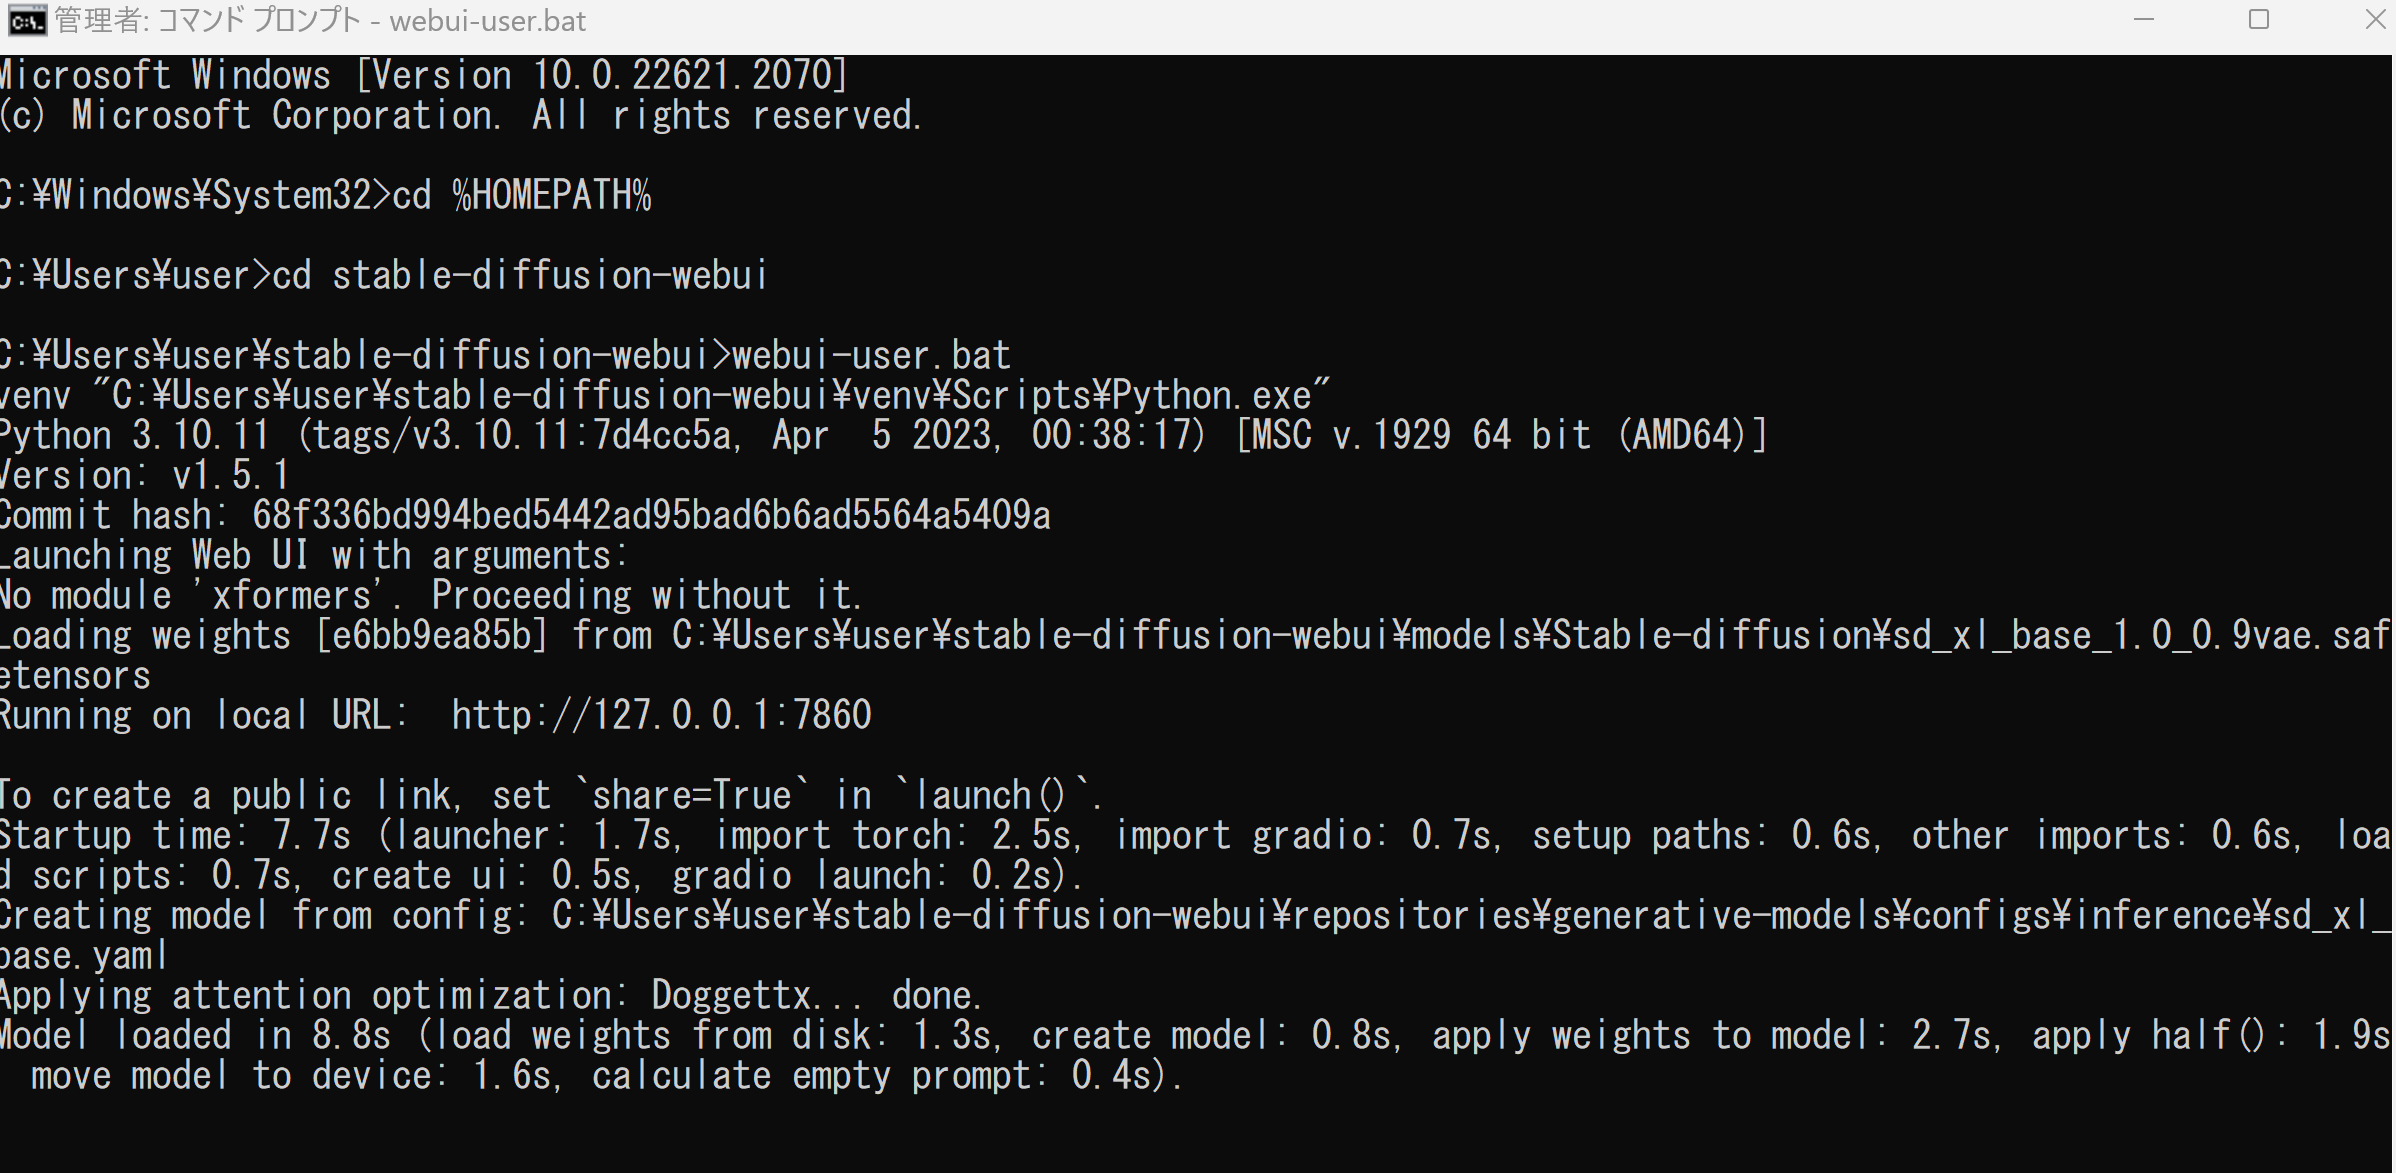 少ないビデオメモリで動かすために,公式ページでは「--lowvram」,「--medvram 」が案内されている.
webui-user.bat --lowvram
webui-user.bat --medvram
- このときの表示に従い,Web ブラウザで,http://127.0.0.1:7860 にアクセス
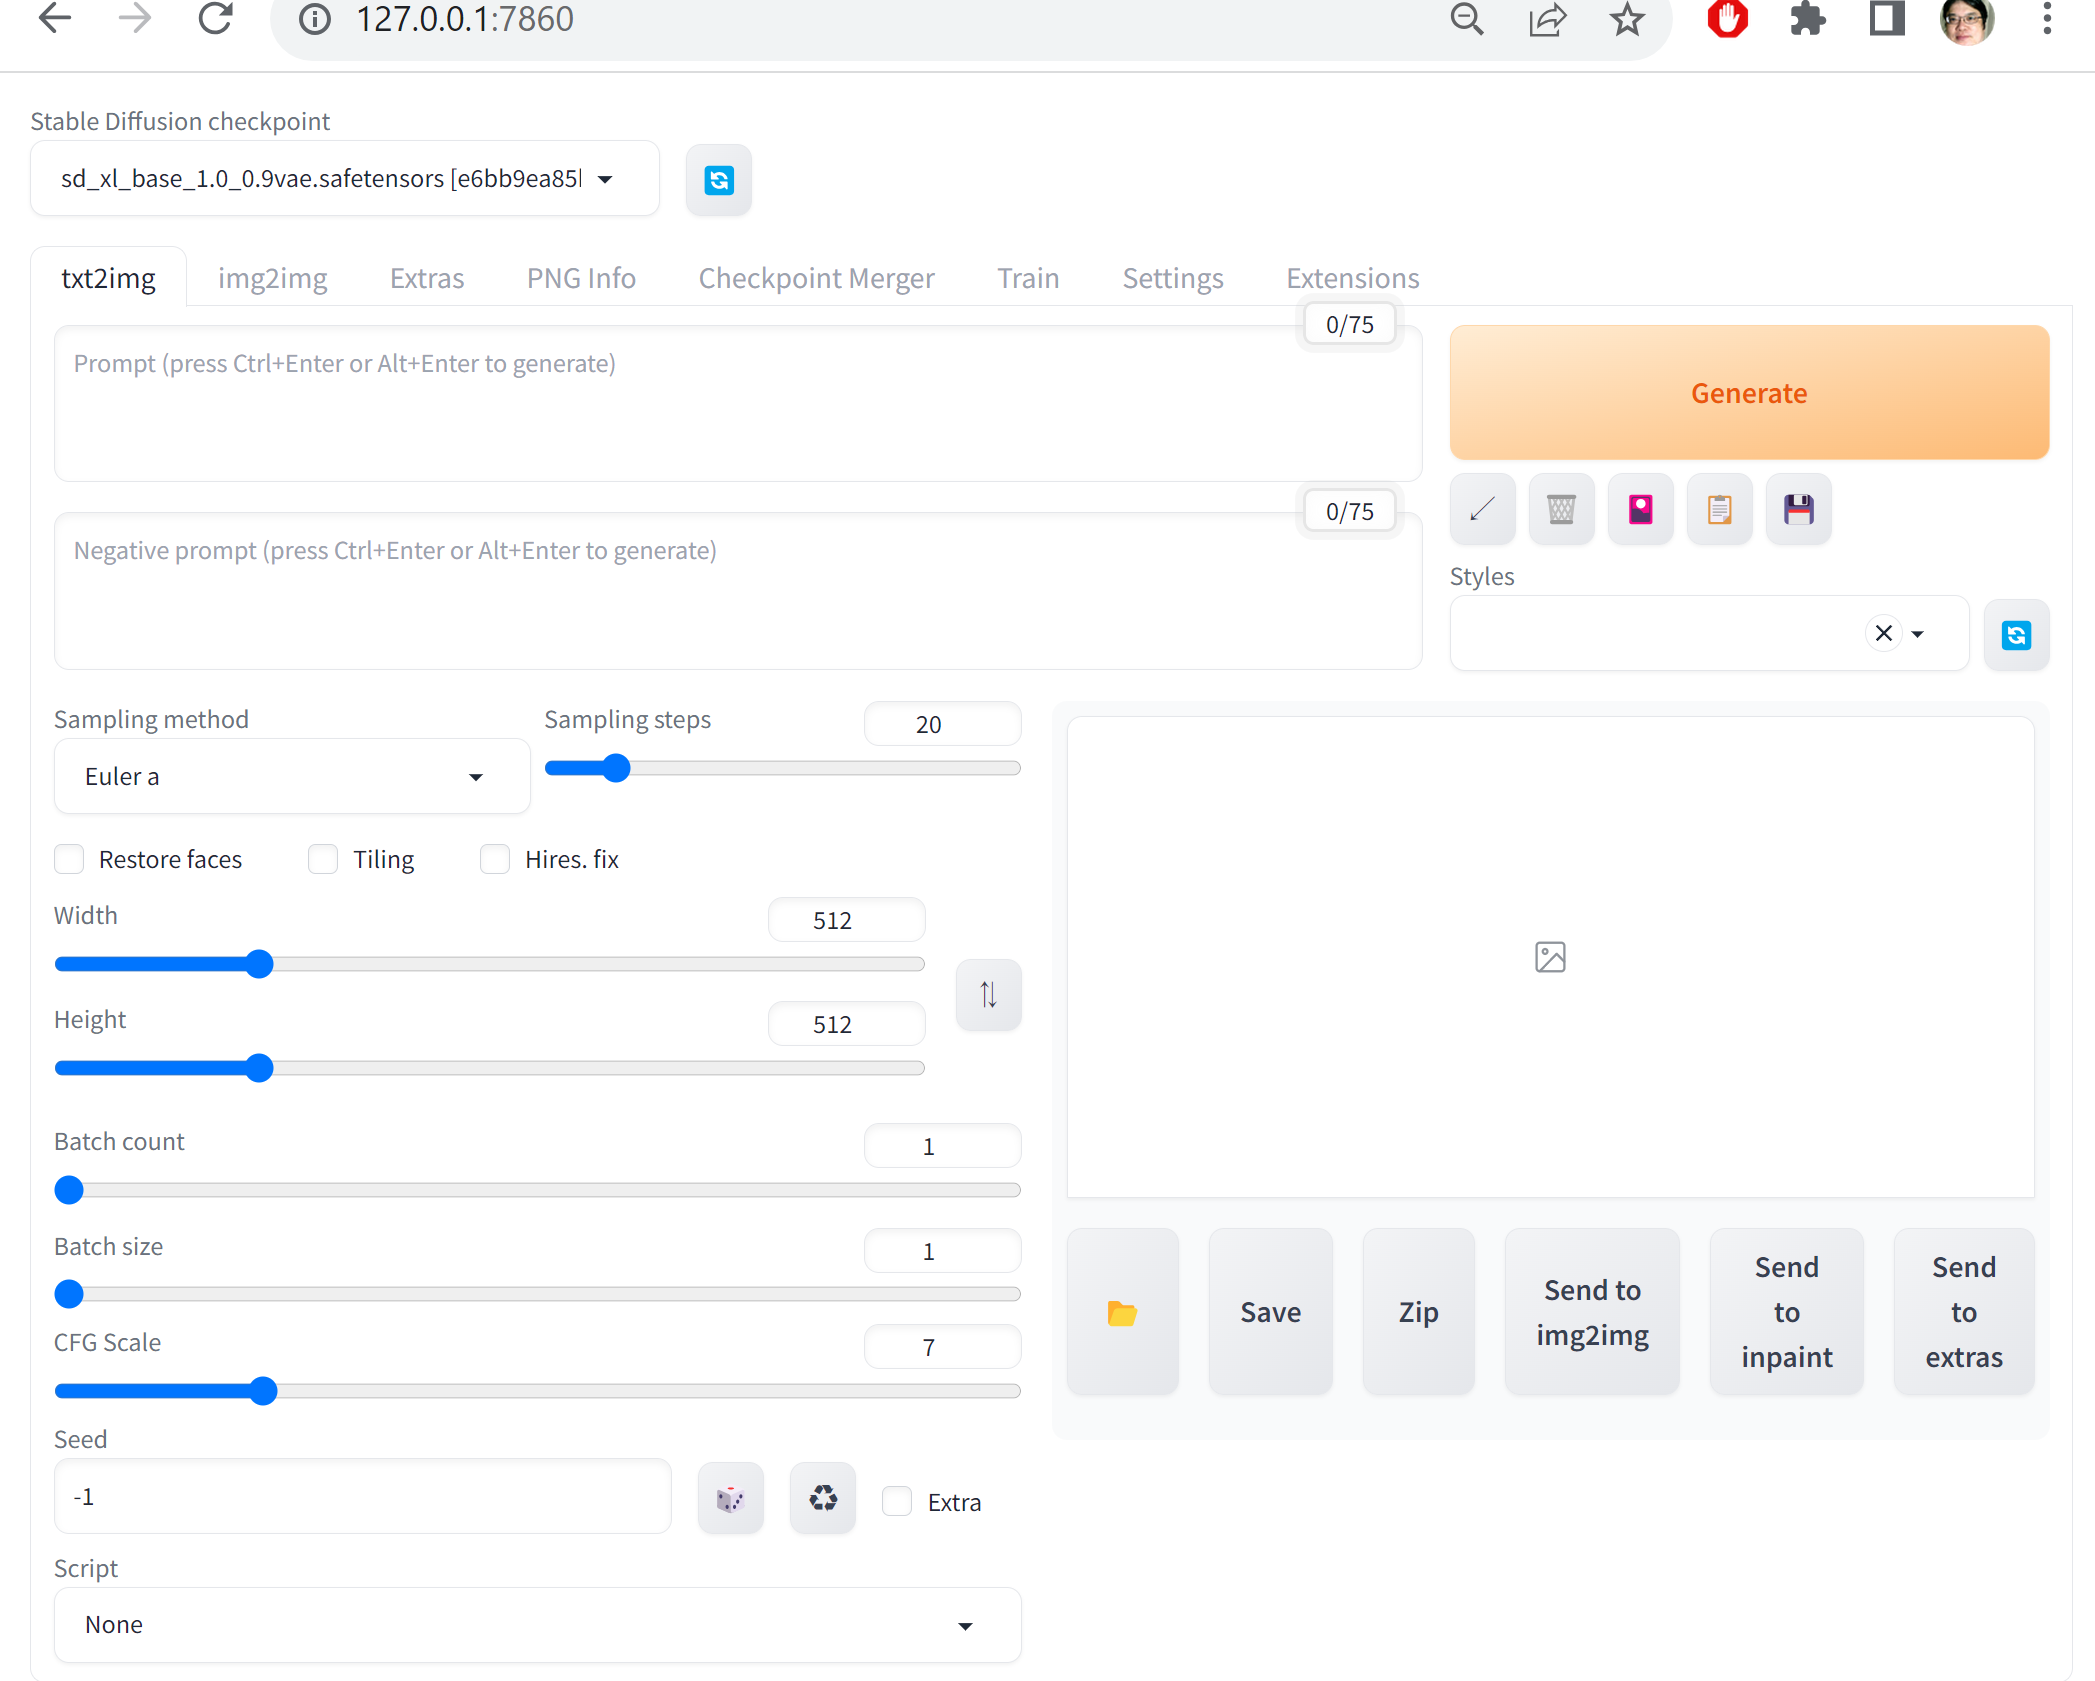
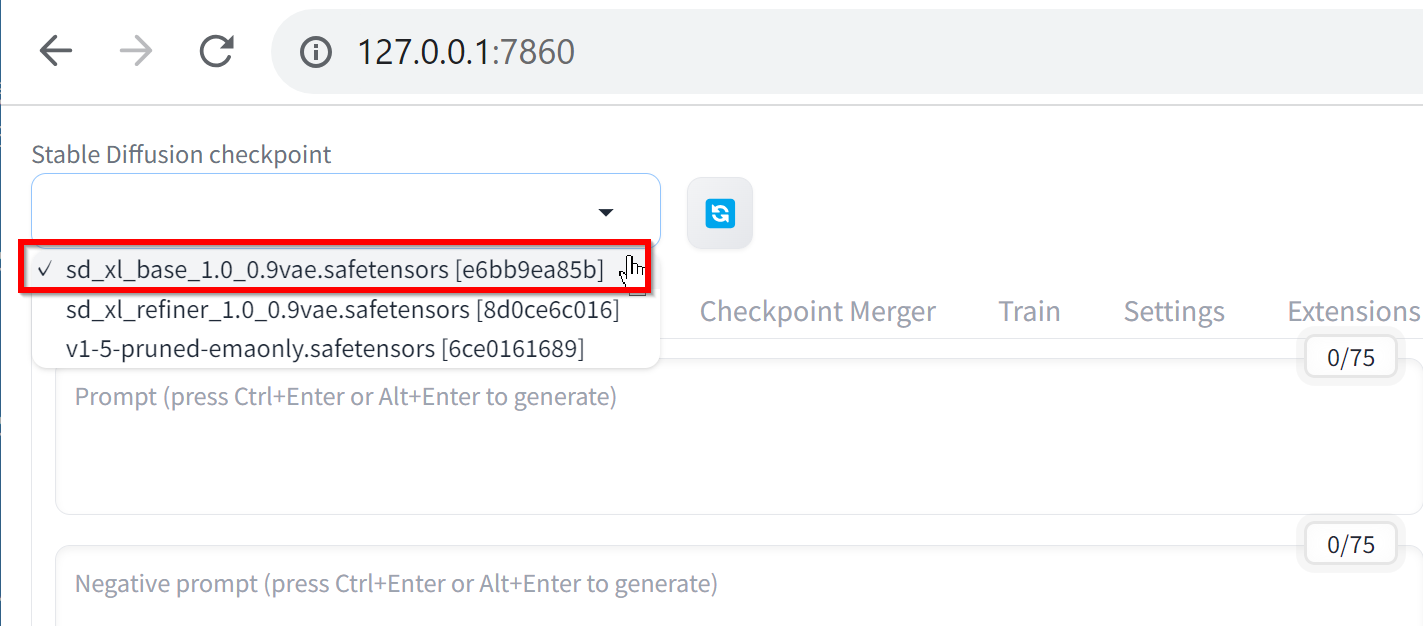
- メニューで使用するモデルを確認,設定できる.
ここでは,sd_xl_base_1.0_0.9vae_safetensorsを選択
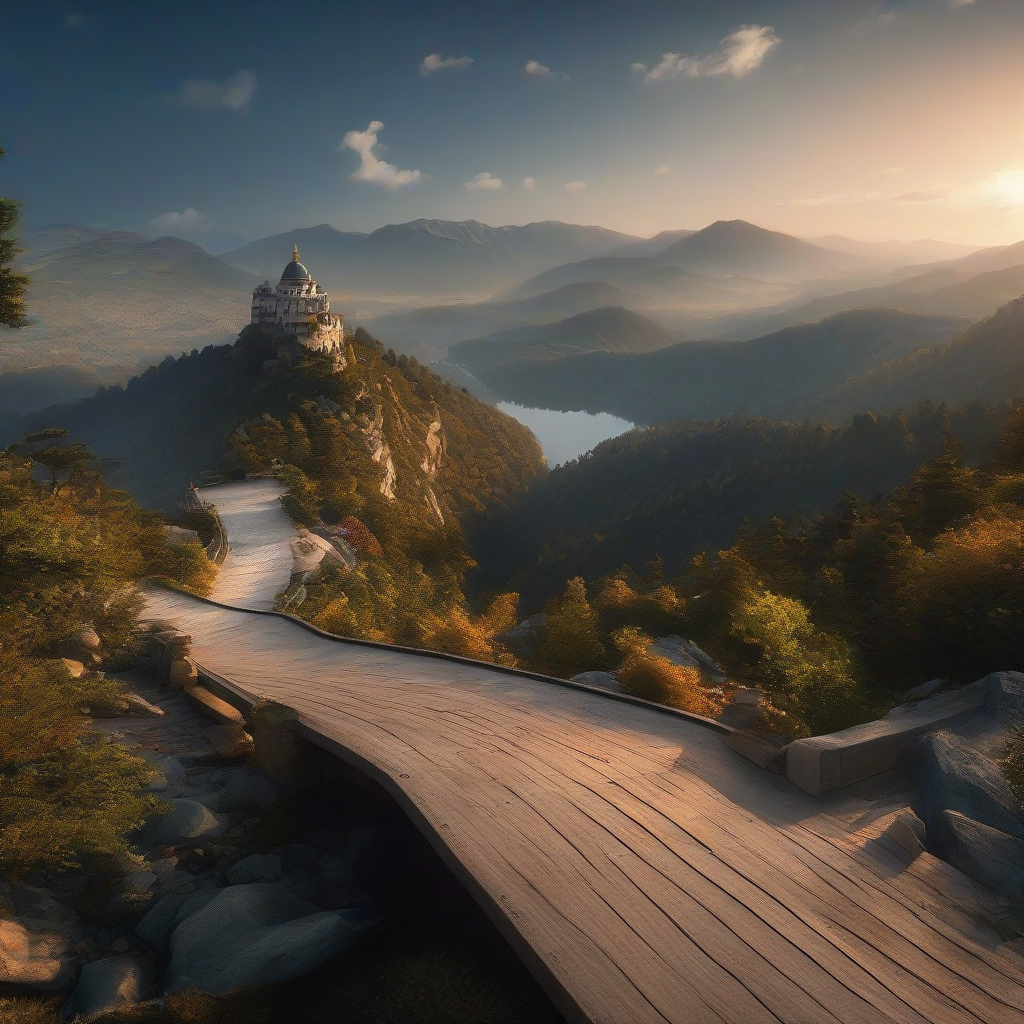
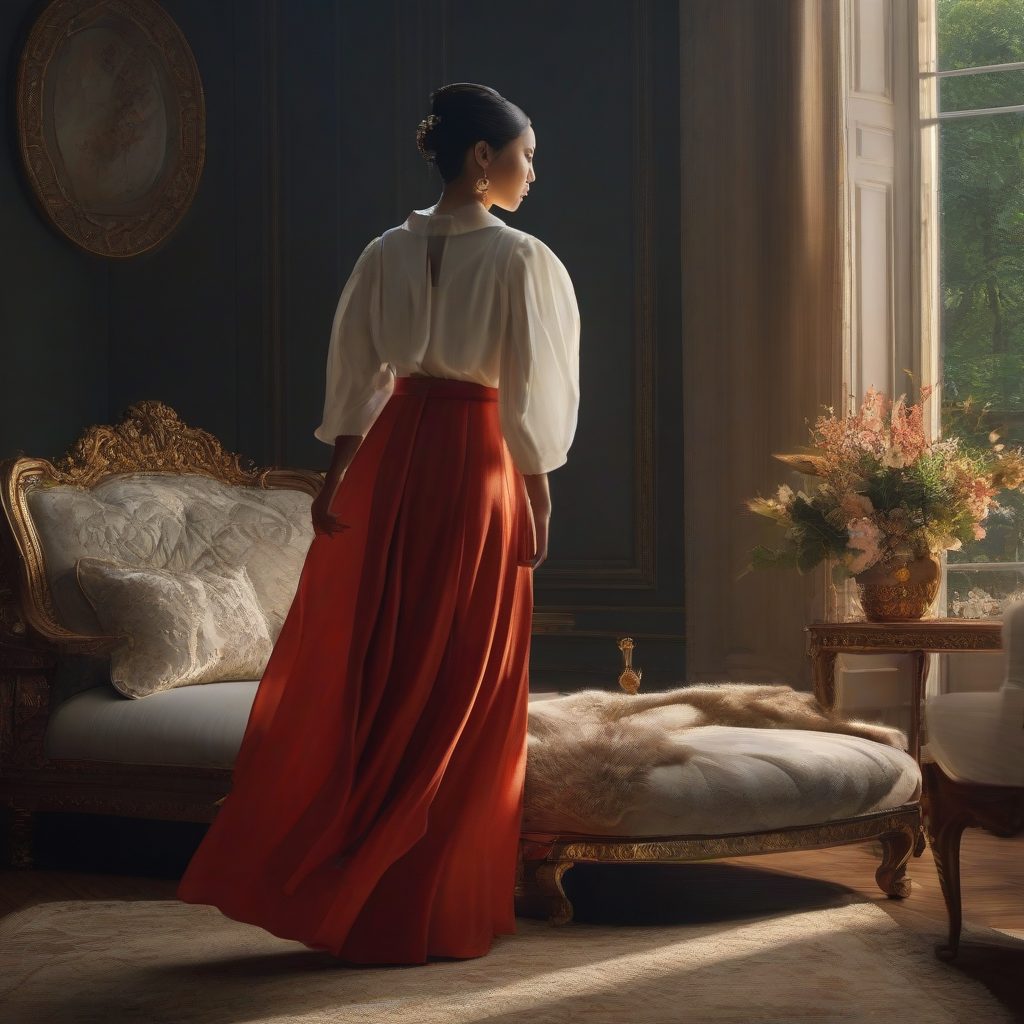
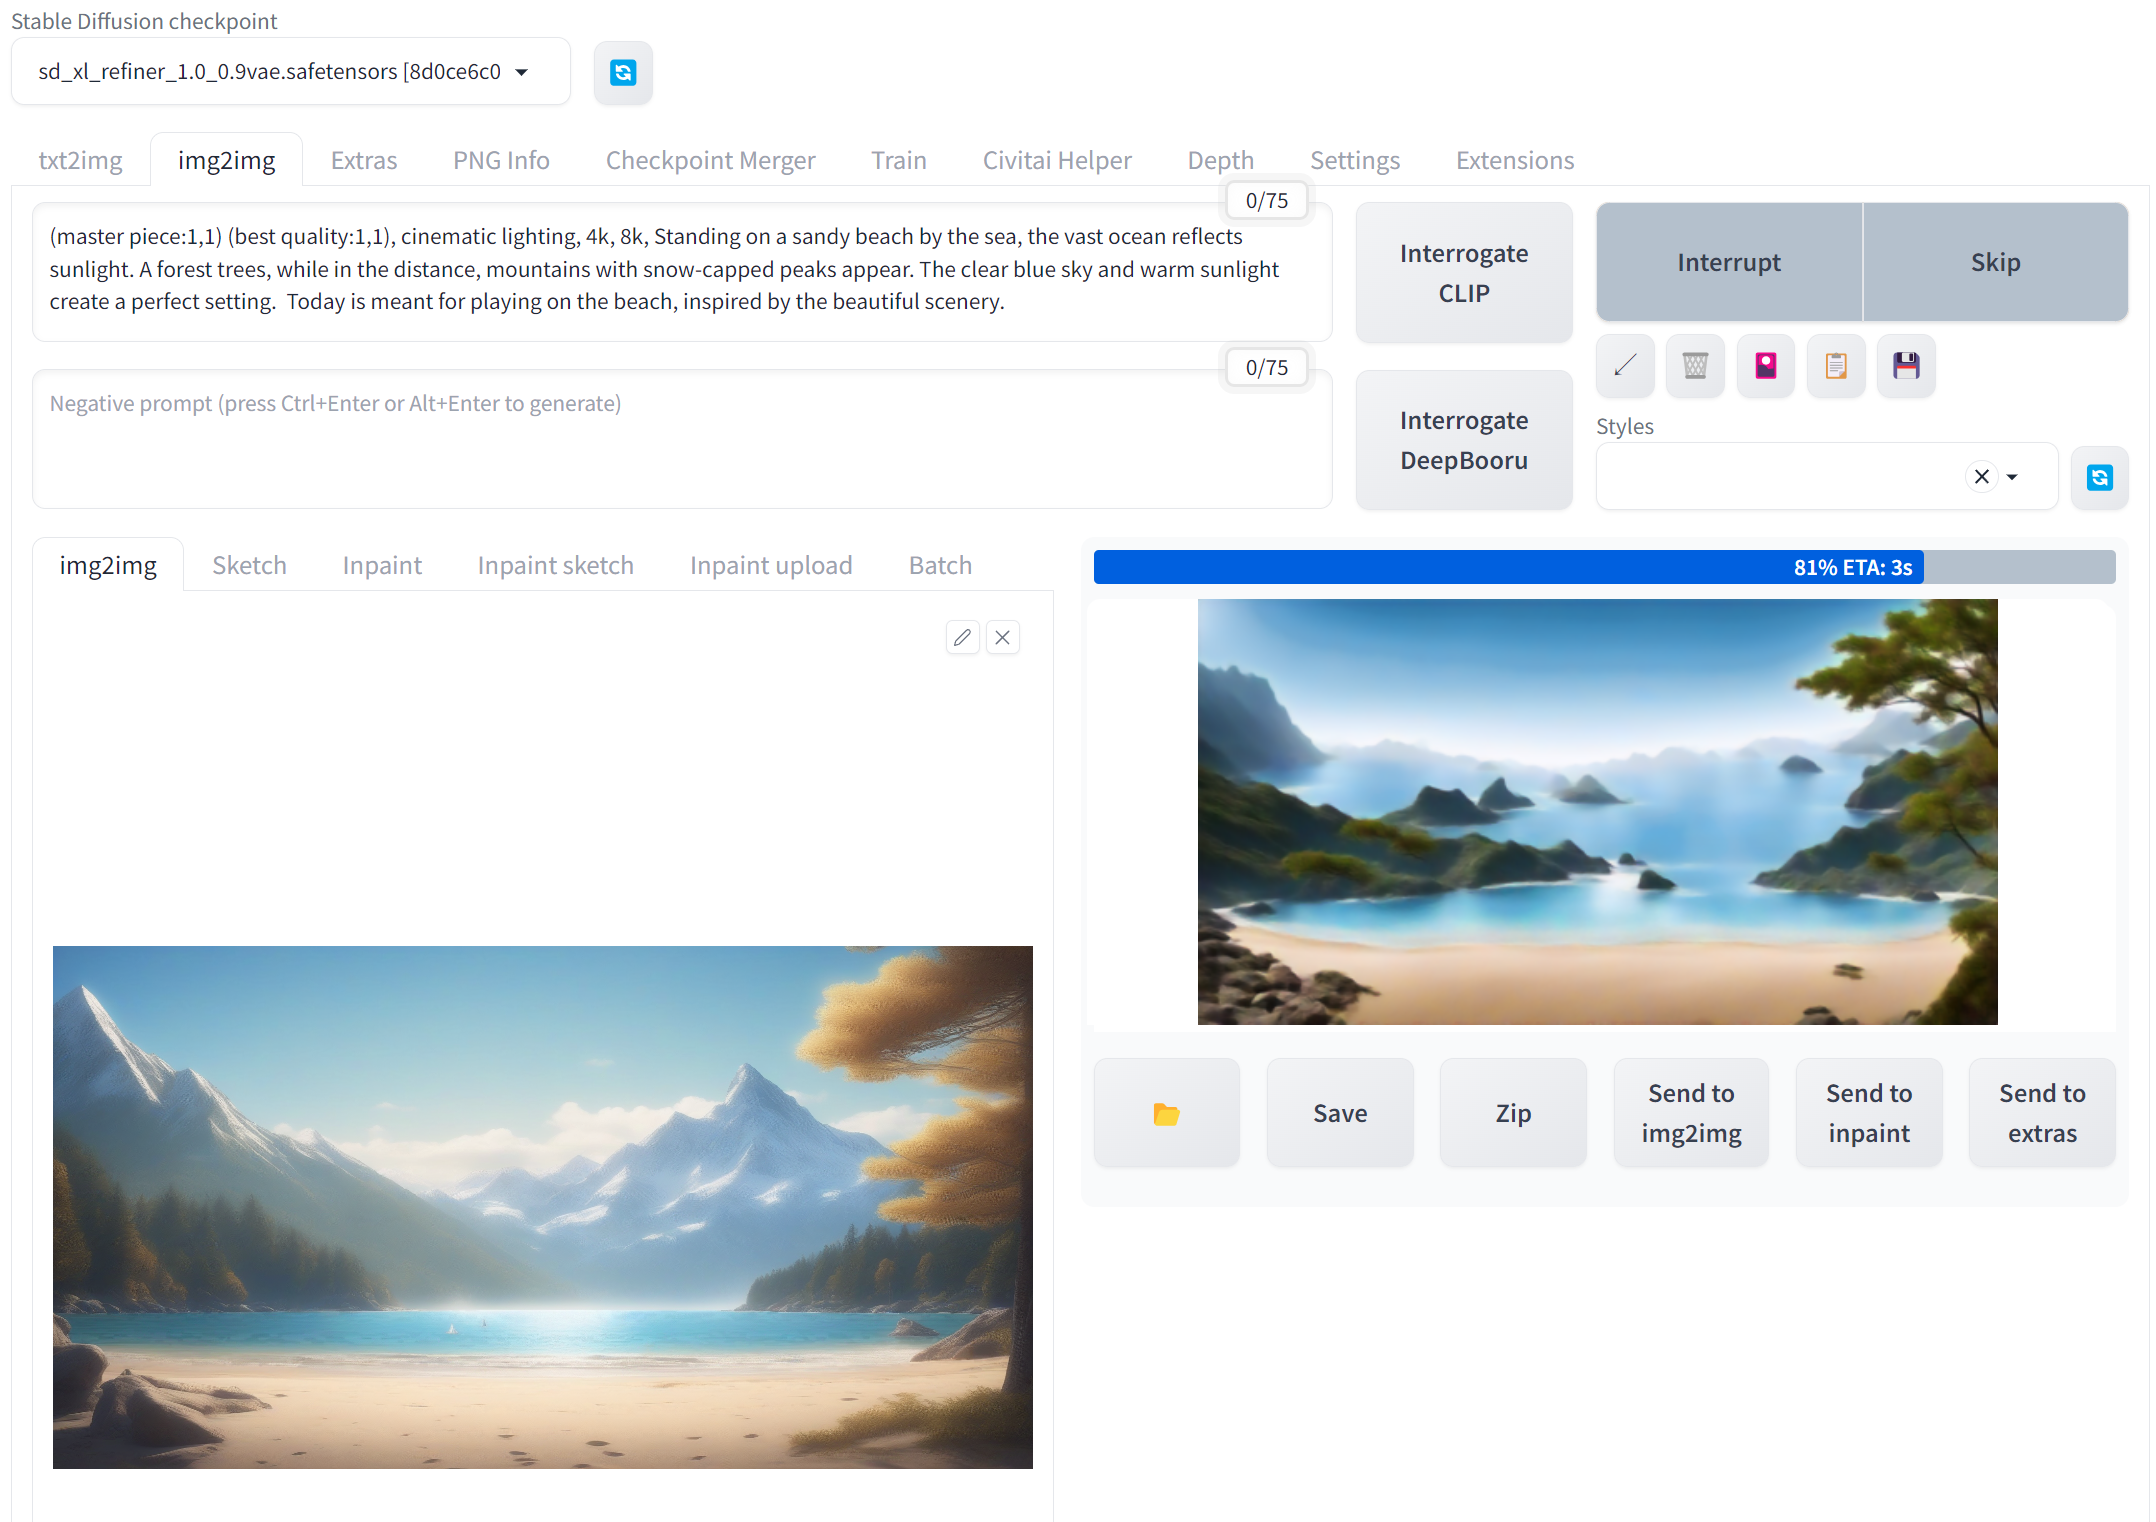
- 文章を入れて,「Generate」をクリック.結果を確認.
解像度は1920 x 1024 にしている.
プロンプトとして次を入れている.
(master piece:1,1) (best quality:1,1), cinematic lighting, 4k, 8k, Standing on a sandy beach by the sea, the vast ocean reflects sunlight. A forest trees, while in the distance, mountains with snow-capped peaks appear. The clear blue sky and warm sunlight create a perfect setting. Today is meant for playing on the beach, inspired by the beautiful scenery.
「Generate」をクリック.

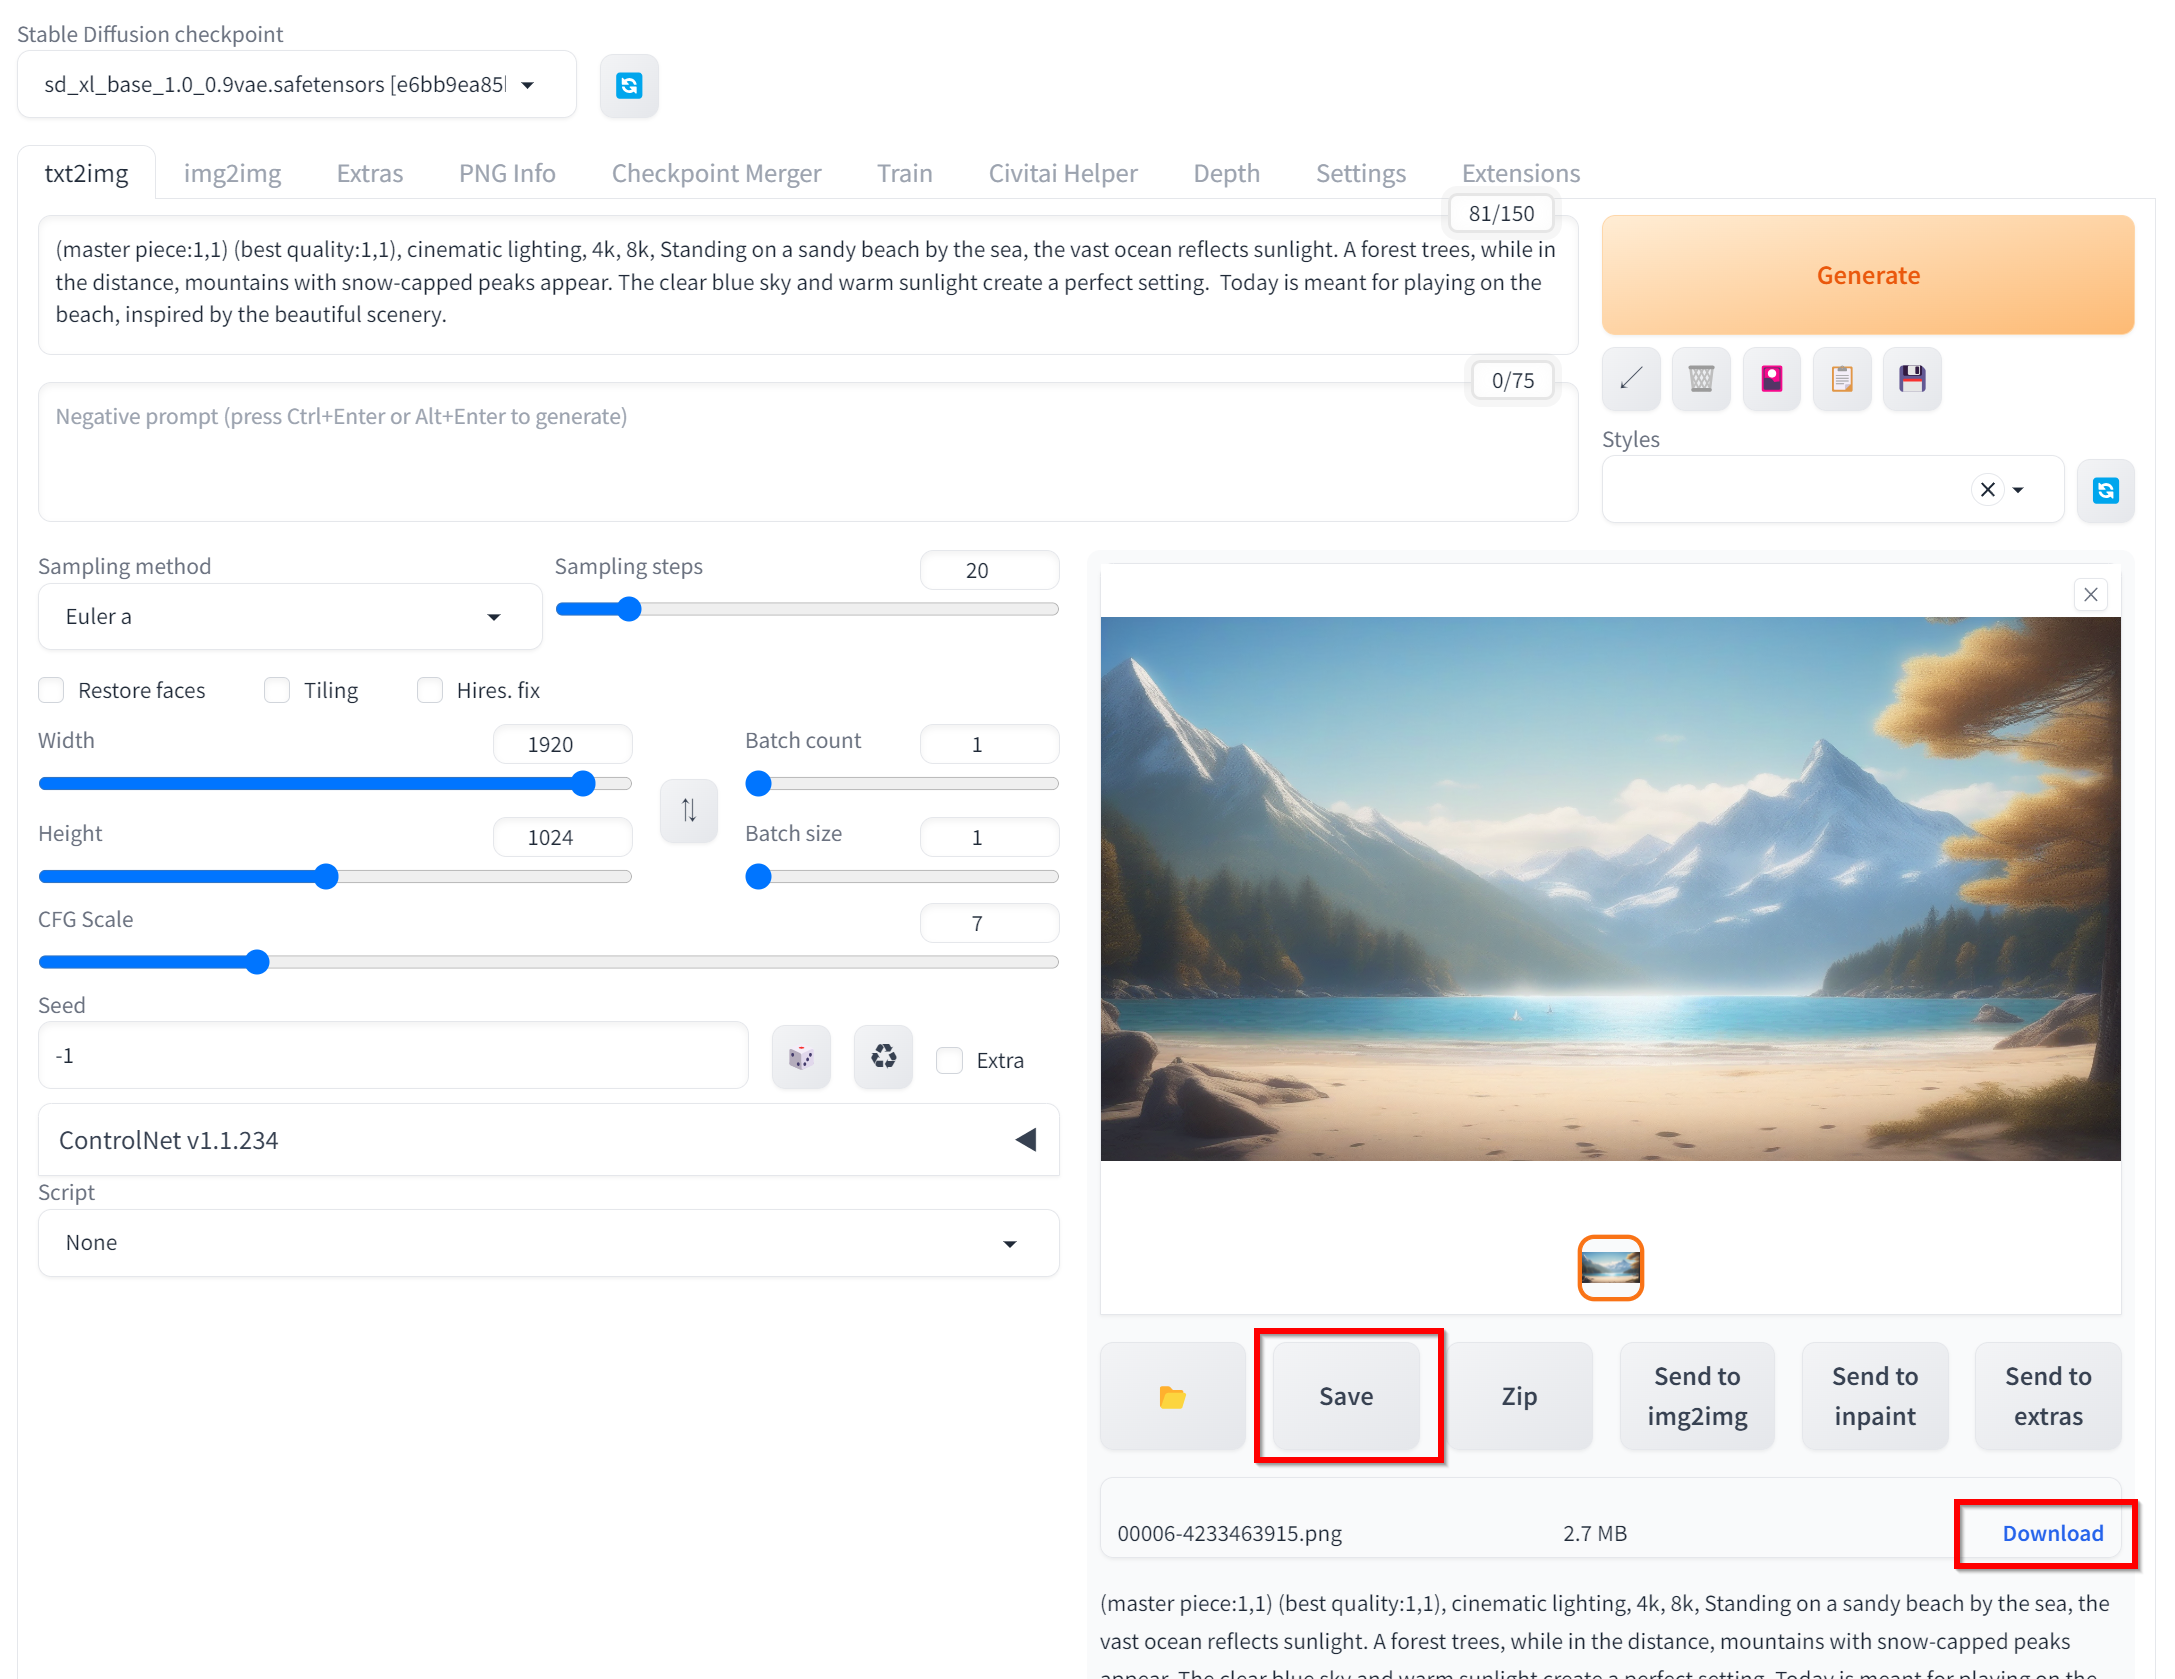
- 結果が表示される
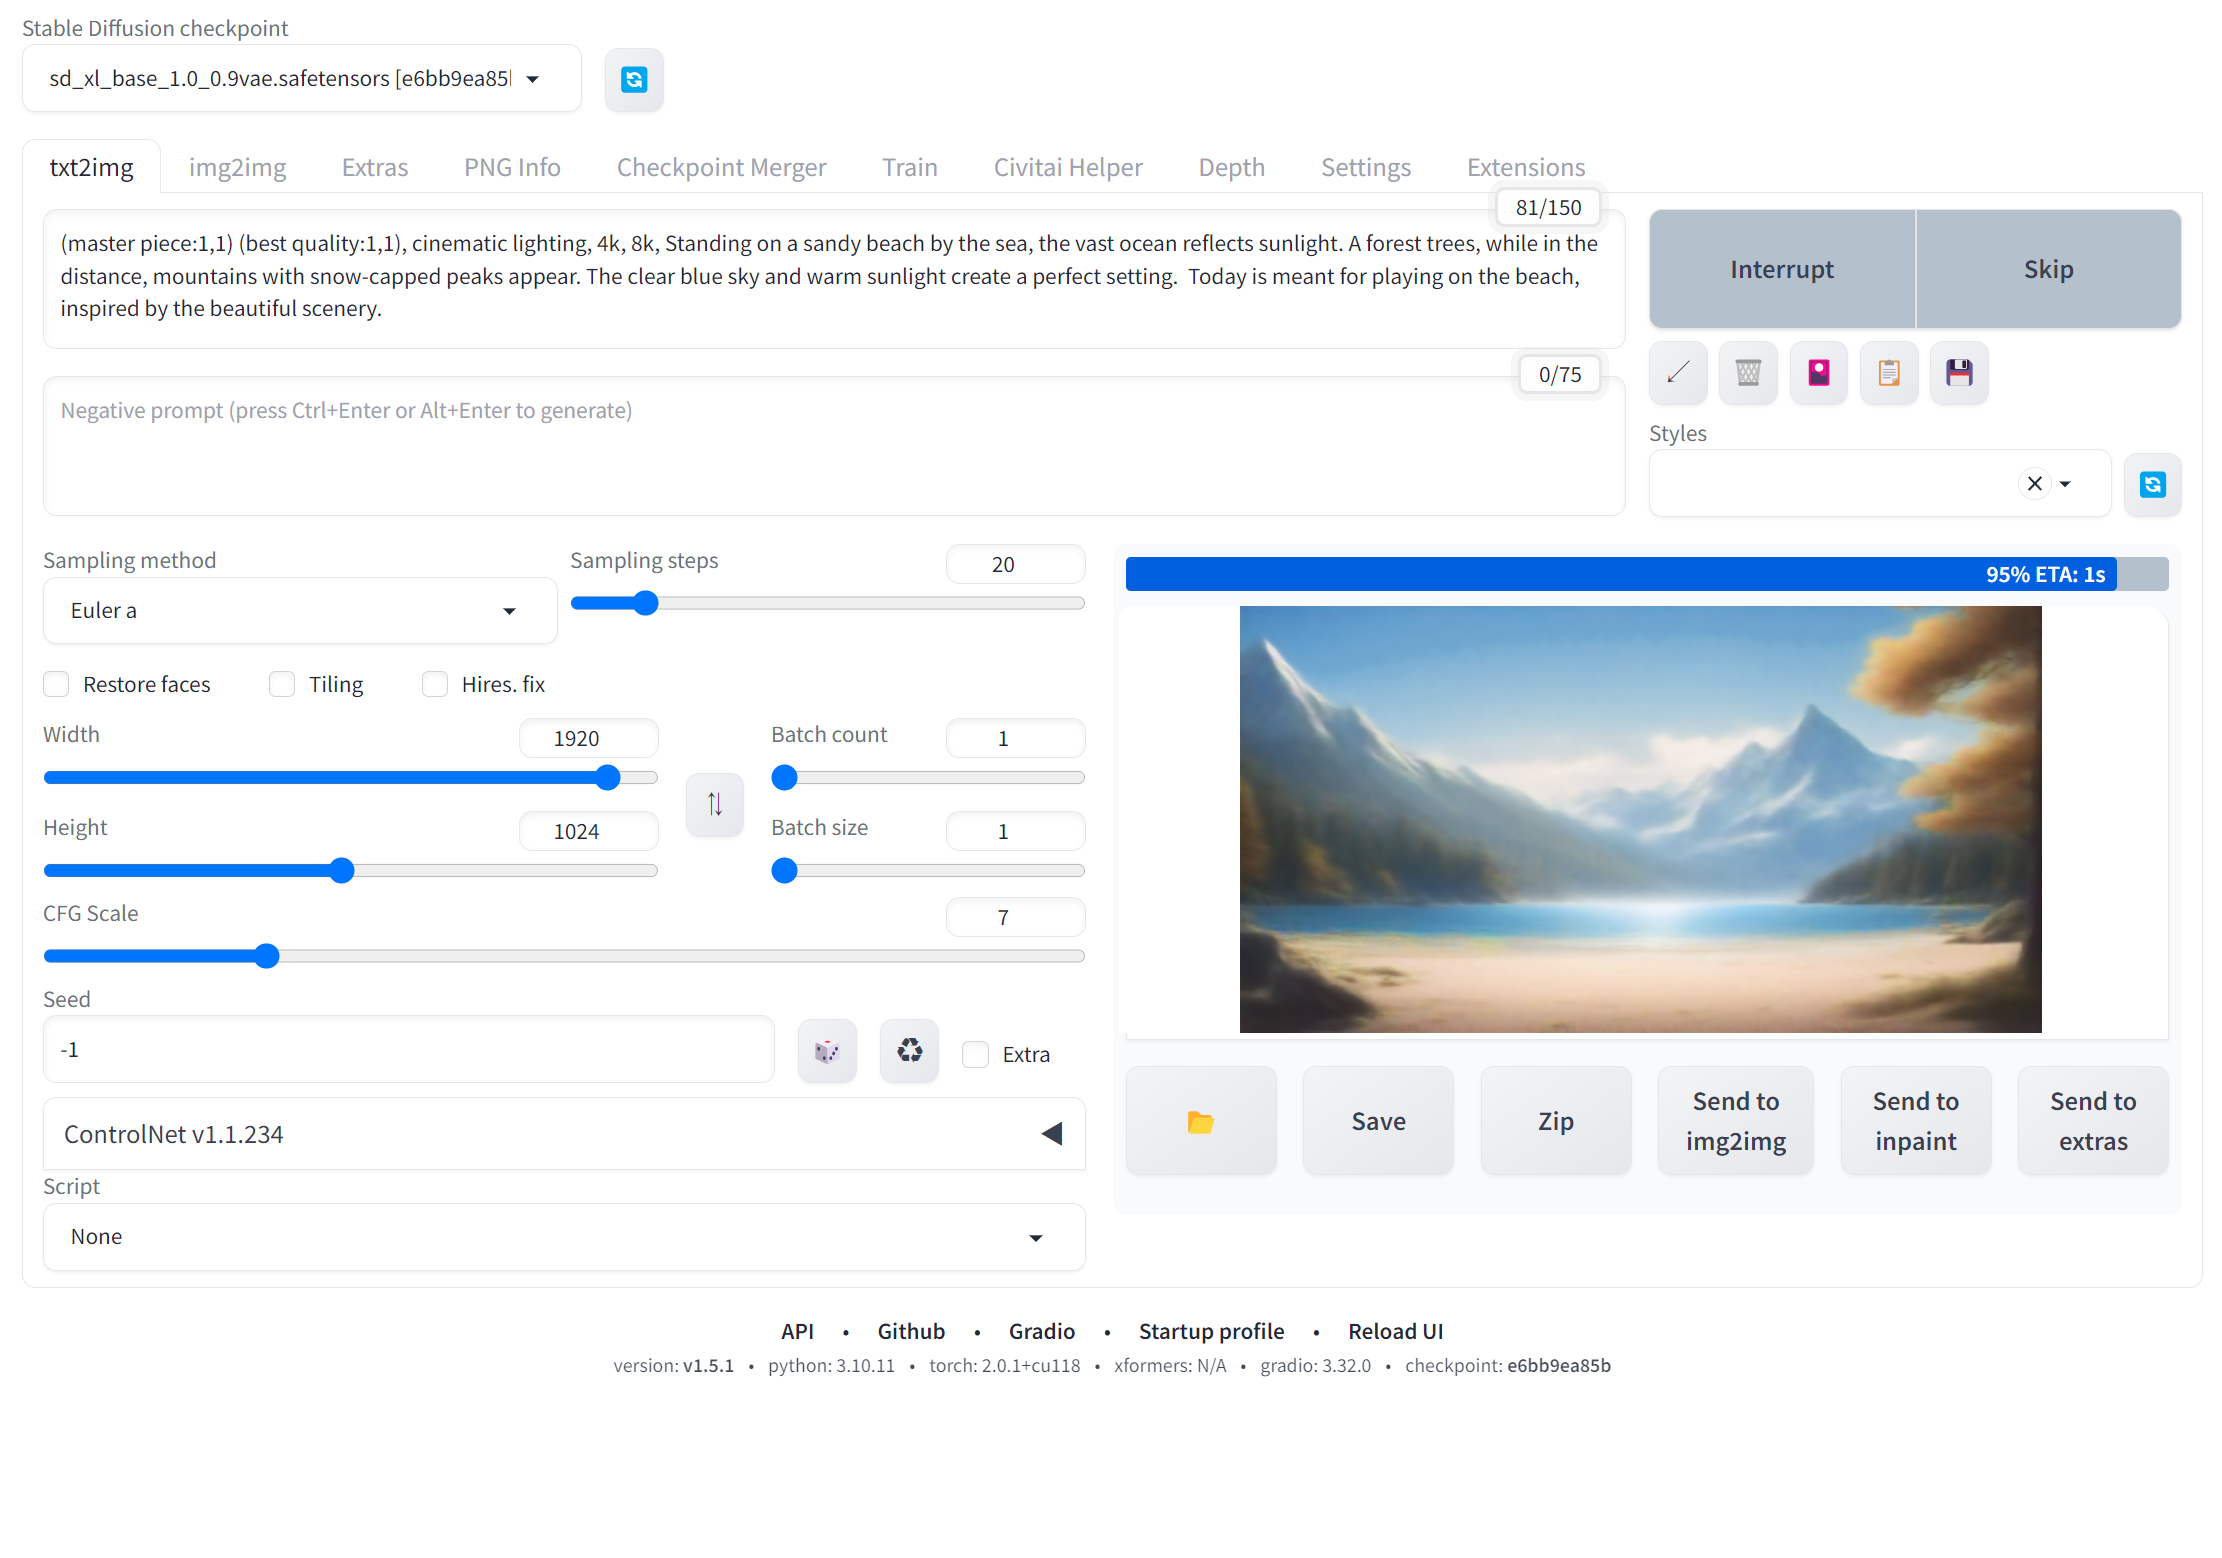
- 画像のクリックにより拡大表示できる.
- 「Save」により保存できる
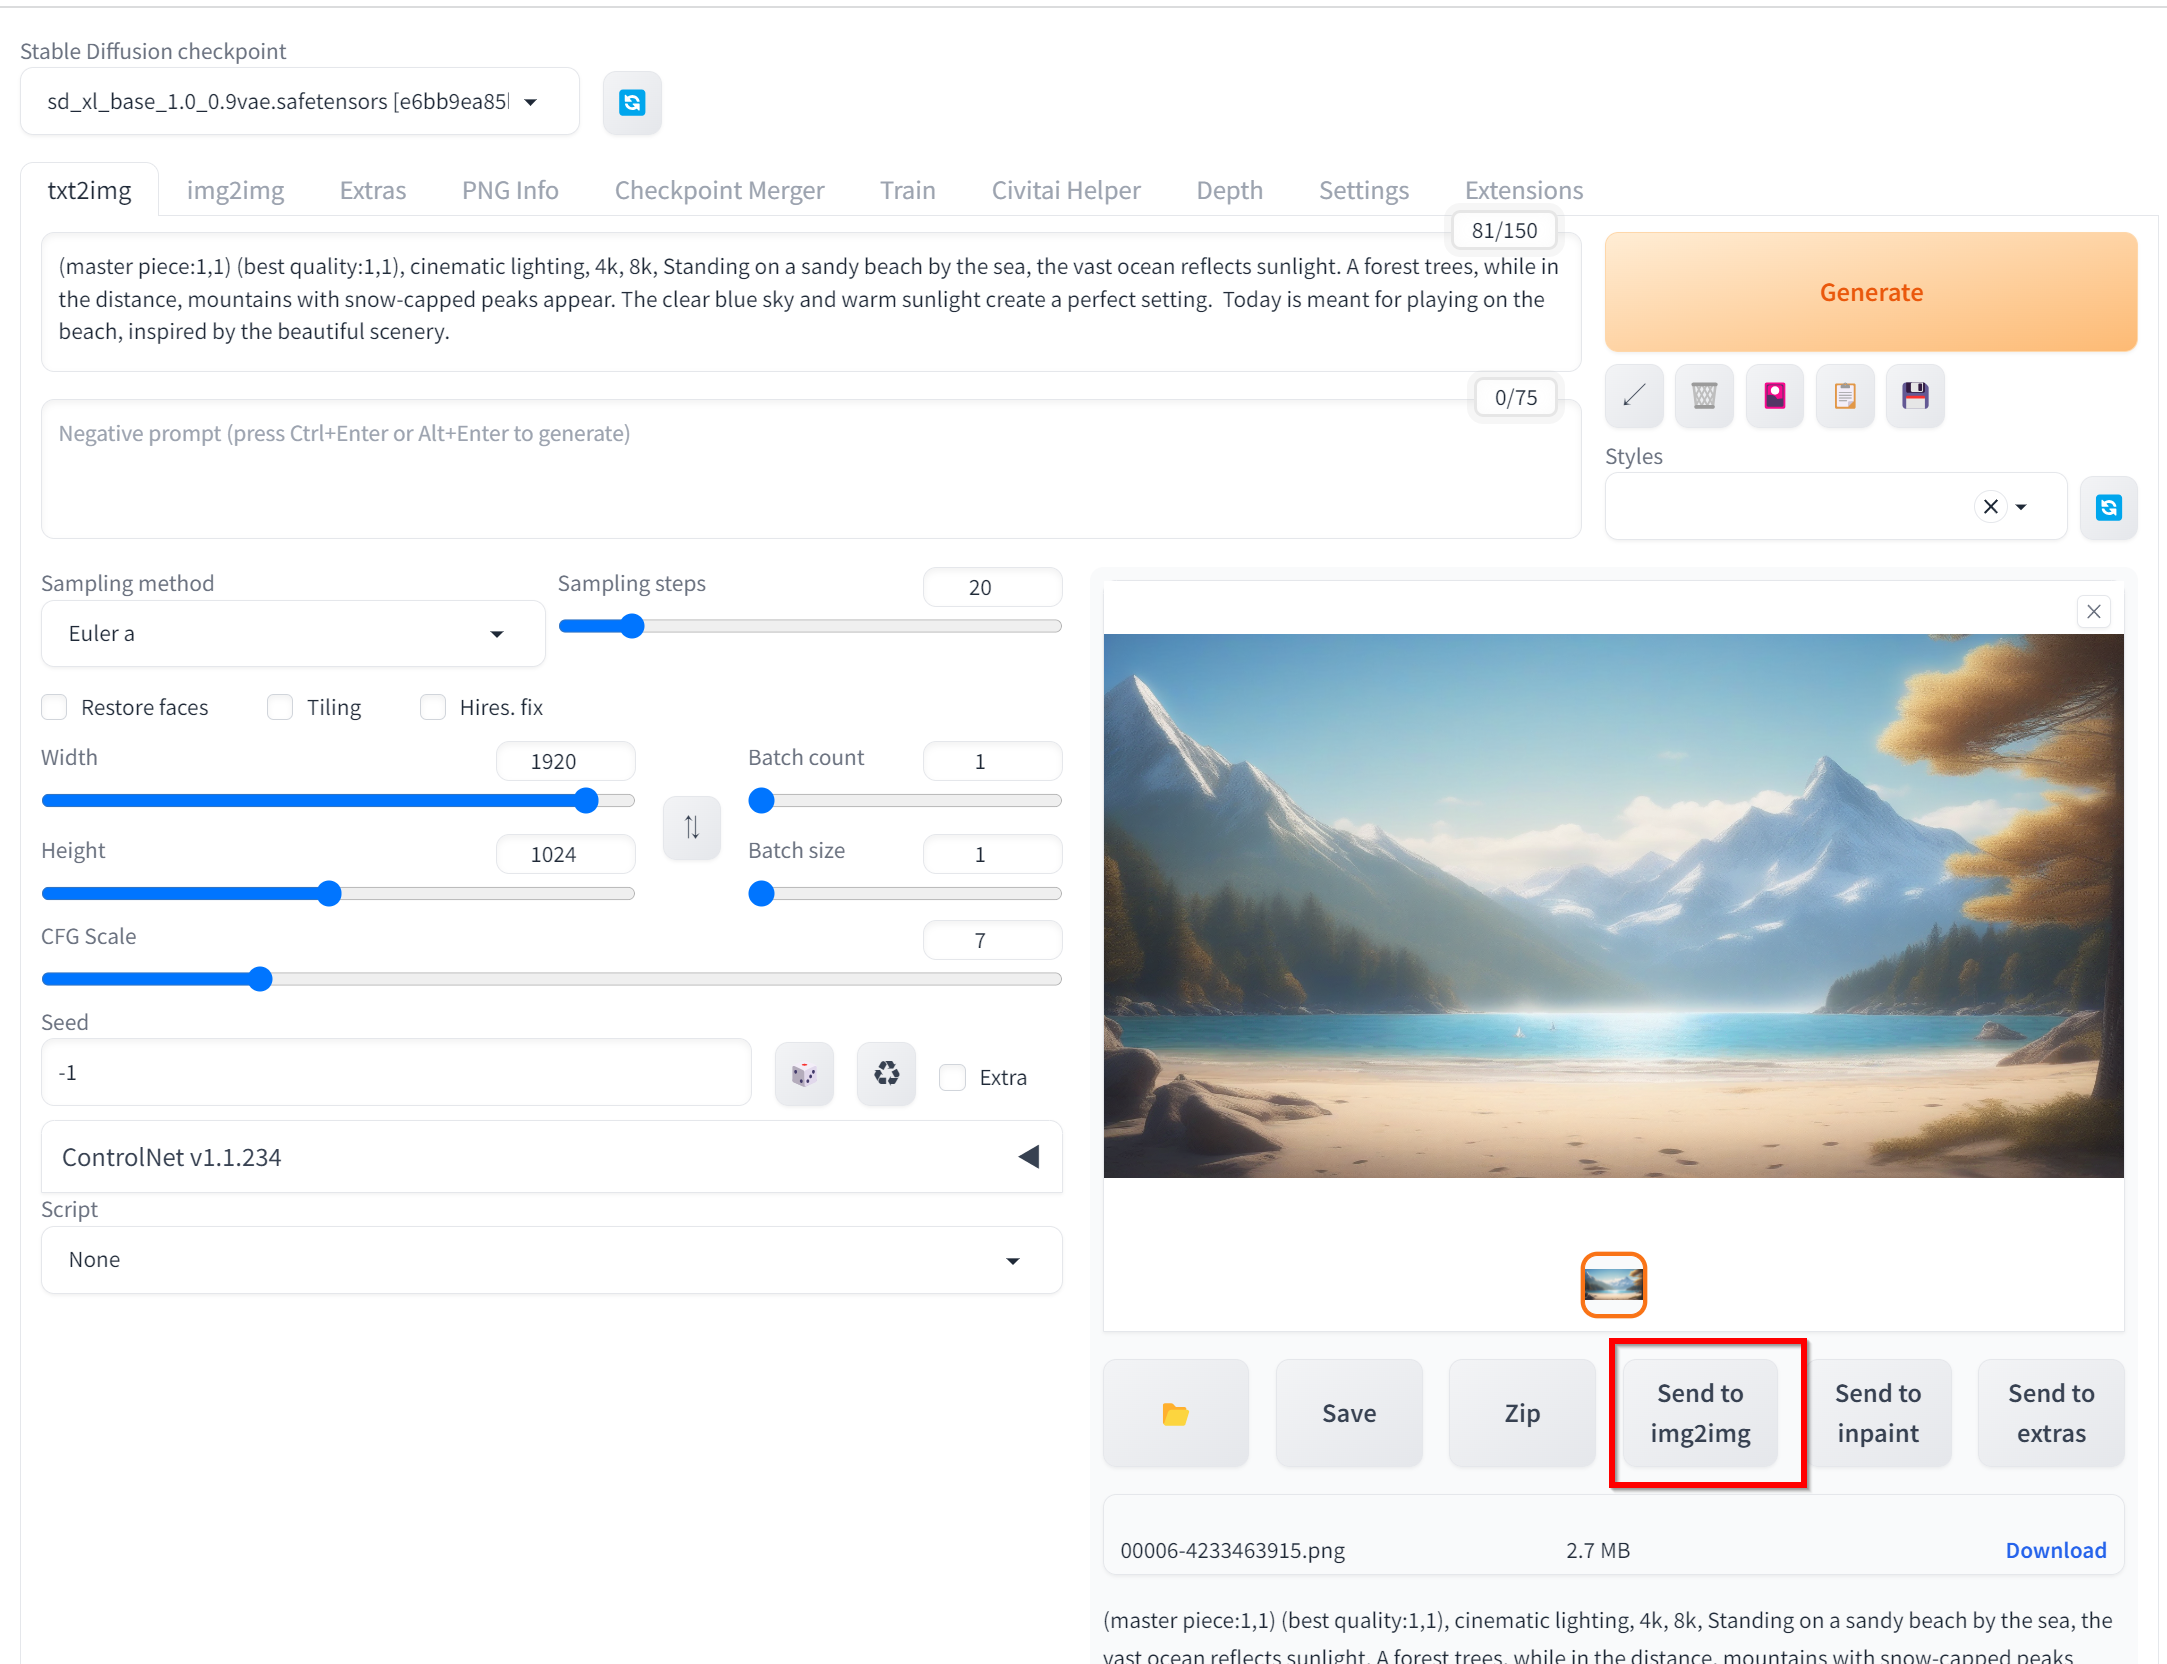
img2img による画像改善
画像合成で得られた画像をimg2img を用いて画像改善する
- 画像生成のあと「Send to img2img」をクリック
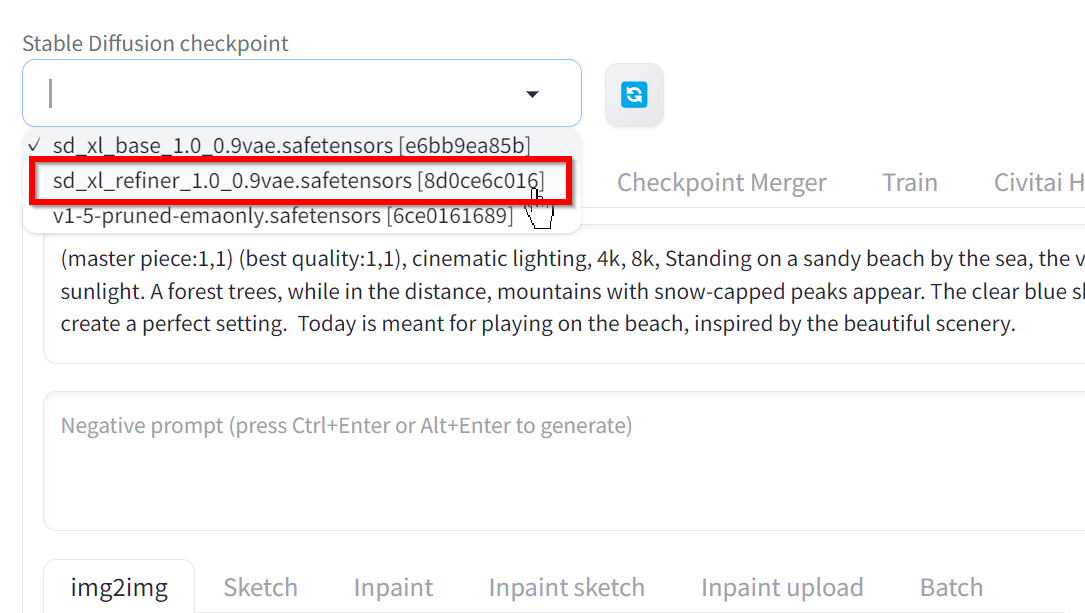
- モデルをsd_xl_refiner_1.0_0.9vae_safetensorsに変更することを忘れない.
- 「Generate」をクリックすることにより img2img が開始する.結果を確認.
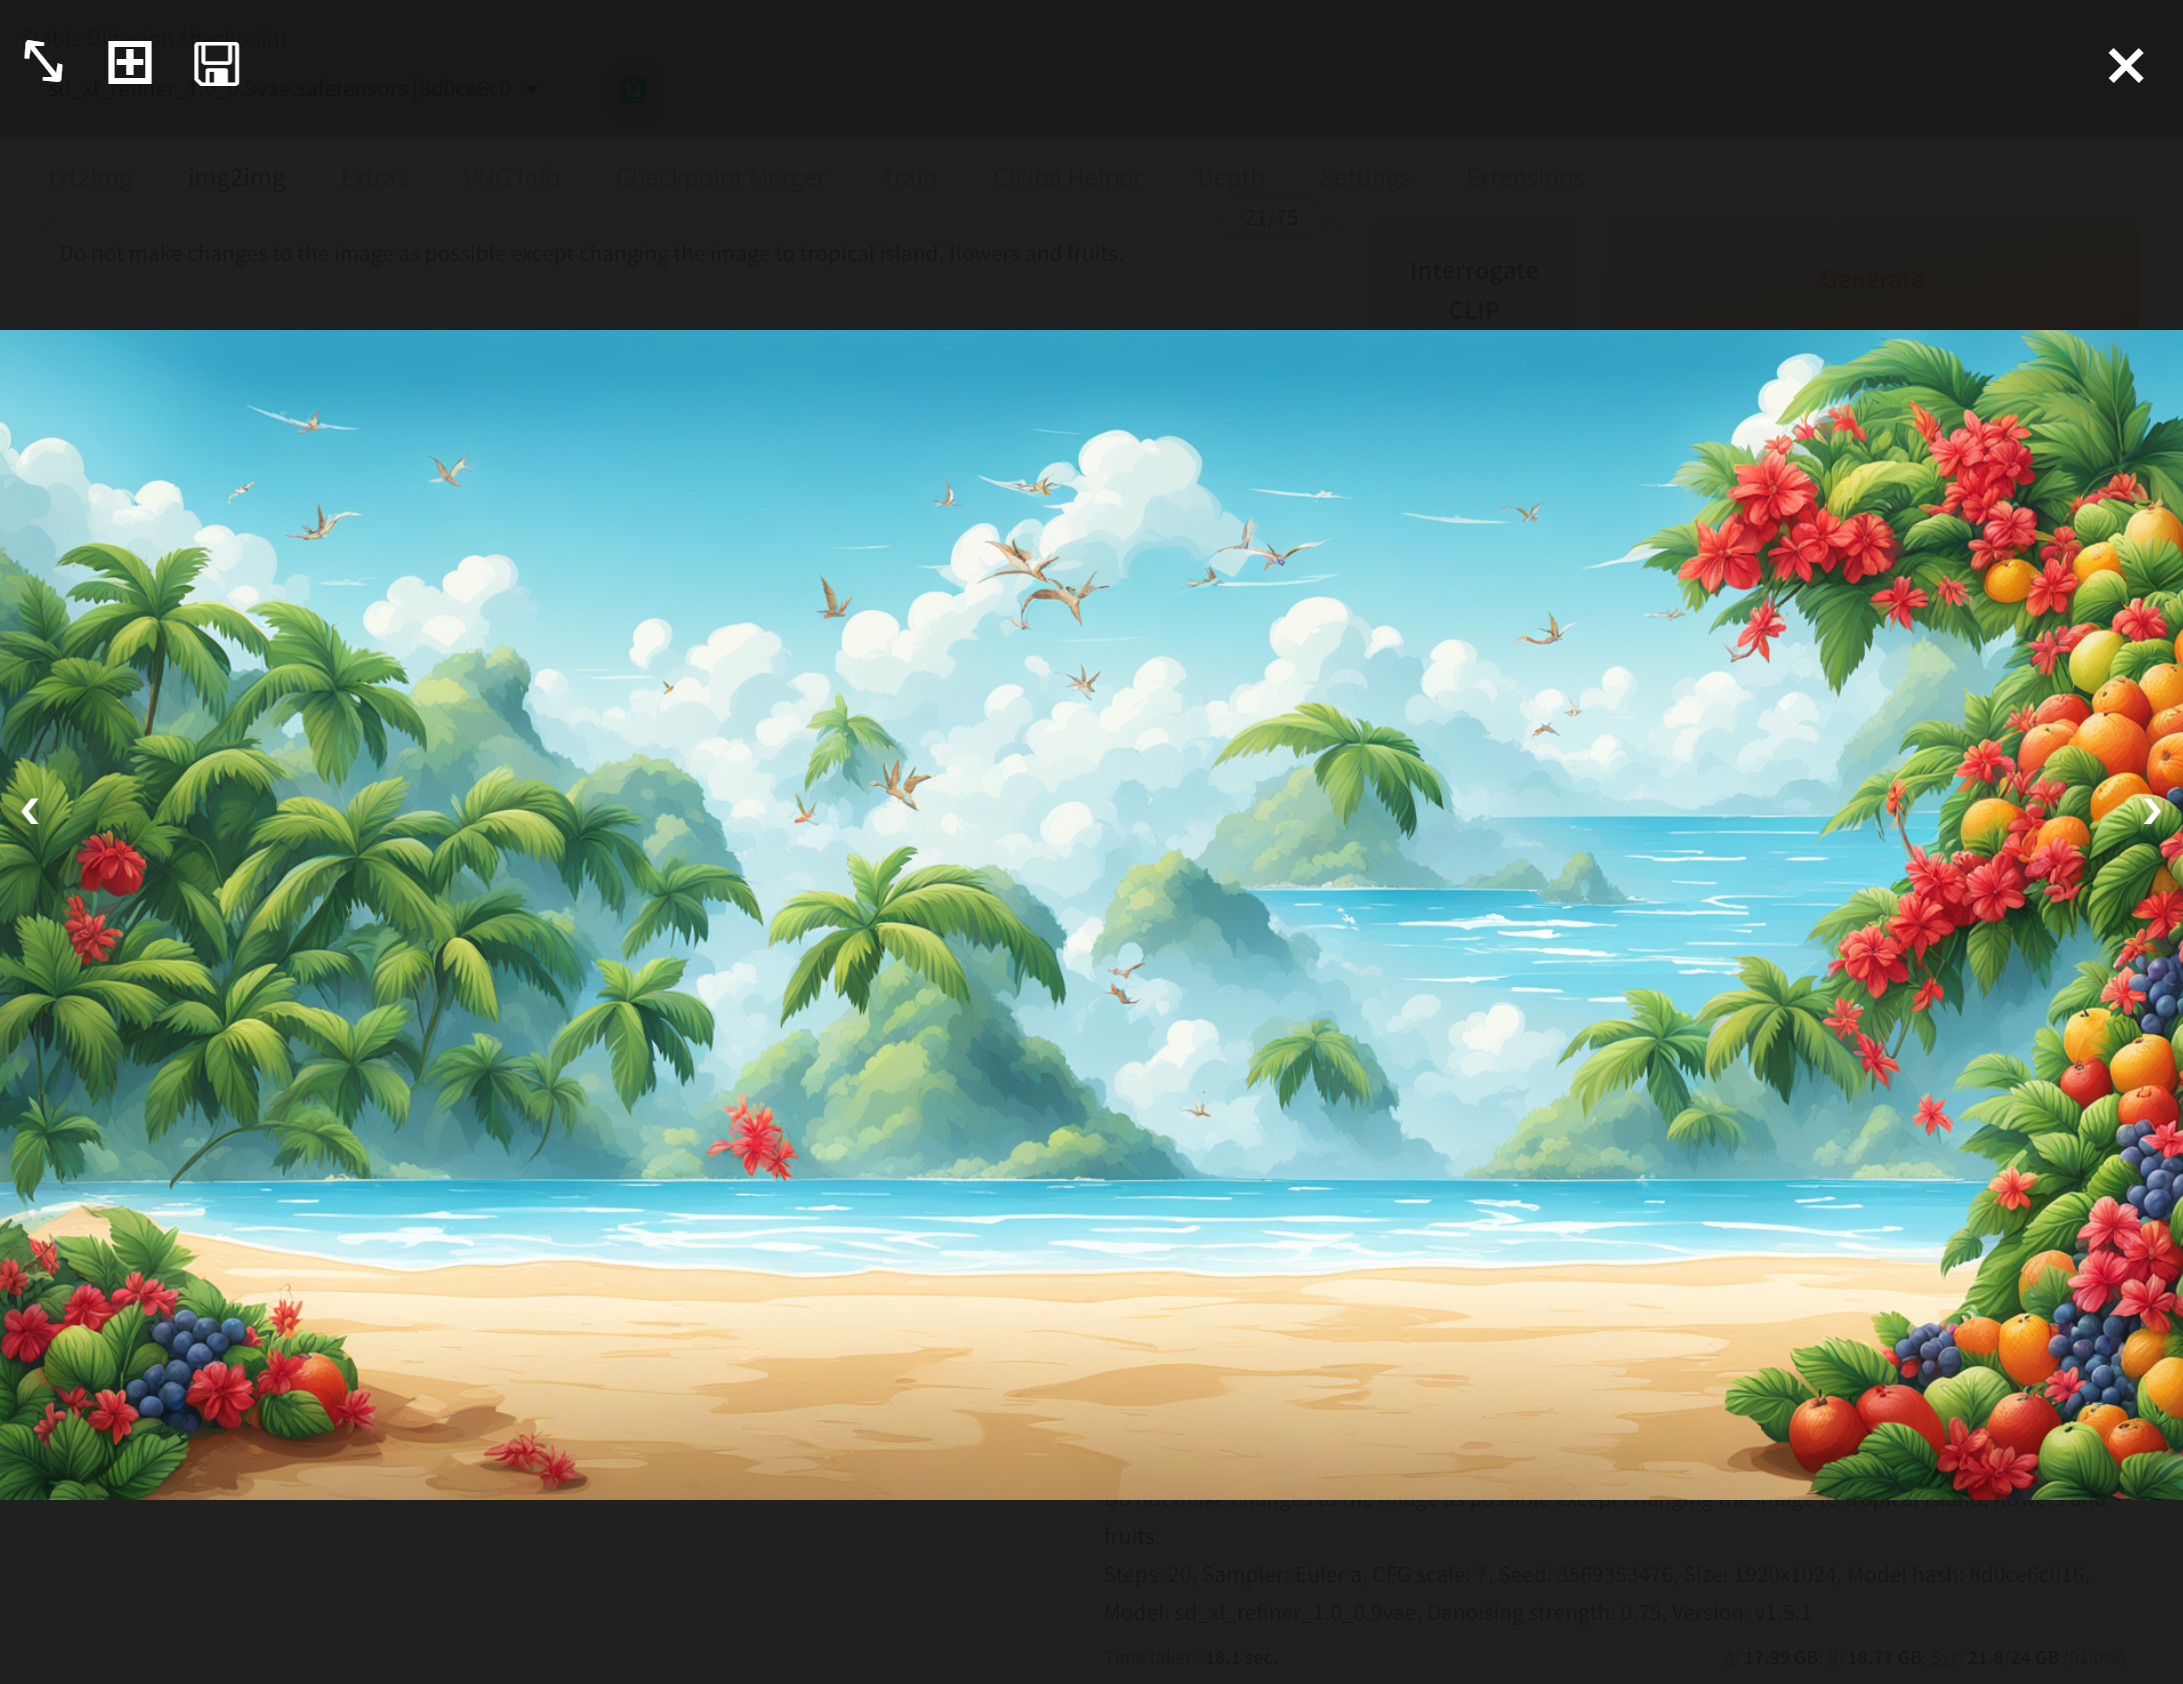
得られた画像
- 南国のようにしたいと考えて,プロンプトを「Do not make changes to the image as possible except changing the image to tropical island, flowers and fruits.」として,「Generate」をクリック.
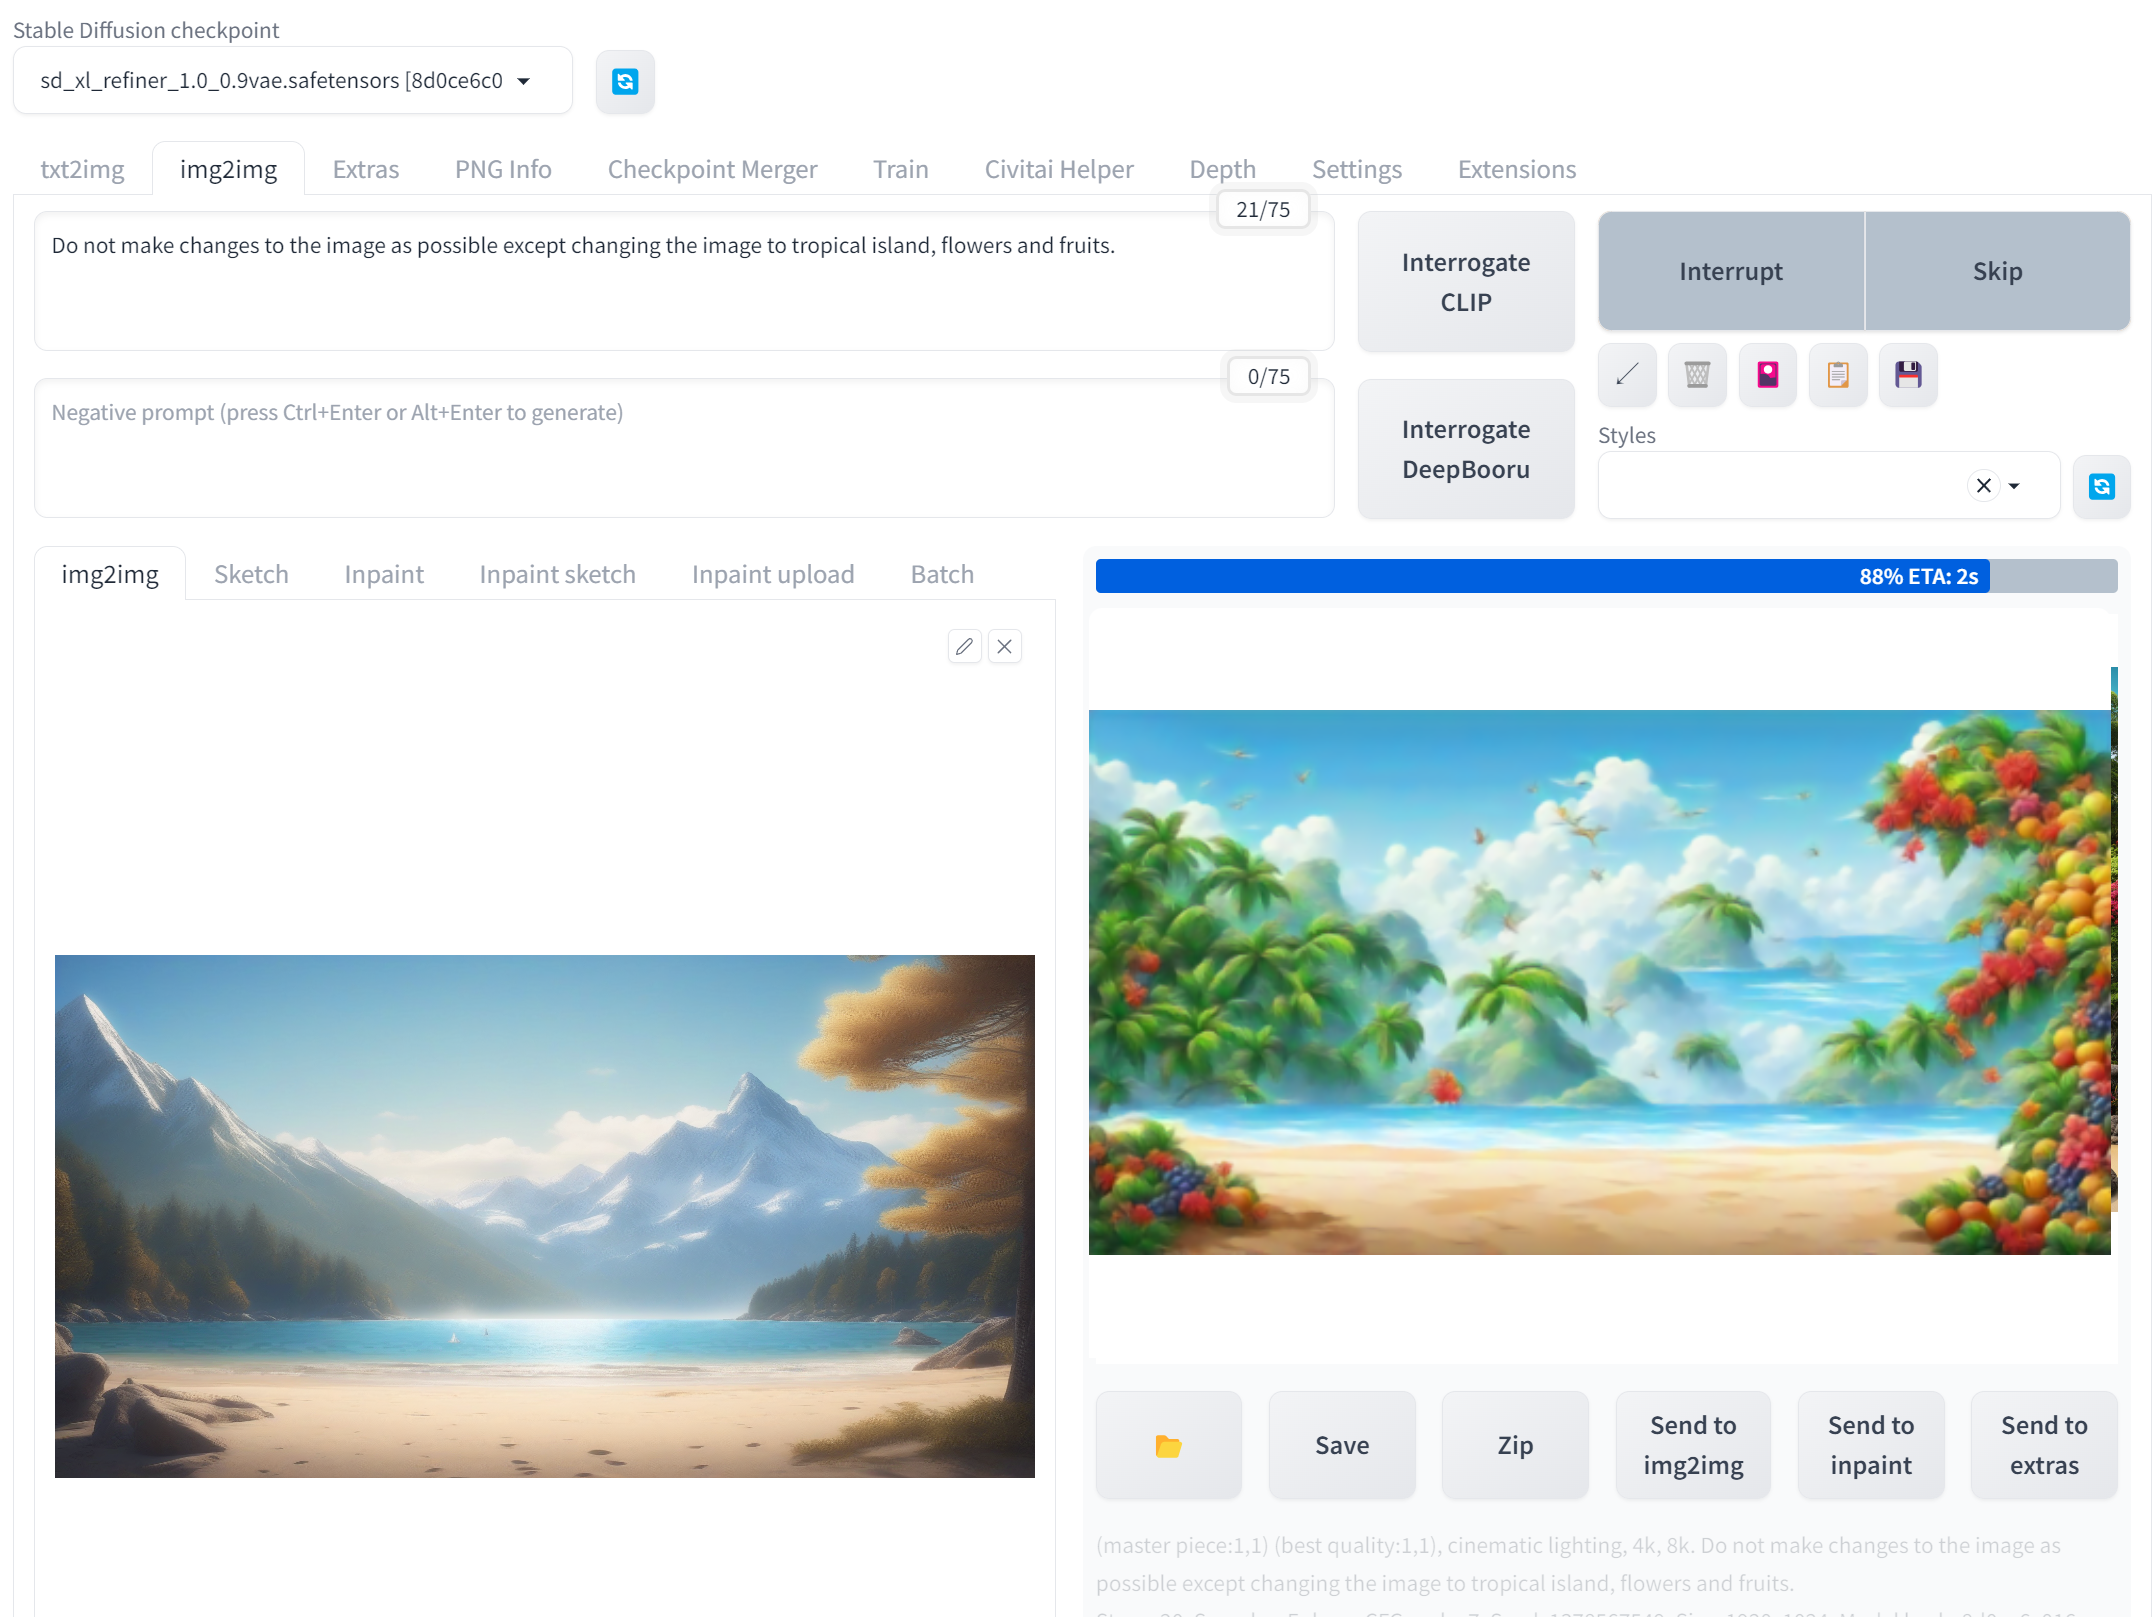
得られた画像
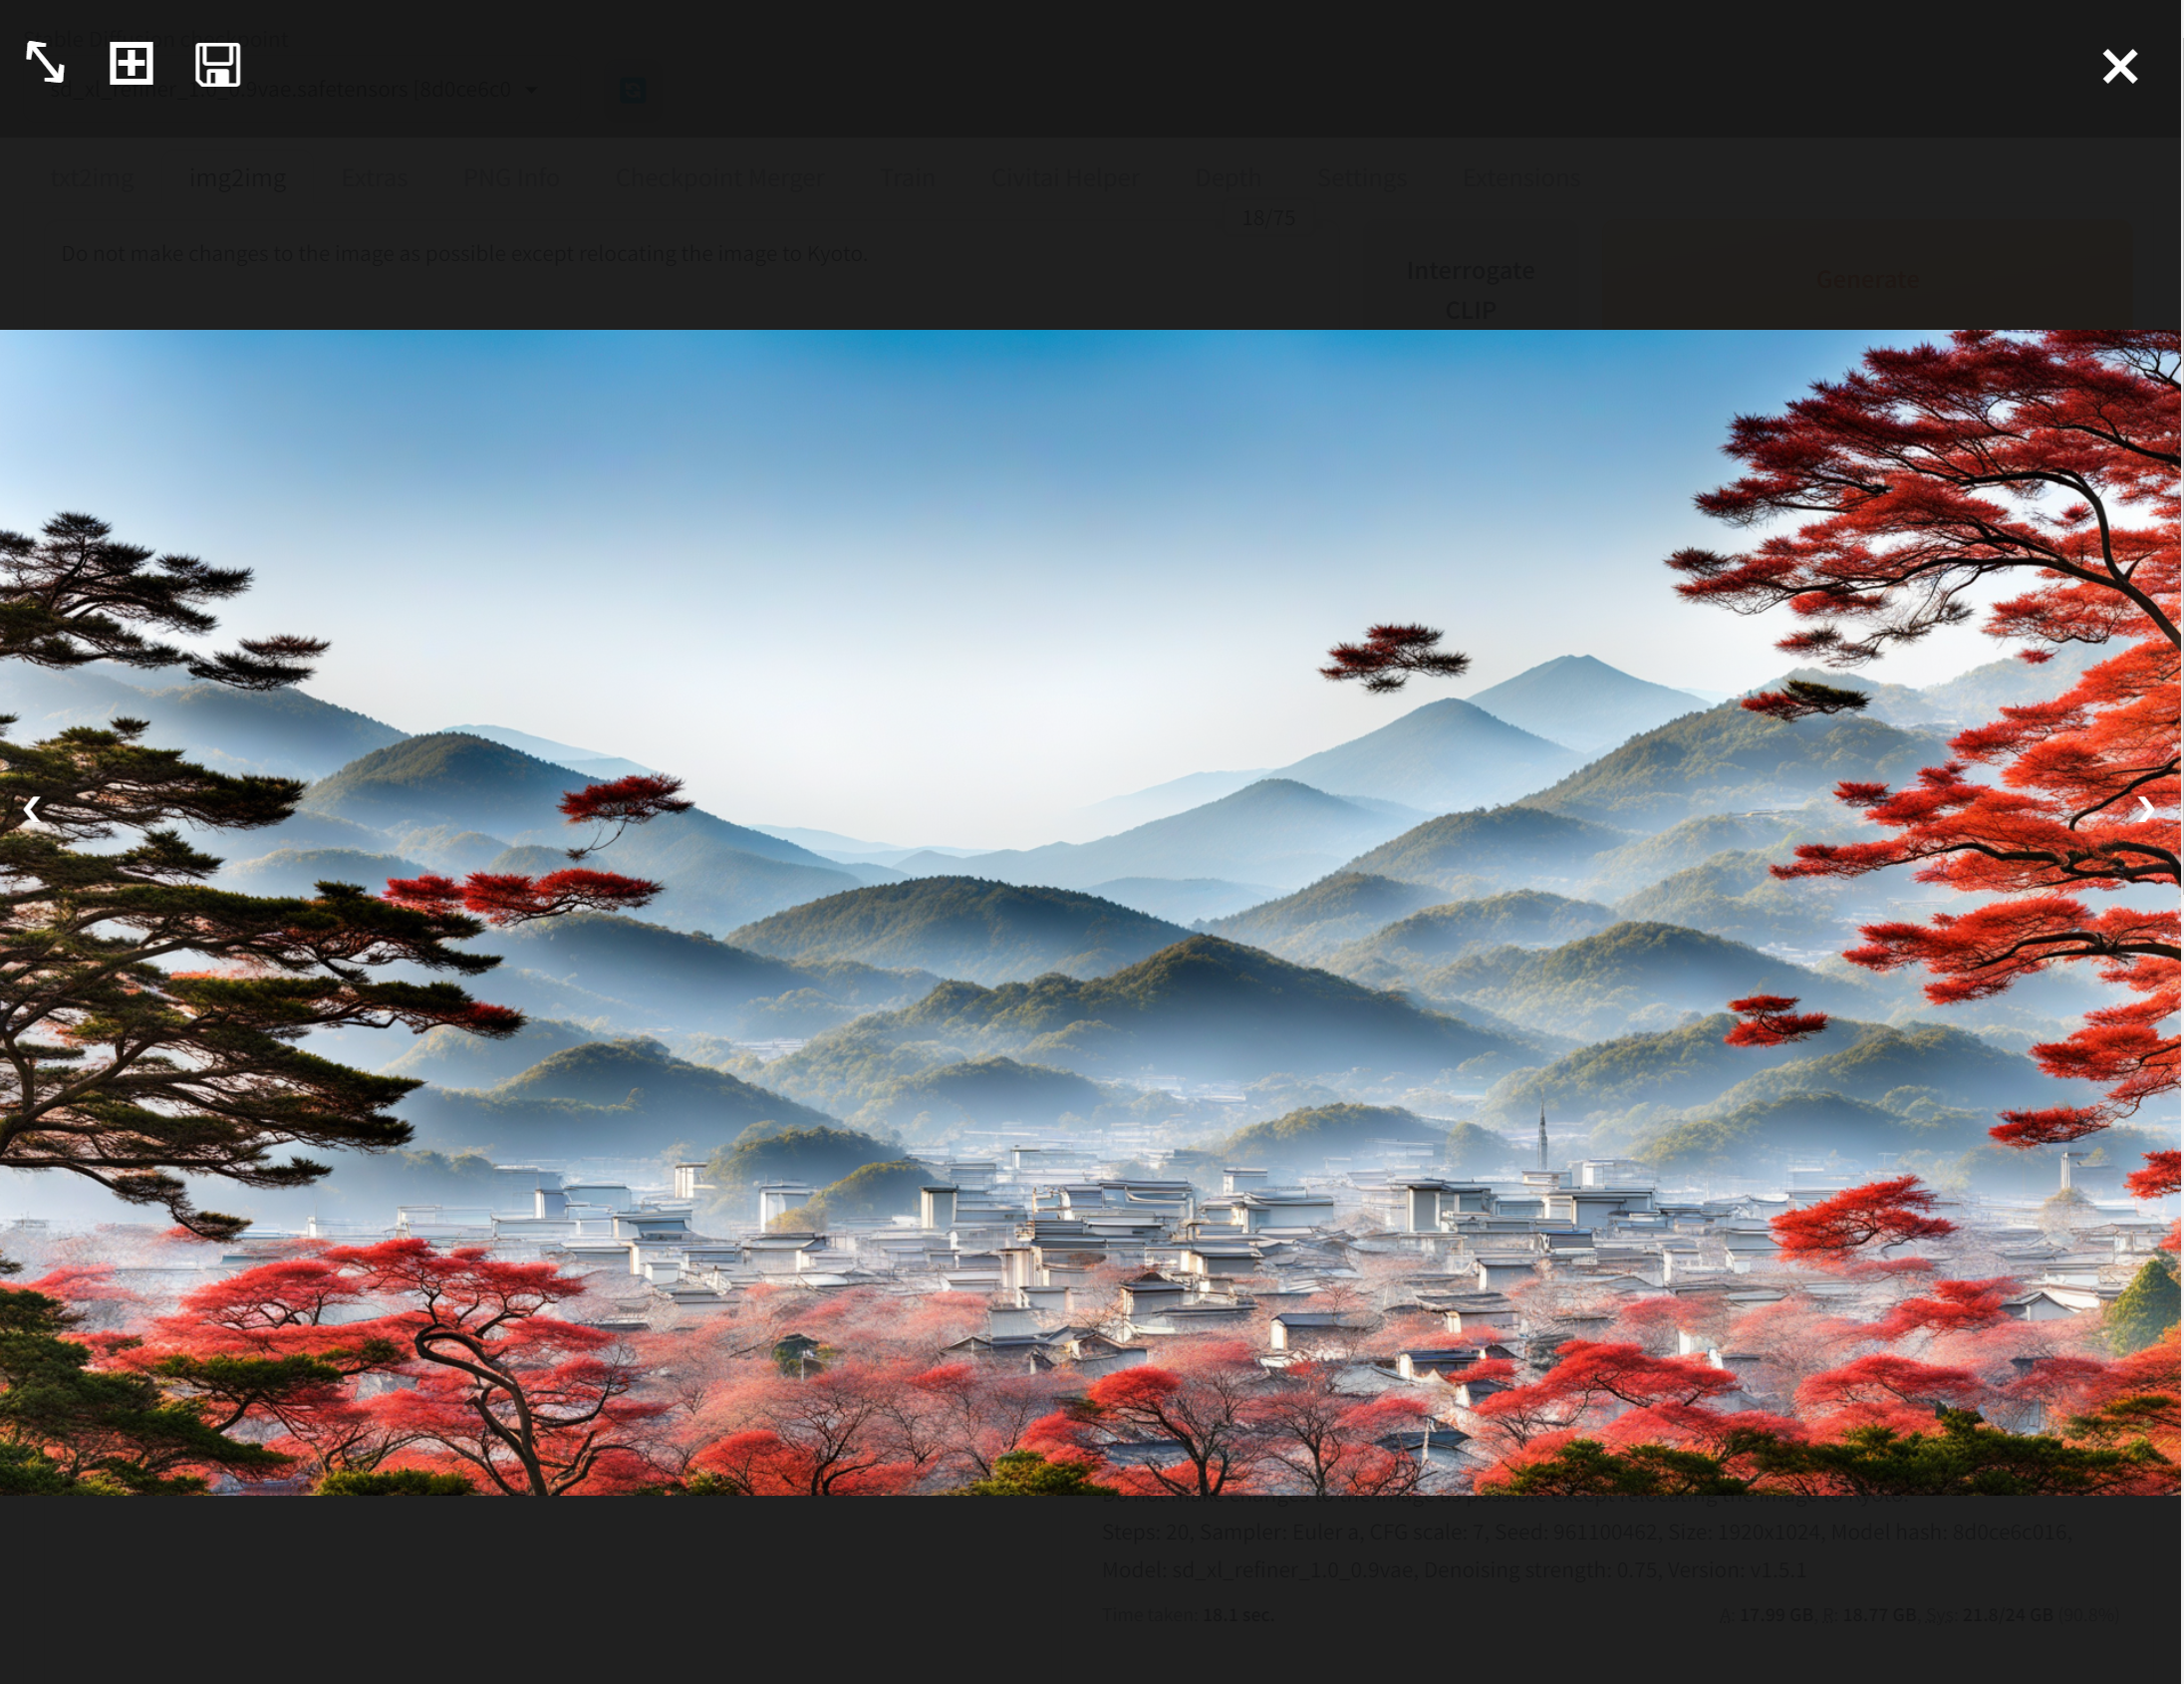
- 京都のようにしたいと考えて,プロンプトを「Do not make changes to the image as possible except relocating the image to Kyoto.」として,「Generate」をクリック.
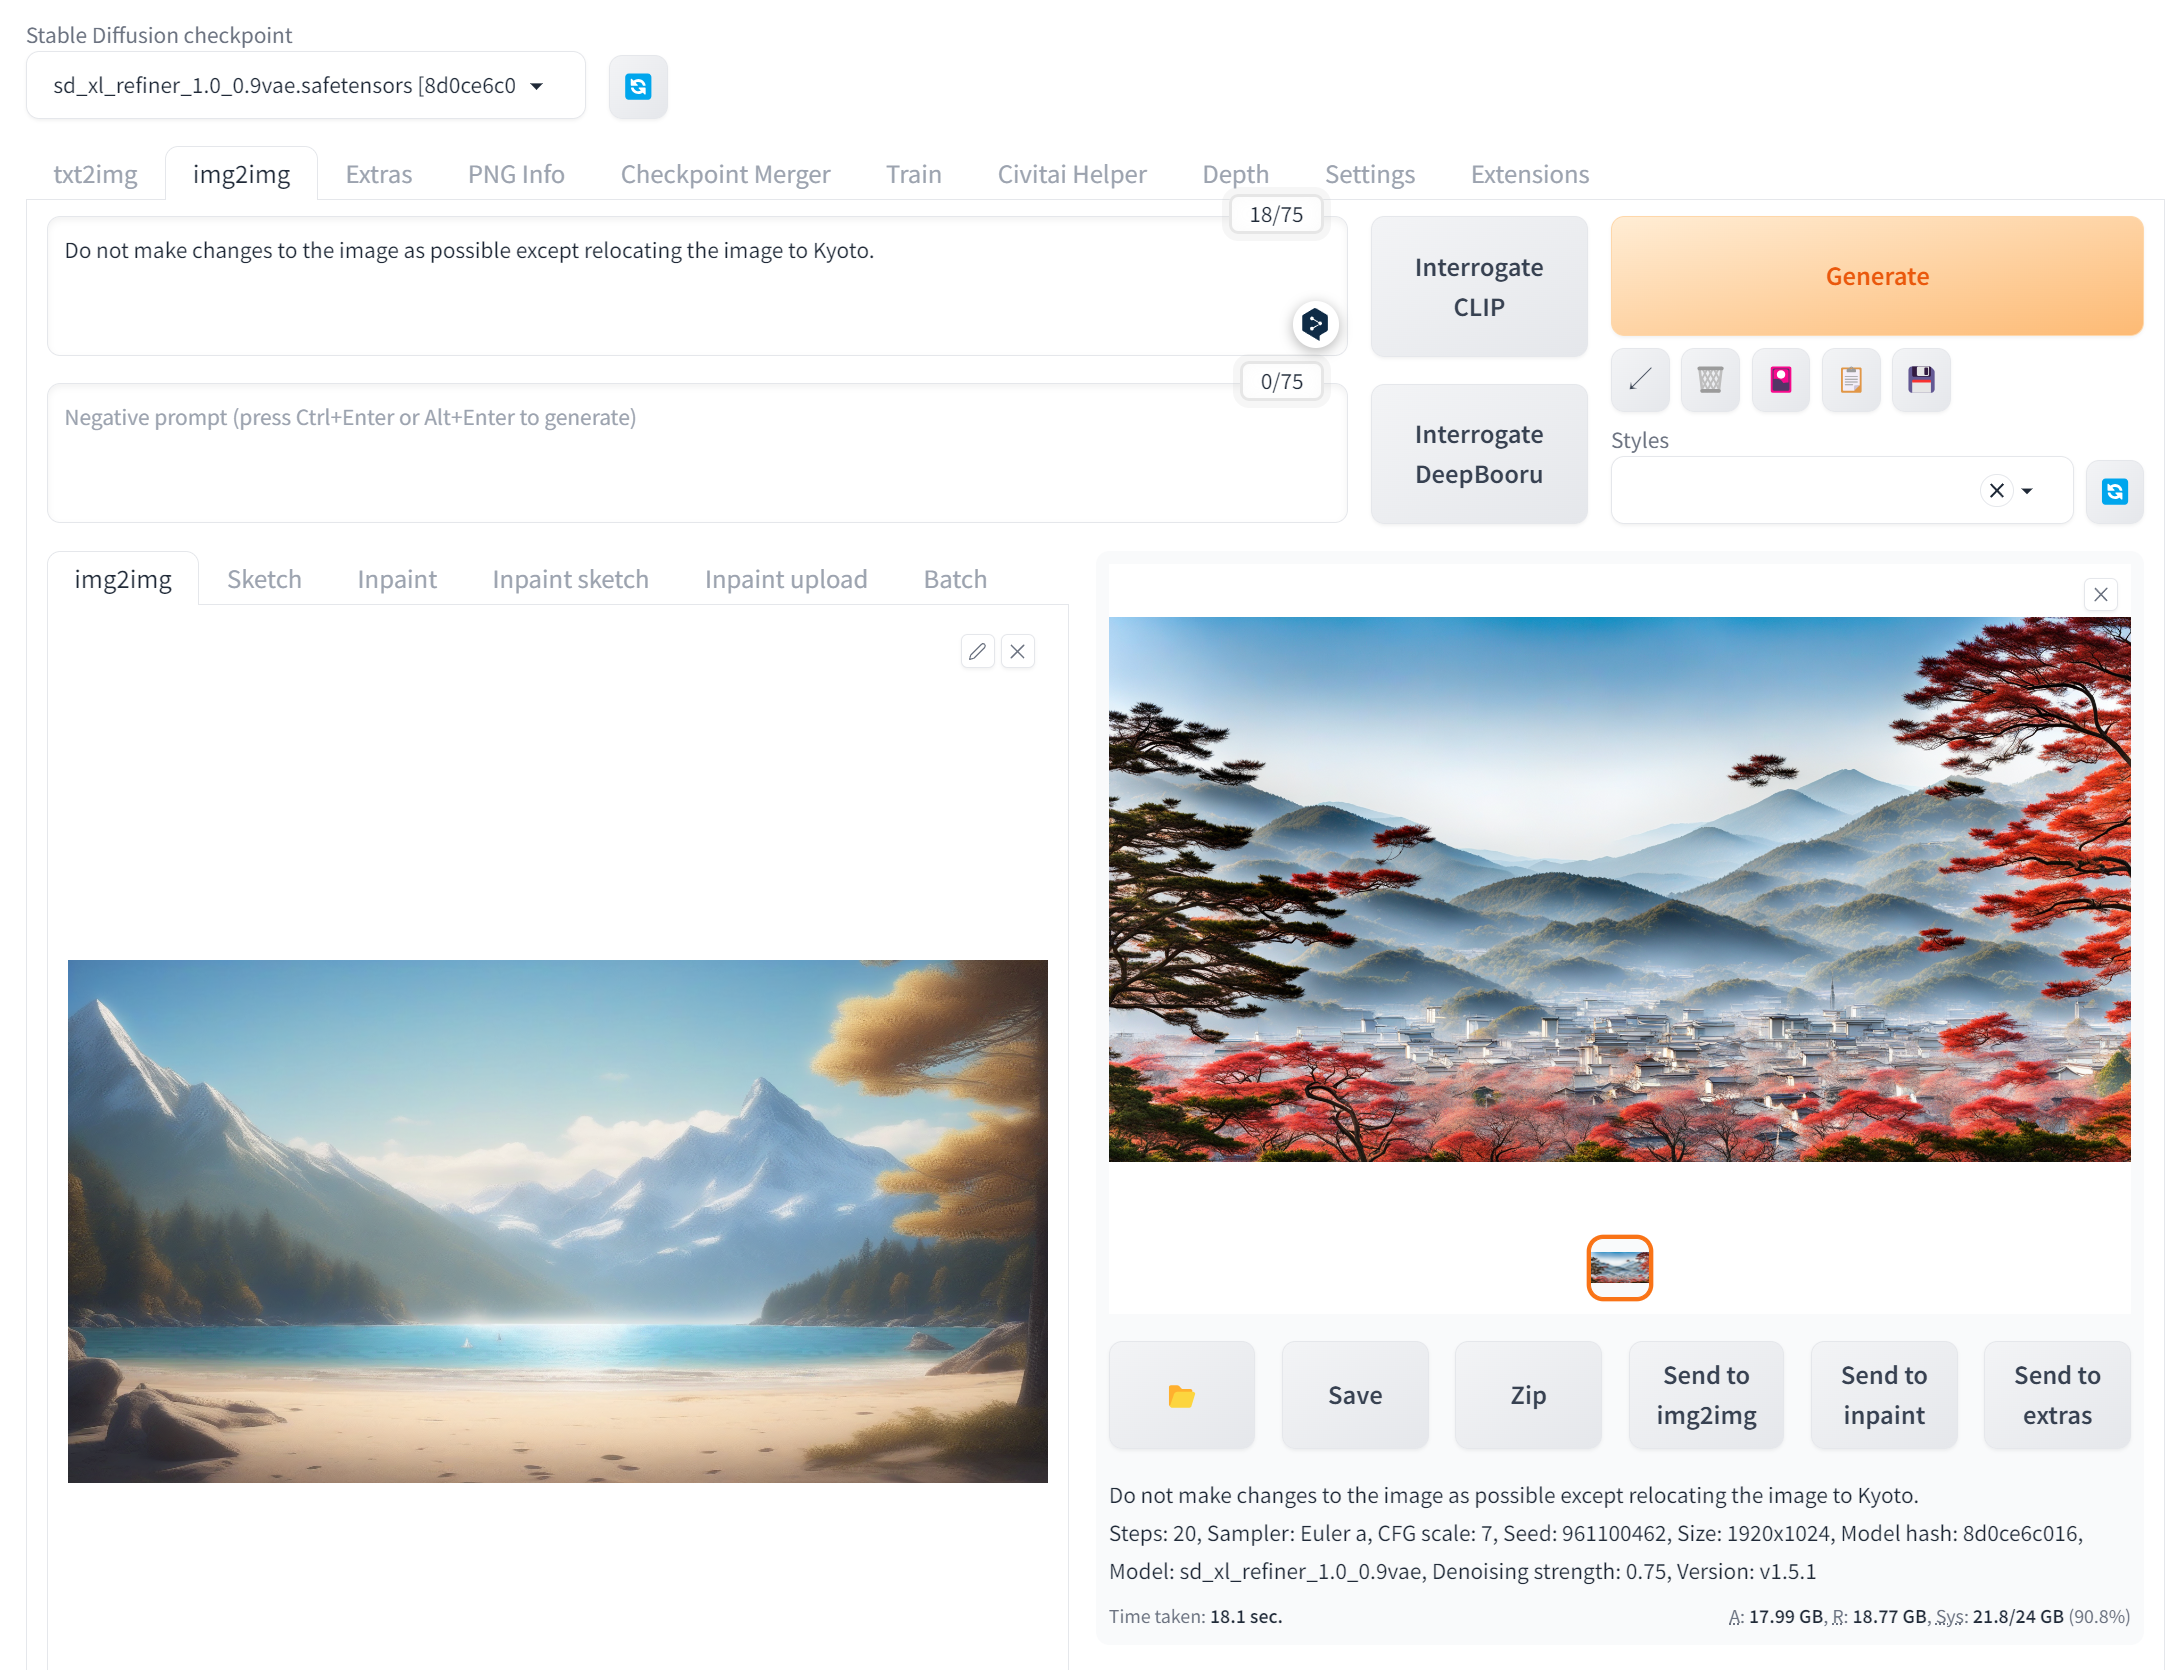
得られた画像
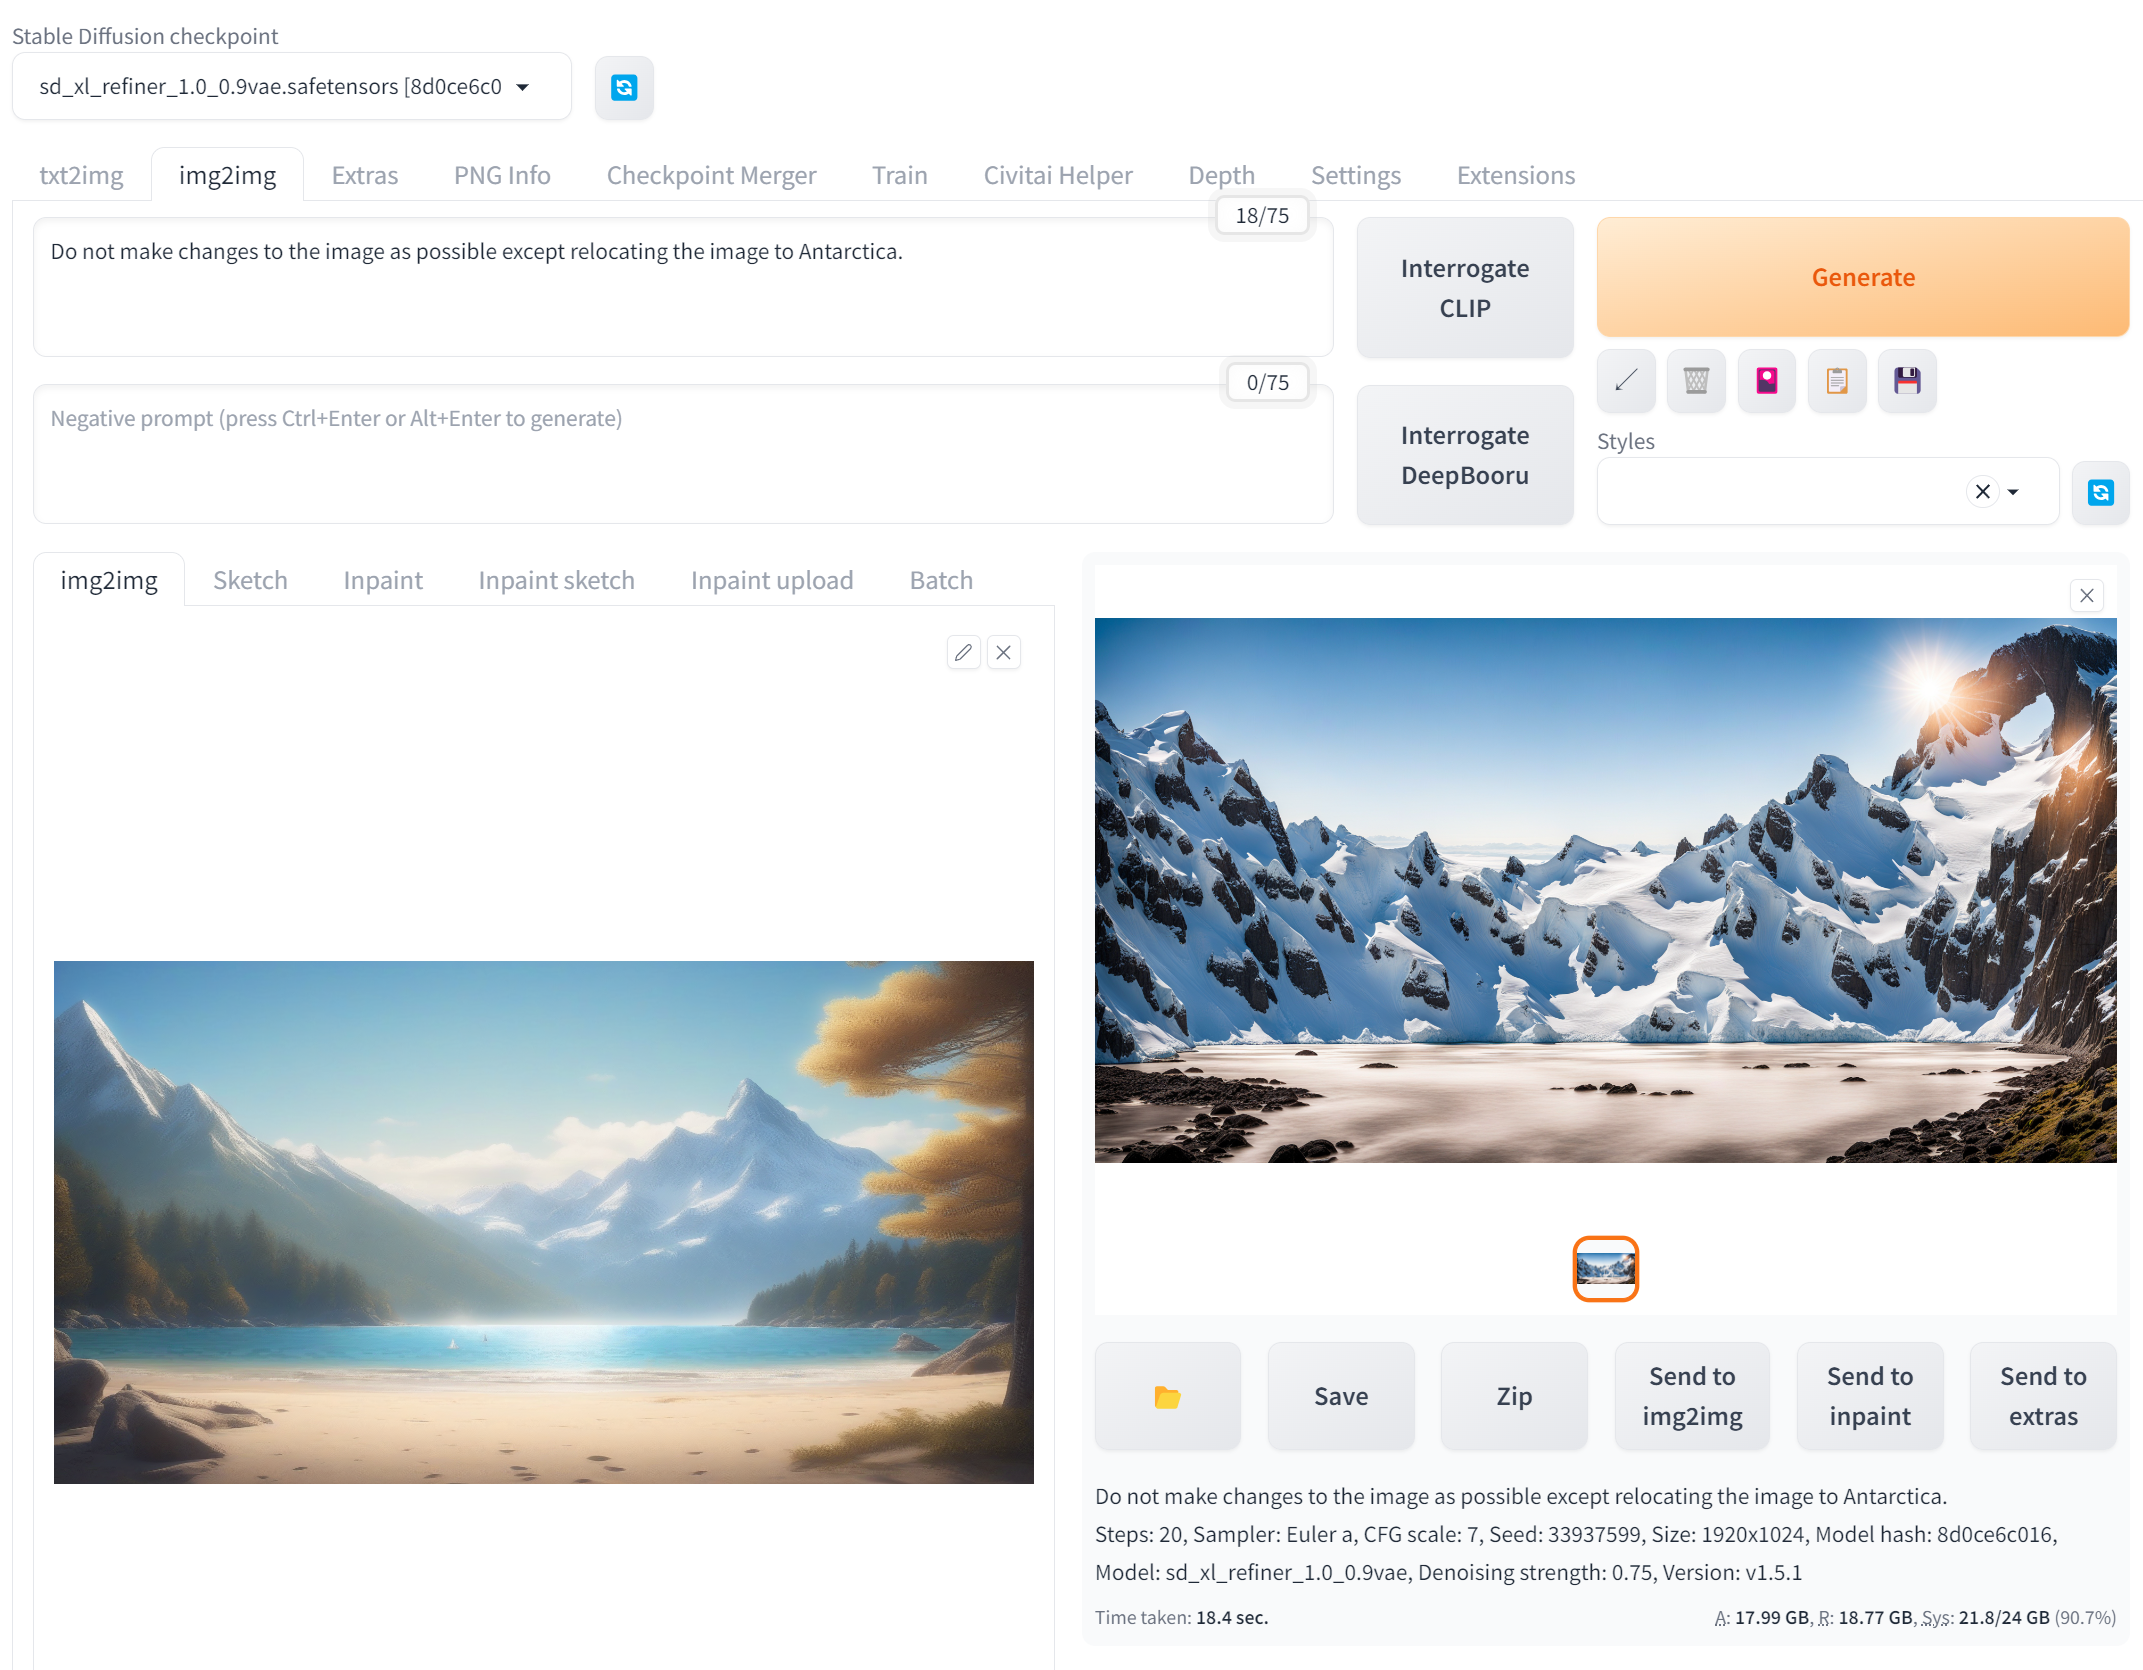
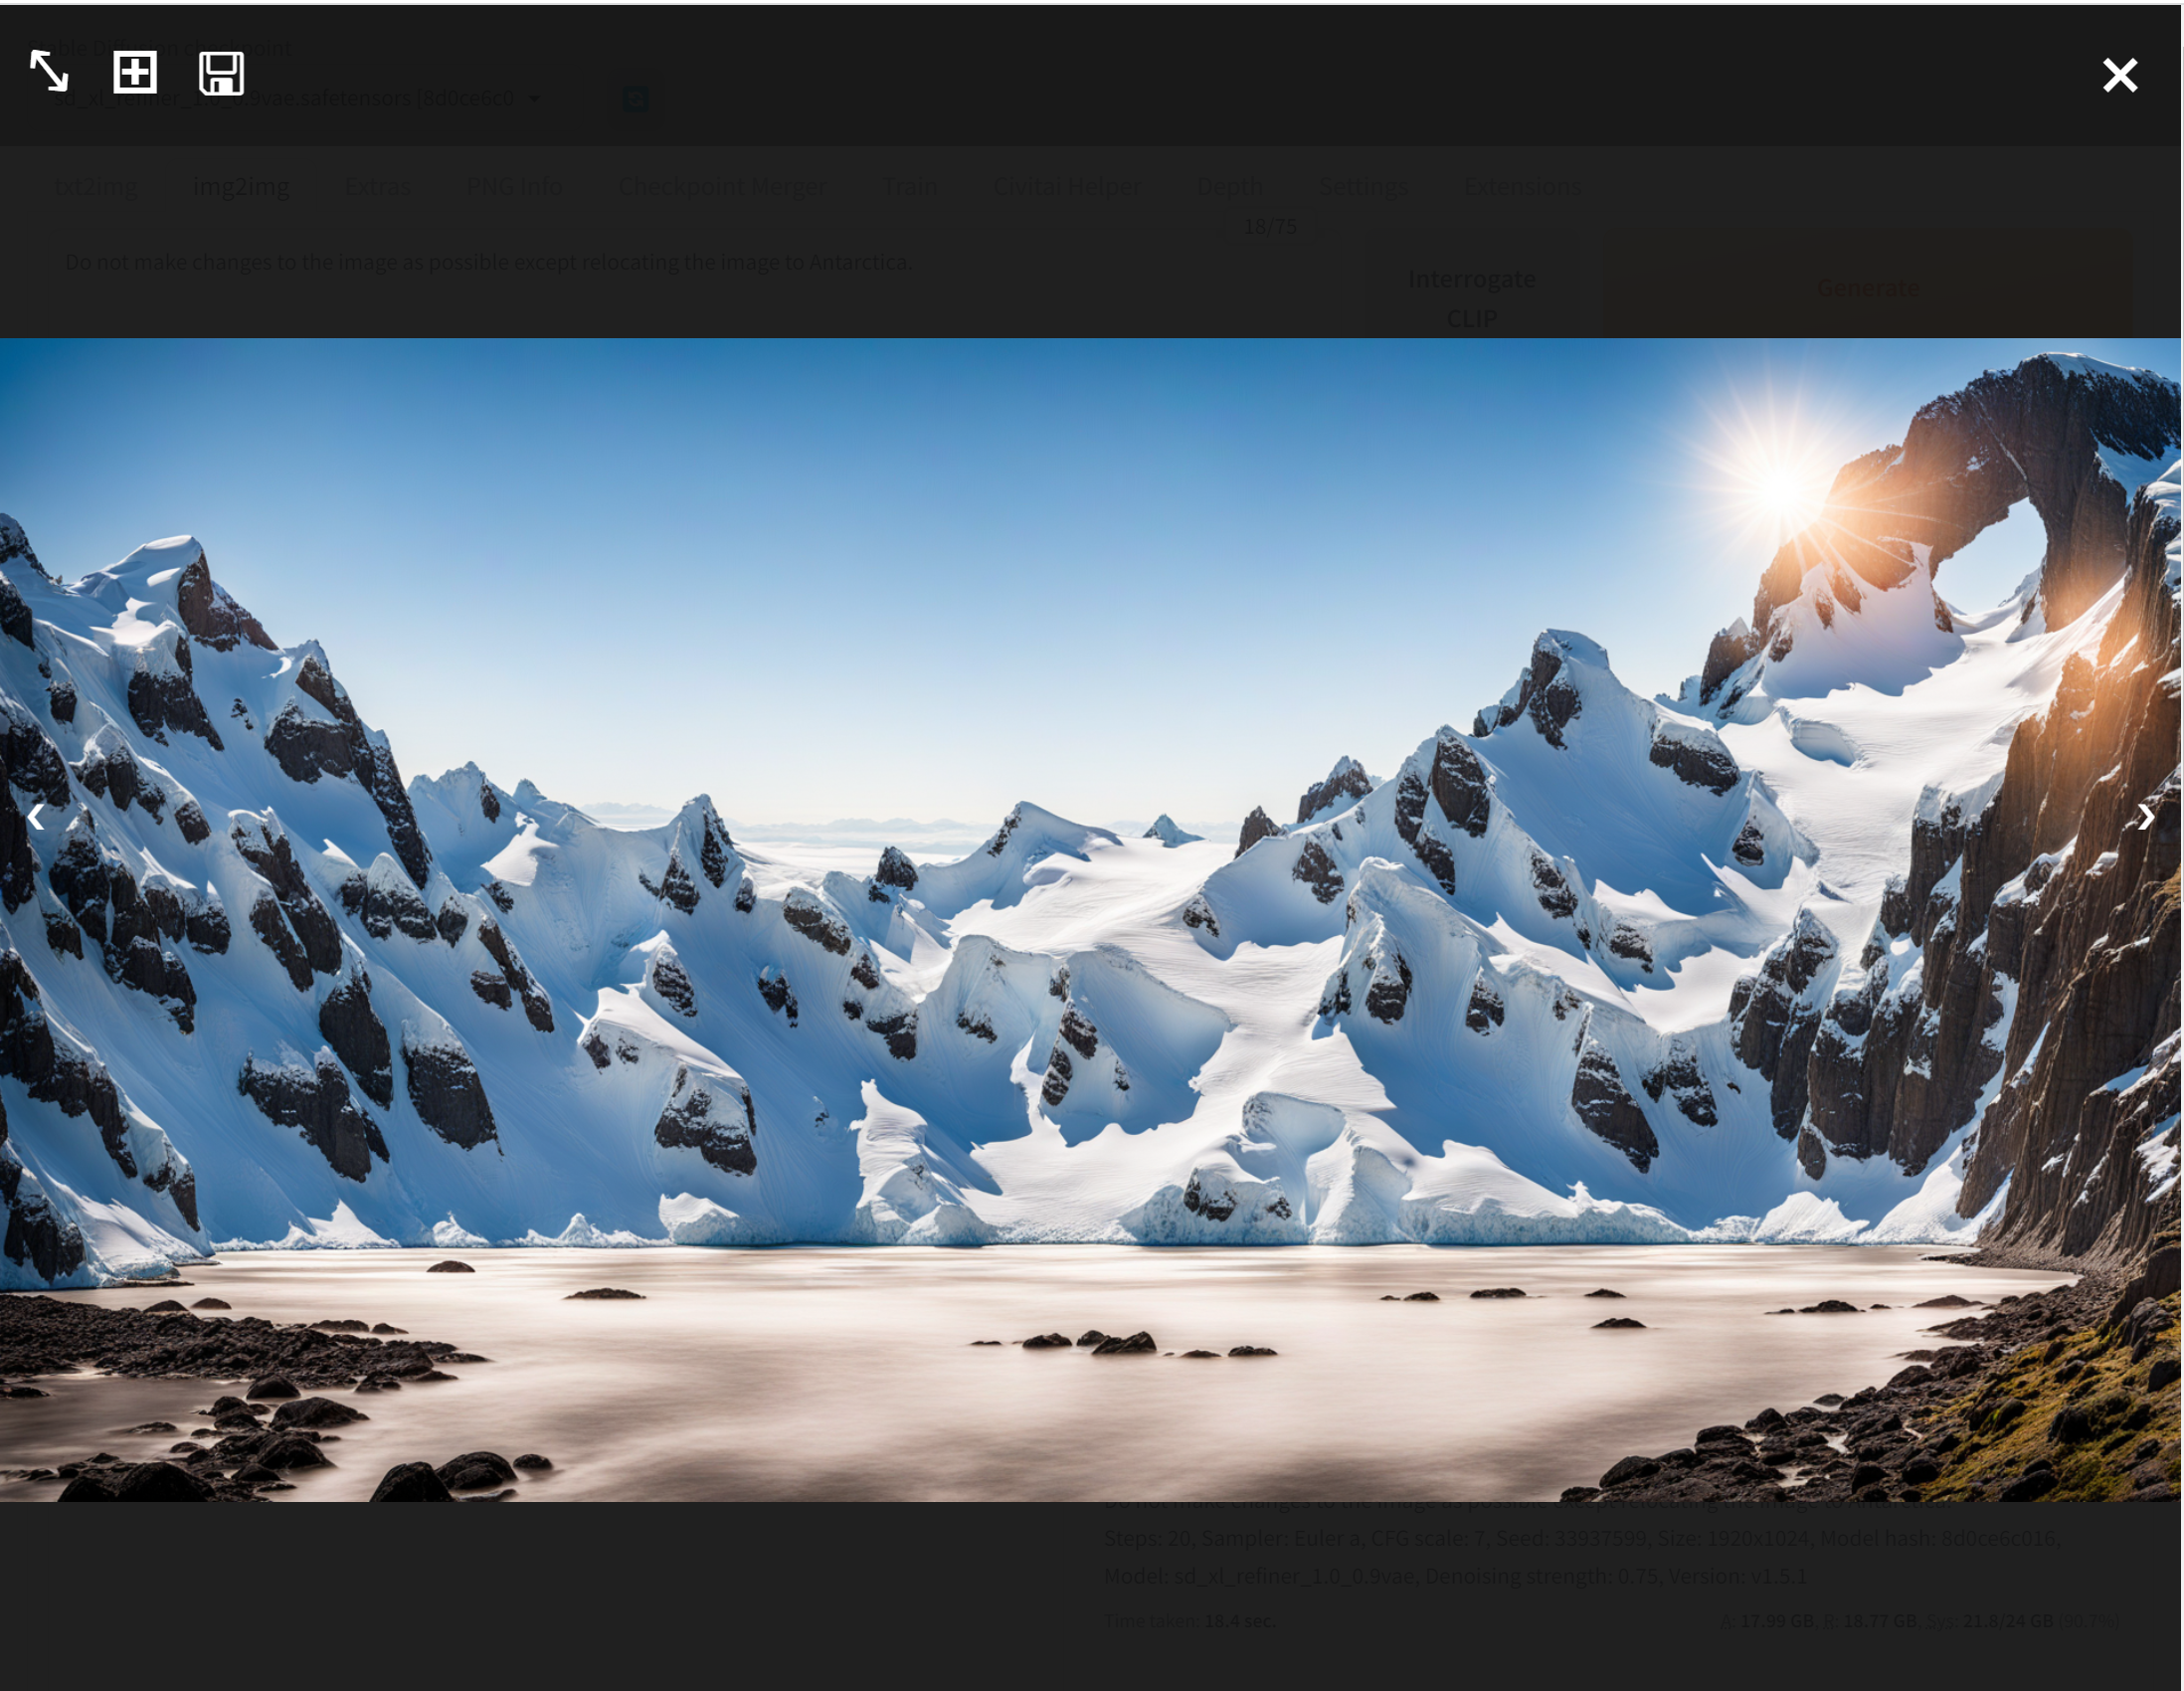
- 南極のようにしたいと考えて,プロンプトを「Do not make changes to the image as possible except relocating the image to Antarctica.」として,「Generate」をクリック.
得られた画像
AUTOMATIC1111 の API を利用して,複数の画像を1回の操作で生成する Python プログラム
【関連する外部ページ】
AUTOMATIC1111 の API の公式ページ: https://github.com/AUTOMATIC1111/stable-diffusion-webui/wiki/API
複数の画像を1回の操作で生成する Python プログラム
- 以下の手順を管理者権限のコマンドプロンプトで実行する
(手順:Windowsキーまたはスタートメニュー →
cmdと入力 → 右クリック → 「管理者として実行」)。 - webui とサーバを起動
前準備として「webui.bat --api --allow-code」で起動.(--allow-code はプロンプト中にコードを含めることを可能にするもの.今回はこの機能は使っていない)
cd /d c:%HOMEPATH%
cd stable-diffusion-webui
webui.bat --api --allow-code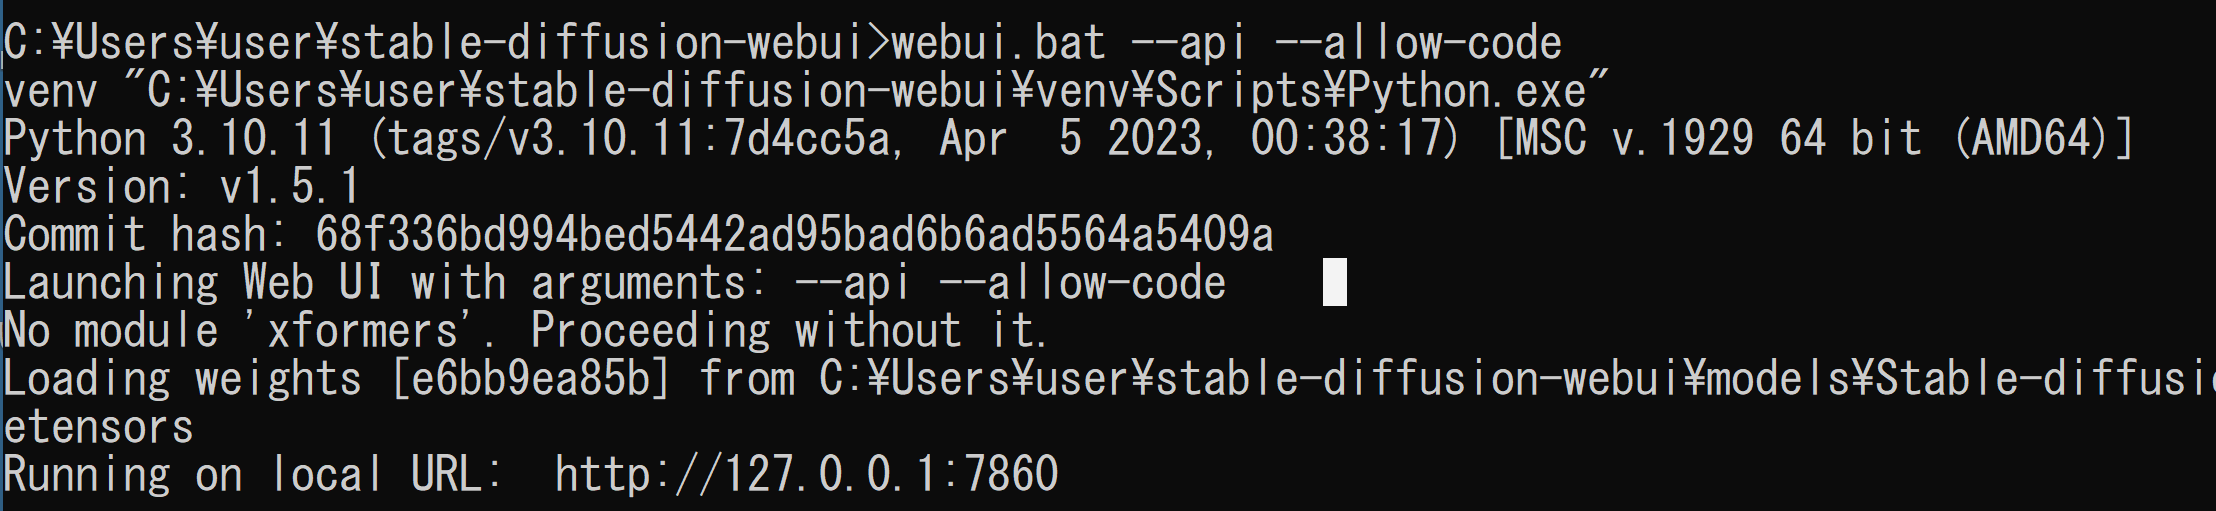
- エディタを起動
cd /d c:%HOMEPATH%
cd stable-diffusion-webui
notepad txt2img.py
- エディタで,次のプログラムを保存
このプログラムは, AUTOMATIC1111 の API の公式ページ: https://github.com/AUTOMATIC1111/stable-diffusion-webui/wiki/API で公開されていたものを変更して使用している.
import json import requests import io import base64 from PIL import Image, PngImagePlugin import os import tkinter as tk def get_file_extension(filename): # ファイル名と拡張子を取得 _, extension = os.path.splitext(filename) # 拡張子の先頭のピリオドを取り除く return extension[1:] def remove_file_extension(filename): # ファイル名と拡張子を取得 filename_without_extension, _ = os.path.splitext(filename) return filename_without_extension def get_response(url, payload): response = requests.post(url=url, json=payload) return response.json() def save_image(image_data, fname): image = Image.open(io.BytesIO(base64.b64decode(image_data.split(",", 1)[0]))) png_payload = { "image": "data:image/png;base64," + image_data } response2 = requests.post(url=f'{url}/sdapi/v1/png-info', json=png_payload) pnginfo = PngImagePlugin.PngInfo() pnginfo.add_text("parameters", response2.json().get("info")) print(fname) image.save(fname, pnginfo=pnginfo) def generate_images(): global url_entry url = url_entry.get() output_filename = output_filename_entry.get() number_of_files = int(number_of_files_entry.get()) model = model_entry.get() prompt = prompt_entry.get("1.0", tk.END) width = int(width_entry.get()) height = int(height_entry.get()) steps = int(steps_entry.get()) cfg_scale = int(cfg_scale_entry.get()) negative_prompt = negative_prompt_entry.get("1.0", tk.END) payload = { "sd_model_checkpoint": model, } response = get_response(f'{url}/sdapi/v1/options', payload) strings = [f"{i:02}" for i in range(number_of_files)] for i in strings: payload = { "prompt": prompt, "width": width, "height": height, "steps": steps, "cfg_scale": cfg_scale, "negative_prompt": negative_prompt, } response = get_response(f'{url}/sdapi/v1/txt2img', payload) for j in response['images']: save_image(j, remove_file_extension(output_filename) + i + '.' + get_file_extension(output_filename)) url_entry = None; output_filename_entry = None; number_of_files_entry = None; model_entry = None; prompt_entry = None; width_entry = None; height_entry = None; steps_entry = None; cfg_scale_entry = None; negative_prompt_entry = None; def main(): global url_entry, output_filename_entry, number_of_files_entry, model_entry, prompt_entry, width_entry, height_entry, steps_entry, cfg_scale_entry, negative_prompt_entry # Tkinter GUI setup root = tk.Tk() root.title("Image Generation Configurator") tk.Label(root, text="URL:").grid(row=0, column=0, padx=5, pady=5) url_entry = tk.Entry(root, width=50) url_entry.grid(row=0, column=1, columnspan=3, padx=5, pady=5) url_entry.insert(tk.END, "http://127.0.0.1:7860") tk.Label(root, text="Output Filename:").grid(row=1, column=0, padx=5, pady=5) output_filename_entry = tk.Entry(root, width=50) output_filename_entry.grid(row=1, column=1, columnspan=3, padx=5, pady=5) output_filename_entry.insert(tk.END, "output.png") tk.Label(root, text="Number of Files:").grid(row=2, column=0, padx=5, pady=5) number_of_files_entry = tk.Entry(root, width=50) number_of_files_entry.grid(row=2, column=1, columnspan=3, padx=5, pady=5) number_of_files_entry.insert(tk.END, "20") tk.Label(root, text="model:").grid(row=3, column=0, padx=5, pady=5) model_entry = tk.Entry(root, width=50) model_entry.grid(row=3, column=1, columnspan=3, padx=5, pady=5) model_entry.insert(tk.END, "sd_xl_base_1.0_0.9vae.safetensors [e6bb9ea85b]") tk.Label(root, text="Prompt:").grid(row=4, column=0, padx=5, pady=5) prompt_entry = tk.Text(root, width=50, height=6) prompt_entry.grid(row=4, column=1, columnspan=3, padx=5, pady=5) prompt_entry.insert(tk.END, "person, (master piece:1,1) (best quality:1,1), 4k, 8k") tk.Label(root, text="Width:").grid(row=5, column=0, padx=5, pady=5) width_entry = tk.Entry(root, width=50) width_entry.grid(row=5, column=1, columnspan=3, padx=5, pady=5) width_entry.insert(tk.END, "1024") tk.Label(root, text="Height:").grid(row=6, column=0, padx=5, pady=5) height_entry = tk.Entry(root, width=50) height_entry.grid(row=6, column=1, columnspan=3, padx=5, pady=5) height_entry.insert(tk.END, "1024") tk.Label(root, text="Steps:").grid(row=7, column=0, padx=5, pady=5) steps_entry = tk.Entry(root, width=50) steps_entry.grid(row=7, column=1, columnspan=3, padx=5, pady=5) steps_entry.insert(tk.END, "20") tk.Label(root, text="Cfg Scale:").grid(row=8, column=0, padx=5, pady=5) cfg_scale_entry = tk.Entry(root, width=50) cfg_scale_entry.grid(row=8, column=1, columnspan=3, padx=5, pady=5) cfg_scale_entry.insert(tk.END, "7") tk.Label(root, text="Negative Prompt:").grid(row=9, column=0, padx=5, pady=5) negative_prompt_entry = tk.Text(root, width=50, height=10) negative_prompt_entry.grid(row=9, column=1, columnspan=3, padx=5, pady=5) negative_prompt_entry.insert(tk.END, "(((deformed))), blurry, bad anatomy, disfigured, poorly drawn face, mutation, mutated, (extra_limb), (ugly), (poorly drawn hands), fused fingers, messy drawing, broken legs censor, censored, censor_bar, multiple breasts, (mutated hands and fingers:1.5), (long body :1.3), (mutation, poorly drawn :1.2), black-white, bad anatomy, liquid body, liquidtongue, disfigured, malformed, mutated, anatomical nonsense, text font ui, error, malformed hands, long neck, blurred, lowers, low res, bad anatomy, bad proportions, bad shadow, uncoordinated body, unnatural body, fused breasts, bad breasts, huge breasts, poorly drawn breasts, extra breasts, liquid breasts, heavy breasts, missingbreasts, huge haunch, huge thighs, huge calf, bad hands, fused hand, missing hand, disappearing arms, disappearing thigh, disappearing calf, disappearing legs, fusedears, bad ears, poorly drawn ears, extra ears, liquid ears, heavy ears, missing ears, fused animal ears, bad animal ears, poorly drawn animal ears, extra animal ears, liquidanimal ears, heavy animal ears, missing animal ears, text, ui, error, missing fingers, missing limb, fused fingers, one hand with more than 5 fingers, one hand with less than5 fingers, one hand with more than 5 digit, one hand with less than 5 digit, extra digit, fewer digits, fused digit, missing digit, bad digit, liquid digit, colorful tongue, blacktongue, cropped, watermark, username, blurry, JPEG artifacts, signature, malformed feet, extra feet, bad feet, poorly drawnfeet, fused feet, missing feet, extra shoes, bad shoes, fused shoes, more than two shoes, poorly drawn shoes, bad gloves, poorly drawn gloves, fused gloves, bad cum, poorly drawn cum, fused cum, bad hairs, poorly drawn hairs, fused hairs, big muscles, ugly, bad face, fused face, poorly drawn face, cloned face, big face, long face, badeyes, fused eyes poorly drawn eyes, extra eyes, malformed limbs, more than 2 nipples, missing nipples, different nipples, fused nipples, bad nipples, poorly drawnnipples, black nipples, colorful nipples, gross proportions. short arm, (((missing arms))), missing thighs, missing calf, missing legs, mutation, duplicate, morbid, mutilated, poorly drawn hands, more than 1 left hand, more than 1 right hand, deformed, (blurry), disfigured, missing legs, extra arms, extra thighs, more than 2 thighs, extra calf,fused calf, extra legs, bad knee, extra knee, more than 2 legs, bad tails, bad mouth, fused mouth, poorly drawn mouth, bad tongue, tongue within mouth, too longtongue, black tongue, big mouth, cracked mouth, bad mouth, dirty face, dirty teeth, dirty pantie, fused pantie, poorly drawn pantie, fused cloth, poorly drawn cloth, badpantie, yellow teeth, thick lips, bad camel toe, colorful camel toe, bad asshole, poorly drawn asshole, fused asshole, missing asshole, bad anus, bad pussy, bad crotch, badcrotch seam, fused anus, fused pussy, fused anus, fused crotch, poorly drawn crotch, fused seam, poorly drawn anus, poorly drawn pussy, poorly drawn crotch, poorlydrawn crotch seam, bad thigh gap, missing thigh gap, fused thigh gap, liquid thigh gap, poorly drawn thigh gap, poorly drawn anus, bad collarbone, fused collarbone, missing collarbone, liquid collarbone, strong girl, obesity, worst quality, low quality, normal quality, liquid tentacles, bad tentacles, poorly drawn tentacles, split tentacles, fused tentacles, missing clit, bad clit, fused clit, colorful clit, black clit, liquid clit, QR code, bar code, censored, safety panties, safety knickers, beard, furry, pony, pubic hair, mosaic, futa, testis, (((deformed))), blurry, bad anatomy, disfigured, poorly drawn face, mutation, mutated, (extra_limb), (ugly), (poorly drawn hands), fused fingers, messy drawing, broken legs censor, censored, censor_bar, multiple breasts, (mutated hands and fingers:1.5), (long body :1.3), (mutation, poorly drawn :1.2), black-white, bad anatomy, liquid body, liquidtongue, disfigured, malformed, mutated, anatomical nonsense, text font ui, error, malformed hands, long neck, blurred, lowers, low res, bad anatomy, bad proportions, bad shadow, uncoordinated body, unnatural body, fused breasts, bad breasts, huge breasts, poorly drawn breasts, extra breasts, liquid breasts, heavy breasts, missingbreasts, huge haunch, huge thighs, huge calf, bad hands, fused hand, missing hand, disappearing arms, disappearing thigh, disappearing calf, disappearing legs, fusedears, bad ears, poorly drawn ears, extra ears, liquid ears, heavy ears, missing ears, fused animal ears, bad animal ears, poorly drawn animal ears, extra animal ears, liquidanimal ears, heavy animal ears, missing animal ears, text, ui, error, missing fingers, missing limb, fused fingers, one hand with more than 5 fingers, one hand with less than5 fingers, one hand with more than 5 digit, one hand with less than 5 digit, extra digit, fewer digits, fused digit, missing digit, bad digit, liquid digit, colorful tongue, blacktongue, cropped, watermark, username, blurry, JPEG artifacts, signature, 3D, 3D game, 3D game scene, 3D character, malformed feet, extra feet, bad feet, poorly drawnfeet, fused feet, missing feet, extra shoes, bad shoes, fused shoes, more than two shoes, poorly drawn shoes, bad gloves, poorly drawn gloves, fused gloves, bad cum, poorly drawn cum, fused cum, bad hairs, poorly drawn hairs, fused hairs, big muscles, ugly, bad face, fused face, poorly drawn face, cloned face, big face, long face, badeyes, fused eyes poorly drawn eyes, extra eyes, malformed limbs, more than 2 nipples, missing nipples, different nipples, fused nipples, bad nipples, poorly drawnnipples, black nipples, colorful nipples, gross proportions. short arm, (((missing arms))), missing thighs, missing calf, missing legs, mutation, duplicate, morbid, mutilated, poorly drawn hands, more than 1 left hand, more than 1 right hand, deformed, (blurry), disfigured, missing legs, extra arms, extra thighs, more than 2 thighs, extra calf,fused calf, extra legs, bad knee, extra knee, more than 2 legs, bad tails, bad mouth, fused mouth, poorly drawn mouth, bad tongue, tongue within mouth, too longtongue, black tongue, big mouth, cracked mouth, bad mouth, dirty face, dirty teeth, dirty pantie, fused pantie, poorly drawn pantie, fused cloth, poorly drawn cloth, badpantie, yellow teeth, thick lips, bad camel toe, colorful camel toe, bad asshole, poorly drawn asshole, fused asshole, missing asshole, bad anus, bad pussy, bad crotch, badcrotch seam, fused anus, fused pussy, fused anus, fused crotch, poorly drawn crotch, fused seam, poorly drawn anus, poorly drawn pussy, poorly drawn crotch, poorlydrawn crotch seam, bad thigh gap, missing thigh gap, fused thigh gap, liquid thigh gap, poorly drawn thigh gap, poorly drawn anus, bad collarbone, fused collarbone, missing collarbone, liquid collarbone, strong girl, obesity, worst quality, low quality, normal quality, liquid tentacles, bad tentacles, poorly drawn tentacles, split tentacles, fused tentacles, missing clit, bad clit, fused clit, colorful clit, black clit, liquid clit, QR code, bar code, censored, safety panties, safety knickers, beard, furry, pony, pubic hair, mosaic, futa, testis") generate_button = tk.Button(root, text="Generate Images", command=generate_images) generate_button.grid(row=10, column=0, columnspan=4, padx=5, pady=10) root.mainloop() if __name__ == "__main__": main() - Python プログラムの実行
Python プログラムの実行
- Windows では python (Python ランチャーは py)
- Ubuntu では python3
Python 開発環境(Jupyter Qt Console, Jupyter ノートブック (Jupyter Notebook), Jupyter Lab, Nteract, Spyder, PyCharm, PyScripterなど)も便利である.
Python のまとめ: 別ページ »にまとめ
プログラムを txt2img.pyのようなファイル名で保存したので, 「python txt2img.py」のようなコマンドで行う.
python txt2img.py
- 設定画面が出るので設定する.設定が終わったら「Generate Images」をクリック.
モデルの既定値(デフォルト値)は,sd_xl_base_1.0_0.9vae.safetensors [e6bb9ea85b]」にしている.
Output Filename で「output.png」と設定すると,生成される画像ファイル名はoutput00.png, output01.png ... のようなファイル名になる.
その他の設定
- URL: 接続先のURL とポート番号
- Number of Files: 生成する画像枚数
- model: 使用するモデル
- Prompt: : プロンプト
- width, Height: 画像のサイズ
- Negative Prompt": negative プロンプト
下のプログラムでは,https://huggingface.co/Deltaadams/HentaiDiffusion/resolve/main/Universal%20Negative%20Prompt%20Text.txtで公開されているものから「3D」についての記載を取り除いたものを既定値(デフォルト値)としている.
- Steps: ステップ数
- Cfg Scale: cfg_scale
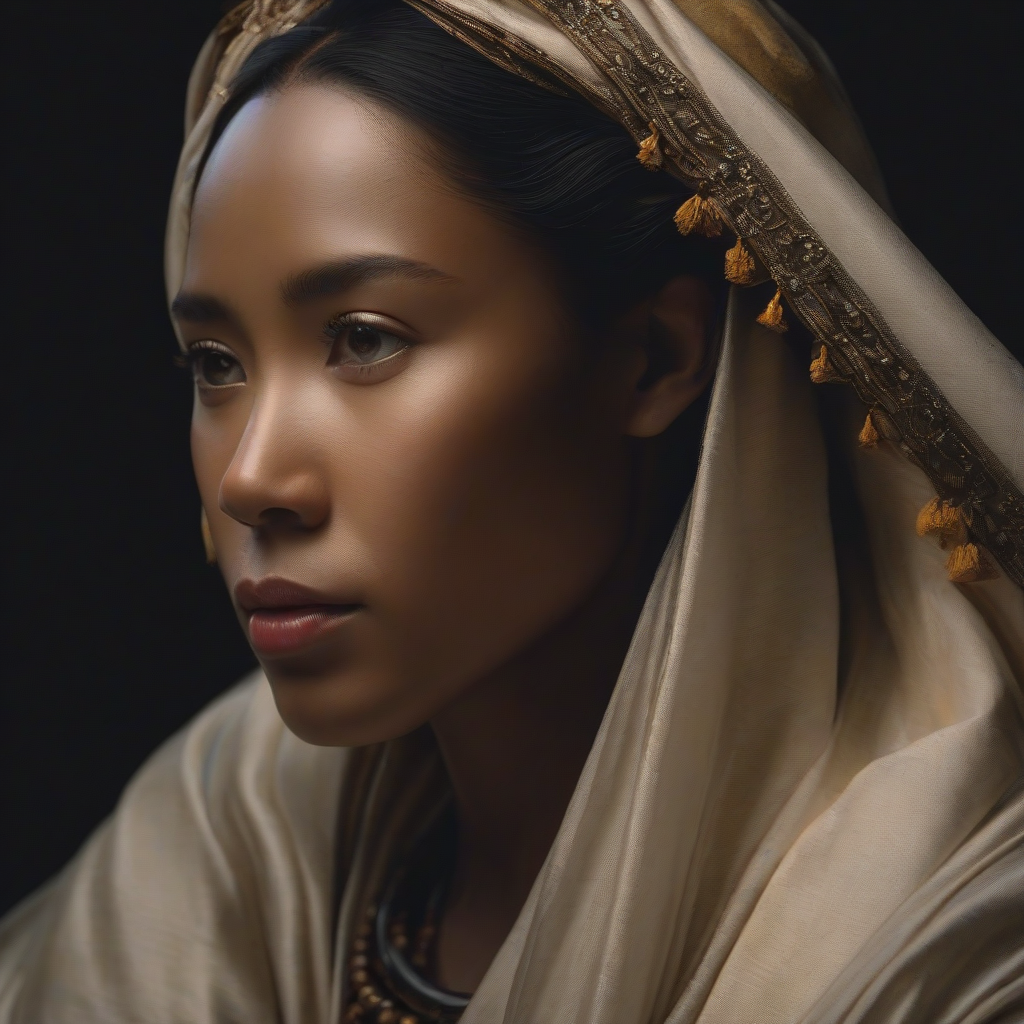
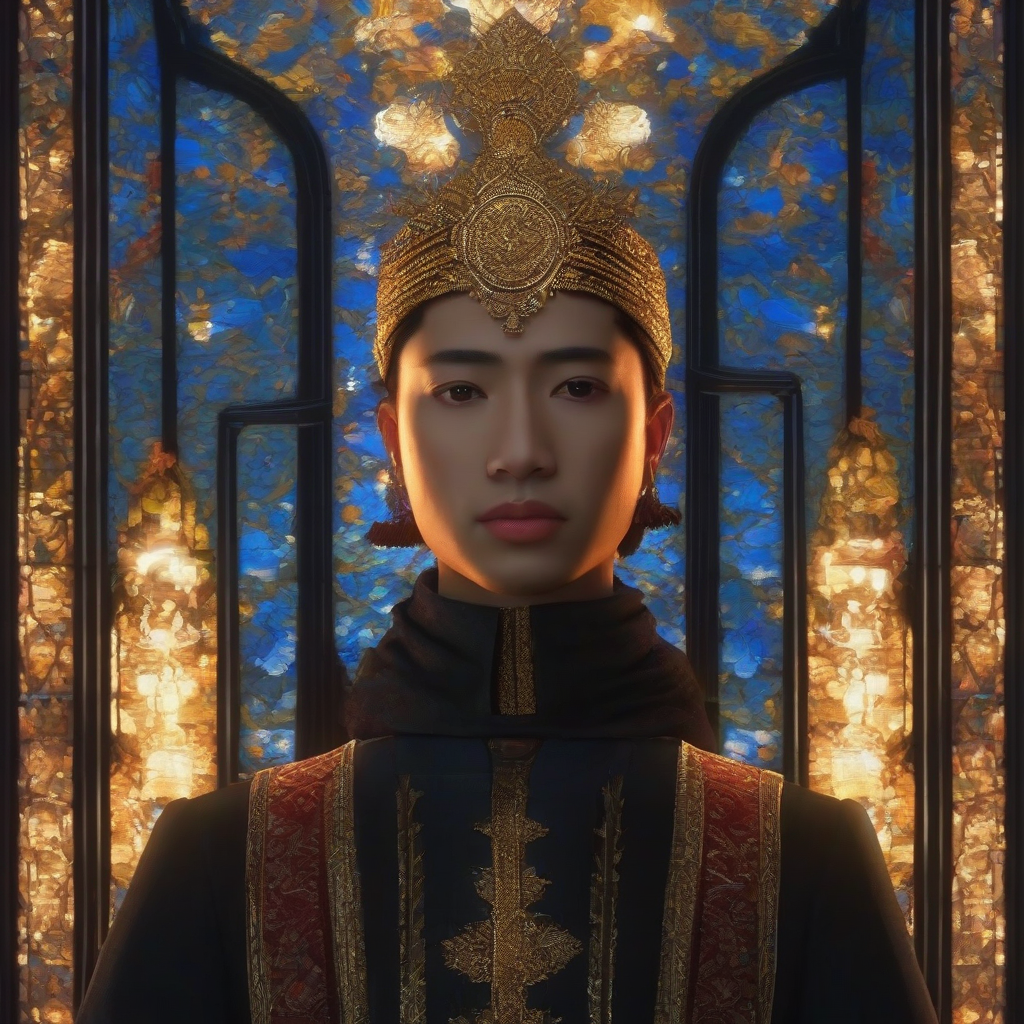
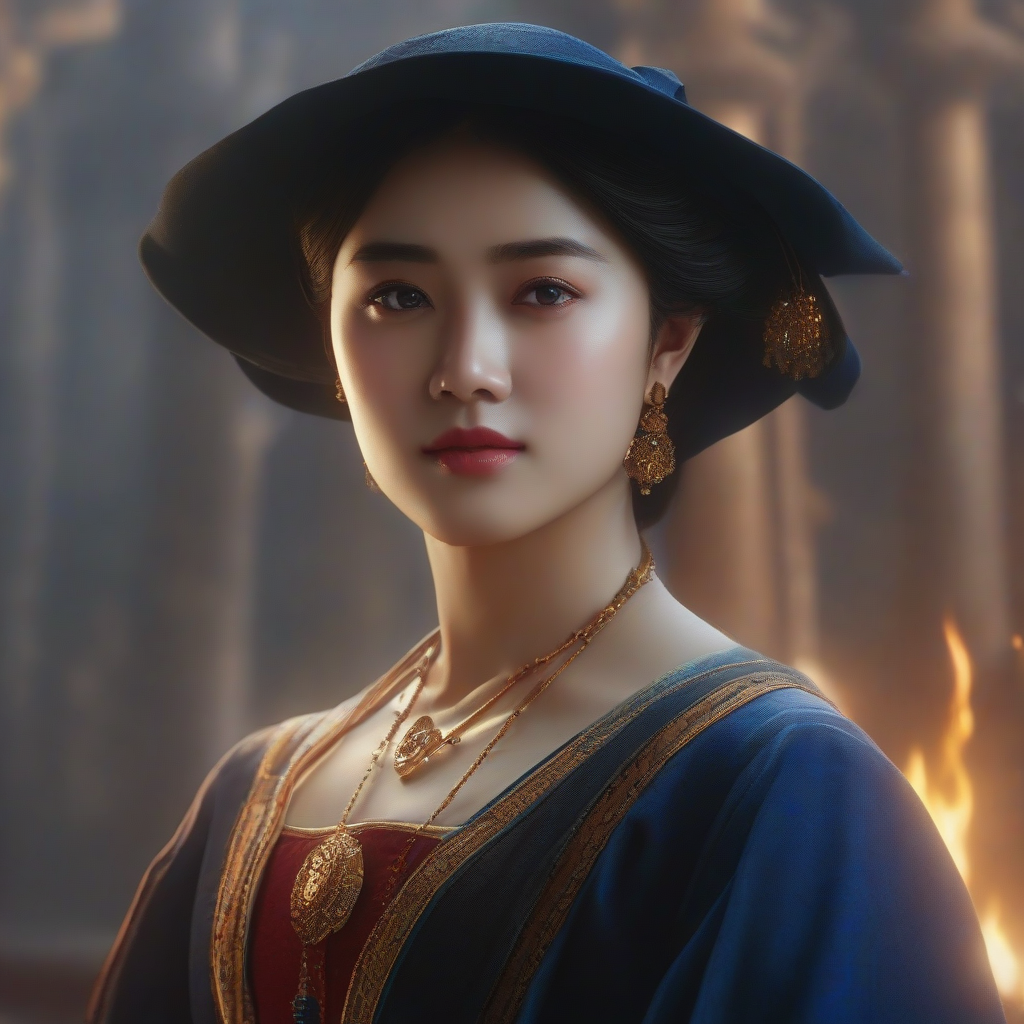
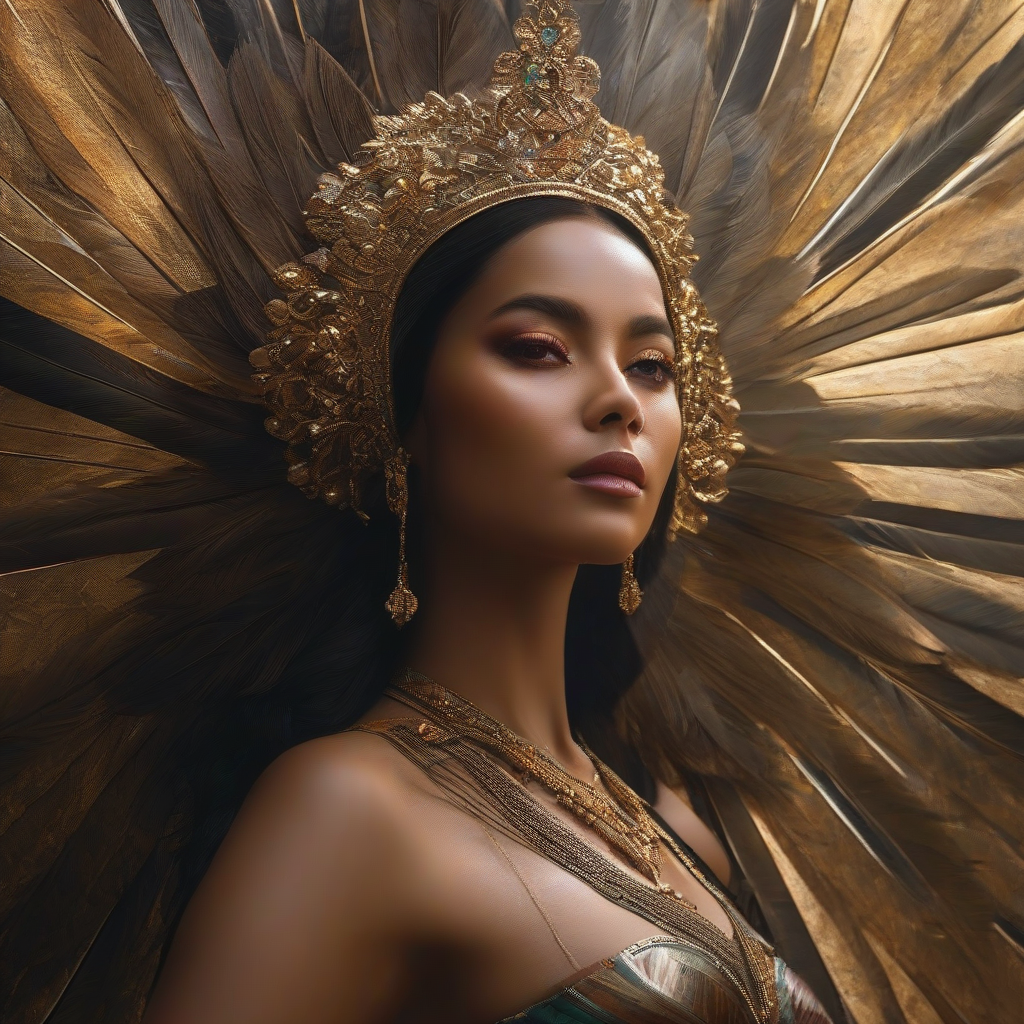
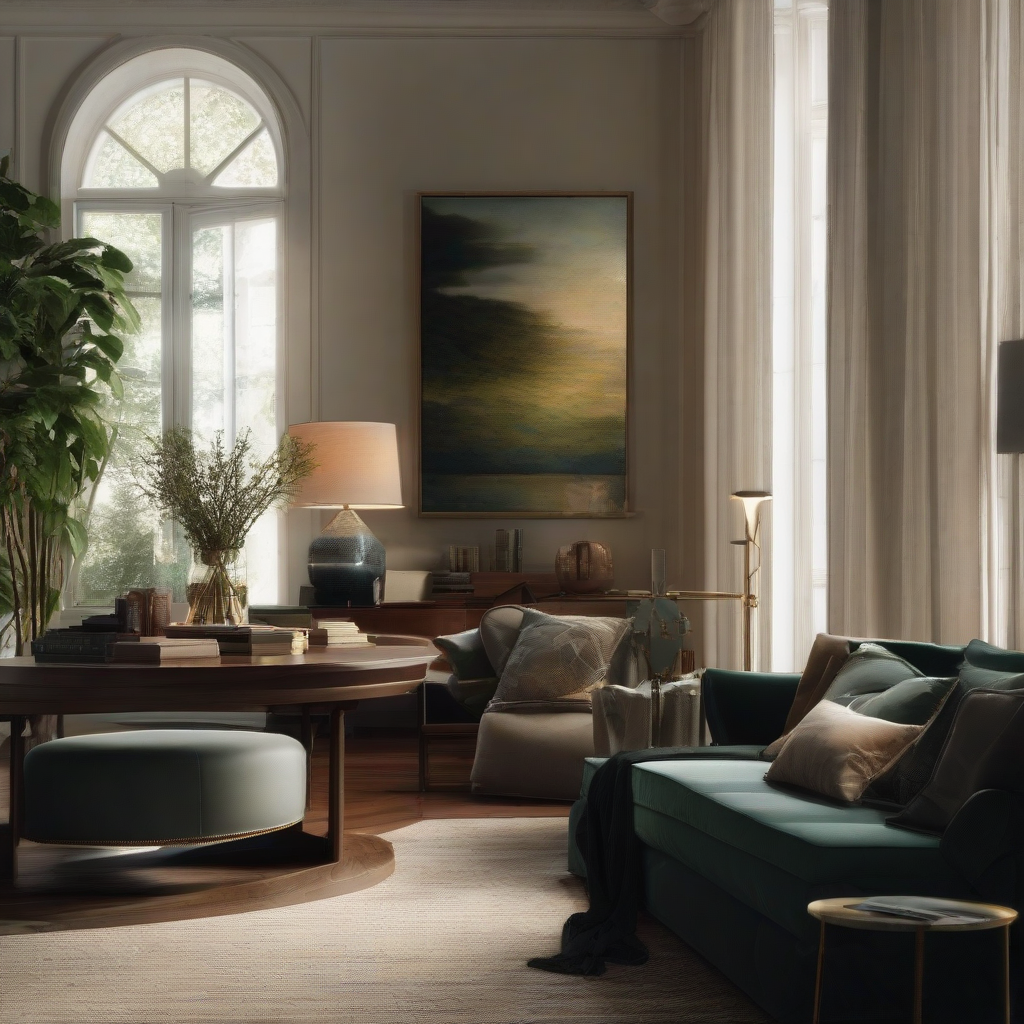
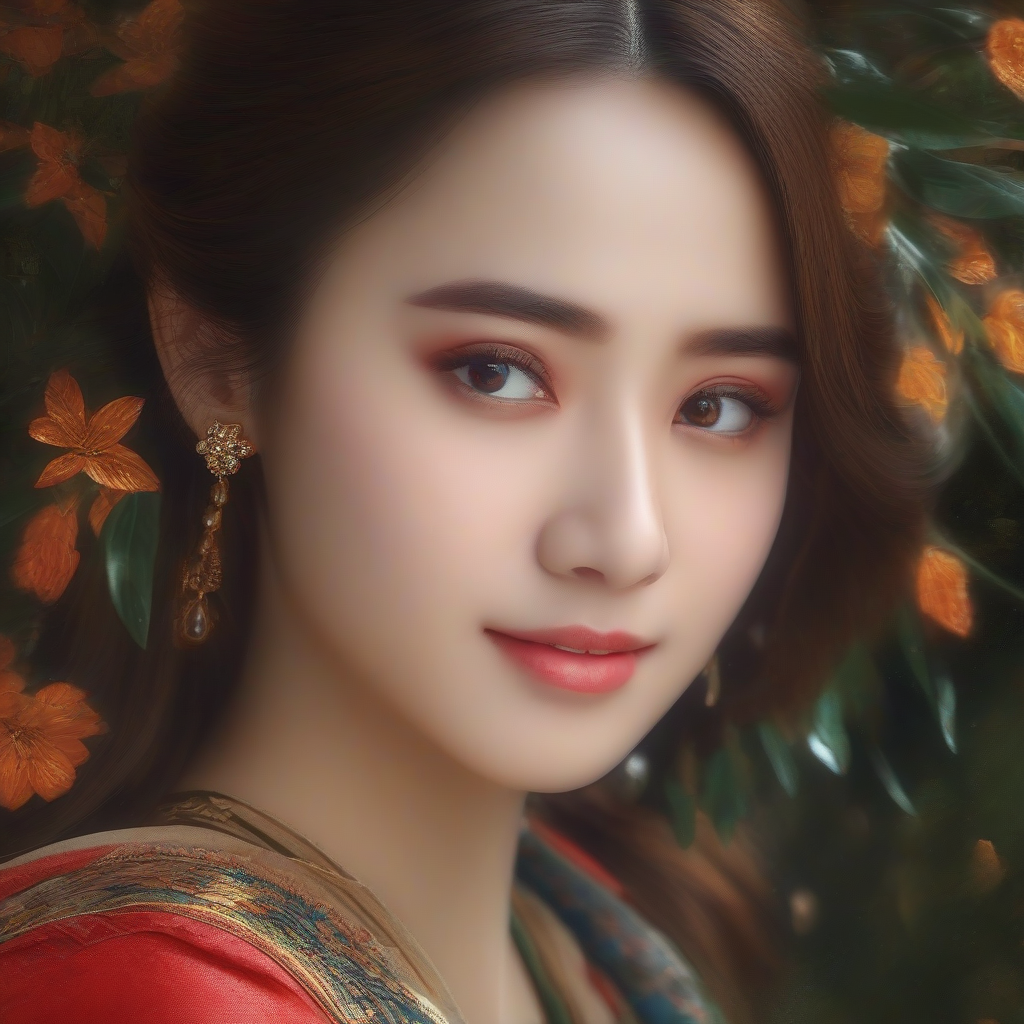
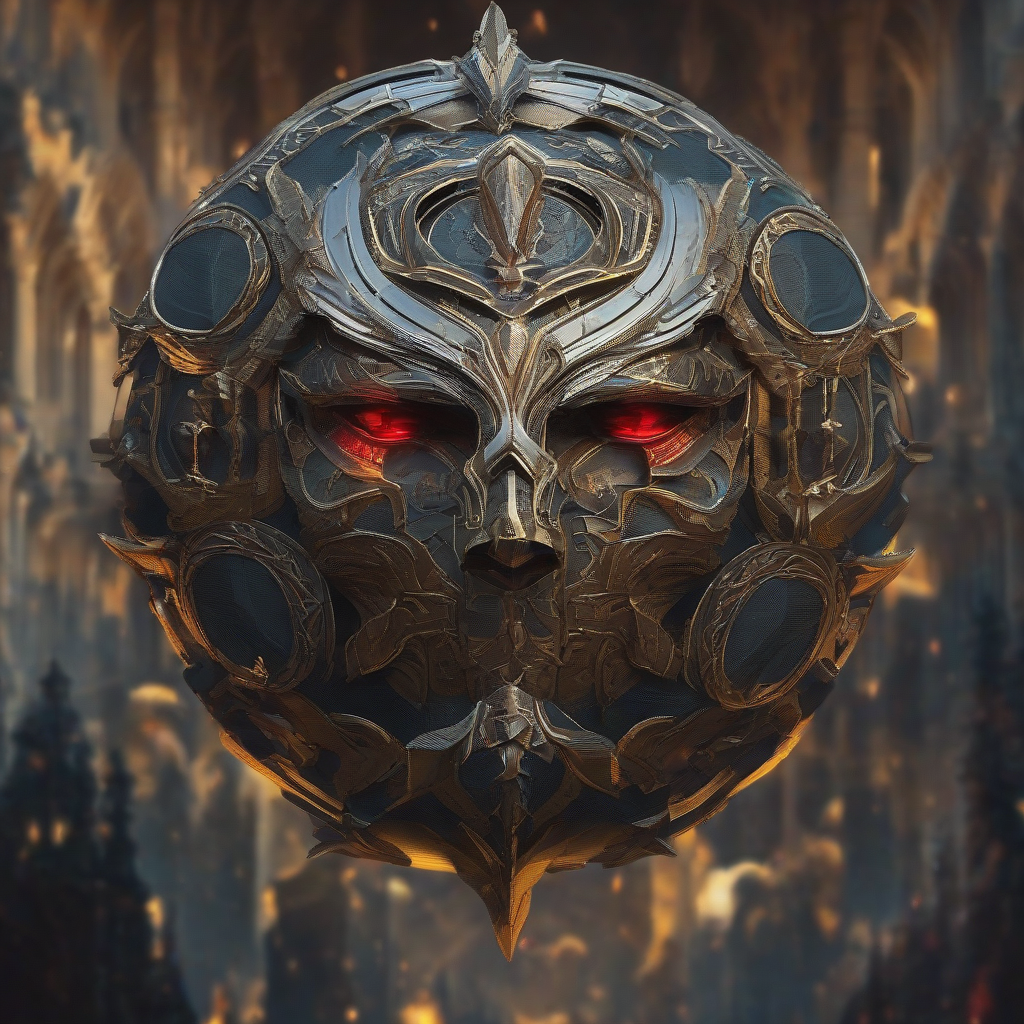
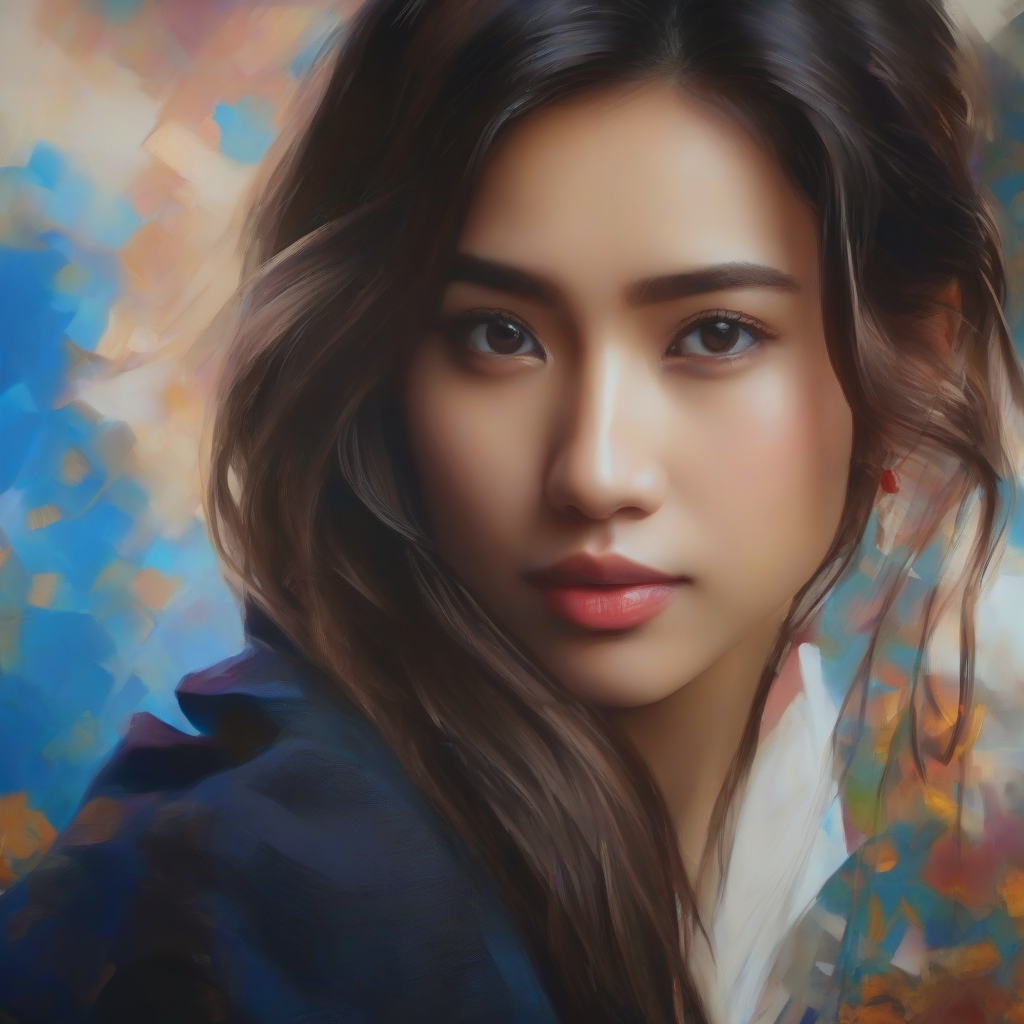
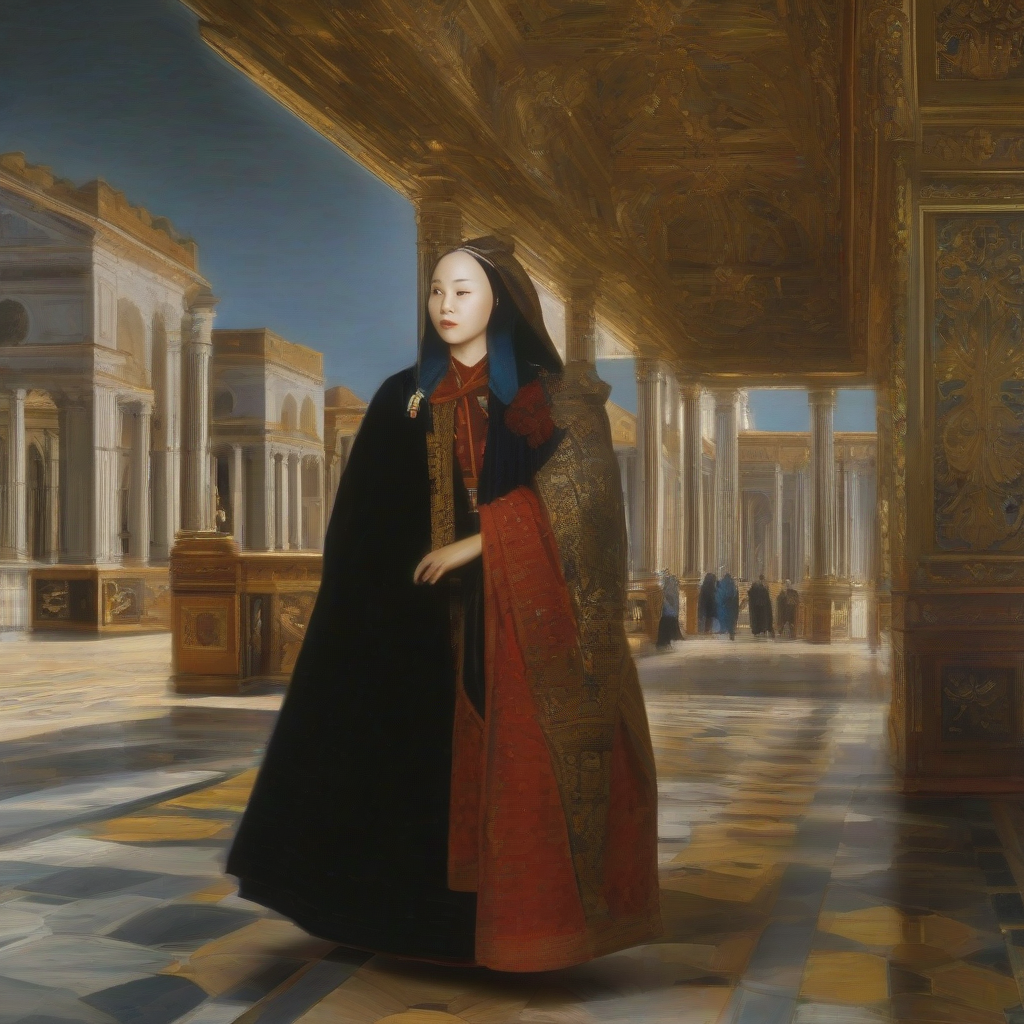
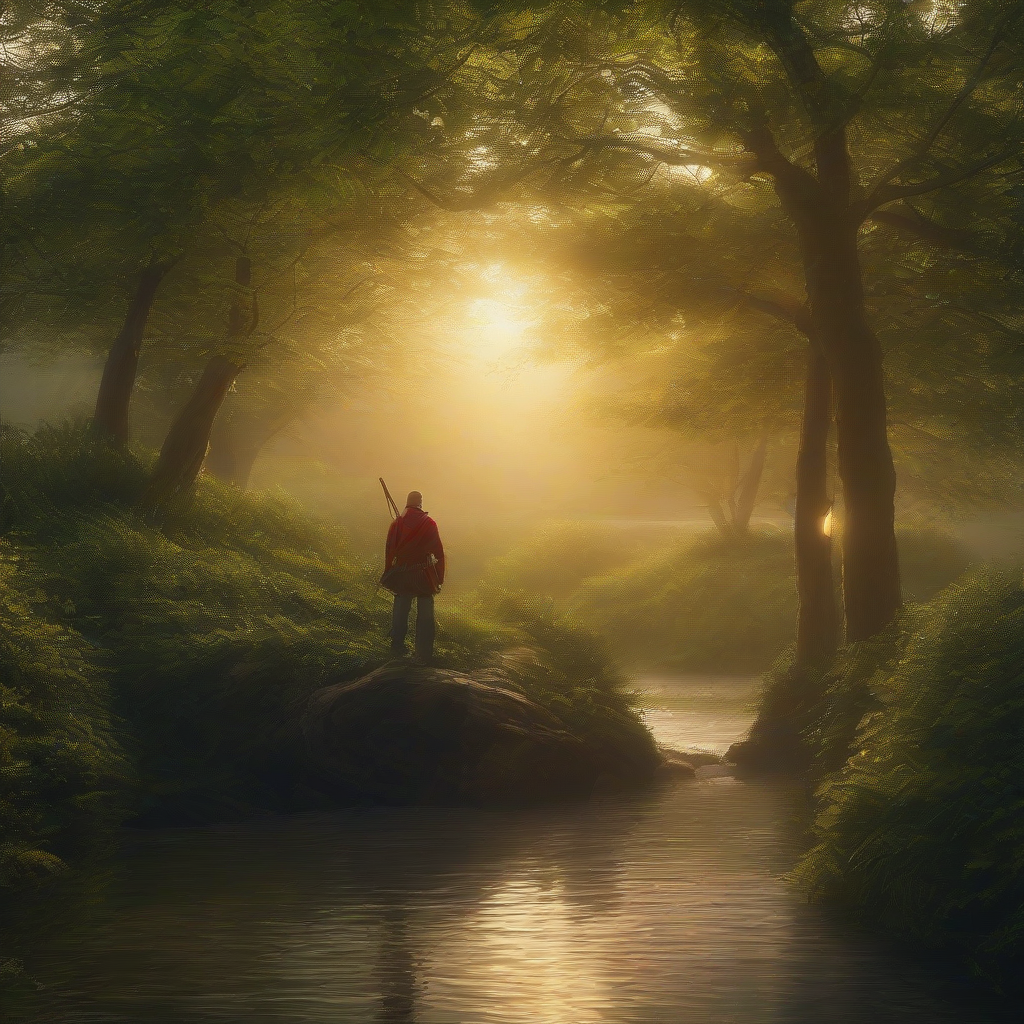
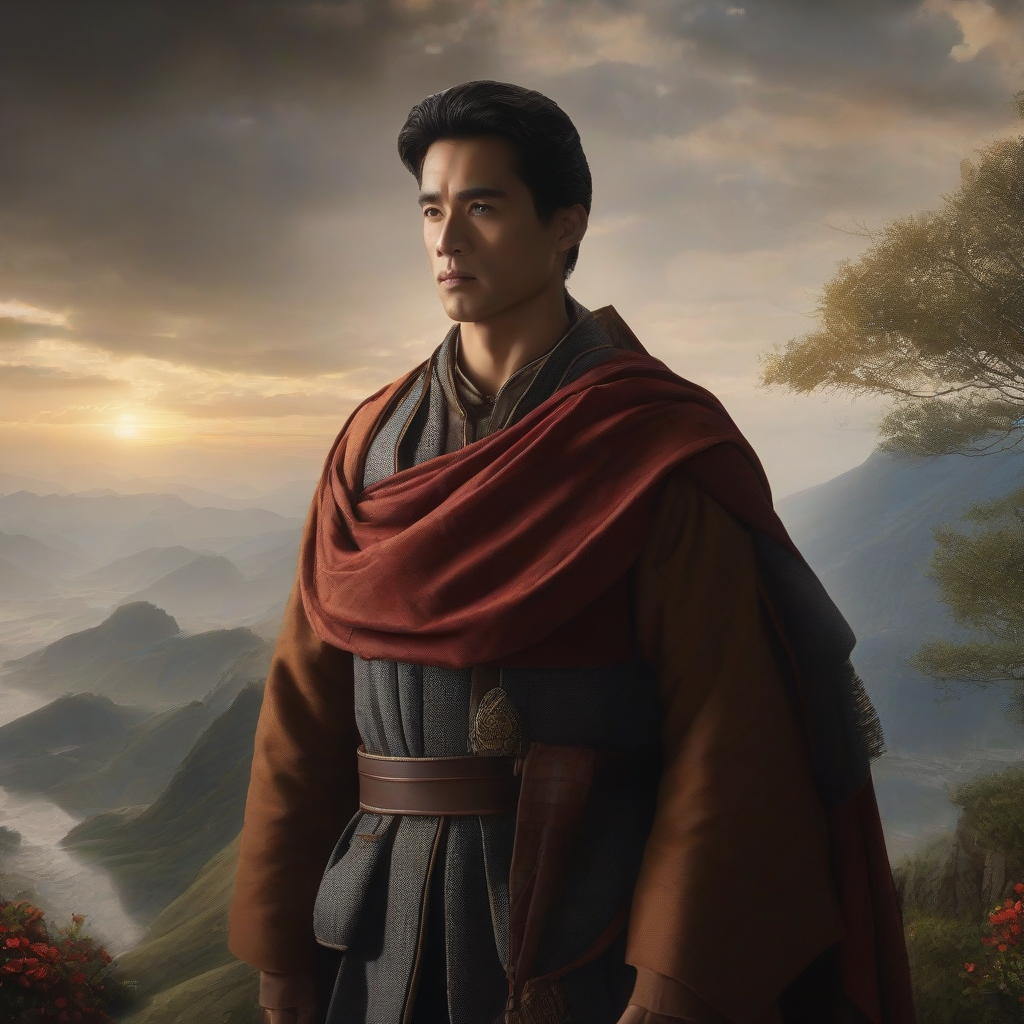
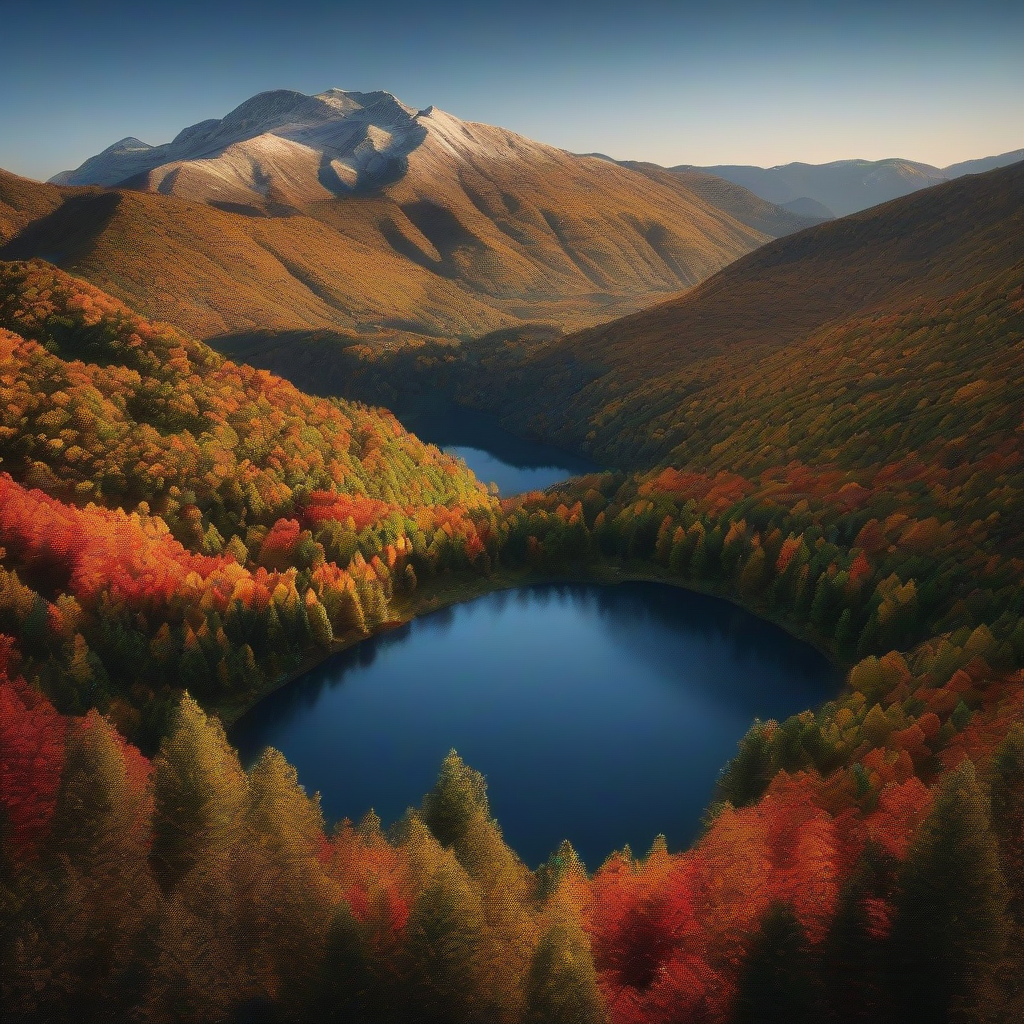
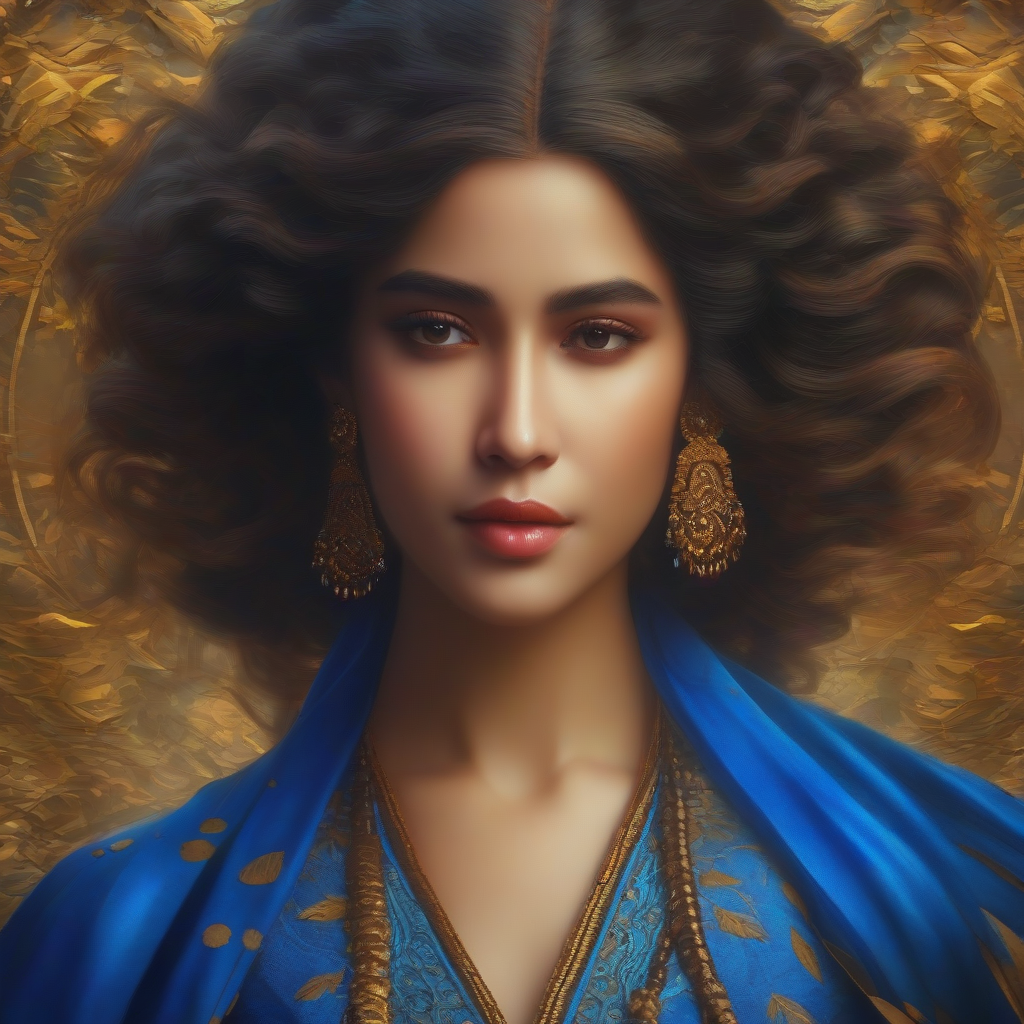
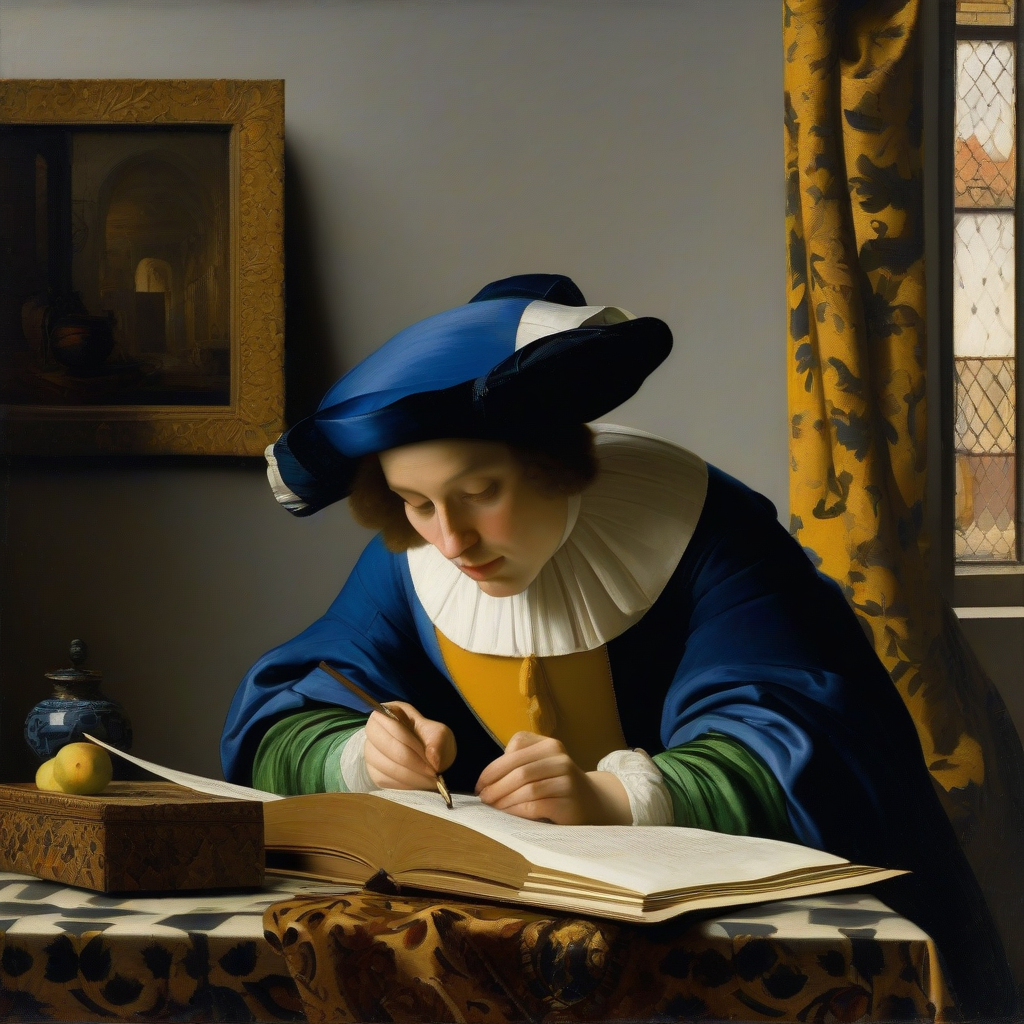
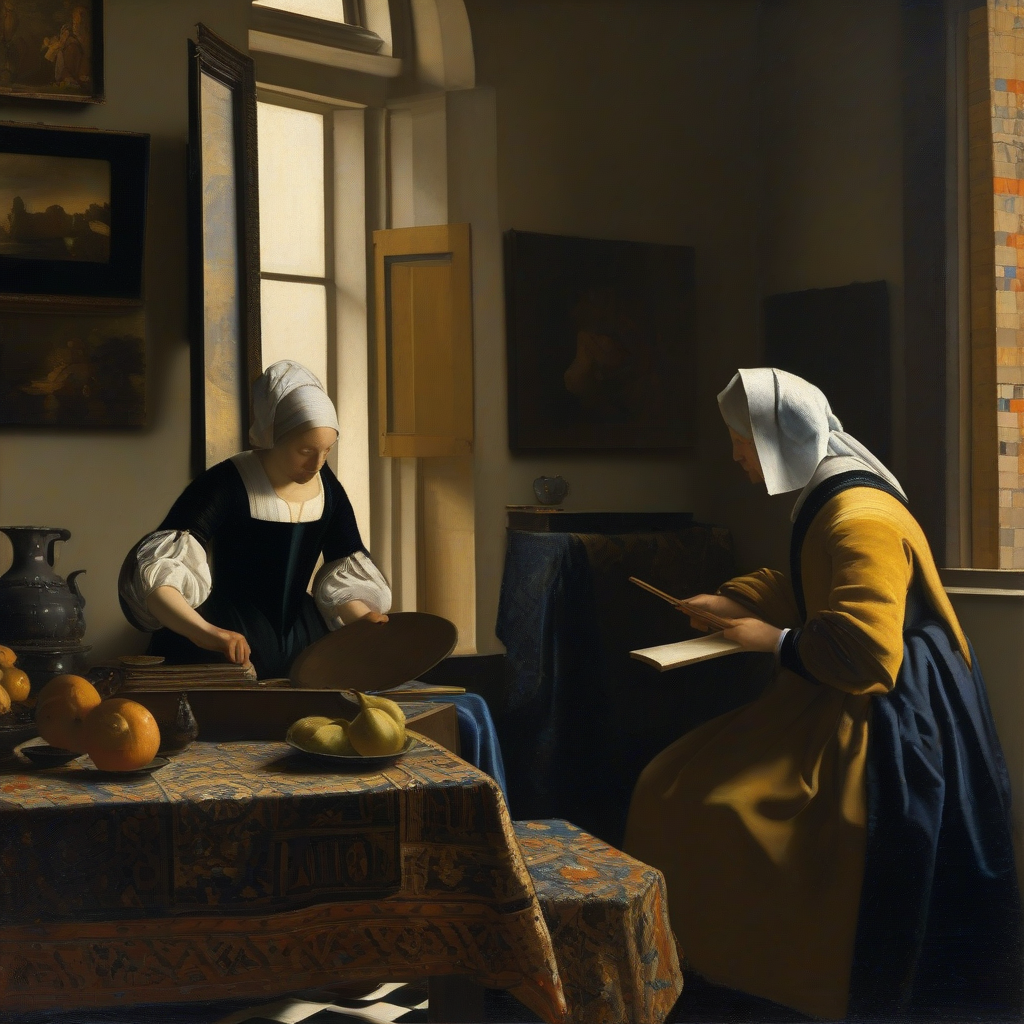
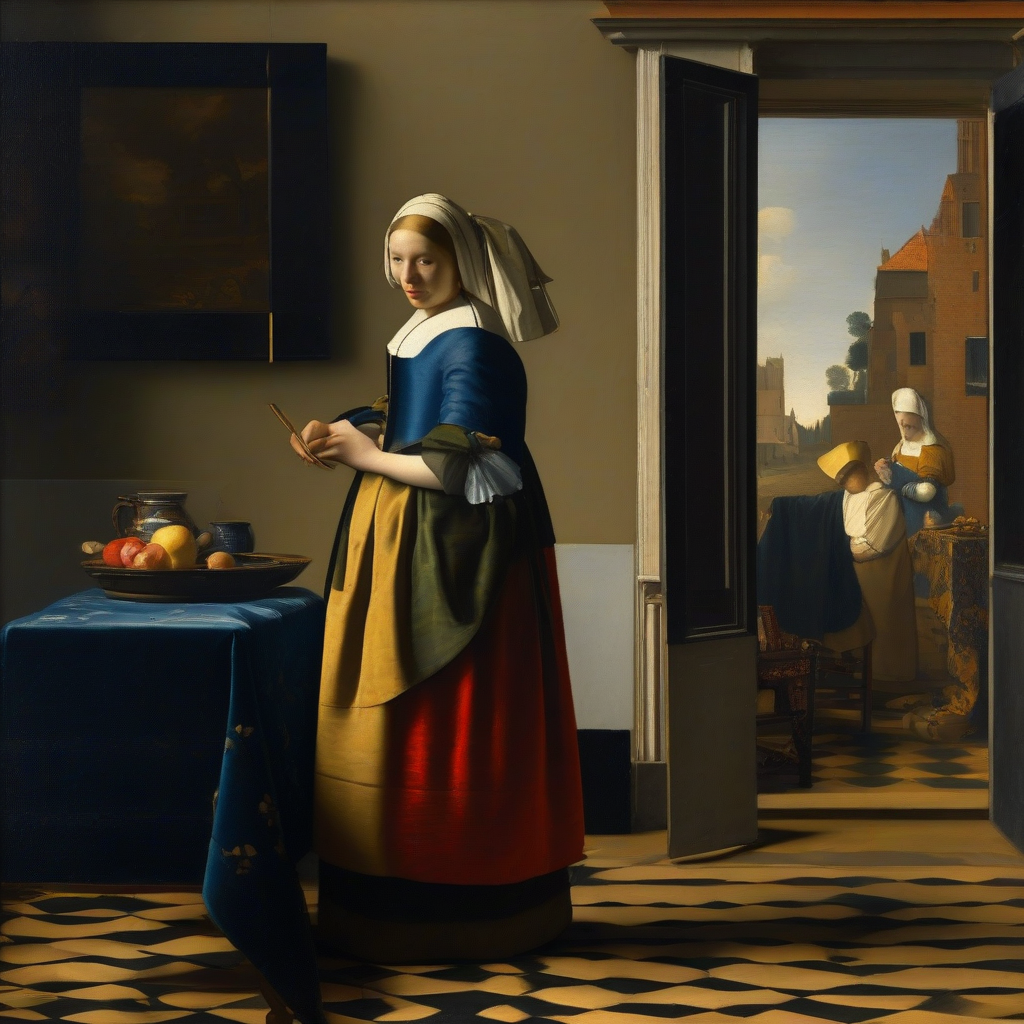
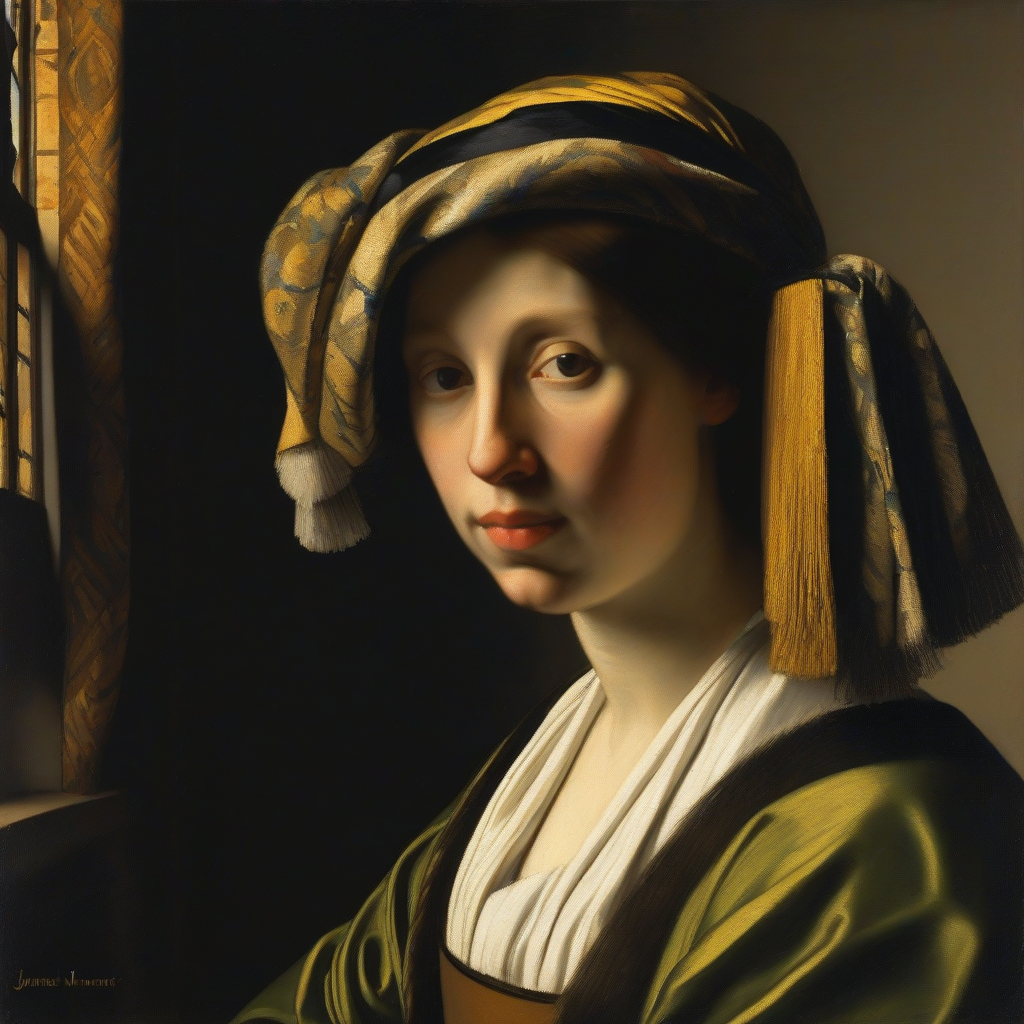
- 実行の結果,画像ファイルが output00.png, output01.png, ... のようにできるので確認
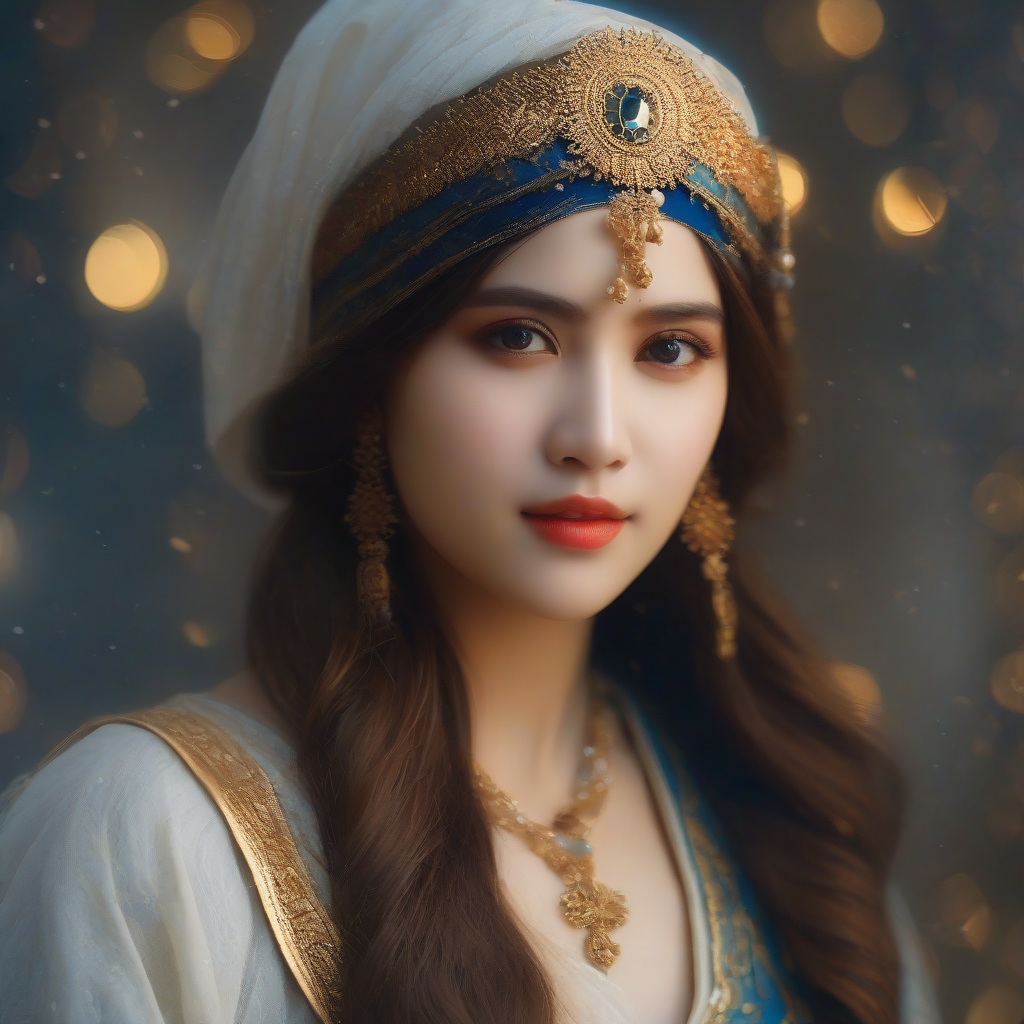
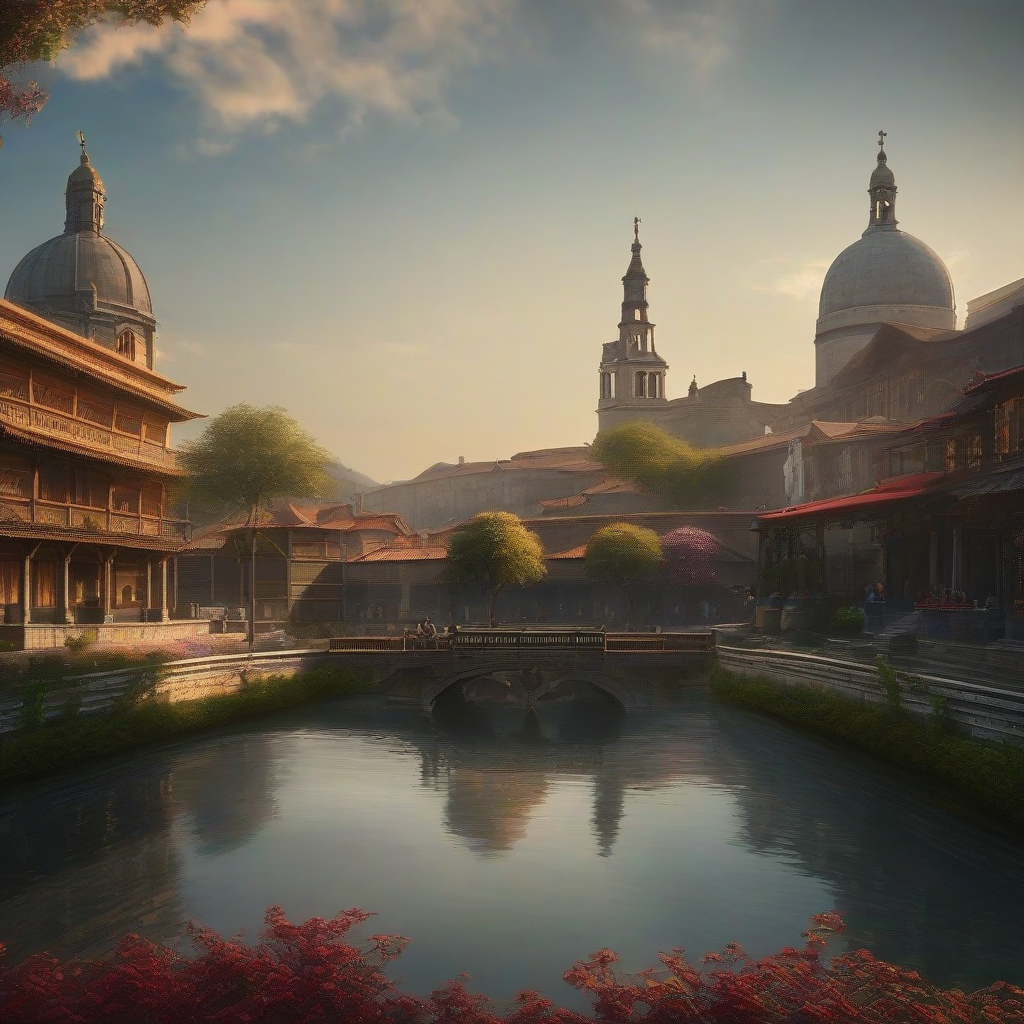
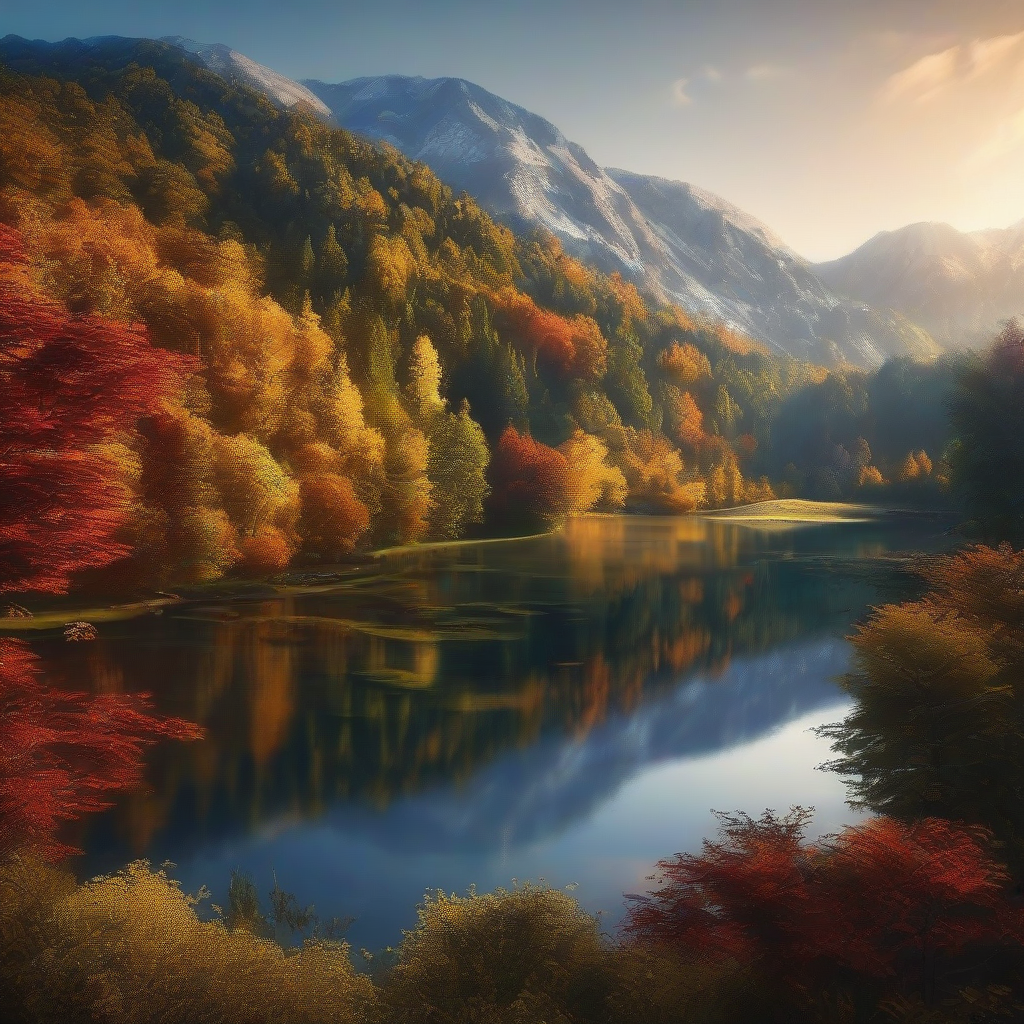
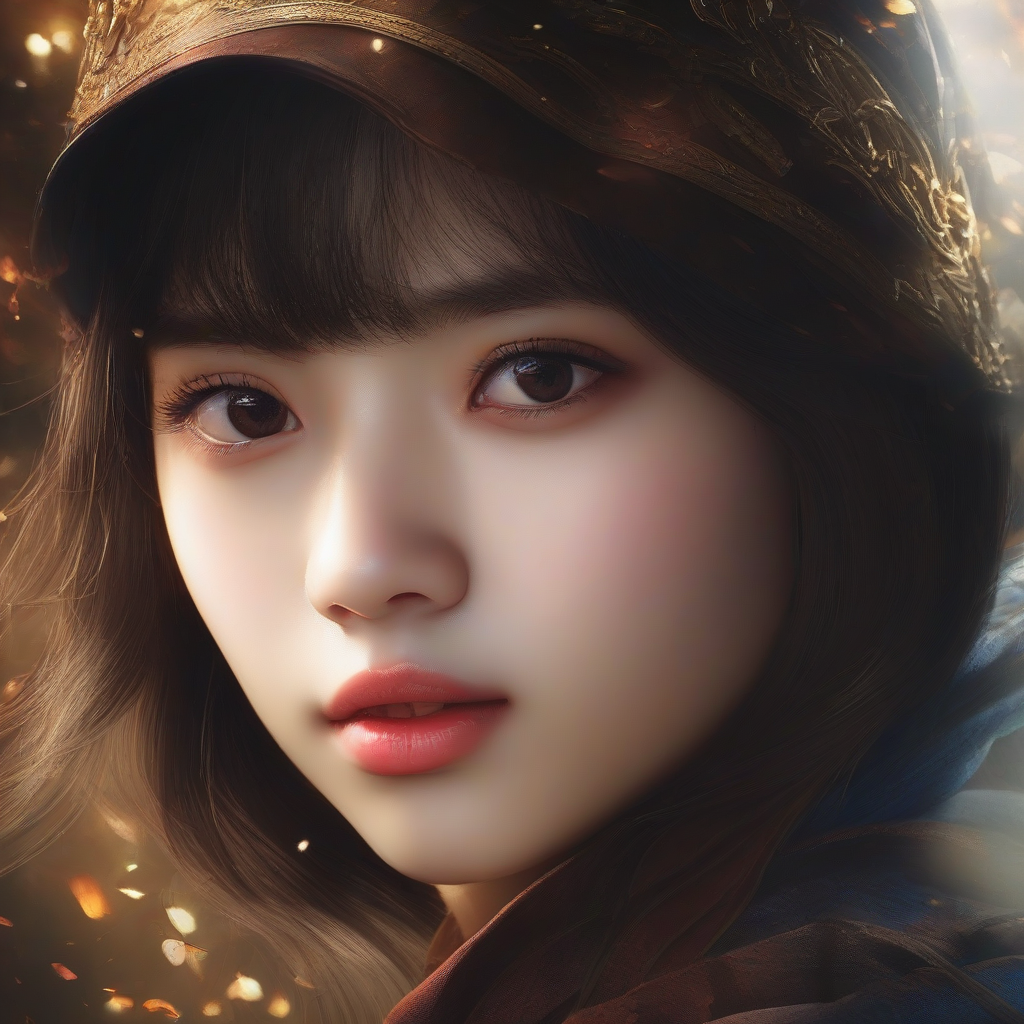
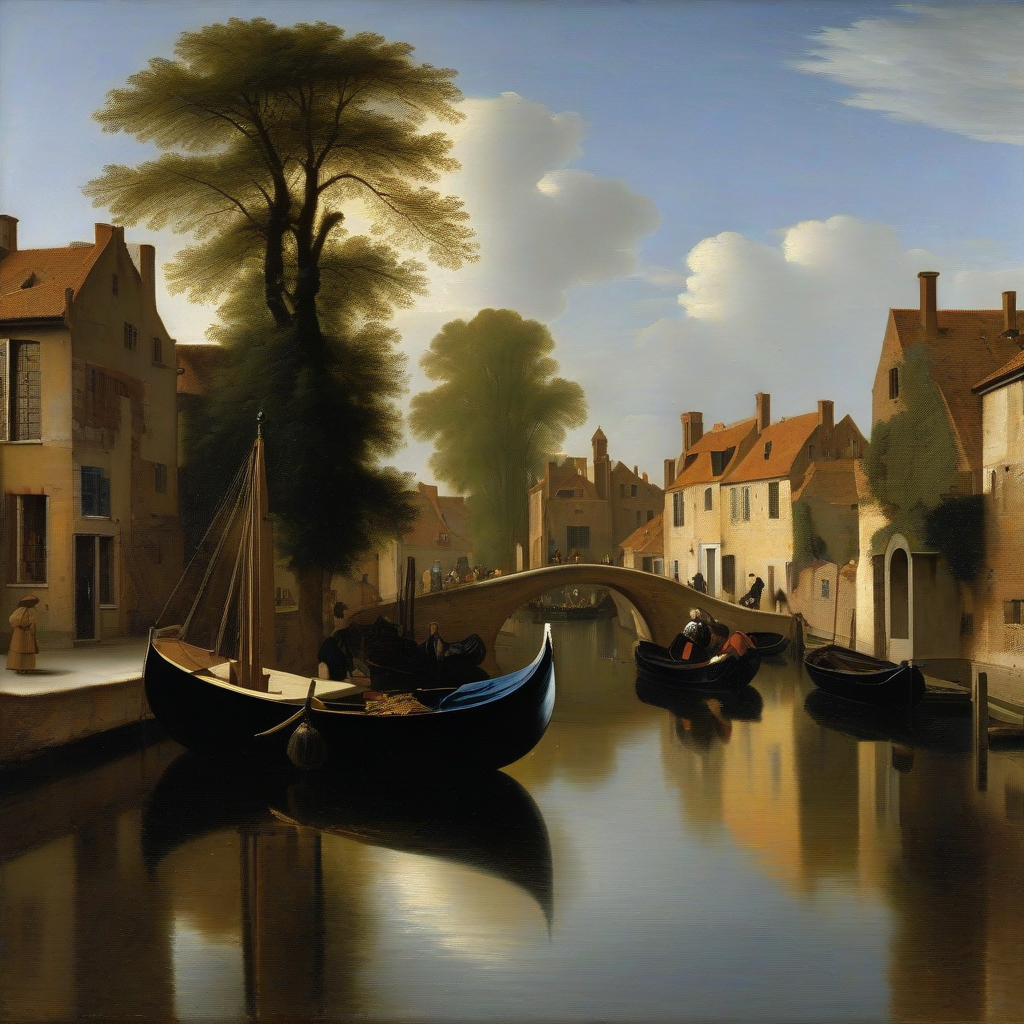
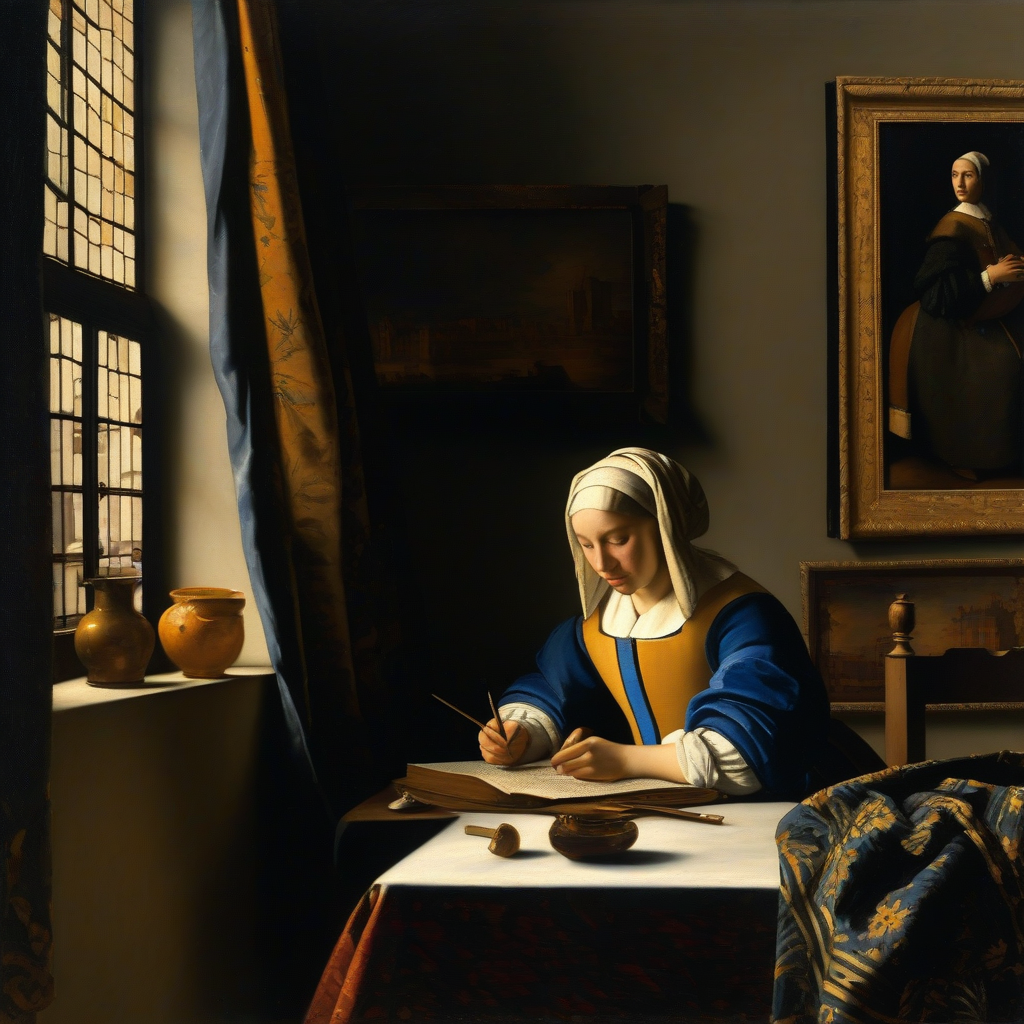
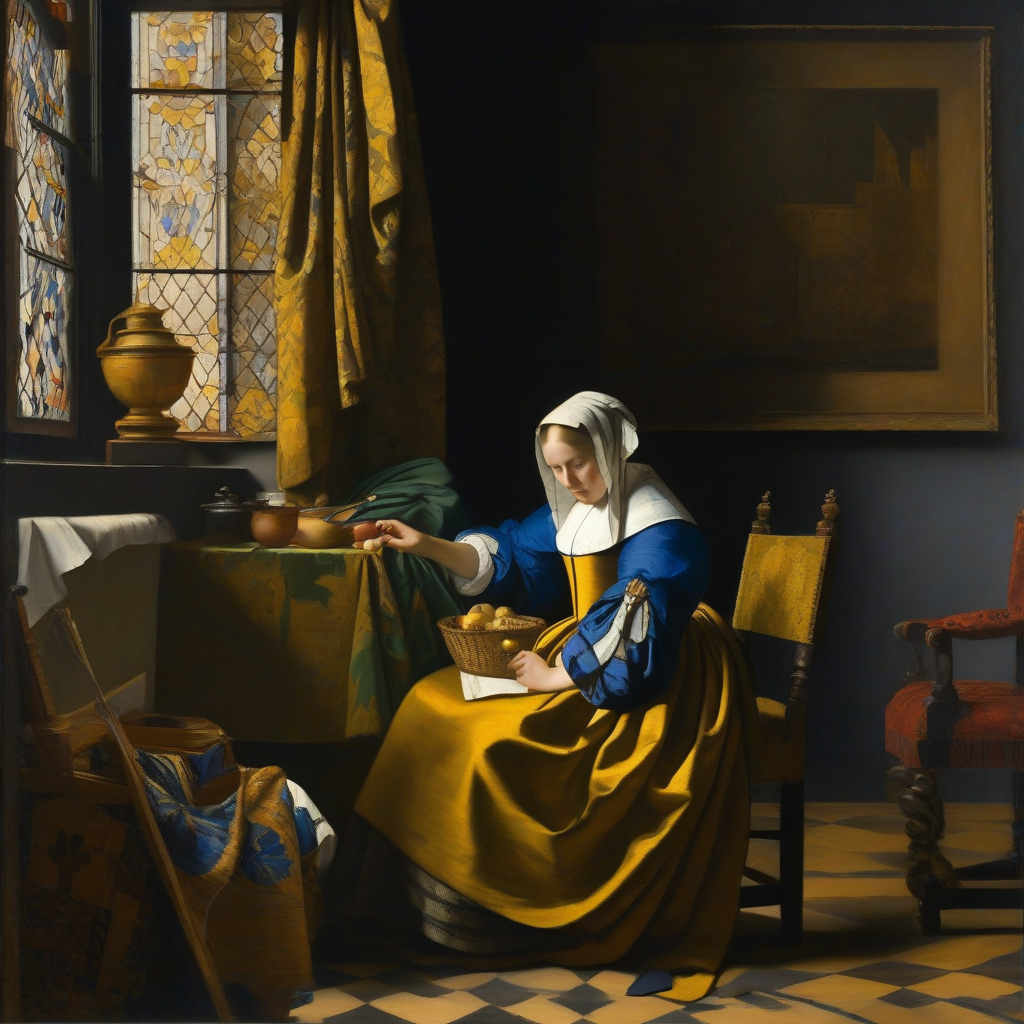
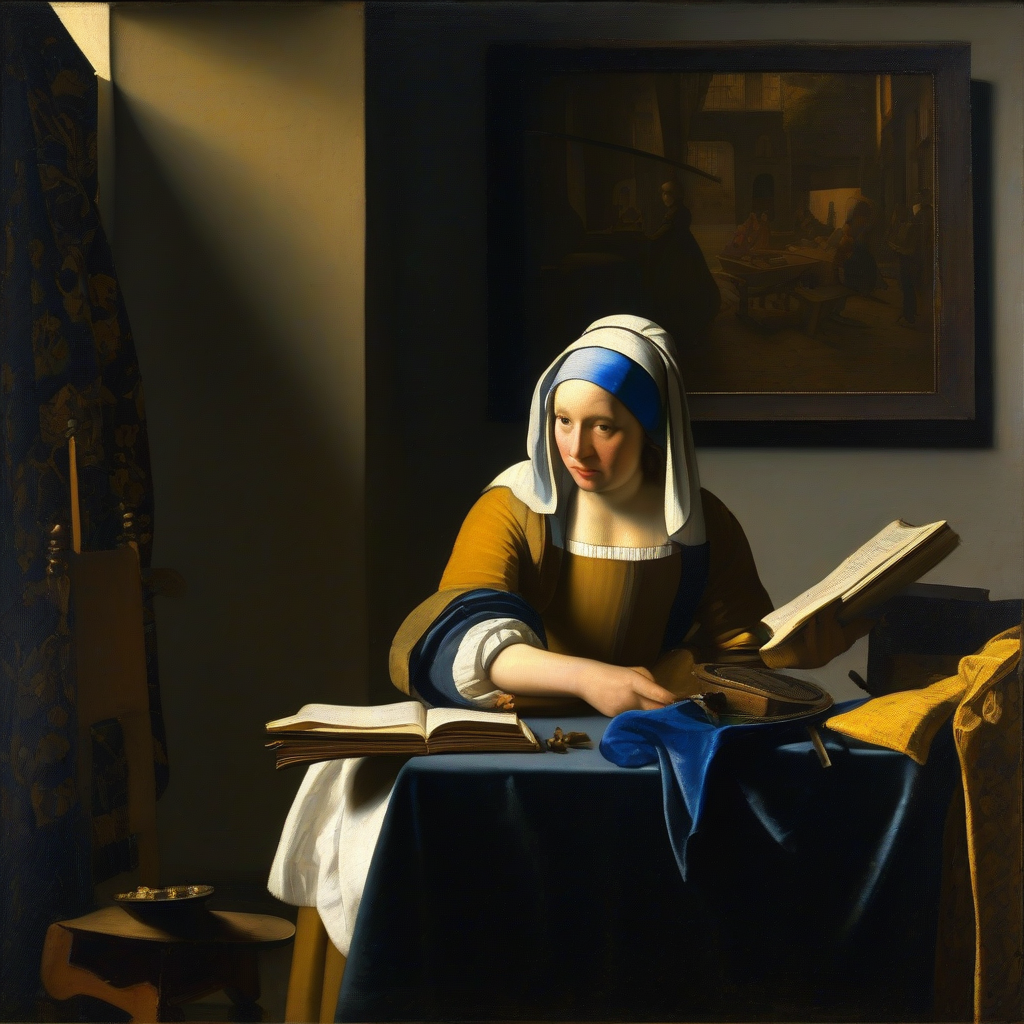
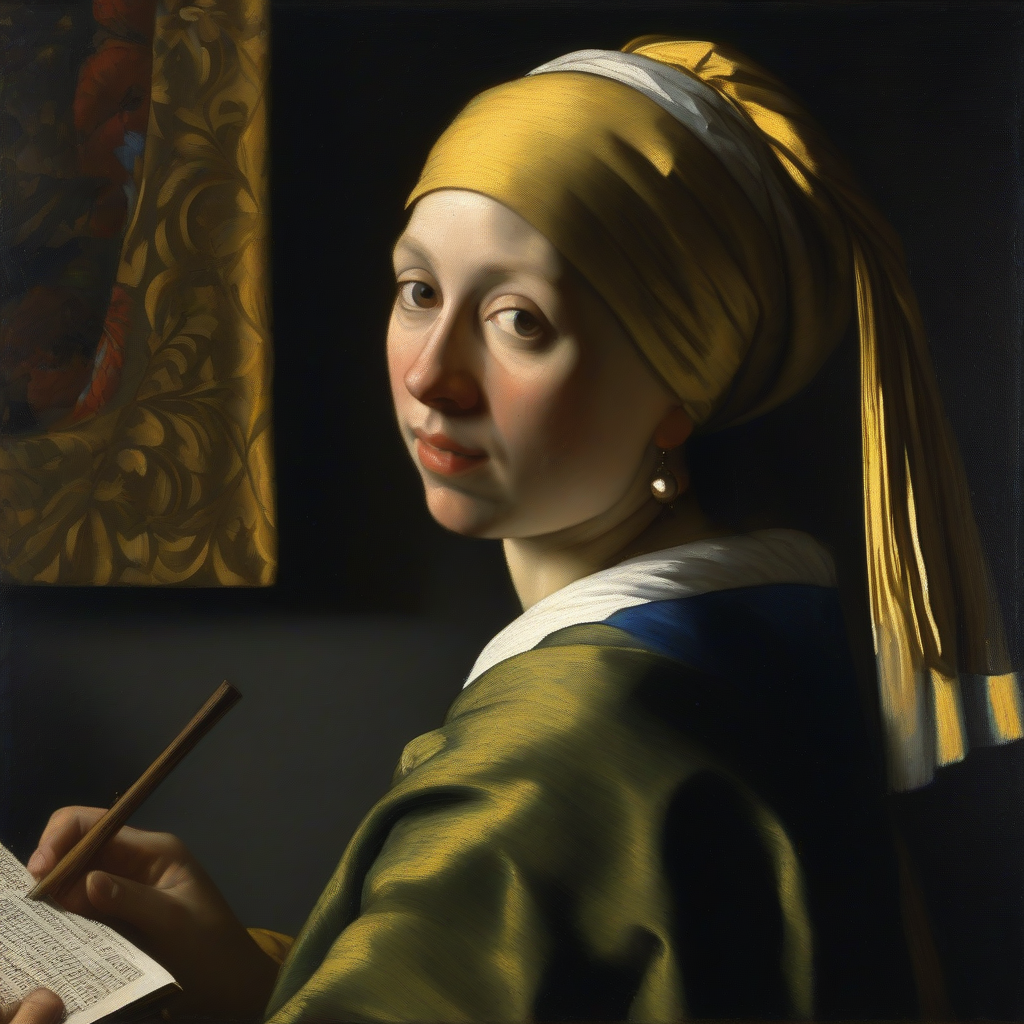
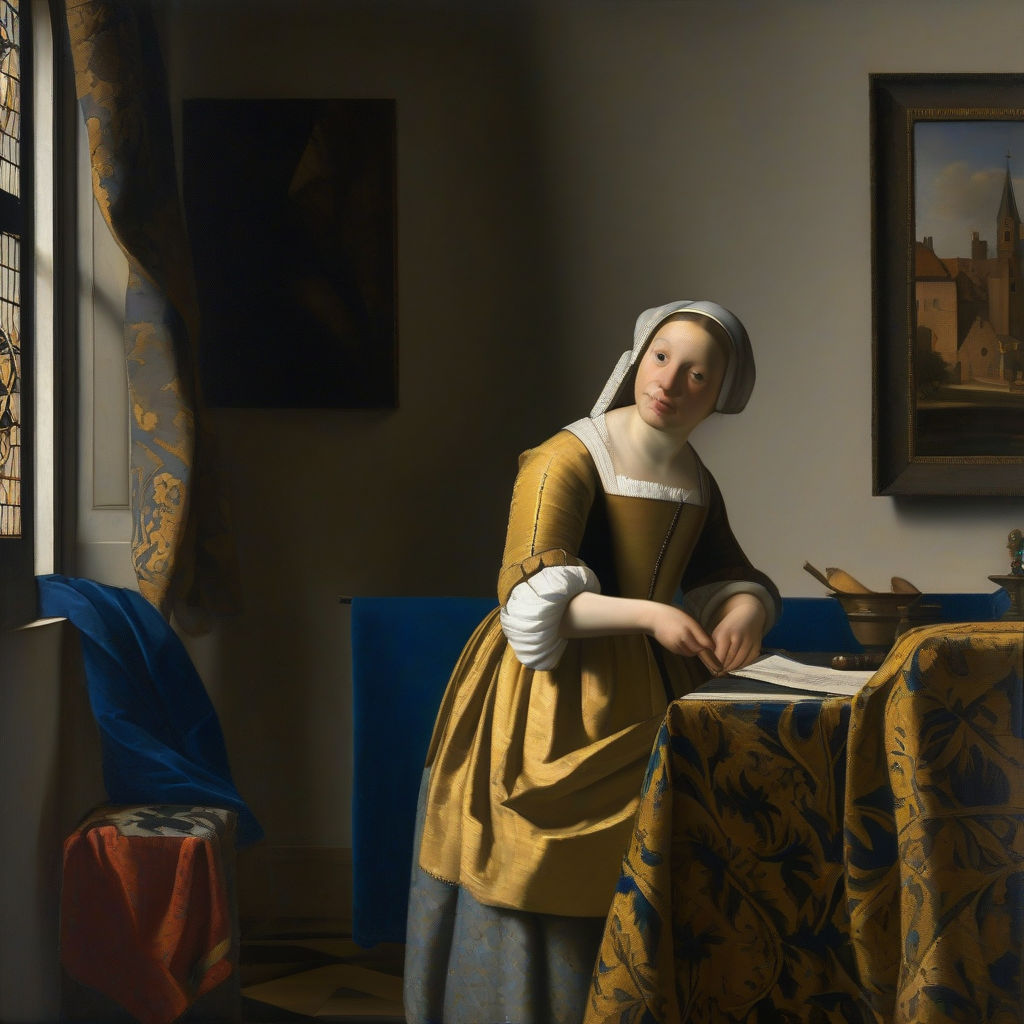
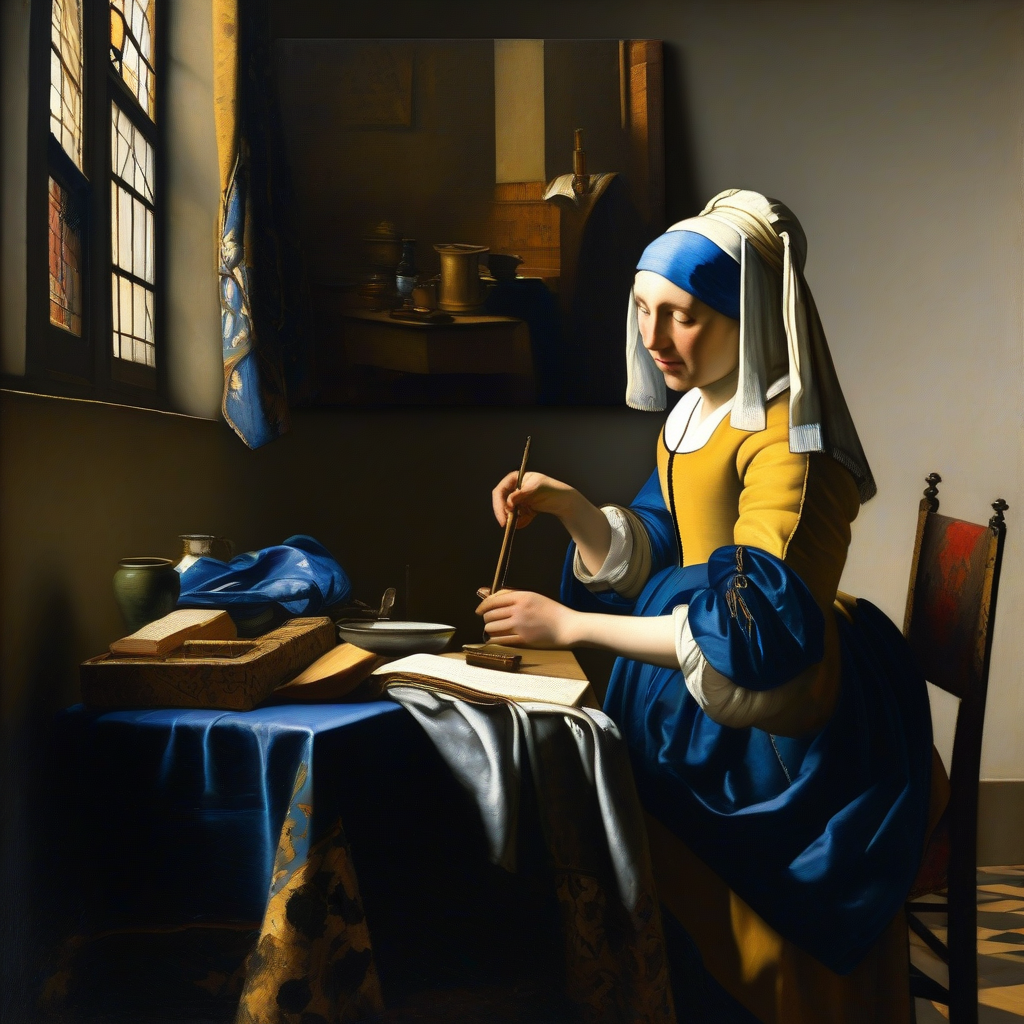
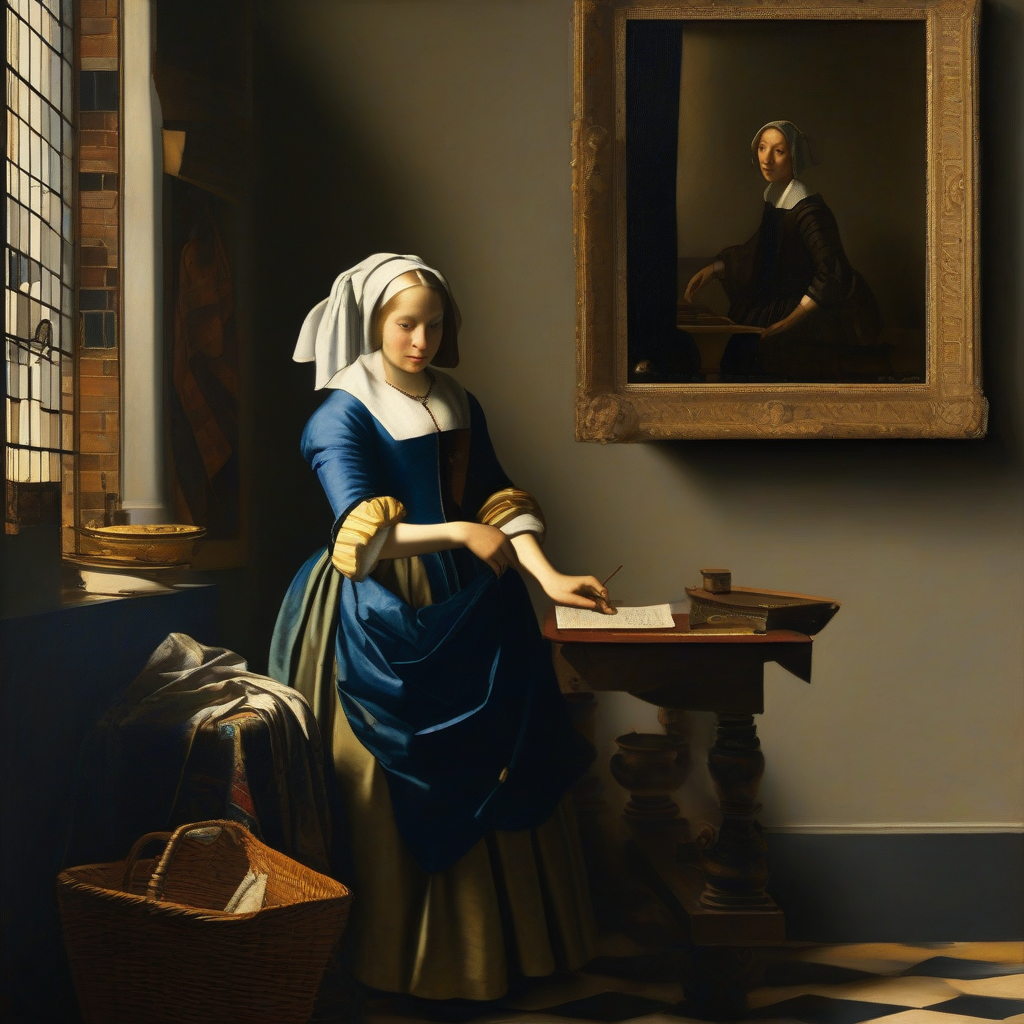
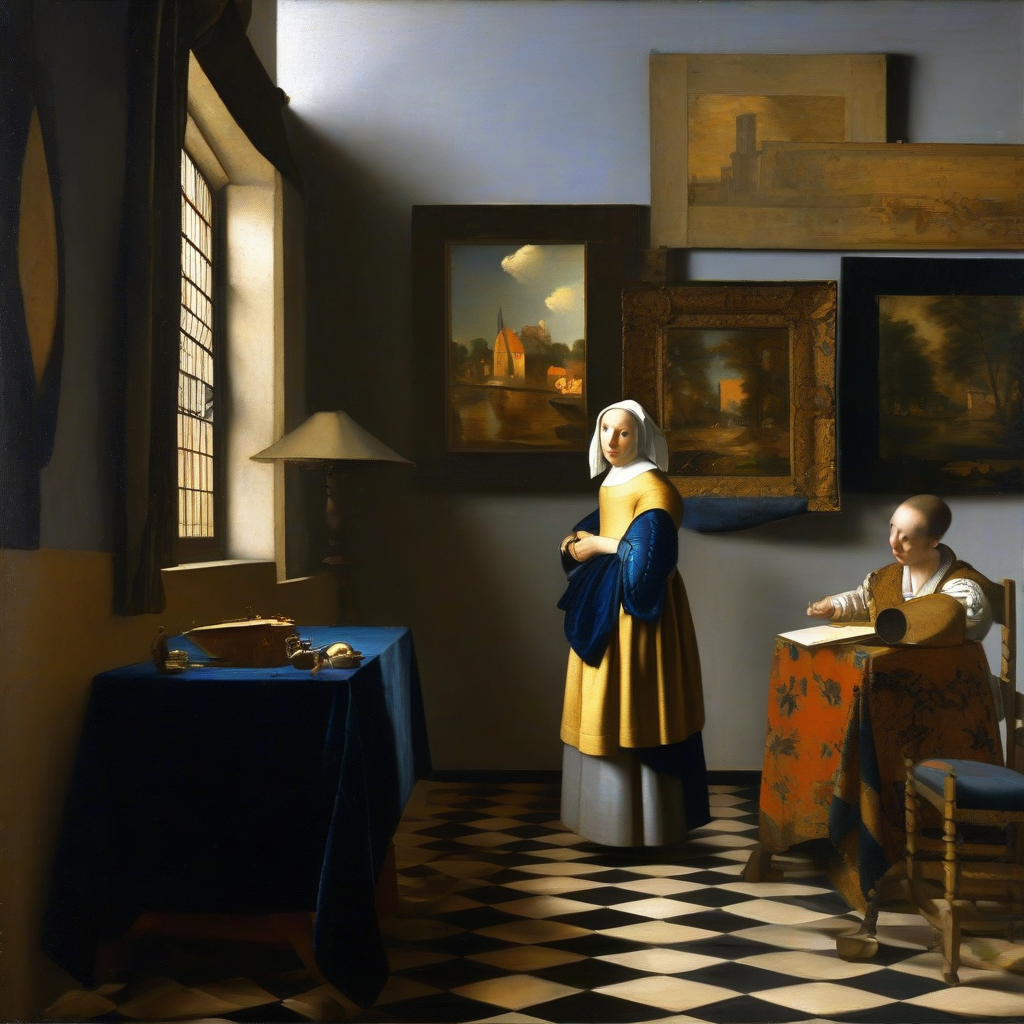
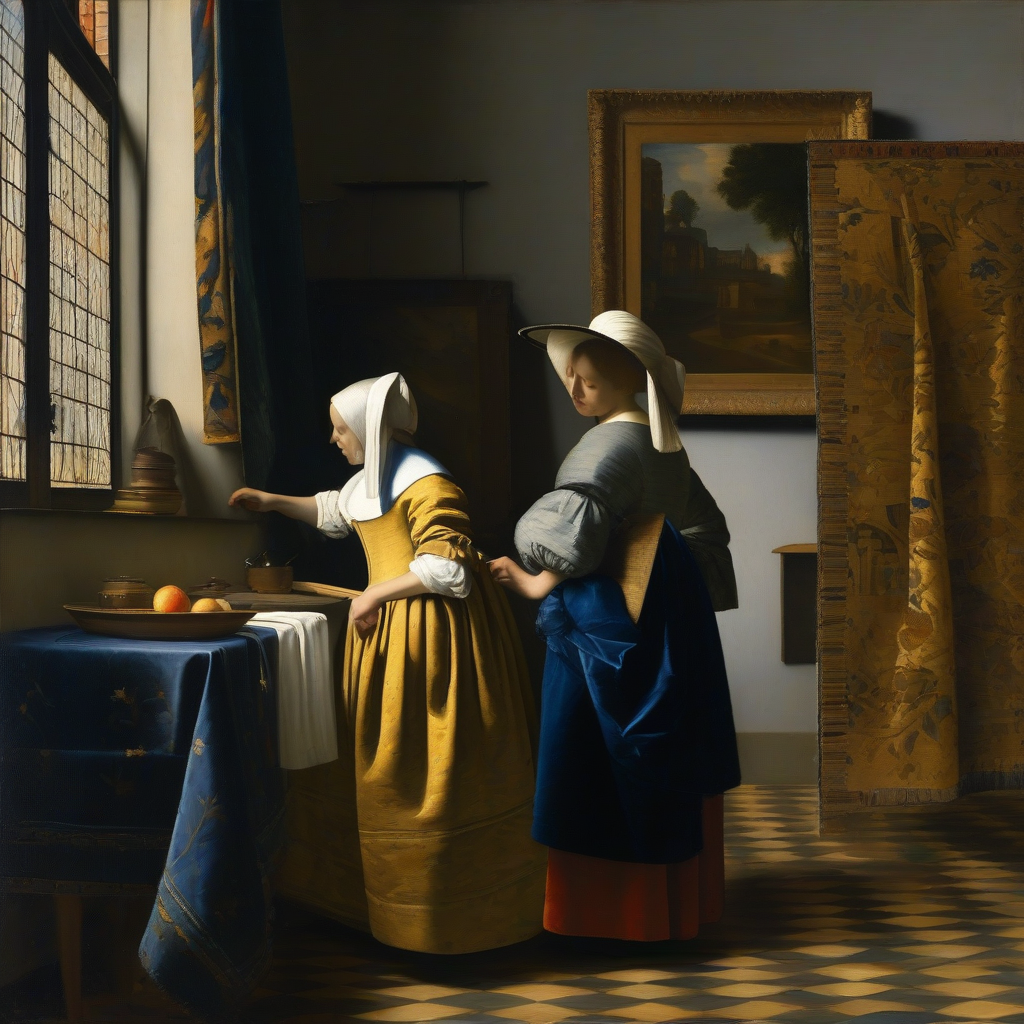
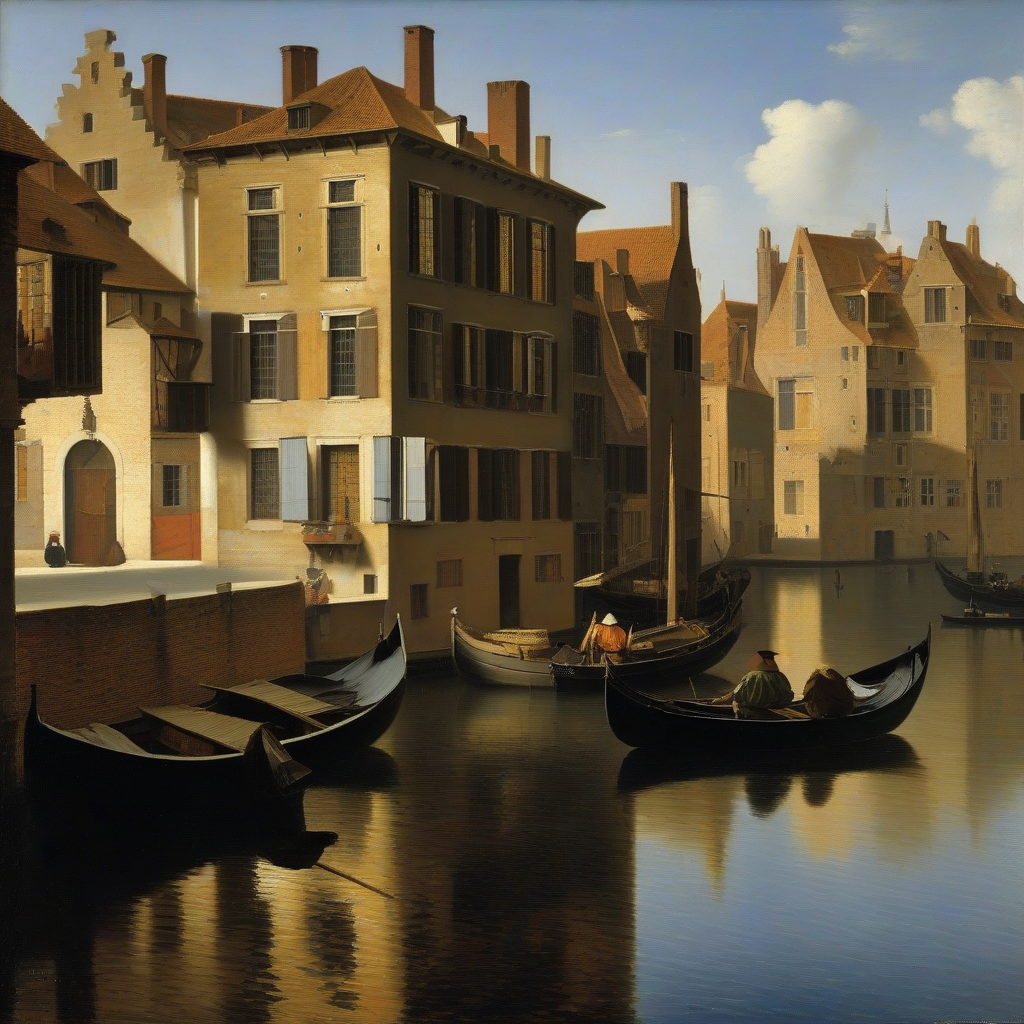
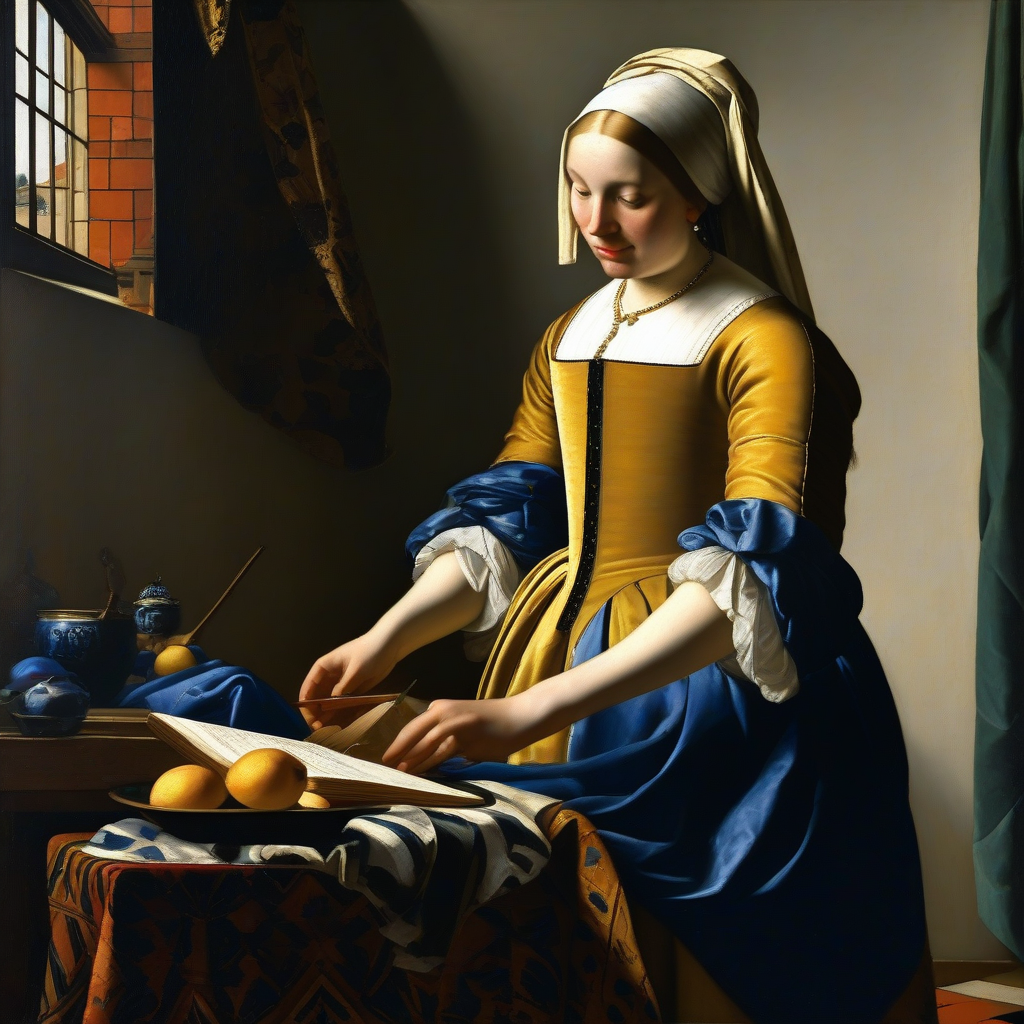
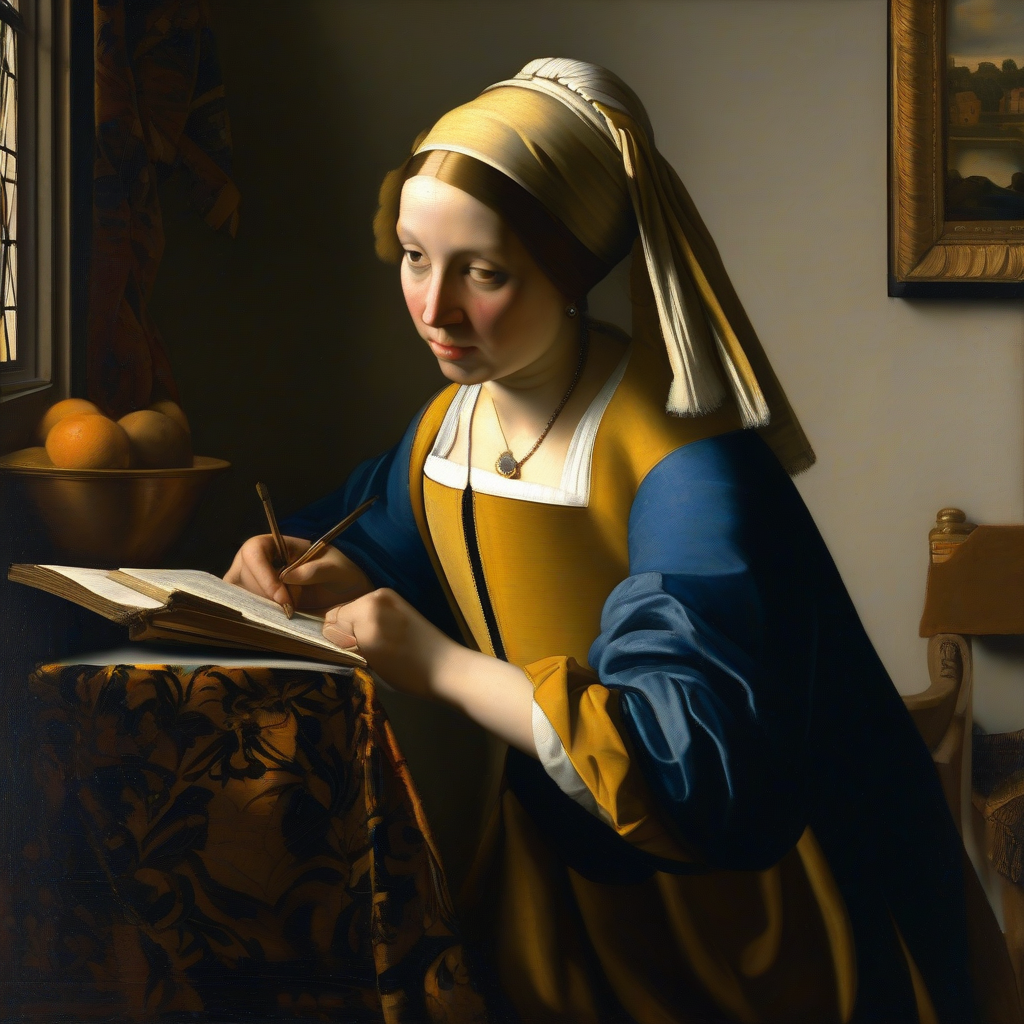
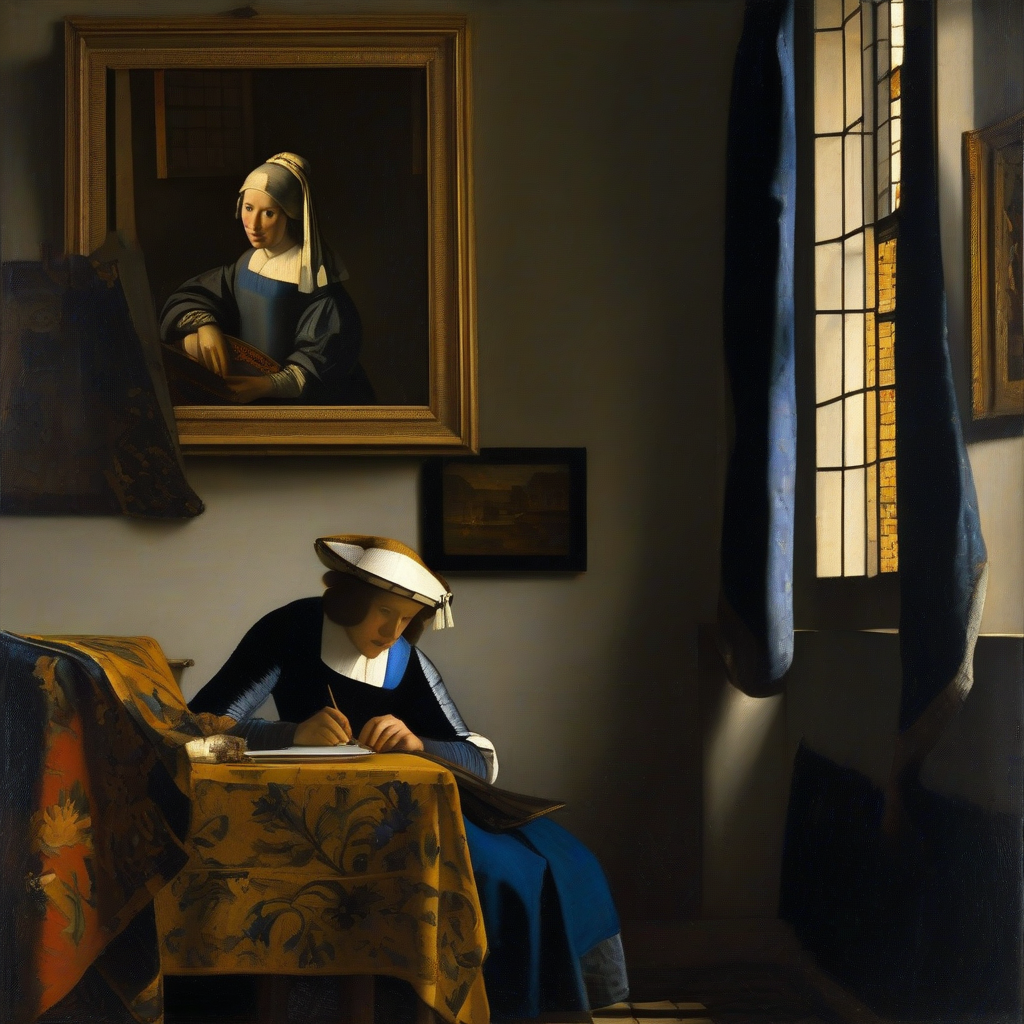
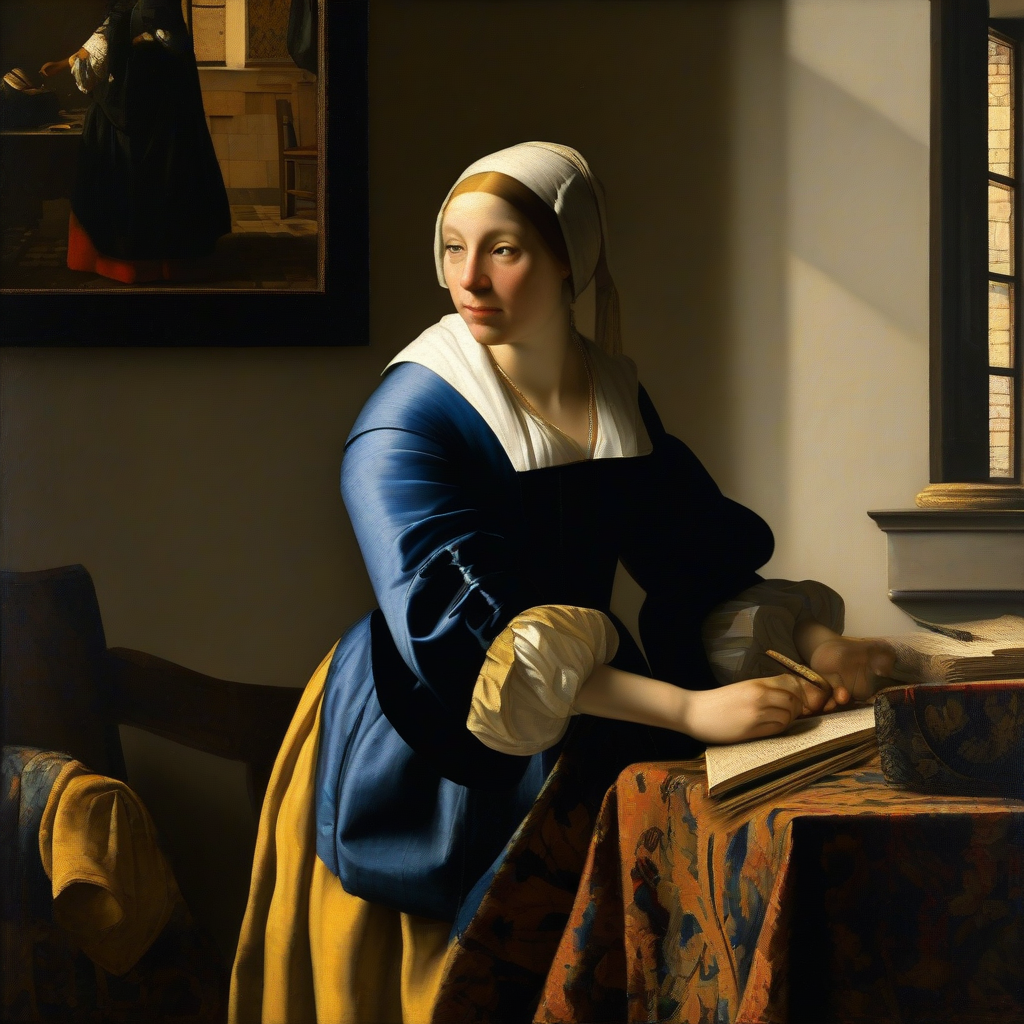
複数の画像を1回の操作で生成している.
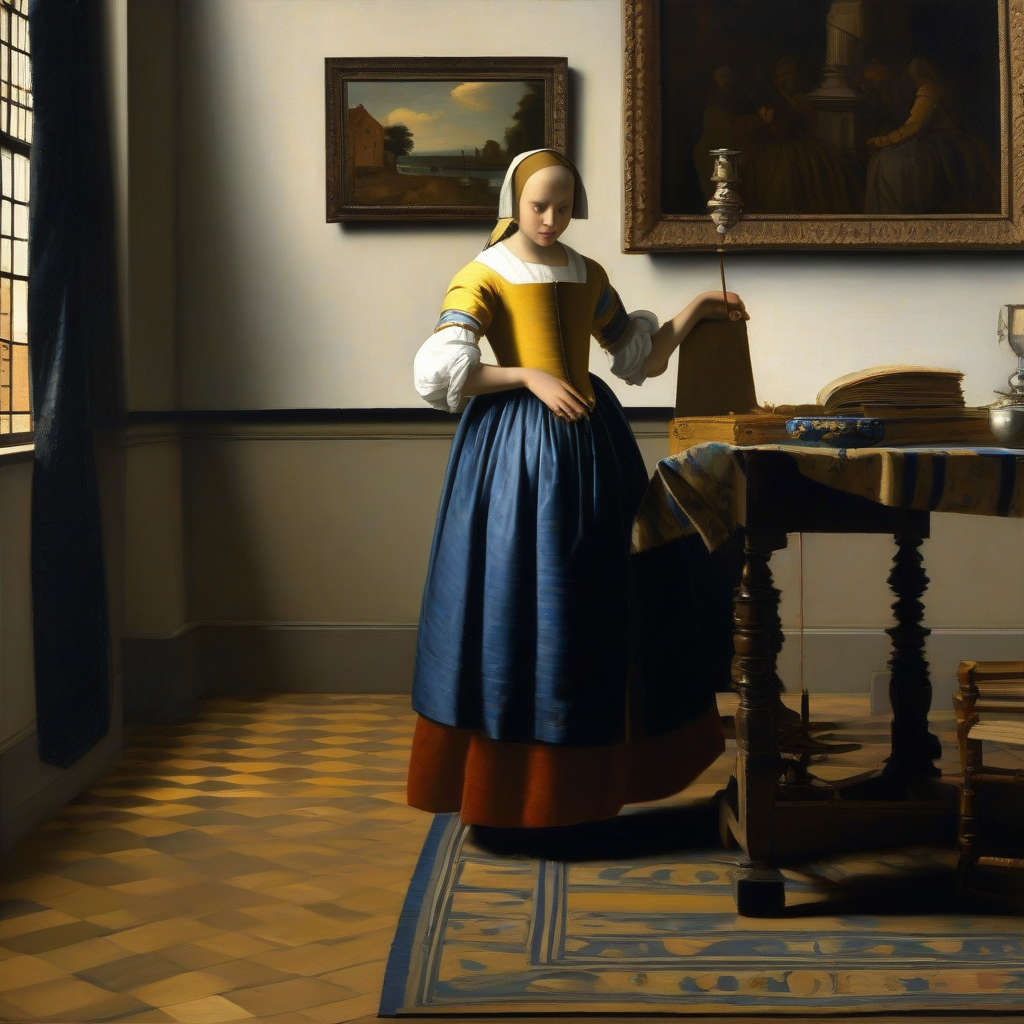
下は,prompt に 「"Johannes Vermeer, fine art, master work, oil painting, (master piece:1,1) (best quality:1,1), 4k, 8k"」を設定して実行したときの結果
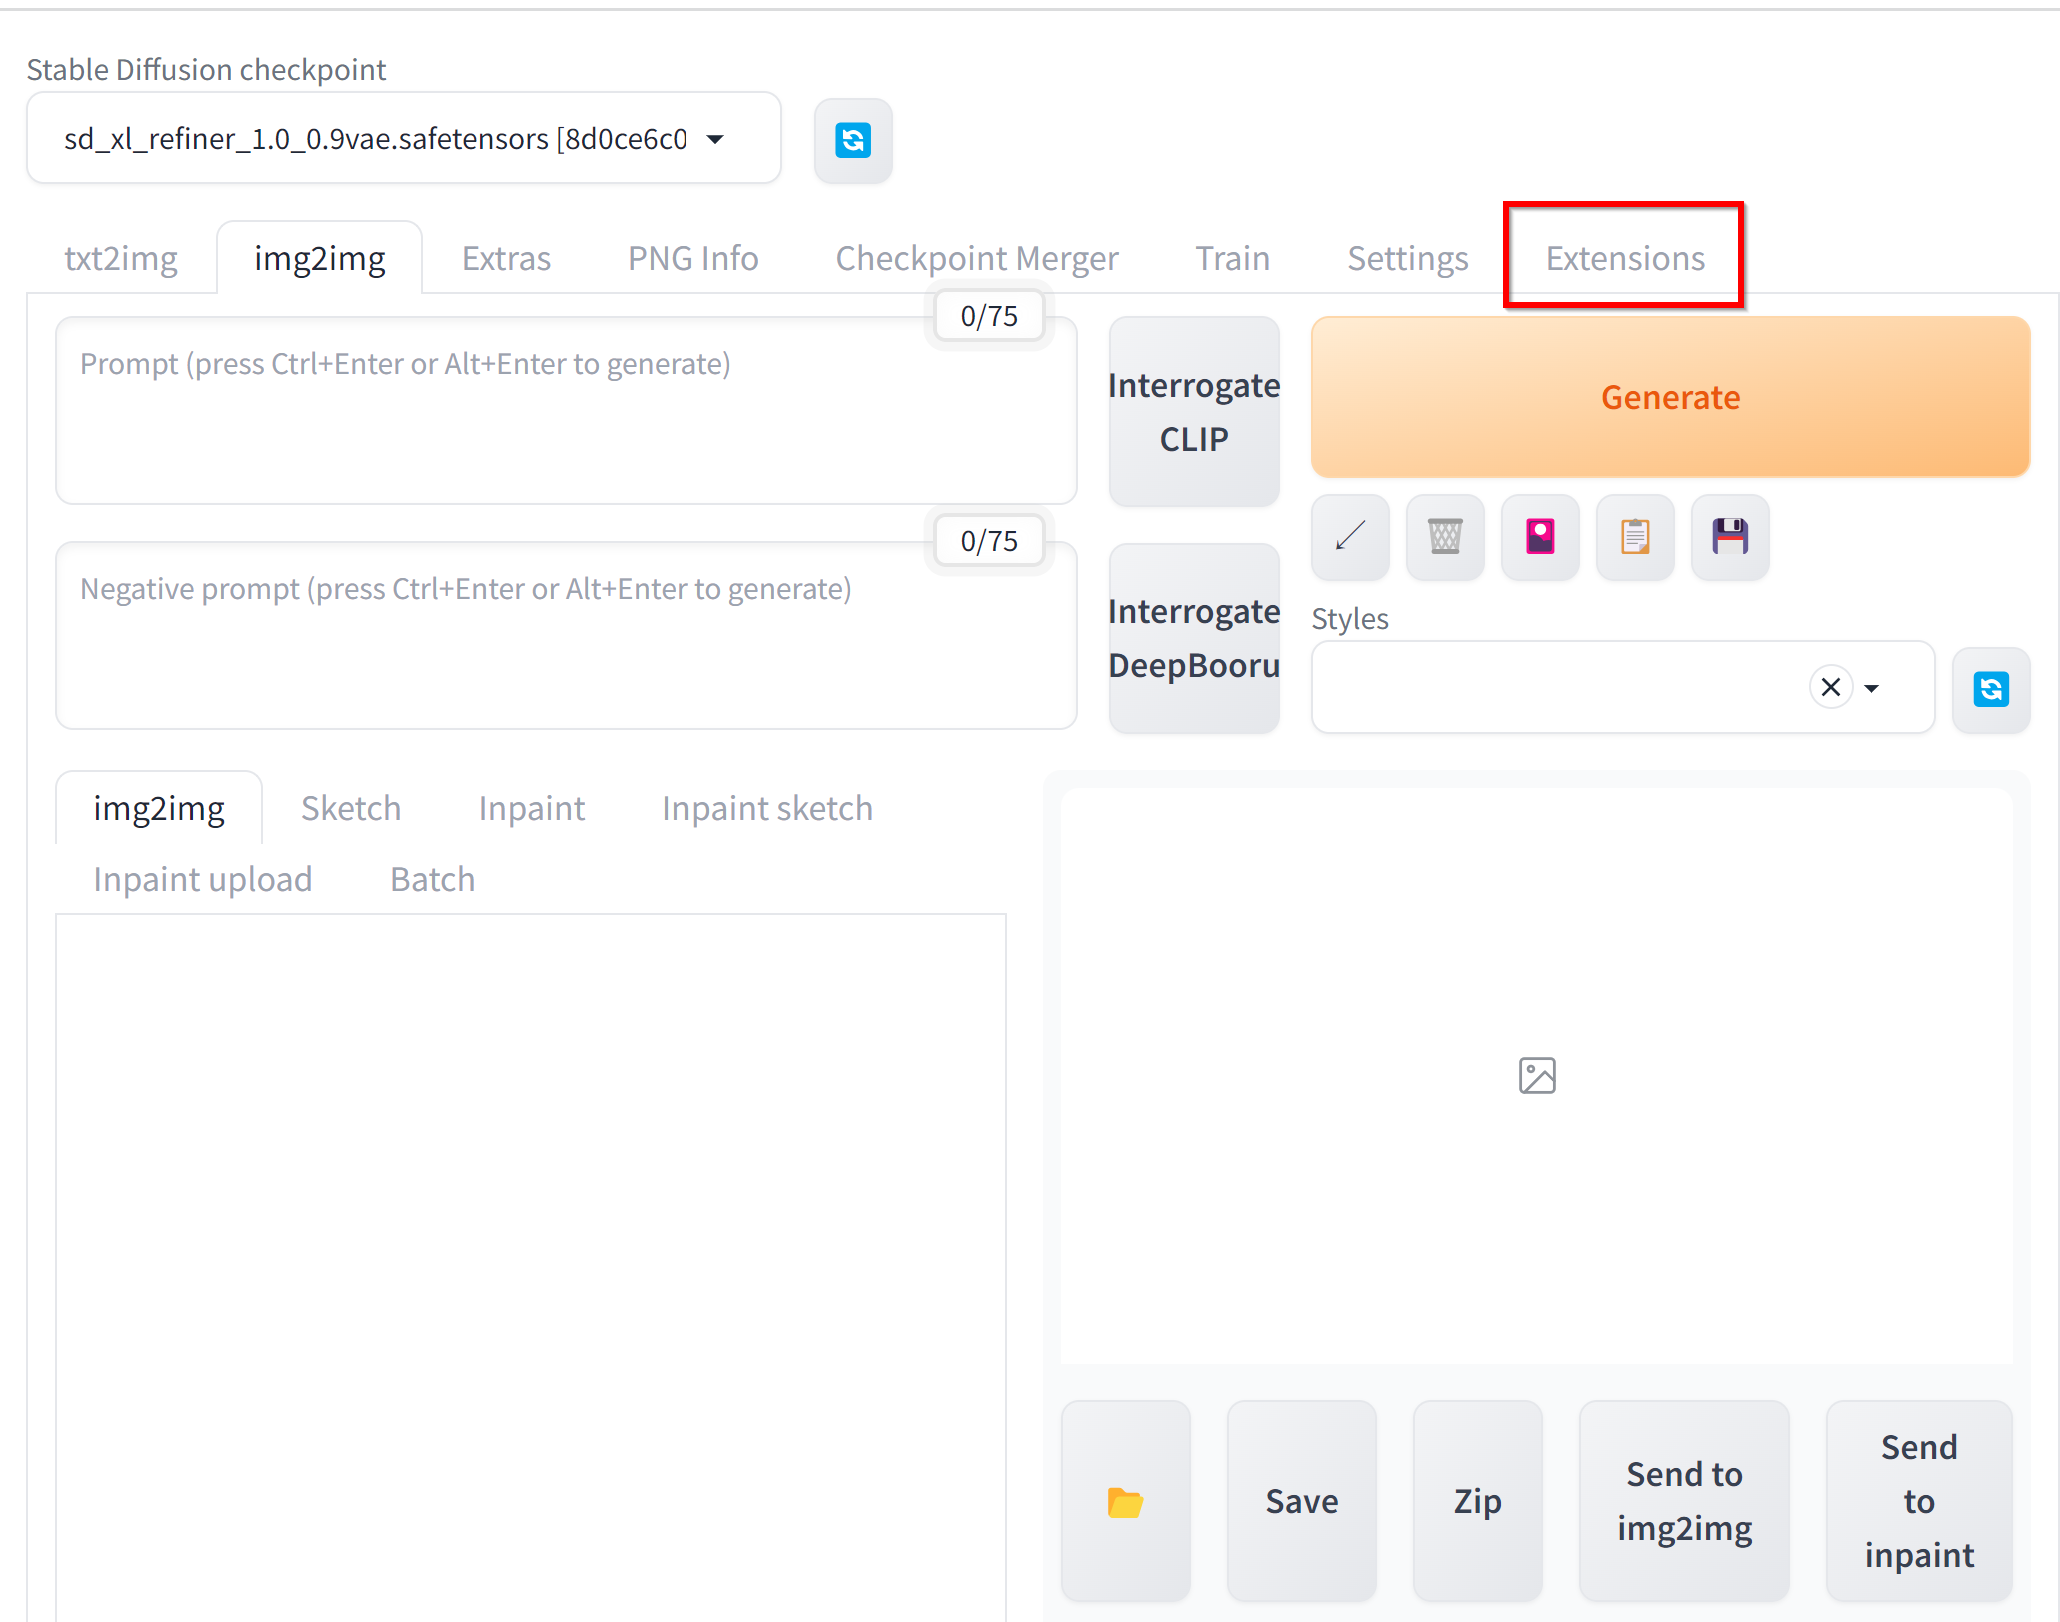
StyleSelectorXL extension のインストール
- 「Extensions」をクリック
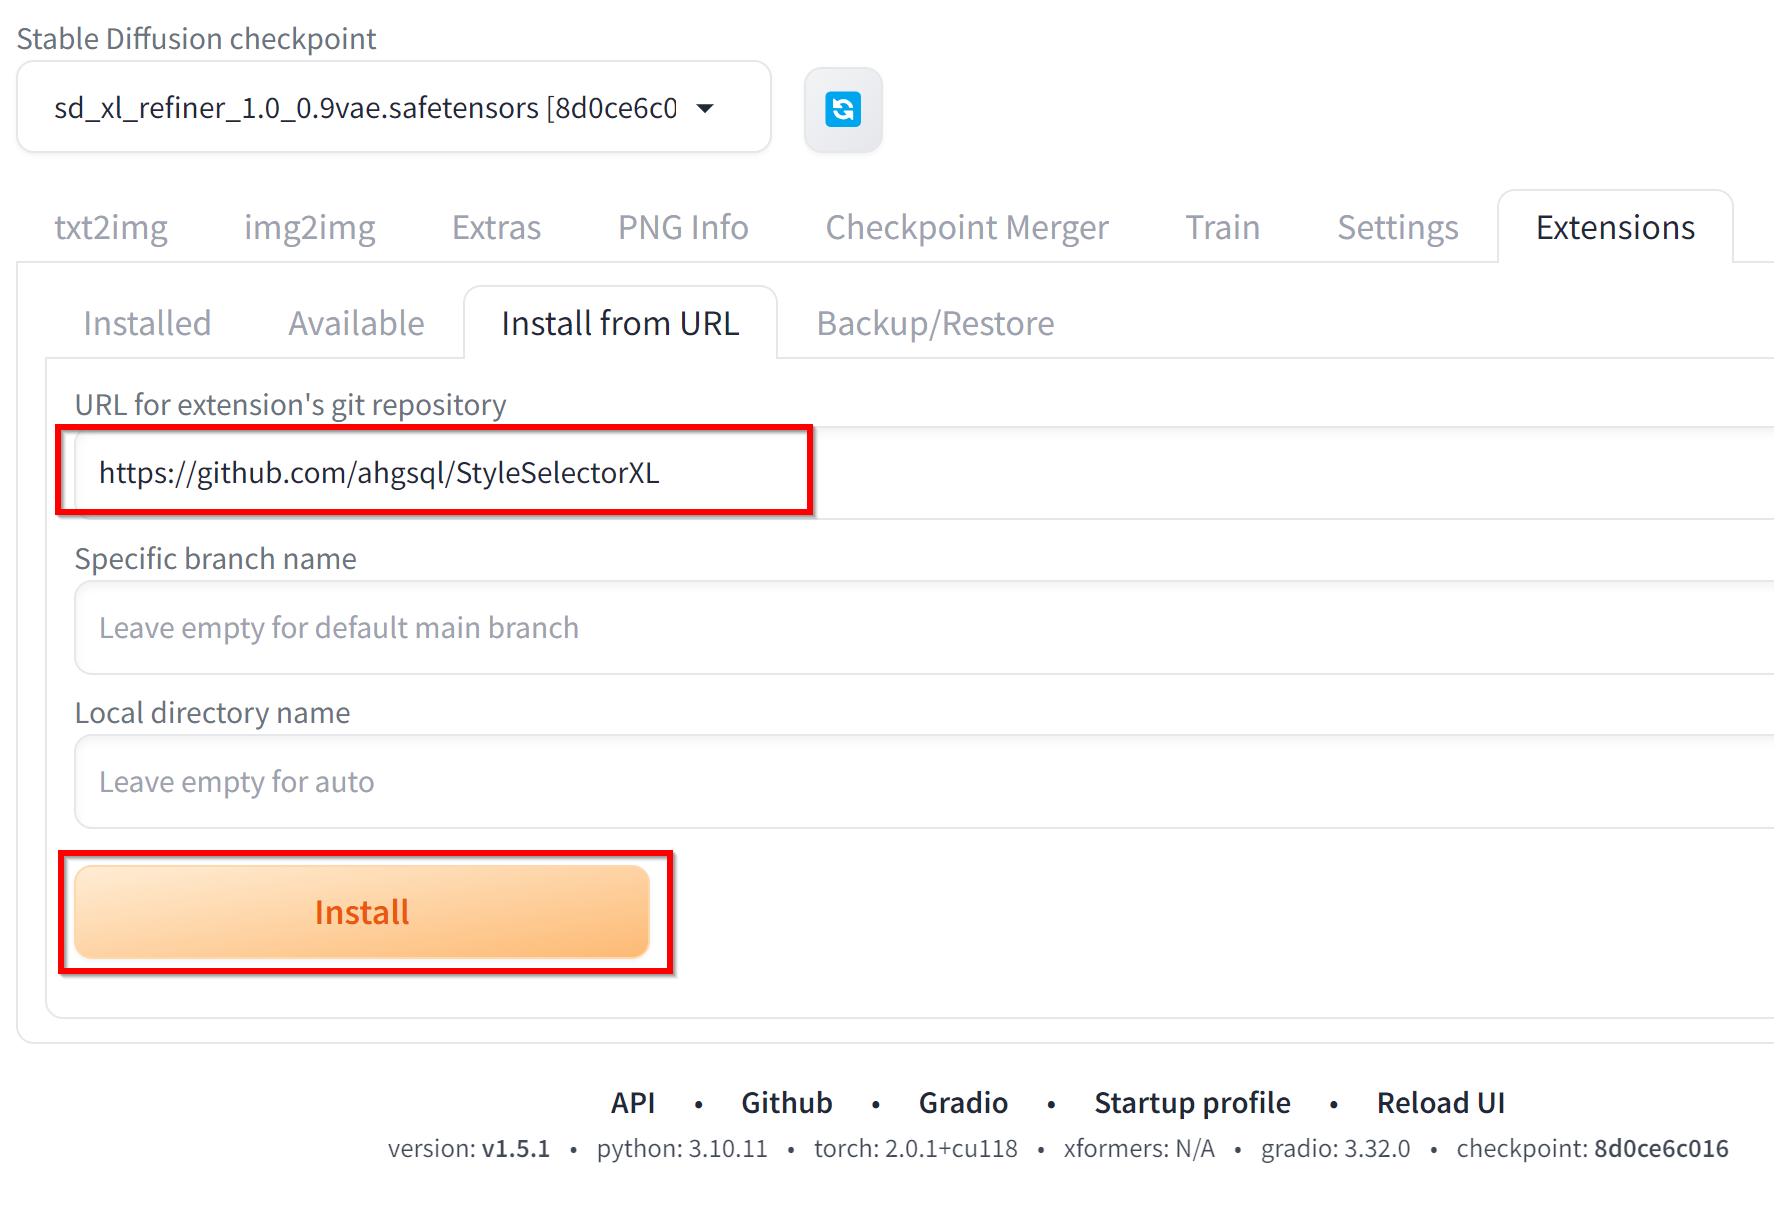
- 「Install from URL」をクリック
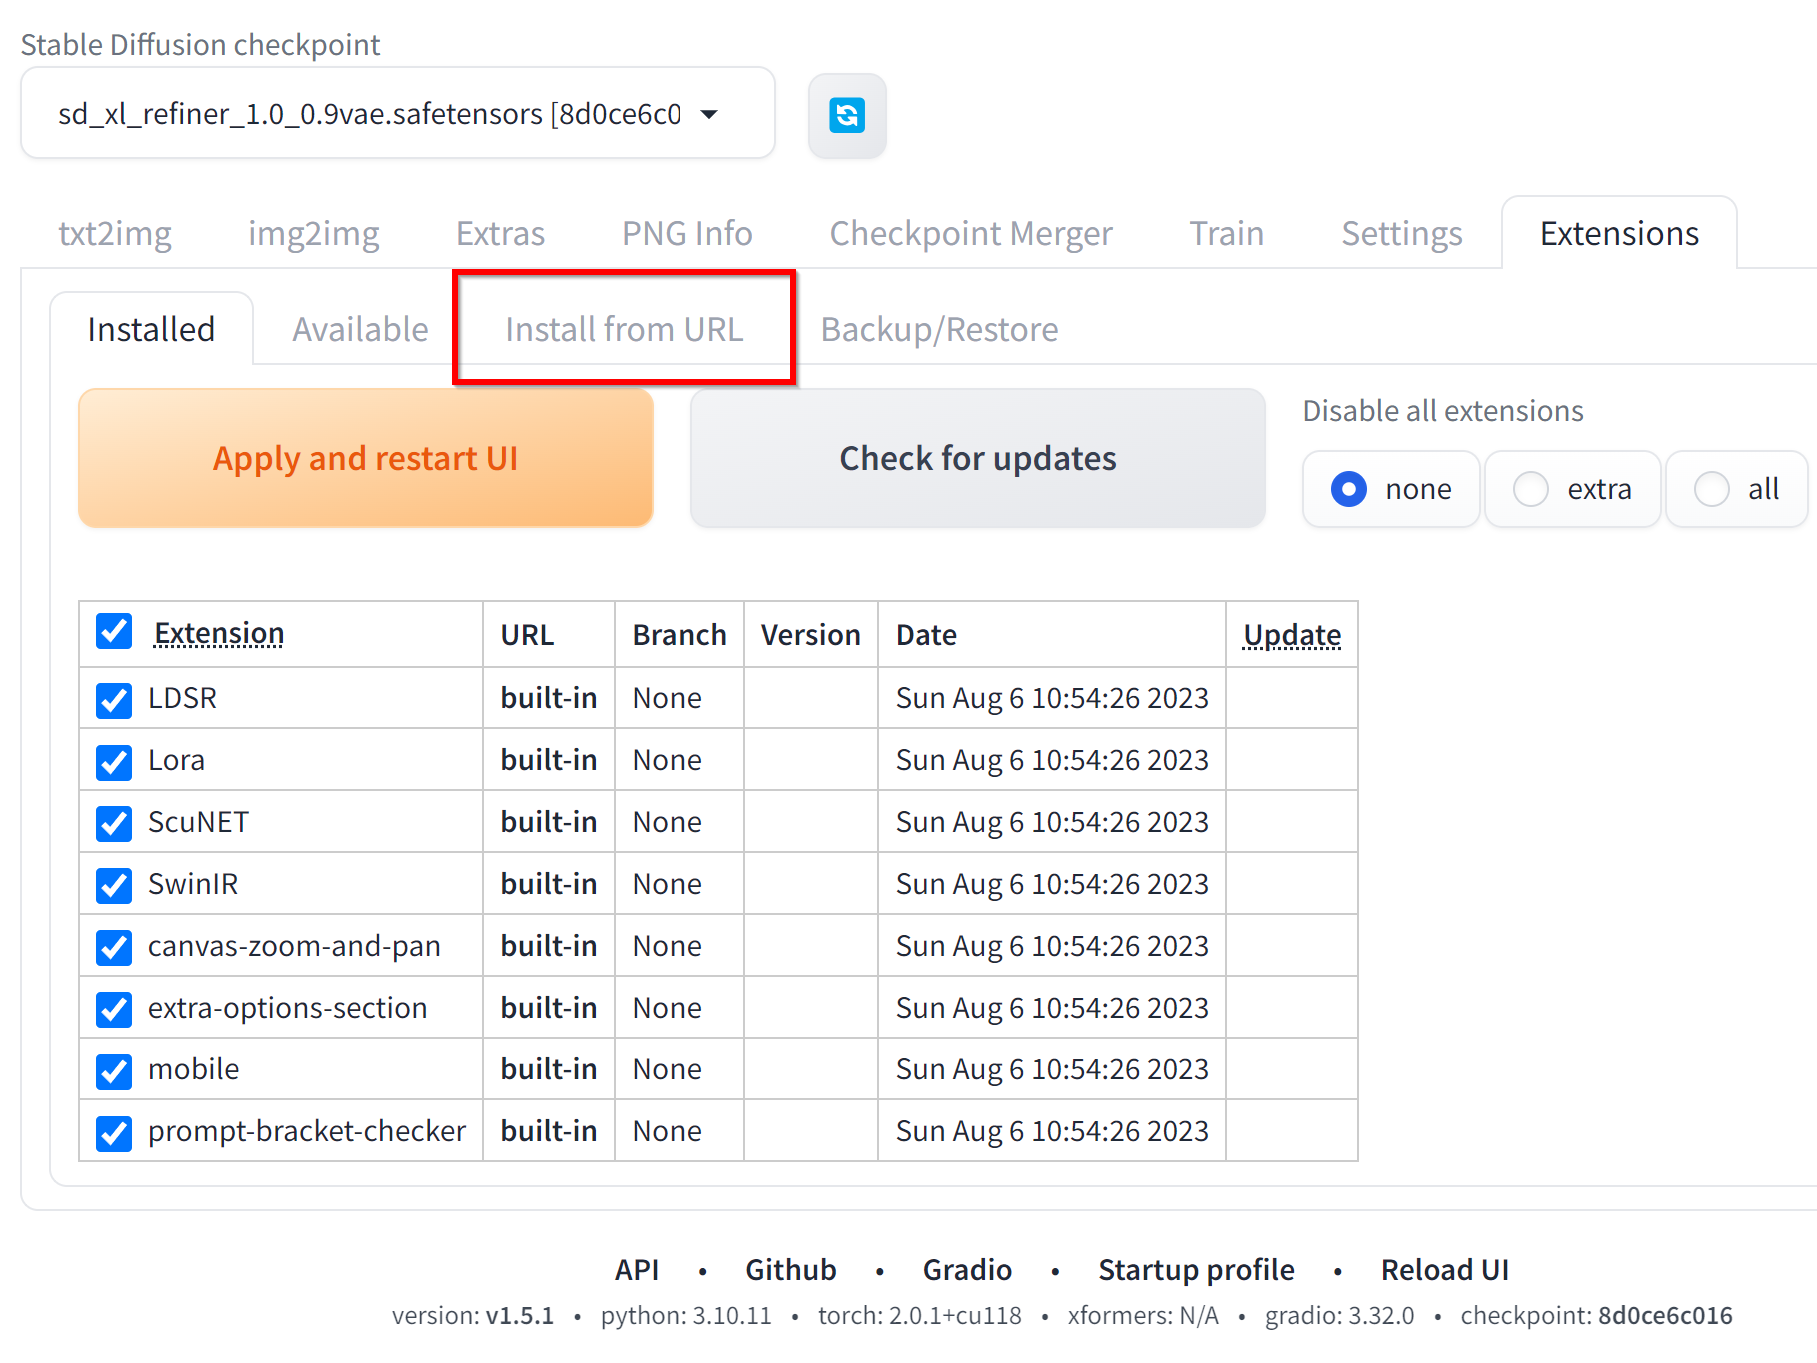
- 次のURLを設定する.「Install」をクリック
https://github.com/ahgsql/StyleSelectorXL
- 「Installed」をクリック.
「Apply and restart UI」をクリック.
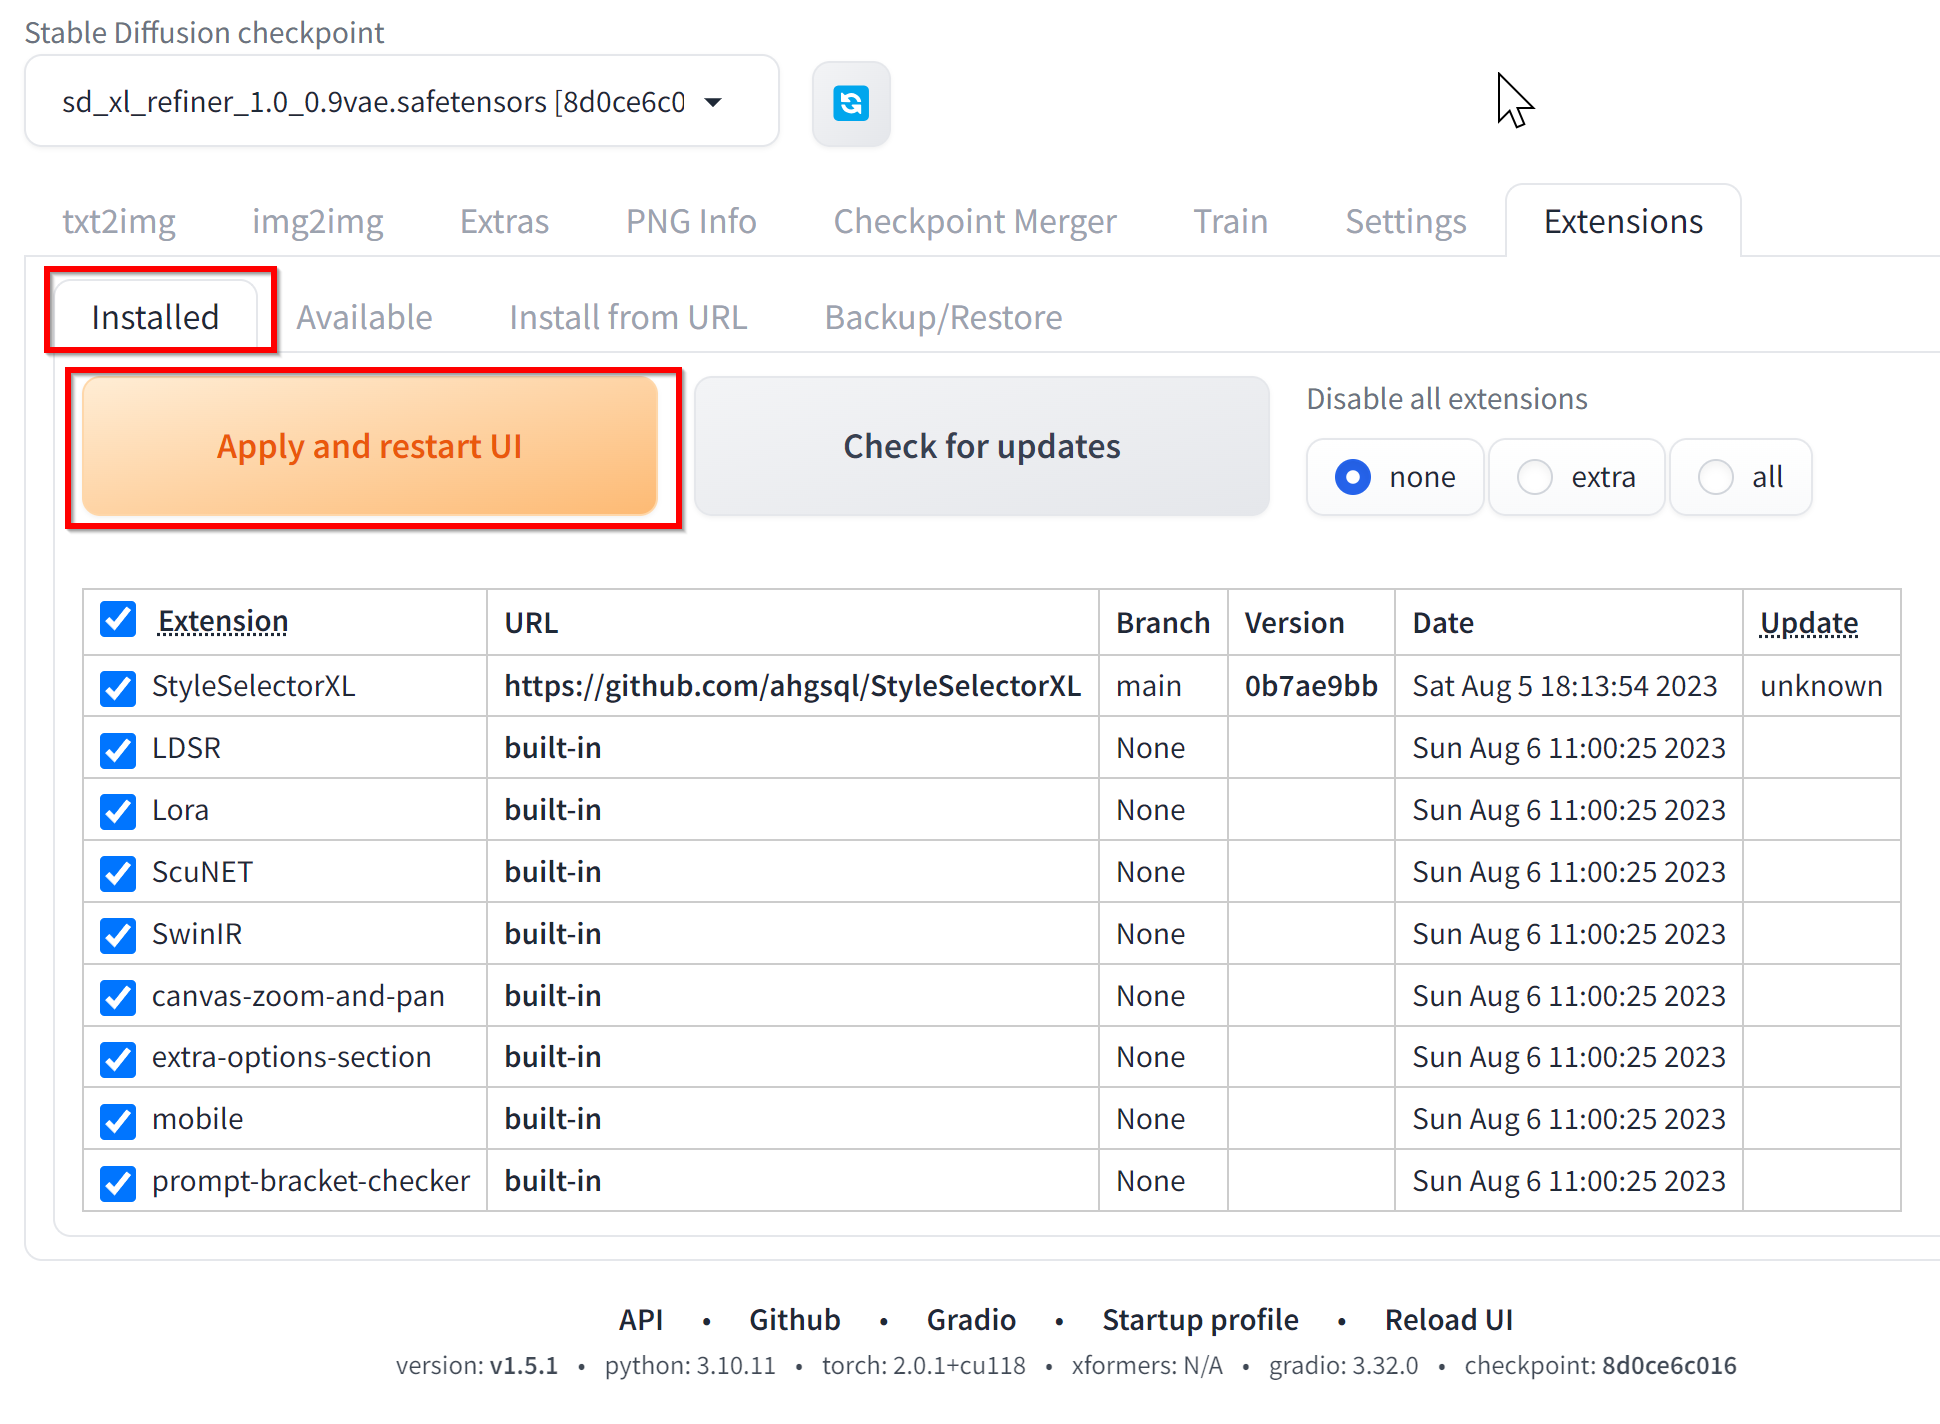
- txt2img で SDXL Styles が設定できるようになる.
- 以下の手順を管理者権限のコマンドプロンプトで実行する
(手順:Windowsキーまたはスタートメニュー →