GPU対応PyTorch 2.3のセットアップと性能確認(Windows 上)
Windows環境でのPyTorch 2.3のインストール手順と動作確認方法を詳細に説明している.主な内容としては,Build Tools for Visual Studio 2022,NVIDIAドライバ,NVIDIA CUDAツールキット,NVIDIA cuDNNの事前インストール,PyTorch公式ページ https://pytorch.org/ からのインストールコマンド取得,コマンドプロンプトでの実行である.また,インストール後の動作確認として,GPUとCPUの性能比較を行う行列積計算プログラムの実行方法が示されている.さらに,画像分類タスクのためのImageNetで学習済みのConvNeXtBaseモデルを用いたリアルタイム画像分類プログラムの実装例も提供されている.各ステップでは,具体的なコマンドラインの操作を示している.
【目次】
【サイト内の関連ページ】
【付記】 本ページのプログラムはAIのアシストを受けて作成しています
前準備
Python 3.12 のインストール(Windows 上) [クリックして展開]
以下のいずれかの方法で Python 3.12 をインストールする。Python がインストール済みの場合、この手順は不要である。
方法1:winget によるインストール
管理者権限のコマンドプロンプトで以下を実行する。管理者権限のコマンドプロンプトを起動するには、Windows キーまたはスタートメニューから「cmd」と入力し、表示された「コマンドプロンプト」を右クリックして「管理者として実行」を選択する。
winget install --id Python.Python.3.12 -e --scope machine --silent --accept-source-agreements --accept-package-agreements --override "/quiet InstallAllUsers=1 PrependPath=1 Include_test=0 Include_pip=1 Include_launcher=1 InstallLauncherAllUsers=1 TargetDir=\"C:\Program Files\Python312\""
powershell -Command "$p='C:\Program Files\Python312'; $s=\"$p\Scripts\"; $m=[Environment]::GetEnvironmentVariable('Path','Machine'); if($m -notlike \"*$s*\") { [Environment]::SetEnvironmentVariable('Path', \"$p;$s;$m\", 'Machine') }"
--scope machine を指定することで、システム全体(全ユーザー向け)にインストールされる。このオプションの実行には管理者権限が必要である。インストール完了後、コマンドプロンプトを再起動すると PATH が自動的に設定される。
方法2:インストーラーによるインストール
- Python 公式サイト(https://www.python.org/downloads/)にアクセスし、「Download Python 3.x.x」ボタンから Windows 用インストーラーをダウンロードする。
- ダウンロードしたインストーラーを実行する。
- 初期画面の下部に表示される「Add python.exe to PATH」に必ずチェックを入れてから「Customize installation」を選択する。このチェックを入れ忘れると、コマンドプロンプトから
pythonコマンドを実行できない。 - 「Install Python 3.xx for all users」にチェックを入れ、「Install」をクリックする。
インストールの確認
コマンドプロンプトで以下を実行する。
python --versionバージョン番号(例:Python 3.12.x)が表示されればインストール成功である。「'python' は、内部コマンドまたは外部コマンドとして認識されていません。」と表示される場合は、インストールが正常に完了していない。
Build Tools for Visual Studio 2026 のインストール(Windows 上) [クリックして展開]
Build Tools for Visual Studio は,Visual Studio の IDE を含まない C/C++ コンパイラ,ライブラリ,ビルドツール等のコマンドライン向け開発ツールセットである。インストール済みの場合、この手順は不要である。
管理者権限のコマンドプロンプトで以下を実行する。管理者権限のコマンドプロンプトを起動するには、Windows キーまたはスタートメニューから「cmd」と入力し、表示された「コマンドプロンプト」を右クリックして「管理者として実行」を選択する。
REM VC++ ランタイム
winget install --scope machine --id Microsoft.VCRedist.2015+.x64 -e --silent --disable-interactivity --force --accept-source-agreements --accept-package-agreements --override "/quiet /norestart"

REM Build Tools + Desktop development with C++(VCTools)+ 追加コンポーネント(一括)
winget list --id Microsoft.VisualStudio.BuildTools 2>nul | findstr /i "BuildTools" >nul 2>&1
if %ERRORLEVEL% EQU 0 (
    for /f "delims=" %P in ('"C:\Program Files (x86)\Microsoft Visual Studio\Installer\vswhere.exe" -products * -property installationPath') do start /wait "" "C:\Program Files (x86)\Microsoft Visual Studio\Installer\setup.exe" modify --installPath "%P" --add Microsoft.VisualStudio.Workload.VCTools --add Microsoft.VisualStudio.Workload.MSBuildTools --add Microsoft.VisualStudio.Component.VC.CMake.Project --add Microsoft.VisualStudio.Component.VC.Llvm.Clang --add Microsoft.VisualStudio.Component.VC.Llvm.ClangToolset --add Microsoft.VisualStudio.Component.Windows11SDK.26100 --includeRecommended --quiet --norestart
) else (
    winget install --scope machine --id Microsoft.VisualStudio.BuildTools -e --silent --disable-interactivity --force --accept-source-agreements --accept-package-agreements --override "--quiet --wait --norestart --nocache --add Microsoft.VisualStudio.Workload.VCTools --includeRecommended --add Microsoft.VisualStudio.Workload.MSBuildTools --add Microsoft.VisualStudio.Component.VC.CMake.Project --add Microsoft.VisualStudio.Component.VC.Llvm.Clang --add Microsoft.VisualStudio.Component.VC.Llvm.ClangToolset --add Microsoft.VisualStudio.Component.Windows11SDK.26100"
)
REM  何らかの理由で BuildTools の動作がおかしくなった場合は,以下を実行すると,既存のインストールのファイル破損・欠損を修復し正常な状態に復元する効果がある.
REM "C:\Program Files (x86)\Microsoft Visual Studio\Installer\setup.exe" repair --installPath "C:\Program Files (x86)\Microsoft Visual Studio\18\BuildTools" --quiet --norestart
REM 以下で正常であることを確認する.パスが表示されれば正常である.
REM "C:\Program Files (x86)\Microsoft Visual Studio\Installer\vswhere.exe" -products * -requires Microsoft.VisualStudio.Workload.VCTools -property installationPath
--add で追加されるコンポーネント
上記のコマンドでは,まず Build Tools 本体と Visual C++ 再頒布可能パッケージをインストールし,次に setup.exe を用いて以下のコンポーネントを追加している。
VCTools:C++ デスクトップ開発ワークロード(--includeRecommendedにより、MSVC コンパイラ、C++ AddressSanitizer、vcpkg、CMake ツール、Windows 11 SDK 等の推奨コンポーネントが含まれる)VC.Llvm.Clang:Windows 向け C++ Clang コンパイラClangCL:clang-cl ツールセットを含むコンポーネントグループ(MSBuild から Clang を使用するために必要)VC.CMake.Project:Windows 向け C++ CMake ツールWindows11SDK.26100:Windows 11 SDK(ビルド 10.0.26100)
インストール完了の確認
winget list Microsoft.VisualStudio.BuildTools上記以外の追加のコンポーネントが必要になった場合は Visual Studio Installer で個別にインストールできる。
Visual Studio の機能を必要とする場合は、追加インストールできる。
NVIDIA CUDA Toolkit 12.8のインストール
- 前提条件(NVIDIA CUDA Toolkit インストール前): NVIDIA GPU,NVIDIA ドライバ,および Build Tools for Visual Studio もしくは Visual Studio が必要である.
- インストール中の注意: なるべく他のウインドウはすべて閉じておくこと.
以下のコマンドを管理者権限のコマンドプロンプトで実行する
(手順:Windowsキーまたはスタートメニュー → cmd と入力 → 右クリック → 「管理者として実行」)。
REM NVIDIA CUDA Toolkit 12.8 をシステム領域にインストール
winget install --scope machine --id Nvidia.CUDA --version 12.8 -e --silent --disable-interactivity --force --uninstall-previous --accept-source-agreements --accept-package-agreements --override "-s -n"

REM 環境変数TEMP, TMPの設定(一時ファイルの保存先を短いパスに変更)
mkdir C:\TEMP
set "TEMP_PATH=C:\TEMP"
setx TEMP "%TEMP_PATH%" /M >nul
setx TMP "%TEMP_PATH%" /M >nul
PyTorch のインストール(Windows 上)
- 以下の手順を管理者権限のコマンドプロンプトで実行する
(手順:Windowsキーまたはスタートメニュー →
cmdと入力 → 右クリック → 「管理者として実行」)。 - 使用する Python のバージョンの確認
python --version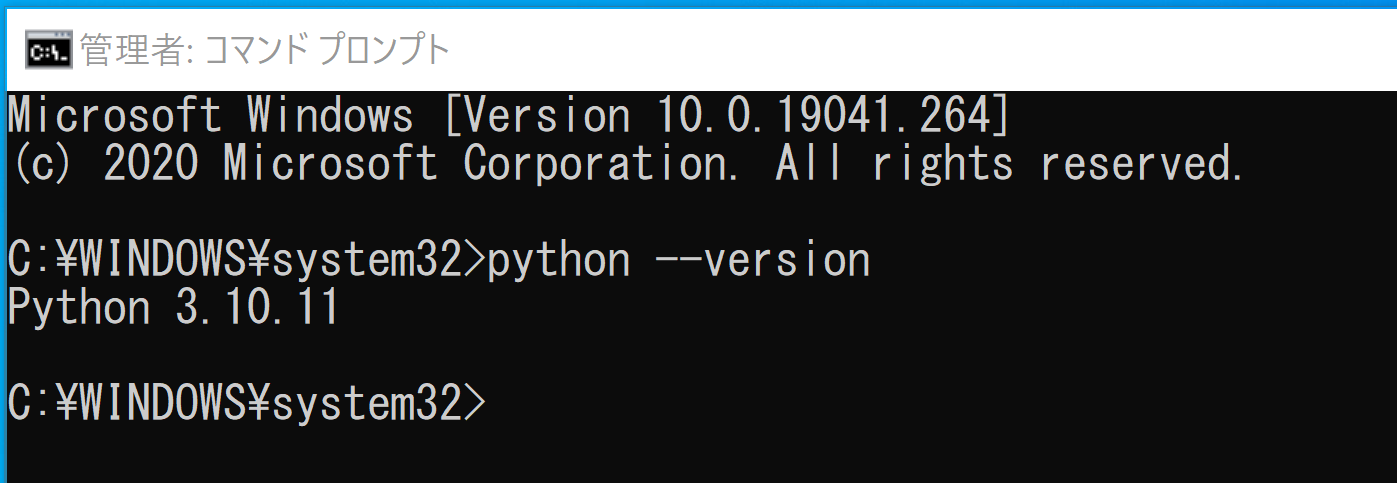
- PyTorch の Web ページを開く
- ランタイムコマンドを表示させる
次のように選ぶと,その下に,ランタイムコマンドが表示される
- Your OS: Windows を選ぶ
- Package: pip を選ぶ
- Language: Python を選ぶ
- CUDA: 使用している CUDA のバージョンを選ぶ

- ランタイムコマンドを,先ほどのコマンドプロンプト(管理者として実行したもの)で実行
 PyTorch 2.3 のインストール手順例は次の通り
- 以下の手順を管理者権限のコマンドプロンプトで実行する
(手順:Windowsキーまたはスタートメニュー →
cmdと入力 → 右クリック → 「管理者として実行」)。 - PyTorch のページを確認
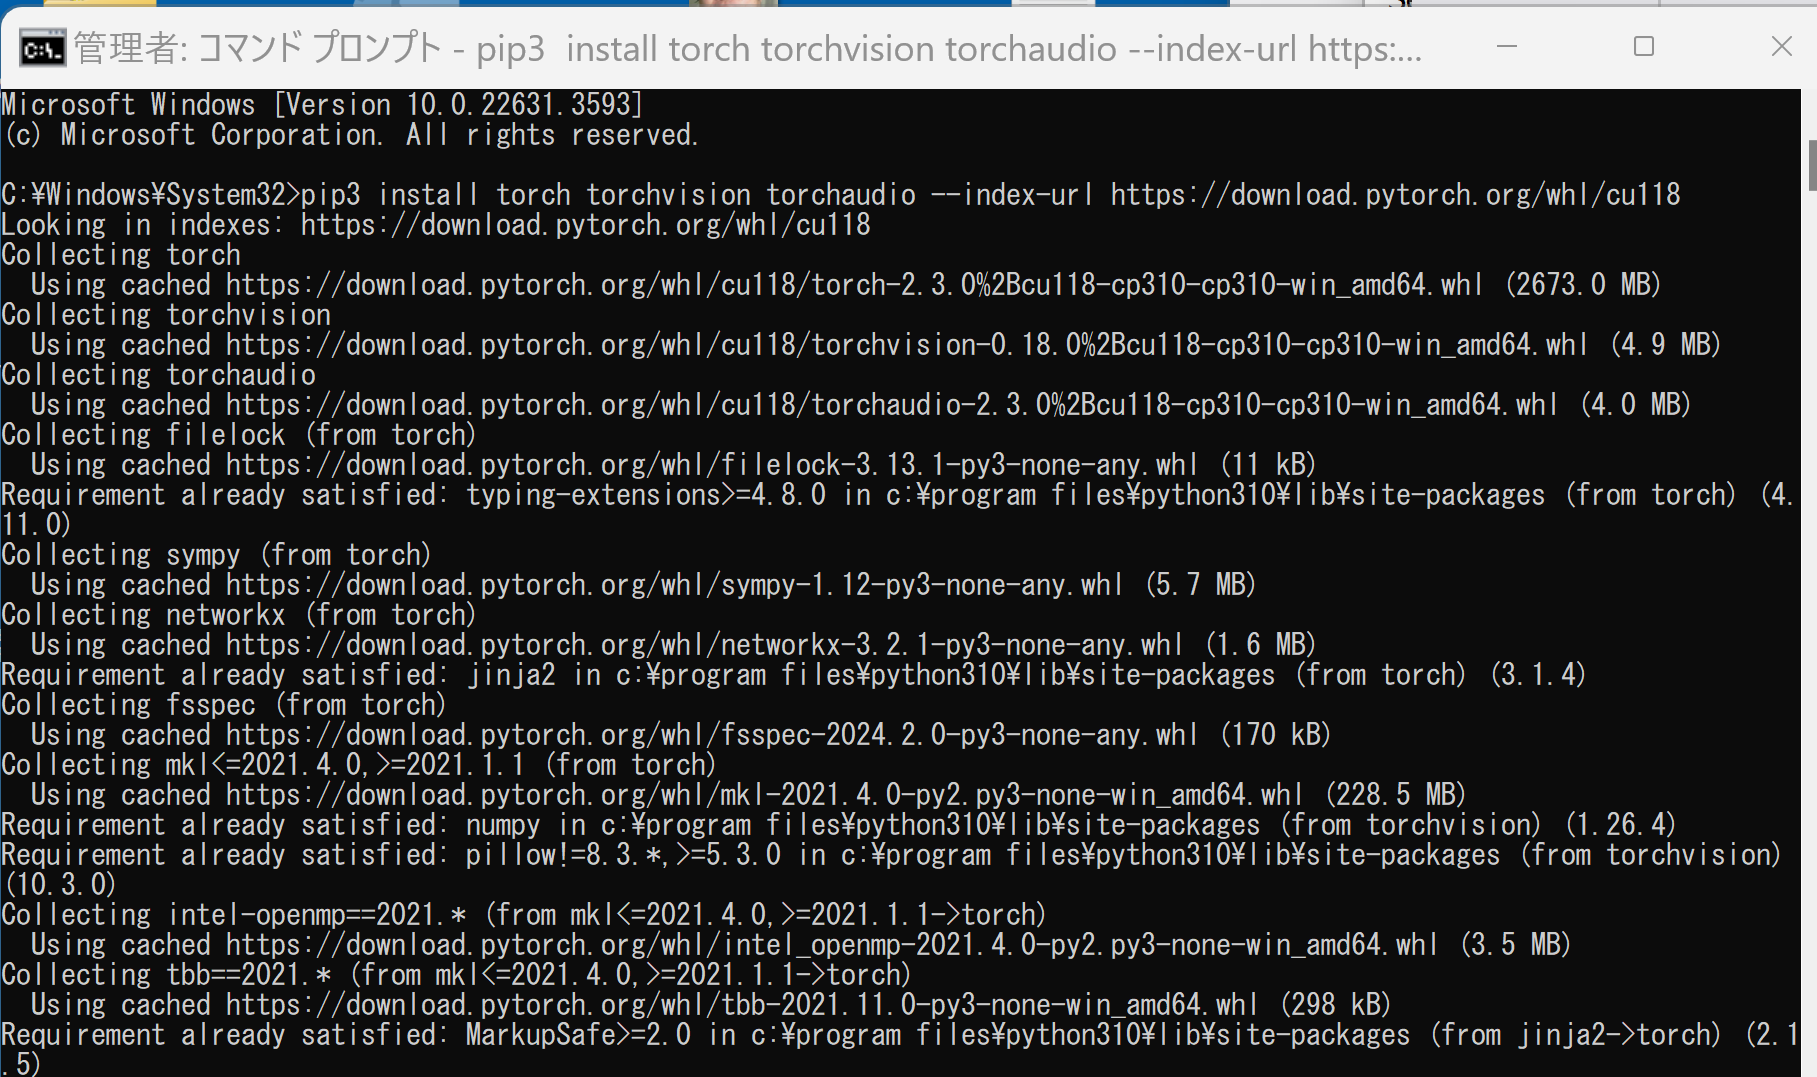
- 次のようなコマンドを実行(実行するコマンドは,PyTorch のページの表示されるコマンドを使う).
次のコマンドを実行することにより, PyTorch 2.3 (NVIDIA CUDA 11.8 用)がインストールされる. 但し,Anaconda3を使いたい場合には別手順になる.
事前に NVIDIA CUDA のバージョンを確認しておくこと(ここでは,NVIDIA CUDA ツールキット 11.8 が前もってインストール済みであるとする).
PyTorch で,GPU が動作している場合には,「torch.cuda.is_available()」により,True が表示される.
python -m pip install -U --ignore-installed pip
python -m pip uninstall -y torch torchvision torchaudio torchtext xformers
python -m pip install -U torch torchvision torchaudio numpy --index-url https://download.pytorch.org/whl/cu118

python -c "import torch; print(torch.__version__, torch.cuda.is_available())"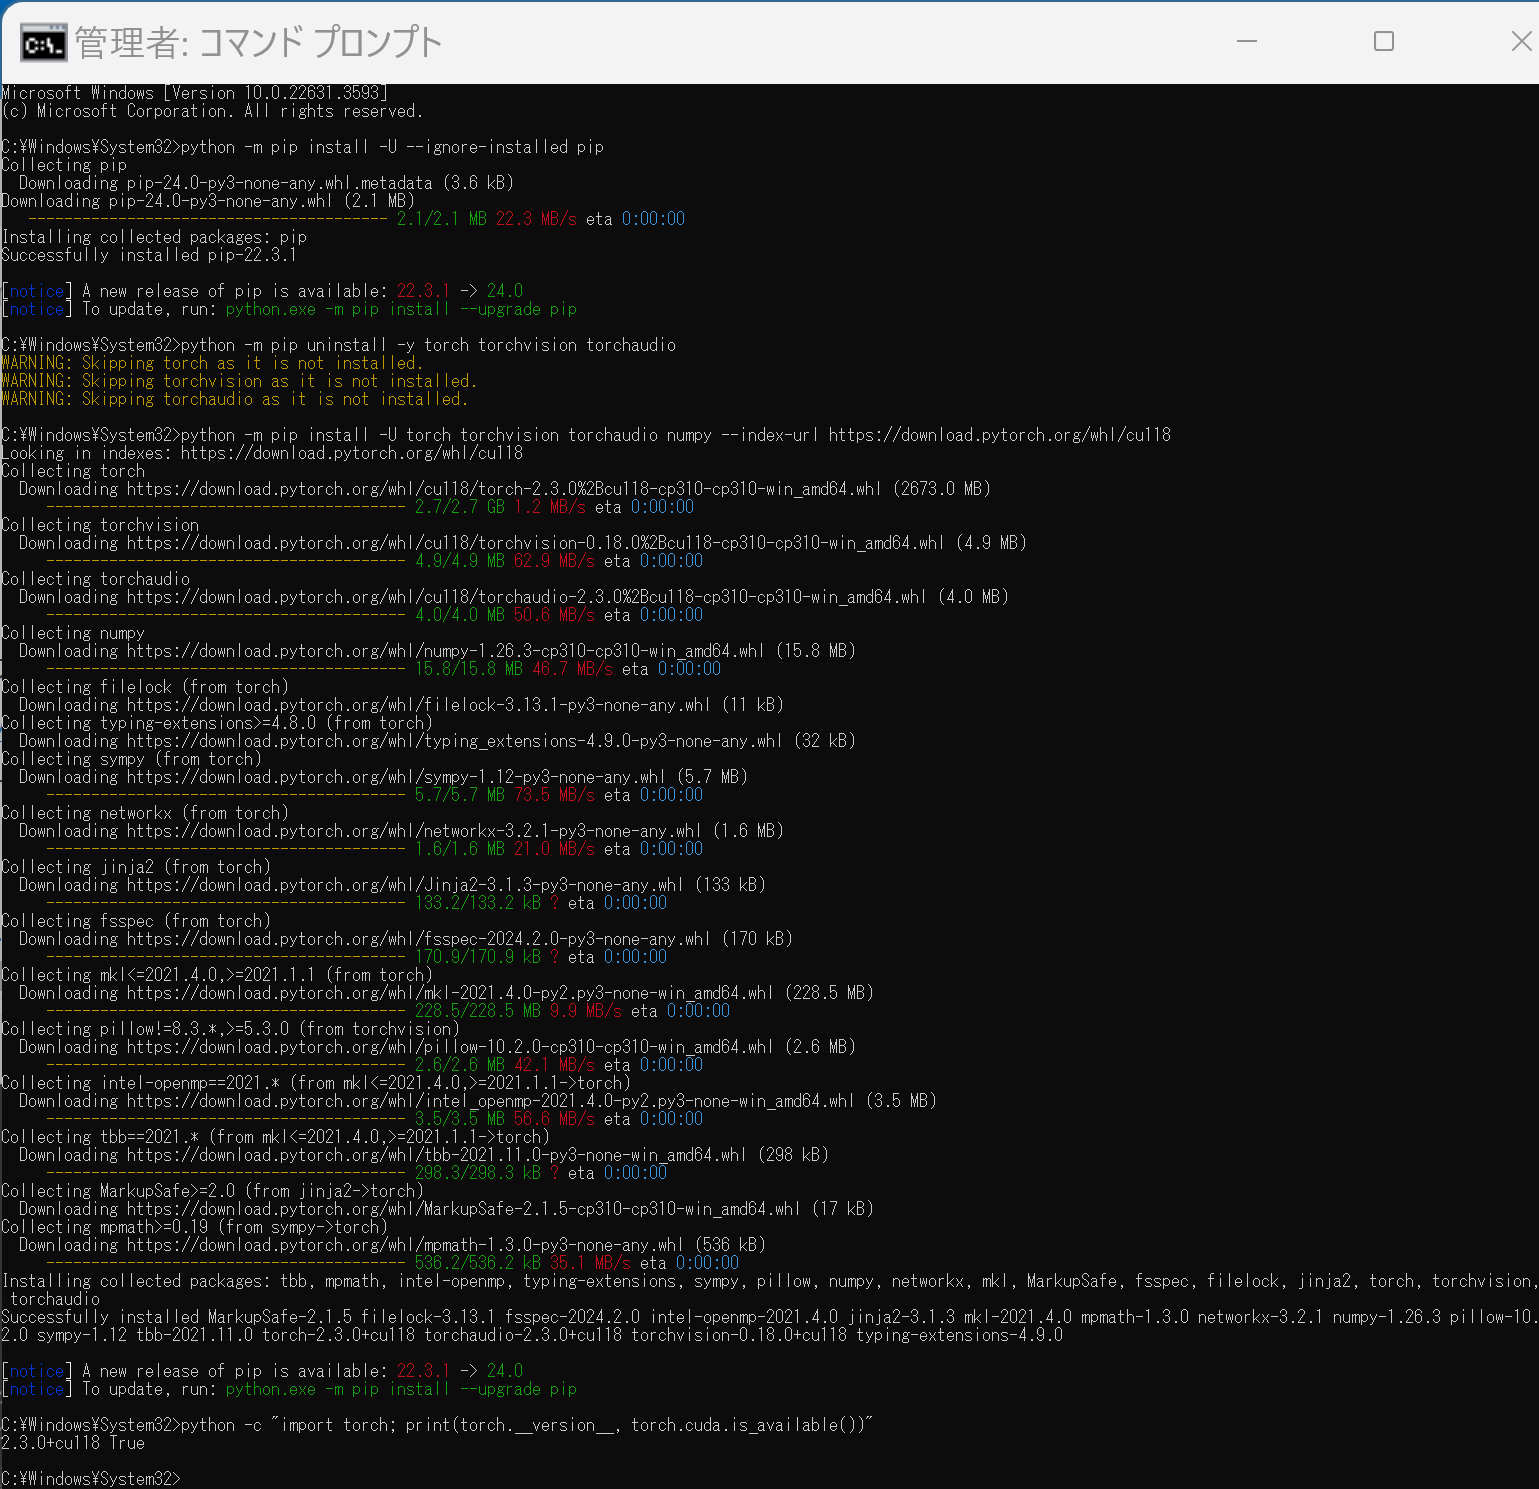
- 以下の手順を管理者権限のコマンドプロンプトで実行する
(手順:Windowsキーまたはスタートメニュー →
- Python でPyTorch のバージョン確認
python -c "import torch; print( torch.__version__ )"
- 動作確認
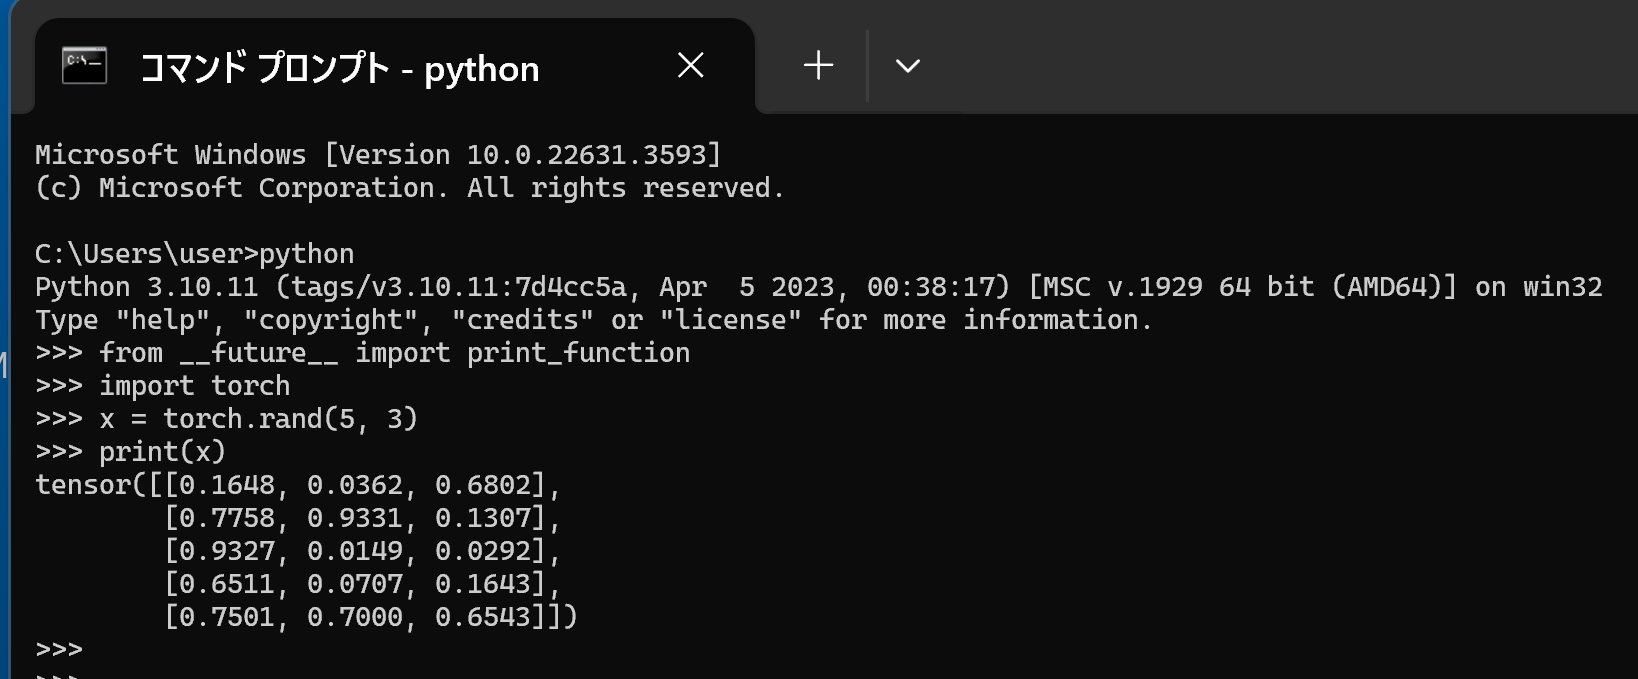
https://pytorch.org/get-started/locally/ に記載の Python プログラムを動かしてみる
Python プログラムの実行- Windows では python (Python ランチャーは py)
Python のまとめ: 別ページ »にまとめ
行列の掛け算,主成分分析,特異値分解(PyTorch のプログラム例)(Windows 上)
行列の掛け算
- Windows で,コマンドプロンプトを実行
- エディタを起動
cd /d c:%HOMEPATH%
notepad pytorchmul.py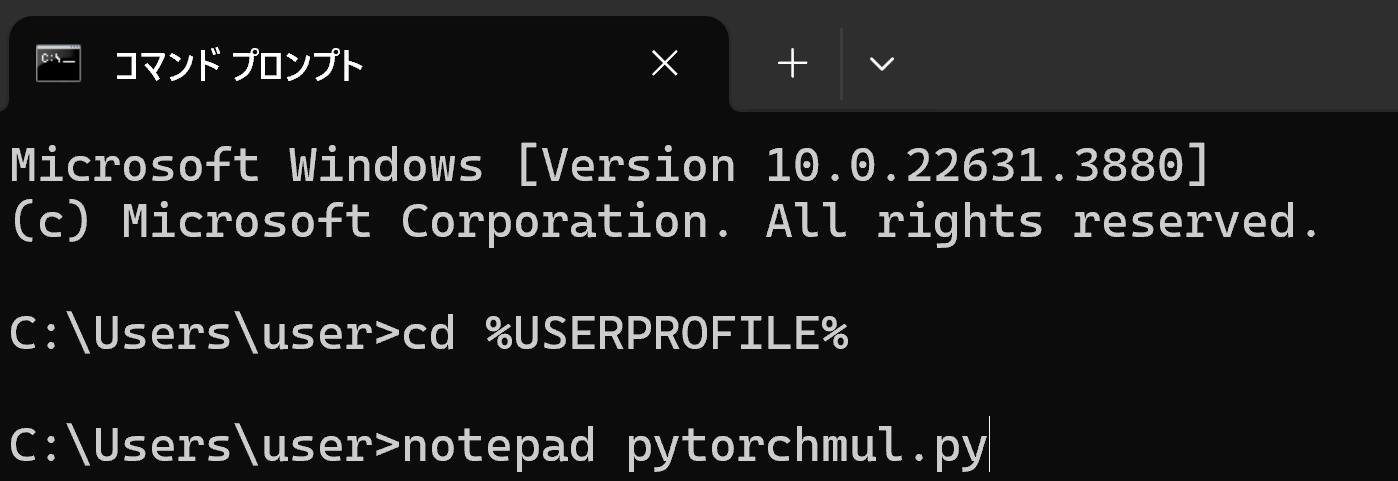
- エディタで,次のプログラムを保存
このプログラムは,PyTorch を使用して GPU と CPU での行列積の性能を比較する.異なるサイズ (5000x5000, 10000x10000, 15000x15000, 20000x20000) で,ランダムな値を持つ2つの行列を生成し,それらの行列積を計算する.GPU と CPU それぞれで,行列積の計算時間を測定し,結果を出力する.このことで,GPU と CPU での行列積の性能を比較できる.
import os import torch import time def measure_time(func): start_time = time.perf_counter() result = func() end_time = time.perf_counter() calculation_time = end_time - start_time return calculation_time def run_matmul(device_type, matrix_size): print(f'実行開始 - Matrix Size: {matrix_size}') print('device_type の設定:', device_type) if device_type == 'GPU' and not torch.cuda.is_available(): print("CUDA is not available. Skipping GPU computation.") return device = torch.device('cuda' if device_type == 'GPU' else 'cpu') X = torch.rand(matrix_size, matrix_size, device=device) Y = torch.rand(matrix_size, matrix_size, device=device) def matmul_operation(): return torch.matmul(X, Y) calculation_time = measure_time(matmul_operation) print(f"Running on {device_type}") print(f"Available devices: {device}") print(f"Calculation time: {calculation_time:.6f} seconds") print() def main(): matrix_sizes = [5000, 10000, 15000, 20000] for size in matrix_sizes: print(f'Matrix Size: {size}') run_matmul('GPU', size) run_matmul('CPU', size) print('---') if __name__ == '__main__': main() - Python プログラムの実行
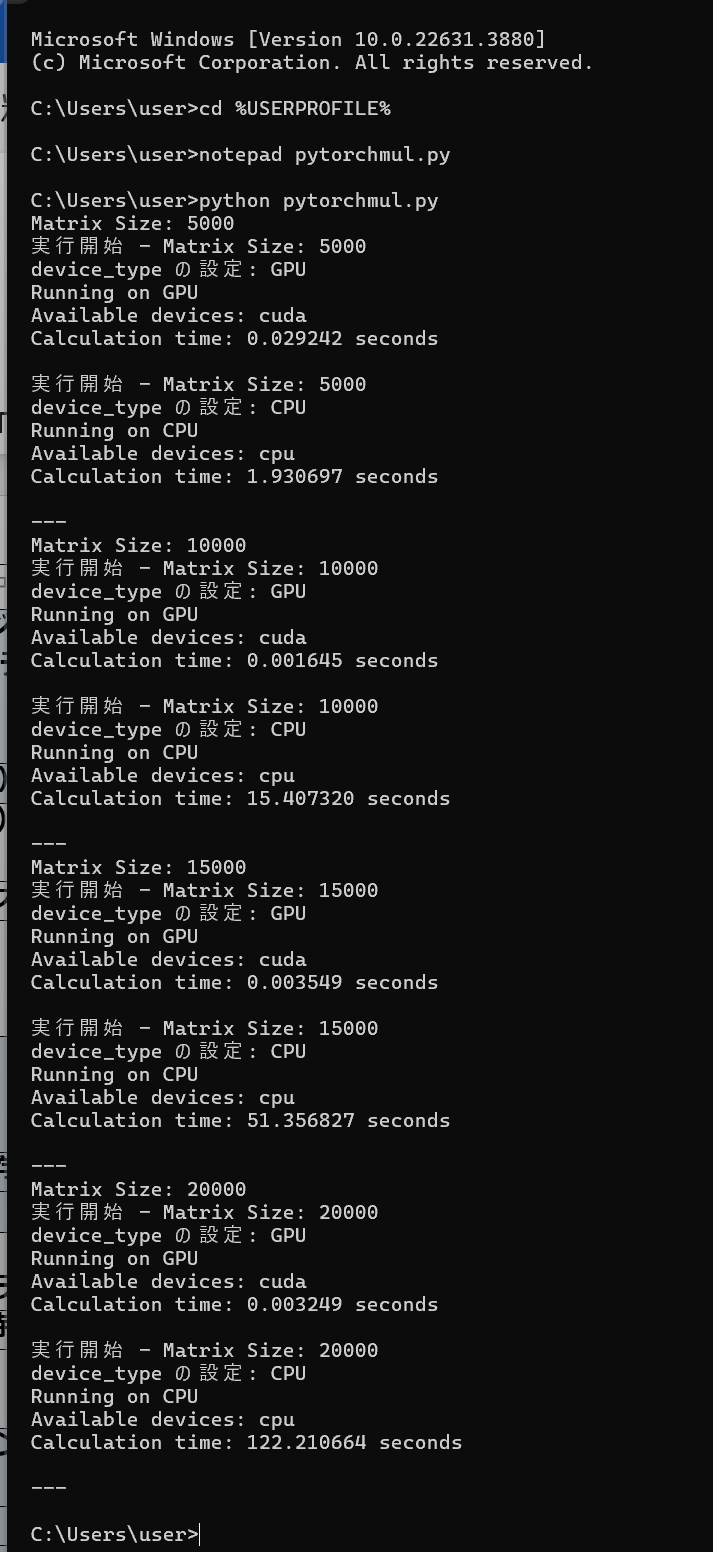
プログラムを pytorchmul.pyのようなファイル名で保存したので, 「python pytorchmul.py」のようなコマンドで行う.
python pytorchmul.py - 結果の確認
行列積の計算時間が表示される.
主成分分析,特異値分解
- Windows で,コマンドプロンプトを実行
- エディタを起動
cd /d c:%HOMEPATH%
notepad pypcasvd.py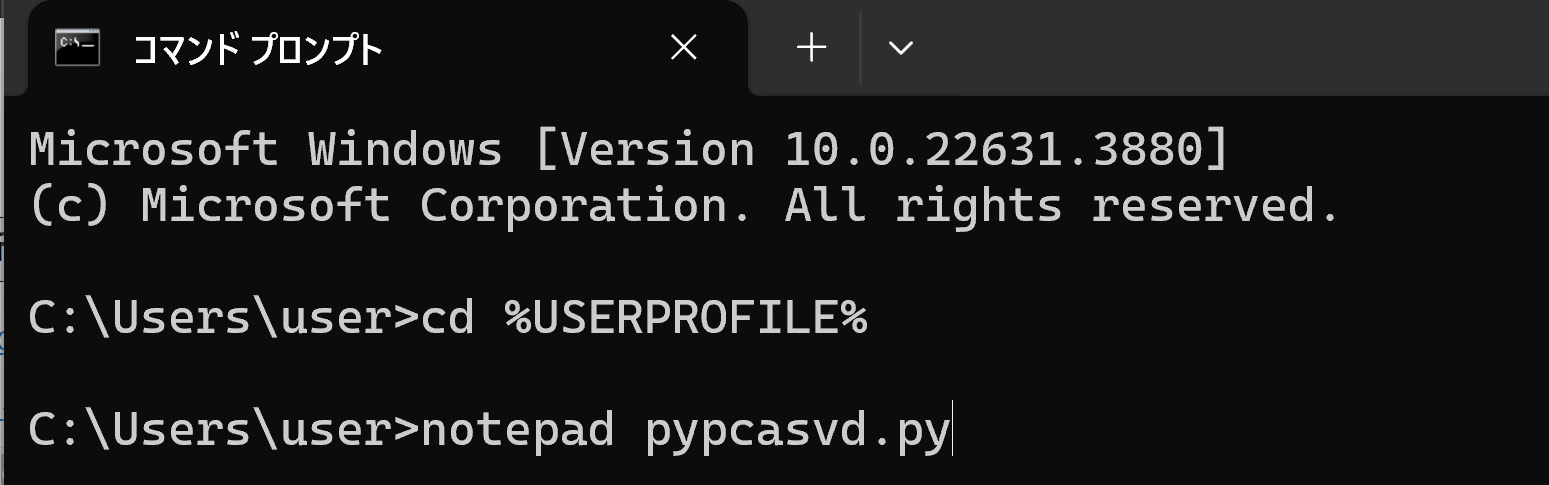
- エディタで,次のプログラムを保存
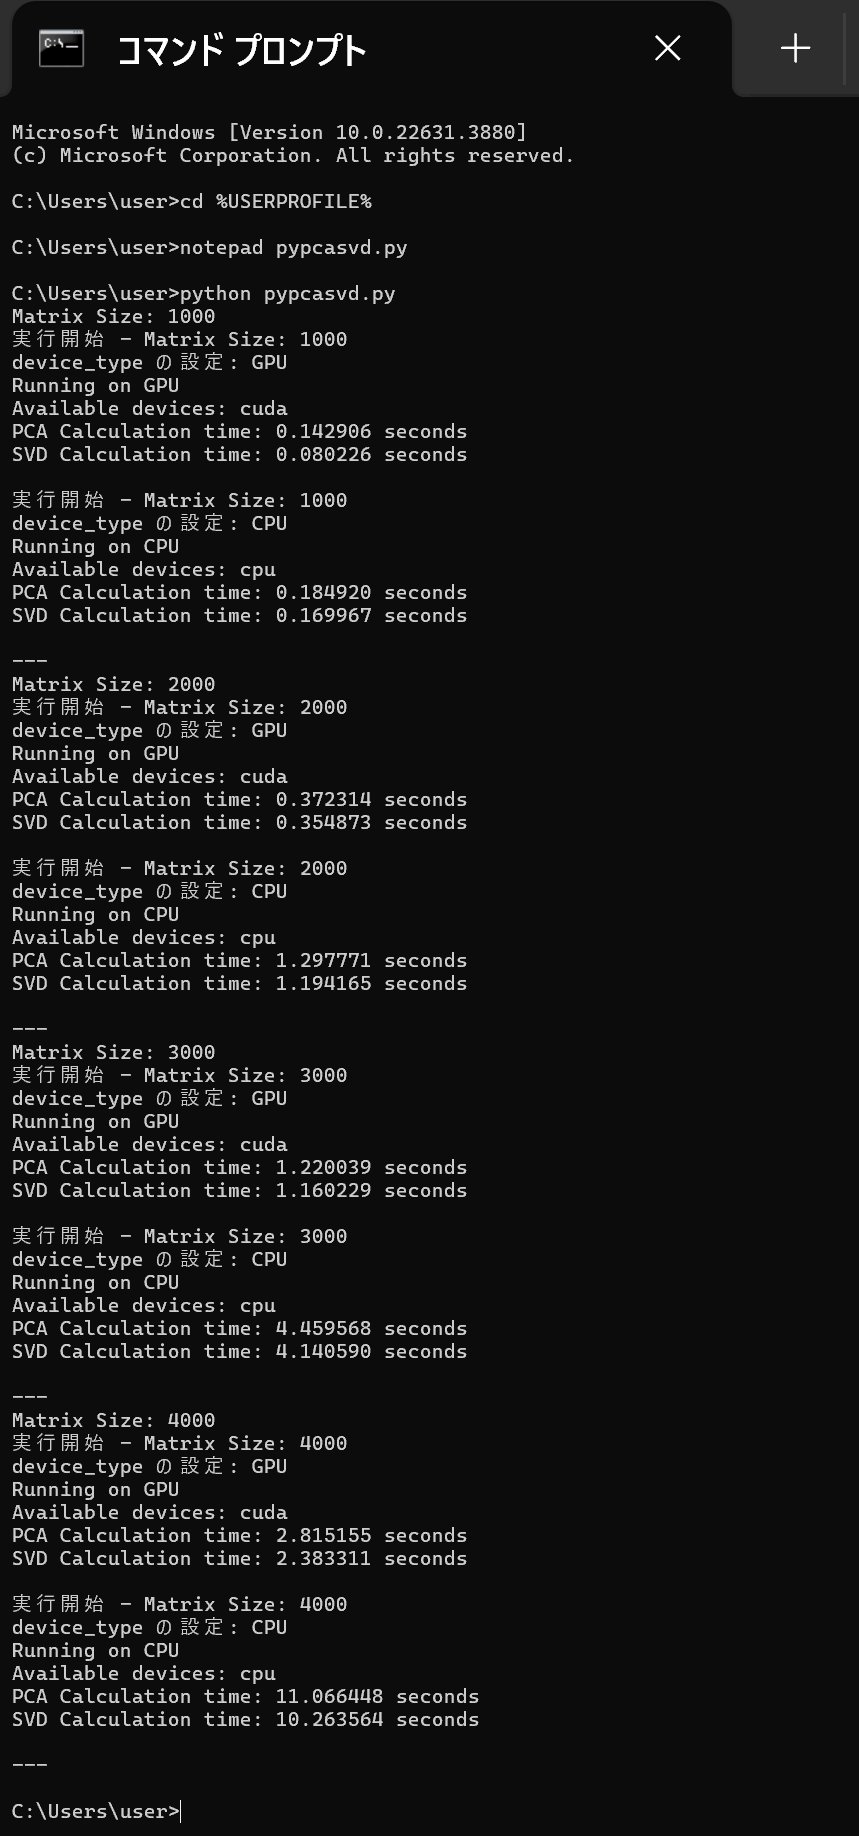
このプログラムは,PyTorch を使用して,行列に対してPCA(主成分分析)とSVD(特異値分解)の計算を行い,GPUとCPUでの実行時間を比較する. [1000, 2000, 3000, 4000] の異なる4通りのサイズの行列に対して, PCAとSVDの計算時間を測定し,結果を表示することで,GPUとCPUの性能の違いを確認できる.
import os
import torch
import time

def measure_time(func):
    start_time = time.perf_counter()
    result = func()
    end_time = time.perf_counter()
    calculation_time = end_time - start_time
    return calculation_time

def run_pca_svd(device_type, matrix_size):
    print(f'実行開始 - Matrix Size: {matrix_size}')
    print('device_type の設定:', device_type)

    if device_type == 'GPU' and not torch.cuda.is_available():
        print("CUDA is not available. Skipping GPU computation.")
        return

    device = torch.device('cuda' if device_type == 'GPU' else 'cpu')
    X = torch.randn(matrix_size, matrix_size, device=device)

    def pca_operation():
        mean = torch.mean(X, dim=0)
        X_centered = X - mean
        cov_matrix = torch.matmul(X_centered.T, X_centered) / (matrix_size - 1)
        _, _, _ = torch.svd(cov_matrix)
        return None

    def svd_operation():
        _, _, _ = torch.svd(X)
        return None

    pca_time = measure_time(pca_operation)
    svd_time = measure_time(svd_operation)

    print(f"Running on {device_type}")
    print(f"Available devices: {device}")
    print(f"PCA Calculation time: {pca_time:.6f} seconds")
    print(f"SVD Calculation time: {svd_time:.6f} seconds")
    print()

def main():
    matrix_sizes = [1000, 2000, 3000, 4000]
    for size in matrix_sizes:
        print(f'Matrix Size: {size}')
        run_pca_svd('GPU', size)
        run_pca_svd('CPU', size)
        print('---')

if __name__ == '__main__':
    main()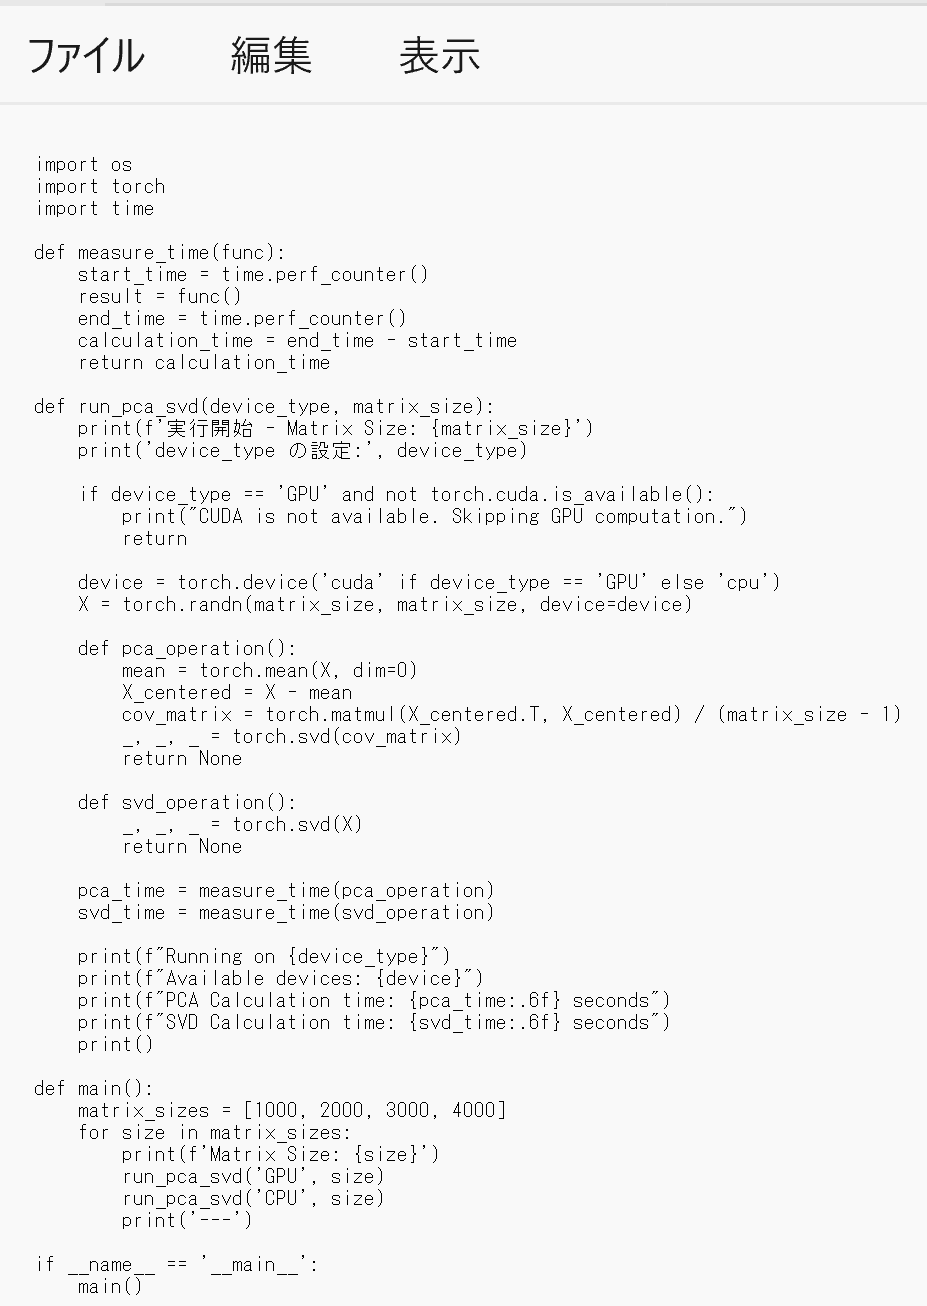
- Python プログラムの実行
プログラムを pypcasvd.pyのようなファイル名で保存したので, 「python pypcasvd.py」のようなコマンドで行う.
python pypcasvd.py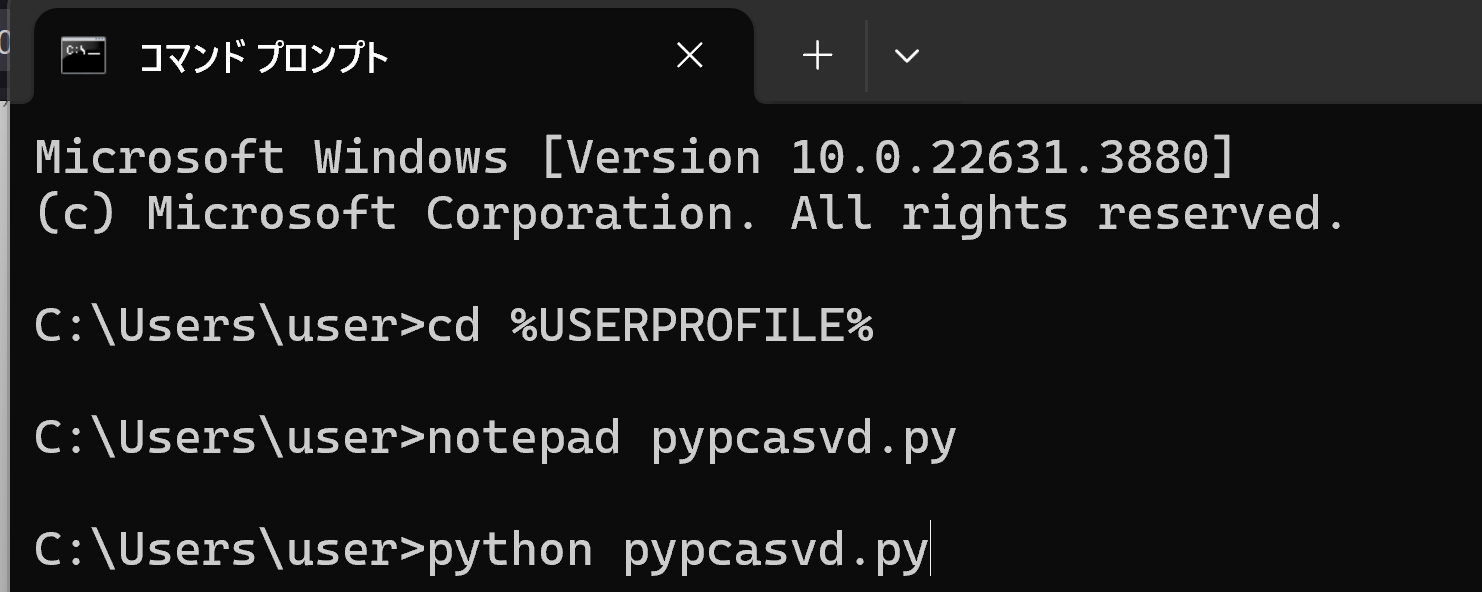
- 結果の確認
ImageNet で学習済みの ConvNeXtBase モデルを用いた画像分類(PyTorch, Keras を使用)
ImageNet で学習済みの ConvNeXtBase モデルを用いた画像分類を行う.
- パソコン接続のカメラを使用するので準備しておく
- 前準備として Python 用 opencv-python のインストール
python -m pip install -U opencv-python opencv-contrib-python - Windows で,コマンドプロンプトを実行
- エディタを起動
cd /d c:%HOMEPATH% notepad pyconvnext.py - エディタで,次のプログラムを保存
このプログラムは、PyTorchとImageNetで学習済みのConvNeXtBaseモデルを活用し、カメラから取得した画像をリアルタイムで分類します。プログラムでは、GPUの設定、モデルのロード、フレームの前処理、画像分類、結果と推論に要した時間の表示を行います。カメラからの画像をリアルタイムで分類し、その結果をビジュアルに確認できるプログラムです。
【説明】
- set_gpu_config()関数により、GPUの設定を行います。GPUが利用可能な場合は、使用するGPUのデバイス名を表示します。GPUが利用できない場合は、CPUを使用することを表示します。
- preprocess_image()関数により、入力画像の前処理を行います。前処理では、画像のリサイズ、テンソルへの変換、正規化を行います。
- load_model()関数により、ImageNetで学習済みのConvNeXtBaseモデルをロードします。
- classify_camera_frames()関数で、カメラからの画像を取得し、画像分類を行います。
- 取得した画像をpreprocess_image()関数で前処理します。
- 前処理された画像をモデルに入力し、分類を行います。
- 分類結果から、最も確率の高いクラスのラベルと信頼度を取得します。
- 結果(クラスラベル、信頼度、推論時間、フレームレート)を画面上に描画します。
- main()関数で、GPUの設定を行い、モデルをロードし、classify_camera_frames()関数を呼び出してカメラからの画像の分類を開始します。
- 'q'キーが押されるまで、上記の処理を繰り返し行います。'q'キーが押されたら、プログラムを終了します。
【使い方】
- 必要な準備
プログラムを実行する前に、必要なライブラリ(PyTorch、torchvision、OpenCV、urllib)がインストールされていることを確認してください。
- カメラの設定
プログラムはデフォルトでカメラデバイス0を使用します。 異なるカメラを使用する場合は、cv2.VideoCapture(0)の引数を適切なデバイスIDに変更してください。
- モデルの選択
プログラムはデフォルトでconvnext_baseモデルを使用します。 異なるPyTorchのモデルを使用したい場合は、MODEL_NAMEの値を変更してください。 モデルによって入力サイズや前処理の要件が異なる場合があるため、注意が必要です。
- 前処理のパラメータ
プログラムはデフォルトでMEANとSTDの値を使用して前処理を行います。 これらの値は、ImageNetデータセットで使用される一般的な値です。 モデルによっては別の値が適切な場合があります。
- GPUの使用
プログラムは、利用可能な場合はGPUを使用します。 GPUが利用可能でない場合は、自動的にCPUにフォールバックします。
- プログラムの実行
プログラムを実行すると、カメラからのリアルタイム画像分類が開始されます。 分類結果、信頼度、推論時間、フレームレートが画面上に表示されます。
- キー操作:
'q'キーを押すとプログラムが終了します。 'p'キーを押すと、画像の分類を一時停止/再開できます。
- プログラムの終了:
'q'キーを押すか、ウィンドウを閉じるとプログラムが終了します。
以上の手順に従って、プログラムを実行してください。カメラからのリアルタイム画像分類を体験できます。
import torch import torchvision.models as models import torchvision.transforms as transforms import cv2 import json import time import os import numpy as np import urllib.request # ==== 設定 ==== MODEL_NAME = 'convnext_base' MEAN = [0.485, 0.456, 0.406] STD = [0.229, 0.224, 0.225] FPS_BUFFER_SIZE = 10 IMAGENET_LABELS_URL = 'https://raw.githubusercontent.com/anishathalye/imagenet-simple-labels/master/imagenet-simple-labels.json' # ============= def download_imagenet_labels(url: str, filename: str) -> None: if not os.path.exists(filename): print(f"Downloading {filename} from {url}") try: urllib.request.urlretrieve(url, filename) print(f"Downloaded {filename}") except Exception as e: print(f"Error downloading {filename}: {str(e)}") raise else: print(f"{filename} already exists.") # ImageNetのクラスラベルとクラス名のマッピングをダウンロード try: download_imagenet_labels(IMAGENET_LABELS_URL, 'imagenet_class_index.json') except Exception as e: print(f"Error downloading imagenet_class_index.json: {str(e)}") exit(1) # ImageNetのクラスラベルとクラス名のマッピングを読み込み try: with open('imagenet_class_index.json', 'r') as f: imagenet_labels = json.load(f) except Exception as e: print(f"Error loading imagenet_class_index.json: {str(e)}") exit(1) def load_model(model_name: str, device: torch.device) -> torch.nn.Module: try: model = getattr(models, model_name)(pretrained=True) model.eval() model.to(device) return model except Exception as e: print(f"Error loading model {model_name}: {str(e)}") raise def get_pretrained_dataset(model: torch.nn.Module) -> str: if hasattr(model, 'default_cfg') and 'url' in model.default_cfg: url = model.default_cfg['url'] if 'imagenet' in url.lower(): return 'ImageNet' else: # urlから推定されるデータセットを返す if 'cifar10' in url.lower(): return 'CIFAR-10' elif 'cifar100' in url.lower(): return 'CIFAR-100' elif 'coco' in url.lower(): return 'COCO' # 他のデータセットに対する条件を追加することができる else: return f'Unknown dataset from url: {url}' return 'Unknown' def get_input_size(model: torch.nn.Module) -> tuple[int, int]: if hasattr(model, 'default_cfg') and 'input_size' in model.default_cfg: return model.default_cfg['input_size'] return (224, 224) # デフォルトの入力サイズ def get_transform(input_size: tuple[int, int], mean: list[float], std: list[float]) -> transforms.Compose: return transforms.Compose([ transforms.ToPILImage(), transforms.Resize(input_size), transforms.ToTensor(), transforms.Normalize(mean=mean, std=std) ]) def print_model_info(model: torch.nn.Module) -> None: num_classes = model.classifier[2].out_features pretrained_dataset = get_pretrained_dataset(model) input_size = get_input_size(model) print(f"Model: {MODEL_NAME}") print(f"Pretrained dataset: {pretrained_dataset}") print(f"Input image size: {input_size}") print(f"Number of classes: {num_classes}") def preprocess_image(img: np.ndarray, transform: transforms.Compose) -> torch.Tensor: img = cv2.cvtColor(img, cv2.COLOR_BGR2RGB) img = transform(img) img = img.unsqueeze(0) return img def classify_image(model: torch.nn.Module, img: torch.Tensor, device: torch.device) -> tuple[str, float]: with torch.no_grad(): img = img.to(device) outputs = model(img) _, preds = torch.max(outputs, 1) class_id = preds.item() class_name = imagenet_labels[class_id] confidence = torch.softmax(outputs, dim=1)[0, preds].item() return class_name, confidence def update_fps(fps_buffer: list[float], prediction_time: float) -> float: fps_buffer.append(prediction_time) if len(fps_buffer) > FPS_BUFFER_SIZE: fps_buffer = fps_buffer[-FPS_BUFFER_SIZE:] fps = len(fps_buffer) / sum(fps_buffer) return fps def display_results(frame: np.ndarray, class_name: str, confidence: float, prediction_time: float, fps: float) -> None: cv2.putText(frame, f"Class: {class_name}", (10, 30), cv2.FONT_HERSHEY_SIMPLEX, 0.9, (0, 255, 0), 2) cv2.putText(frame, f"Confidence: {confidence:.4f}", (10, 70), cv2.FONT_HERSHEY_SIMPLEX, 0.9, (0, 255, 0), 2) cv2.putText(frame, f"Time: {prediction_time:.4f} seconds", (10, 110), cv2.FONT_HERSHEY_SIMPLEX, 0.9, (0, 255, 0), 2) cv2.putText(frame, f"FPS: {fps:.2f}", (10, 150), cv2.FONT_HERSHEY_SIMPLEX, 0.9, (0, 255, 0), 2) def classify_camera_frames(model: torch.nn.Module, device: torch.device) -> None: input_size = get_input_size(model) transform = get_transform(input_size, MEAN, STD) cap = cv2.VideoCapture(0) if not cap.isOpened(): print("Error opening camera") exit(1) fps_buffer = [] paused = False while cap.isOpened(): if not paused: ret, frame = cap.read() if not ret: print("Error reading frame from camera") break img = preprocess_image(frame, transform) start_time = time.perf_counter() class_name, confidence = classify_image(model, img, device) prediction_time = time.perf_counter() - start_time fps = update_fps(fps_buffer, prediction_time) display_results(frame, class_name, confidence, prediction_time, fps) cv2.imshow("Camera Classification", frame) key = cv2.waitKey(1) & 0xFF if key == ord('q'): break elif key == ord('p'): paused = not paused cap.release() cv2.destroyAllWindows() def main(): device = torch.device('cuda' if torch.cuda.is_available() else 'cpu') print(f"Using device: {device}") try: model = load_model(MODEL_NAME, device) print_model_info(model) classify_camera_frames(model, device) except Exception as e: print(f"Error in main: {str(e)}") exit(1) if __name__ == '__main__': main() - Python プログラムの実行
プログラムを pyconvnext.pyのようなファイル名で保存したので, 「python pyconvnext.py」のようなコマンドで行う.
python pyconvnext.py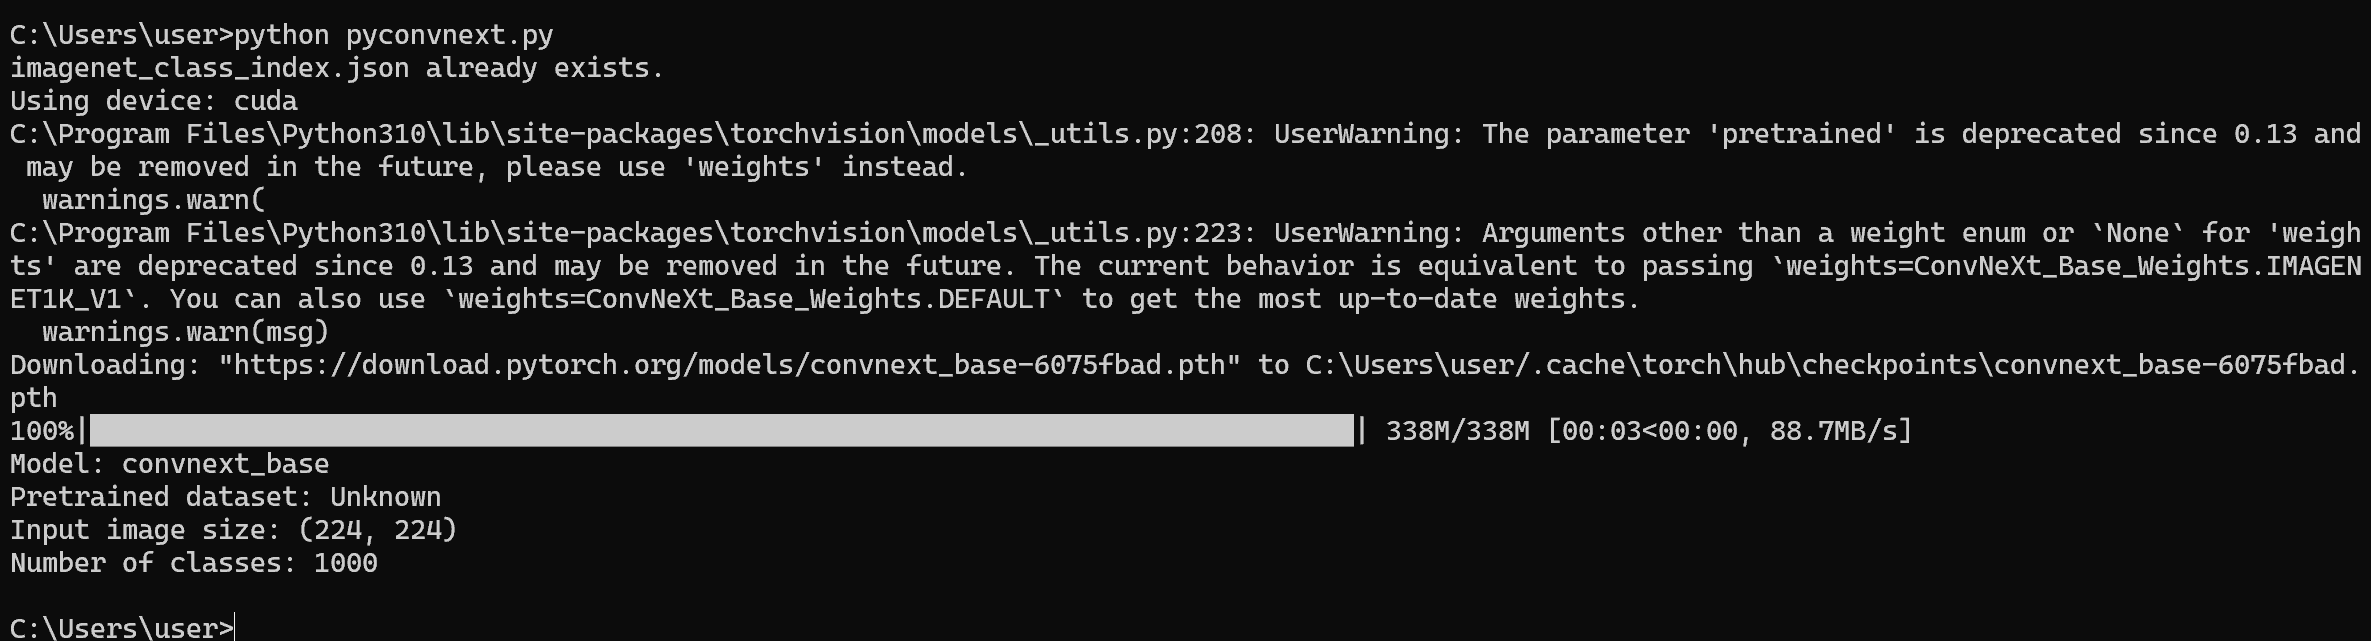
- 結果の確認
終了は q キー

【まとめ】 WindowsでのPyTorch 2.3のインストールのインストールから,GPUとCPUの性能比較,高度な画像分類タスクまでの一連のプロセスを説明.