システム Python とは別に Python をインストール(pyenv を使用)(Ubuntu 上)
Python の仮想環境の作成と利用が簡単にできる機能もある.
ここで行うこと.
pyenv をインストールする.pyenv の配下に Python 3.8, Python 3.7, Python 3.6 をインストールする.
* このページの手順は,普通の Ubuntu 20.04 と, WSL 2 上の Ubuntu 20.04 の両方で確認済み.
【目次】
前準備
Ubuntu のシステム更新
Ubuntu で OS のシステム更新を行うときは, 端末で,次のコマンドを実行する.
Ubuntu で OS のシステム更新を行うときは, 端末で,次のコマンドを実行する。これは、パッケージ情報を最新の状態に保ち、インストール済みのパッケージをセキュリティアップデートやバグ修正を含めて更新するためである。
# パッケージリストの情報を更新
sudo apt update
# インストール済みのパッケージを包括的に更新 (依存関係も考慮)
sudo apt full-upgrade
# カーネル更新等で実際に再起動が必要な場合のみ実行を推奨
# sudo shutdown -r now
pyenv のインストールと設定
pyenv のインストール
pyenv は Python のインストールが簡単にできる機能などを持つソフトウェア.
- いまインストールされている pyenv の消去
rm -rf ~/.pyenv
- pyenv のダウンロードと更新
cd /tmp
git clone https://github.com/pyenv/pyenv.git ~/.pyenv
cd ~/.pyenv
git pull
src/configure
make -C src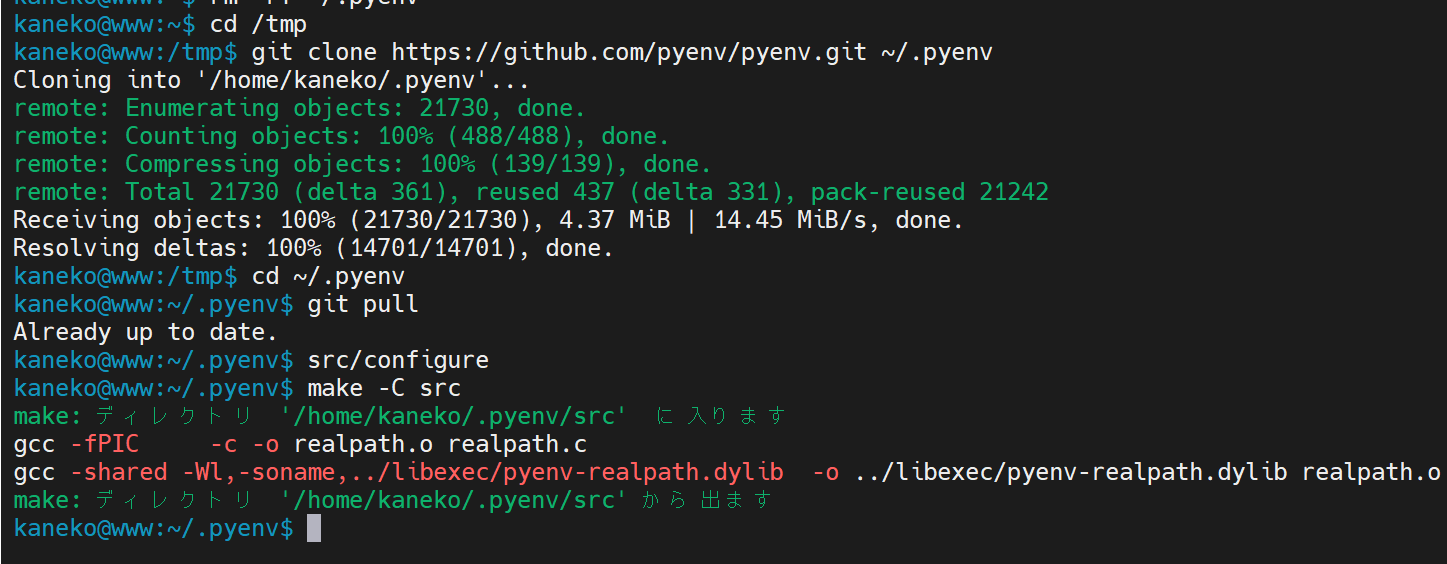
- pyenv の設定
echo 'export PYENV_ROOT="${HOME}/.pyenv"' >> ~/.profile
echo 'if [ -d "${PYENV_ROOT}" ]; then' >> ~/.profile
echo '    export PATH=${PYENV_ROOT}/bin:$PATH' >> ~/.profile
echo '    eval "$(pyenv init --path)"' >> ~/.profile
echo 'fi' >> ~/.profile
echo -e 'if command -v pyenv 1>/dev/null 2>&1; then\n  eval "$(pyenv init -)"\nfi' >> ~/.profile
exec $SHELL -l
source ~/.profile
- 関係するライブラリのインストール
# パッケージリストの情報を更新
sudo apt update
sudo apt -y install --no-install-recommends make build-essential libssl-dev zlib1g-dev libbz2-dev libreadline-dev libsqlite3-dev wget curl llvm libncurses5-dev xz-utils tk-dev libxml2-dev libxmlsec1-dev libffi-dev liblzma-dev
システム Python とは別に Python 3.8 をインストール (pyenv を使用)
- 新しく端末を開く
- システム python のバージョンを確認してみる
Ubuntu 20.04 の場合
which python3
python3 --version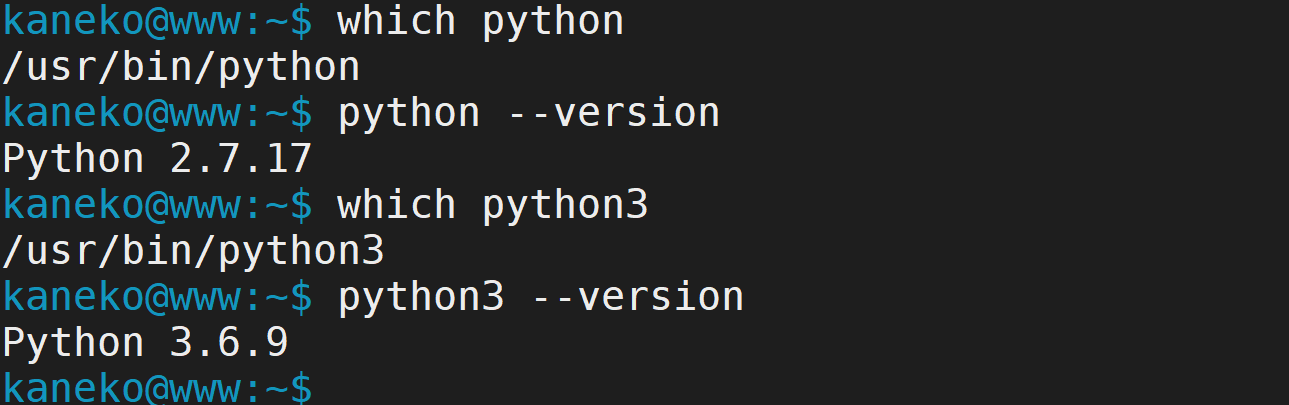
WSL 2 上の Ubuntu 20.04 の場合
which python3 python3 --version - インストールするPython のバージョンの確認
pyenv rehash
pyenv install -l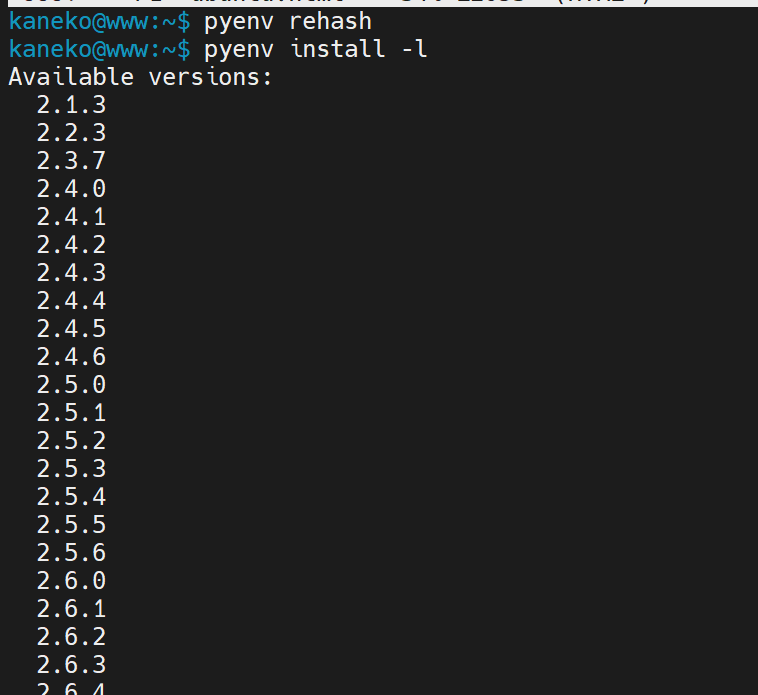
- インストールできる Python 3.8 のバージョンの確認
pyenv install -l | grep 3.8 - Python 3.8.7 のインストール
pyenv install 3.8.7
- pip, setuptools のインストール
pyenv shell 3.8.7 python -m pip install -U pip setuptools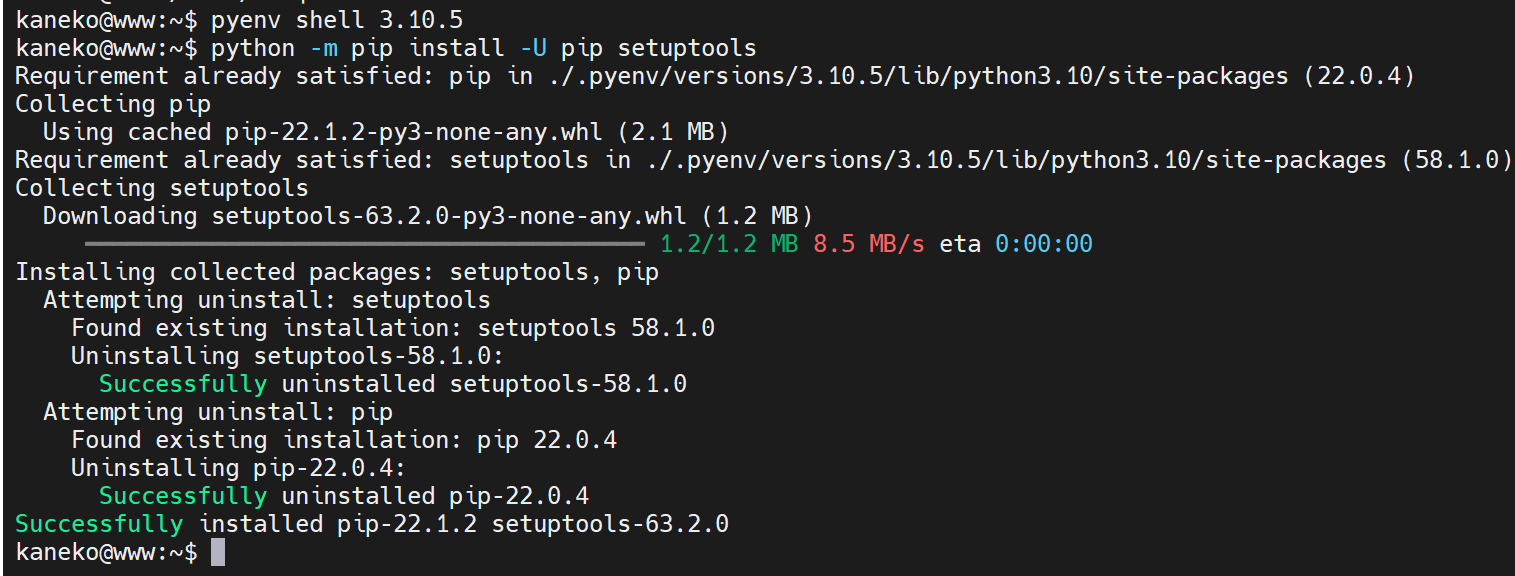 Python の切り替えは次のようなコマンドで行う.
- pyenv shell system
- pyenv shell 3.8.7
デフォルトで pyenv 配下の Python 3.8.7 を使いたいときは, 次のように設定する
echo 'pyenv shell 3.8.7' >> ~/.bashrc exec $SHELL -l- 試しに Python 3.8.7 を起動してみる
pyenv shell 3.8.7 python --version python print(1 + 2) exit()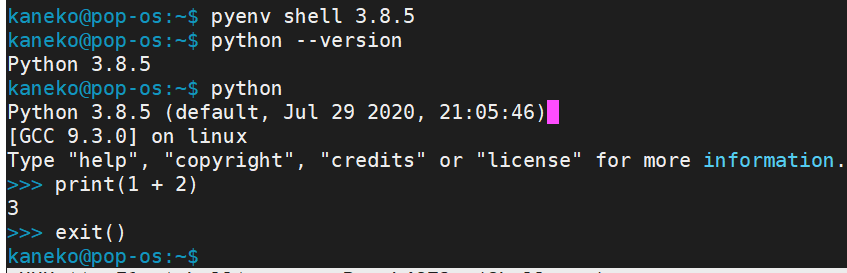 「pyenv shell ・・・」でうまく Python のバージョンが切り替わらない場合には「source ~/.bashrc」を実行してから,もう一度上を試す
pyenv の確認
- 新しく端末を開く
- ~/.pyenv/versions ディレクトリ
ls ~/.pyenv/versions
- pyenv により、pip と easy_install も設定される
which pip
which easy_install
- Python のパッケージも同時にインストールされる
pyenv shell 3.8.7
which pip
pip list
各種パッケージのインストール
pip と setuptools の更新
pyenv shell 3.8.7
python -m pip install -U pip setuptools
Python 開発環境,Python コンソール(Jupyter Qt Console, Jupyter ノートブック (Jupyter Notebook), Jupyter Lab, Nteract, spyder)のインストール
次のように実行する.
pyenv shell 3.8.7
python -m pip install -U jupyterlab jupyter jupyter-console jupytext nteract_on_jupyter spyder
JupyterLab の起動は,「pyenv shell <バージョン>; jupyter lab」. Jupyter Qt Console の起動は,「pyenv shell <バージョン>; jupyter qtconsole」.TensorFlow 2.6,Keras,MatplotLib, Python 用 opencv-python のインストール(Ubuntu 上)
- 「pyenv shell の実行」
次のように実行する.
pyenv shell 3.8.7 - パッケージのアンインストール操作
* トラブルの可能性を減らすために,次の操作でアンインストールを行っておく.
python -m pip uninstall -y tensorflow tensorflow-cpu tensorflow-gpu tensorflow-intel tensorflow-text tensorflow-estimator tf-models-official tf_slim tensorflow_datasets tensorflow-hub keras keras-tuner keras-visualizer - TensorFlow 2.3,Keras 2.4.3,MatplotLib, Python 用 opencv-python のインストール
* 「pip3 install」は,Pythonのライブラリをインストールするためのコマンド.
python -m pip install -U pip setuptools sudo apt -y install libopencv-dev libopencv-core-dev python3-opencv python -m pip install -U protobuf tensorflow==2.10.1 tf_slim tensorflow_datasets==4.8.3 tensorflow-hub tf-keras keras keras_cv keras-tuner keras-visualizer numpy pillow pydot matplotlib seaborn pandas scipy scikit-learn scikit-learn-intelex opencv-python opencv-contrib-python python -m pip install git+https://github.com/tensorflow/docs python -m pip install git+https://github.com/tensorflow/examples.git python -m pip install git+https://www.github.com/keras-team/keras-contrib.git - Python の numpy がインストールできたことの確認
バージョン番号が表示されれば OK.下の図とは違うバージョンが表示されることがある.
python -c "import numpy; print( numpy.__version__ )"
- TensorFlow のバージョン確認
バージョン番号が表示されれば OK.下の図とは違うバージョンが表示されることがある.
python -c "import tensorflow as tf; print( tf.__version__ )"
- Keras のバージョン確認
バージョン番号が表示されれば OK.下の図とは違うバージョンが表示されることがある.
python -c "import keras; print( keras.__version__ )"
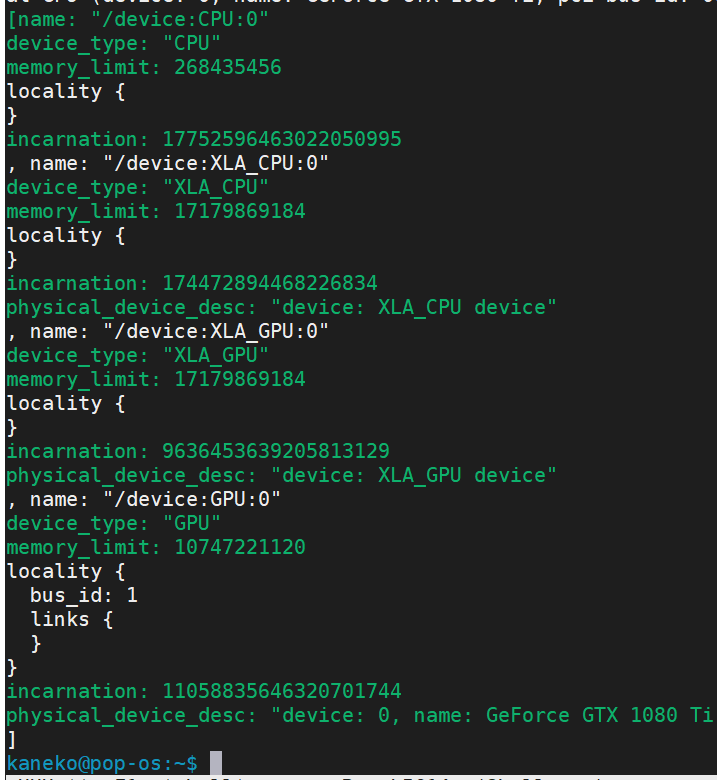
- このあと、TensorFlow からGPU が認識できているかの確認
python -c "from tensorflow.python.client import device_lib; print(device_lib.list_local_devices())"実行結果の中に,次のように「device_type: "GPU"」があれば,GPUが認識できている.エラーメッセージが出ていないことを確認しておくこと.
各種パッケージのインストール
- 「pyenv shell の実行」
次のように実行する.
pyenv shell 3.8.7 - インストール操作
# パッケージリストの情報を更新
sudo apt update
sudo apt -y install libmecab-dev
source ~/py38/bin/activate
python -m pip install -U pip setuptools
python -m pip install -U  numpy scipy h5py scikit-learn scikit-learn-intelex scikit-image seaborn pandas pillow pytest cython bokeh statsmodels plotly sympy csvkit docopt pyproj flake8 protobuf bs4 html5lib rope wrapt cffi wheel six sphinx bottleneck pygments numexpr xlrd xlsxwriter lxml graphviz pydot flask django redis pylint bz2file PyOpenGL PyOpenGL-accelerate    msgpack mecab ggplot matplotlib-venn pyglet pygame cocos2d bottle rtree shapely fiona geopandas geopy geographiclib requests \
pandasql pyyaml bokeh pymc3 mkl mkl-include holoviews pandas-bokeh ggplot prettyplotlib pybrain3 firebase-admin googletrans google-cloud-vision gpyocr azure-cognitiveservices-vision-computervision gensim gloo scikit-video scikits.datasmooth scikits.example scikits.fitting scikits.optimization scikits.vectorplot zodb gdata pyr2 pycaret
python -m pip install -U  gdal
SWIG を使ってみる
- SWIG のインストール (Install swig)
# パッケージリストの情報を更新
sudo apt update
sudo apt -y install swig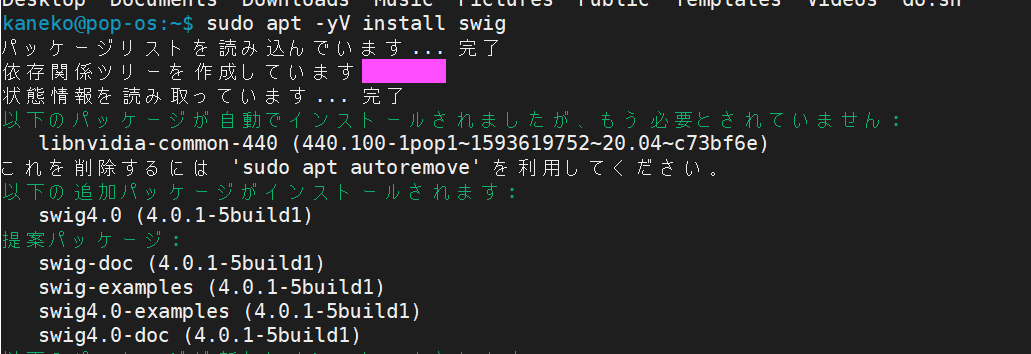
- プログラムファイルの作成
http://www.swig.org/Doc1.3/Python.html#Python_nn6 に記載のサンプルプログラム
- example.i
%module example %{ #define SWIG_FILE_WITH_INIT #include "example.h" %} int fact(int n); - example.c
#include "example.h" int fact(int n) { if (n < 0){ /* This should probably return an error, but this is simpler */ return 0; } if (n == 0) { return 1; } else { /* testing for overflow would be a good idea here */ return n * fact(n-1); } } - example.h
int fact(int n); - setup.py
#!/usr/bin/env python

"""
setup.py file for SWIG example
"""

from distutils.core import setup, Extension


example_module = Extension('_example',
                           sources=['example_wrap.c', 'example.c'],
                           )

setup (name = 'example',
       version = '0.1',
       author      = "SWIG Docs",
       description = """Simple swig example from docs""",
       ext_modules = [example_module],
       py_modules = ["example"],
       )
- example.i
- プログラムファイルから、Python で実行可能にするためのファイルを作る
swig -python example.i
python setup.py build_ext --inplace
ls -la example.* build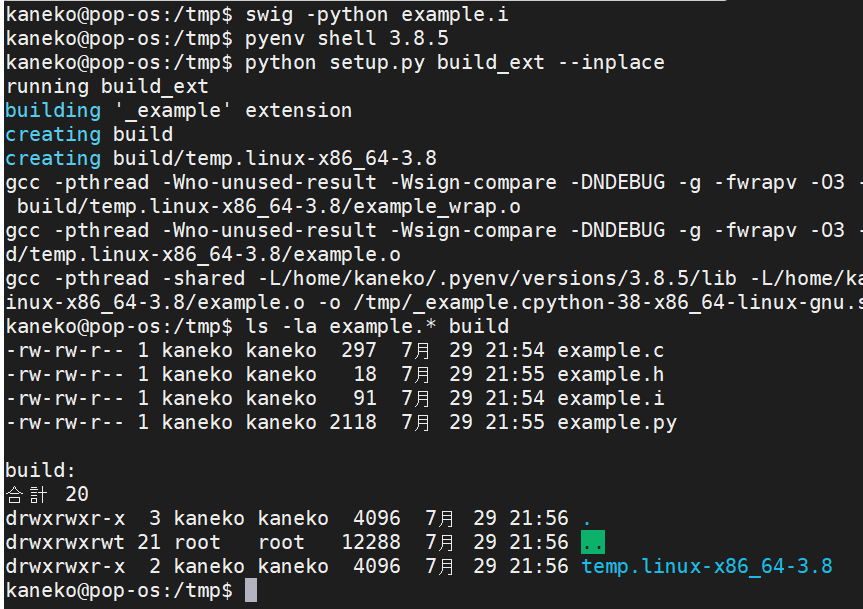
- python 処理系を起動し、次のプログラムを試してみる
import example
example.fact(4)
exit()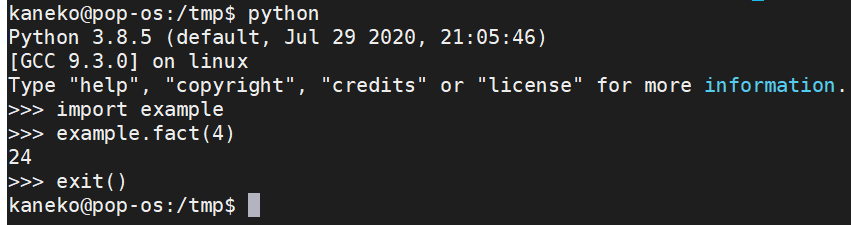
性能の確認
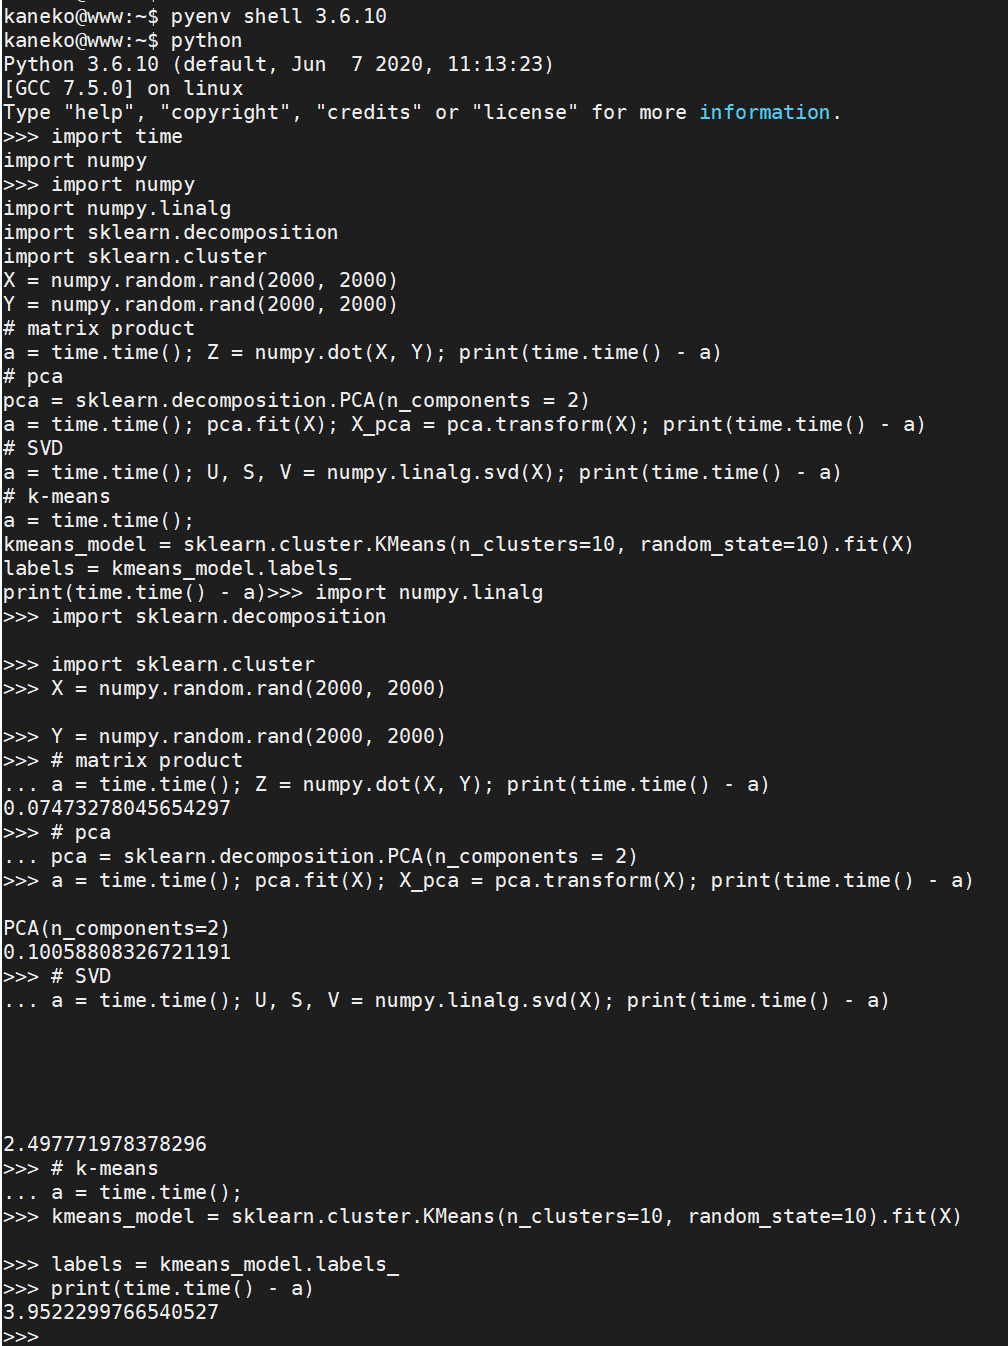
行列の積, 主成分分析, SVD, k-Means クラスタリングを実行し,性能を確認する.
Python 3.6 での実行結果を示す.- まず,前準備として,次のコマンドを実行
pyenv shell 3.6.12 python -m pip install -U numpy scikit-learn scikit-learn-intelex - 性能の確認のため,次の Python プログラムを実行
import time
import numpy
import numpy.linalg
import sklearn.decomposition
import sklearn.cluster
X = numpy.random.rand(2000, 2000)
Y = numpy.random.rand(2000, 2000)
# matrix product
a = time.time(); Z = numpy.dot(X, Y); print(time.time() - a)
# pca
pca = sklearn.decomposition.PCA(n_components = 2)
a = time.time(); pca.fit(X); X_pca = pca.transform(X); print(time.time() - a)
# SVD
a = time.time(); U, S, V = numpy.linalg.svd(X); print(time.time() - a)
# k-means
a = time.time();
kmeans_model = sklearn.cluster.KMeans(n_clusters=10, random_state=10).fit(X)
labels = kmeans_model.labels_
print(time.time() - a)
実行結果の例
- 行列の積: 0.07 秒
- 主成分分析: 0.10 秒
- SVD: 2.49 秒
- k-Means クラスタリング: 3.95 秒