SuiteSparse,Metis,gflags,glog,Ceres ソルバ(Ceres Solver)のインストール(ソースコードを用いたインストール)(Windows 上)
Ceres ソルバ(Ceres Solver)は非線形最適化のためのオープンソースライブラリである.Windows上でのインストール手順は以下の通り:事前にBoost,Eigen,SuiteSparse,Metis,gflags,glog,(オプションでOpenBLAS)をインストールする.その後,GitHubからCeres Solverのソースコードをクローンし,cmakeを使用してビルド設定を生成する.ソースコードをビルドしてインストールし,最後にシステム環境変数(CERES_ROOT,Path)を適切に設定する.
前準備
Build Tools for Visual Studio 2022 (ビルドツール for Visual Studio 2022)または Visual Studio 2022 のインストール(Windows 上)
【インストールの判断】 Build Tools for Visual Studio は,開発ツールセットである. Visual Studio は統合開発環境であり,いくつかの種類があり,Build Tools for Visual Studioの機能を含むか連携して使用するものである.インストールは以下の基準で判断してください:
- Build Tools for Visual Studio の機能のみが必要な場合
- Visual Studio の機能が必要である,あるいは,よく分からない場合
Visual Studio 2022 をインストールする際に,「C++ によるデスクトップ開発」を選択することで, Build Tools for Visual Studio 2022 の機能も一緒にインストールされる.
不明な点がある場合は,Visual Studio 全体をインストール を行う方が良い.
Build Tools for Visual Studio 2022 のインストール(Windows 上)
- Windows で,管理者権限でコマンドプロンプトを起動(手順:Windowsキーまたはスタートメニュー >
cmdと入力 > 右クリック > 「管理者として実行」)。次のコマンドを実行
次のコマンドは,Build Tools for Visual Studio 2022と VC2015 再配布可能パッケージをインストールするものである.
winget install --scope machine Microsoft.VisualStudio.2022.BuildTools winget install --scope machine Microsoft.VCRedist.2015+.x64 - Build Tools for Visual Studio 2022 での C++ によるデスクトップ開発,CLI,ATL,MFC のインストール(Windows 上)
- Visual Studio Installer の起動
起動方法: スタートメニューの「Visual Studio Installer」を選ぶ.
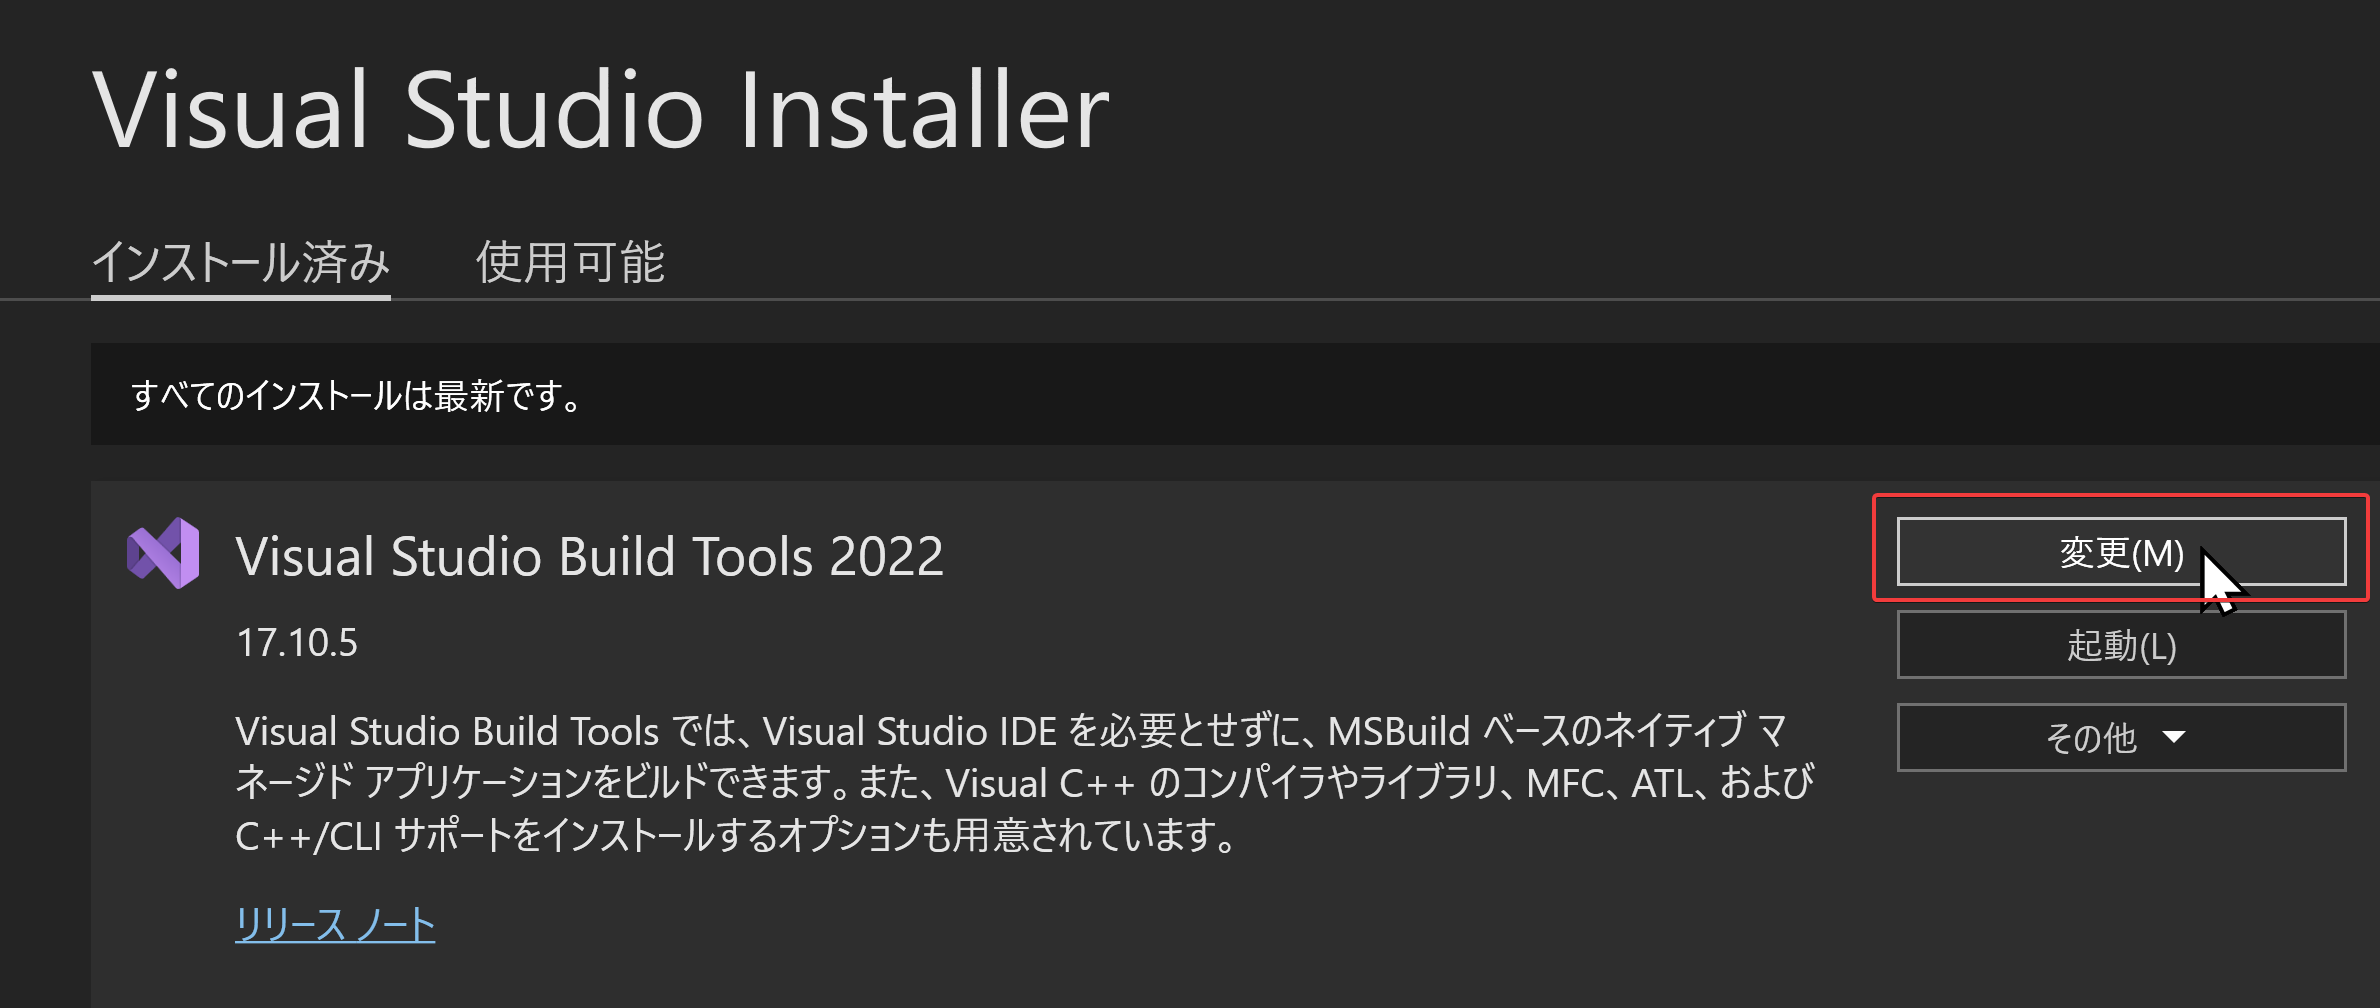
- Visual Studio Build Tools 2022 で「変更」を選ぶ.
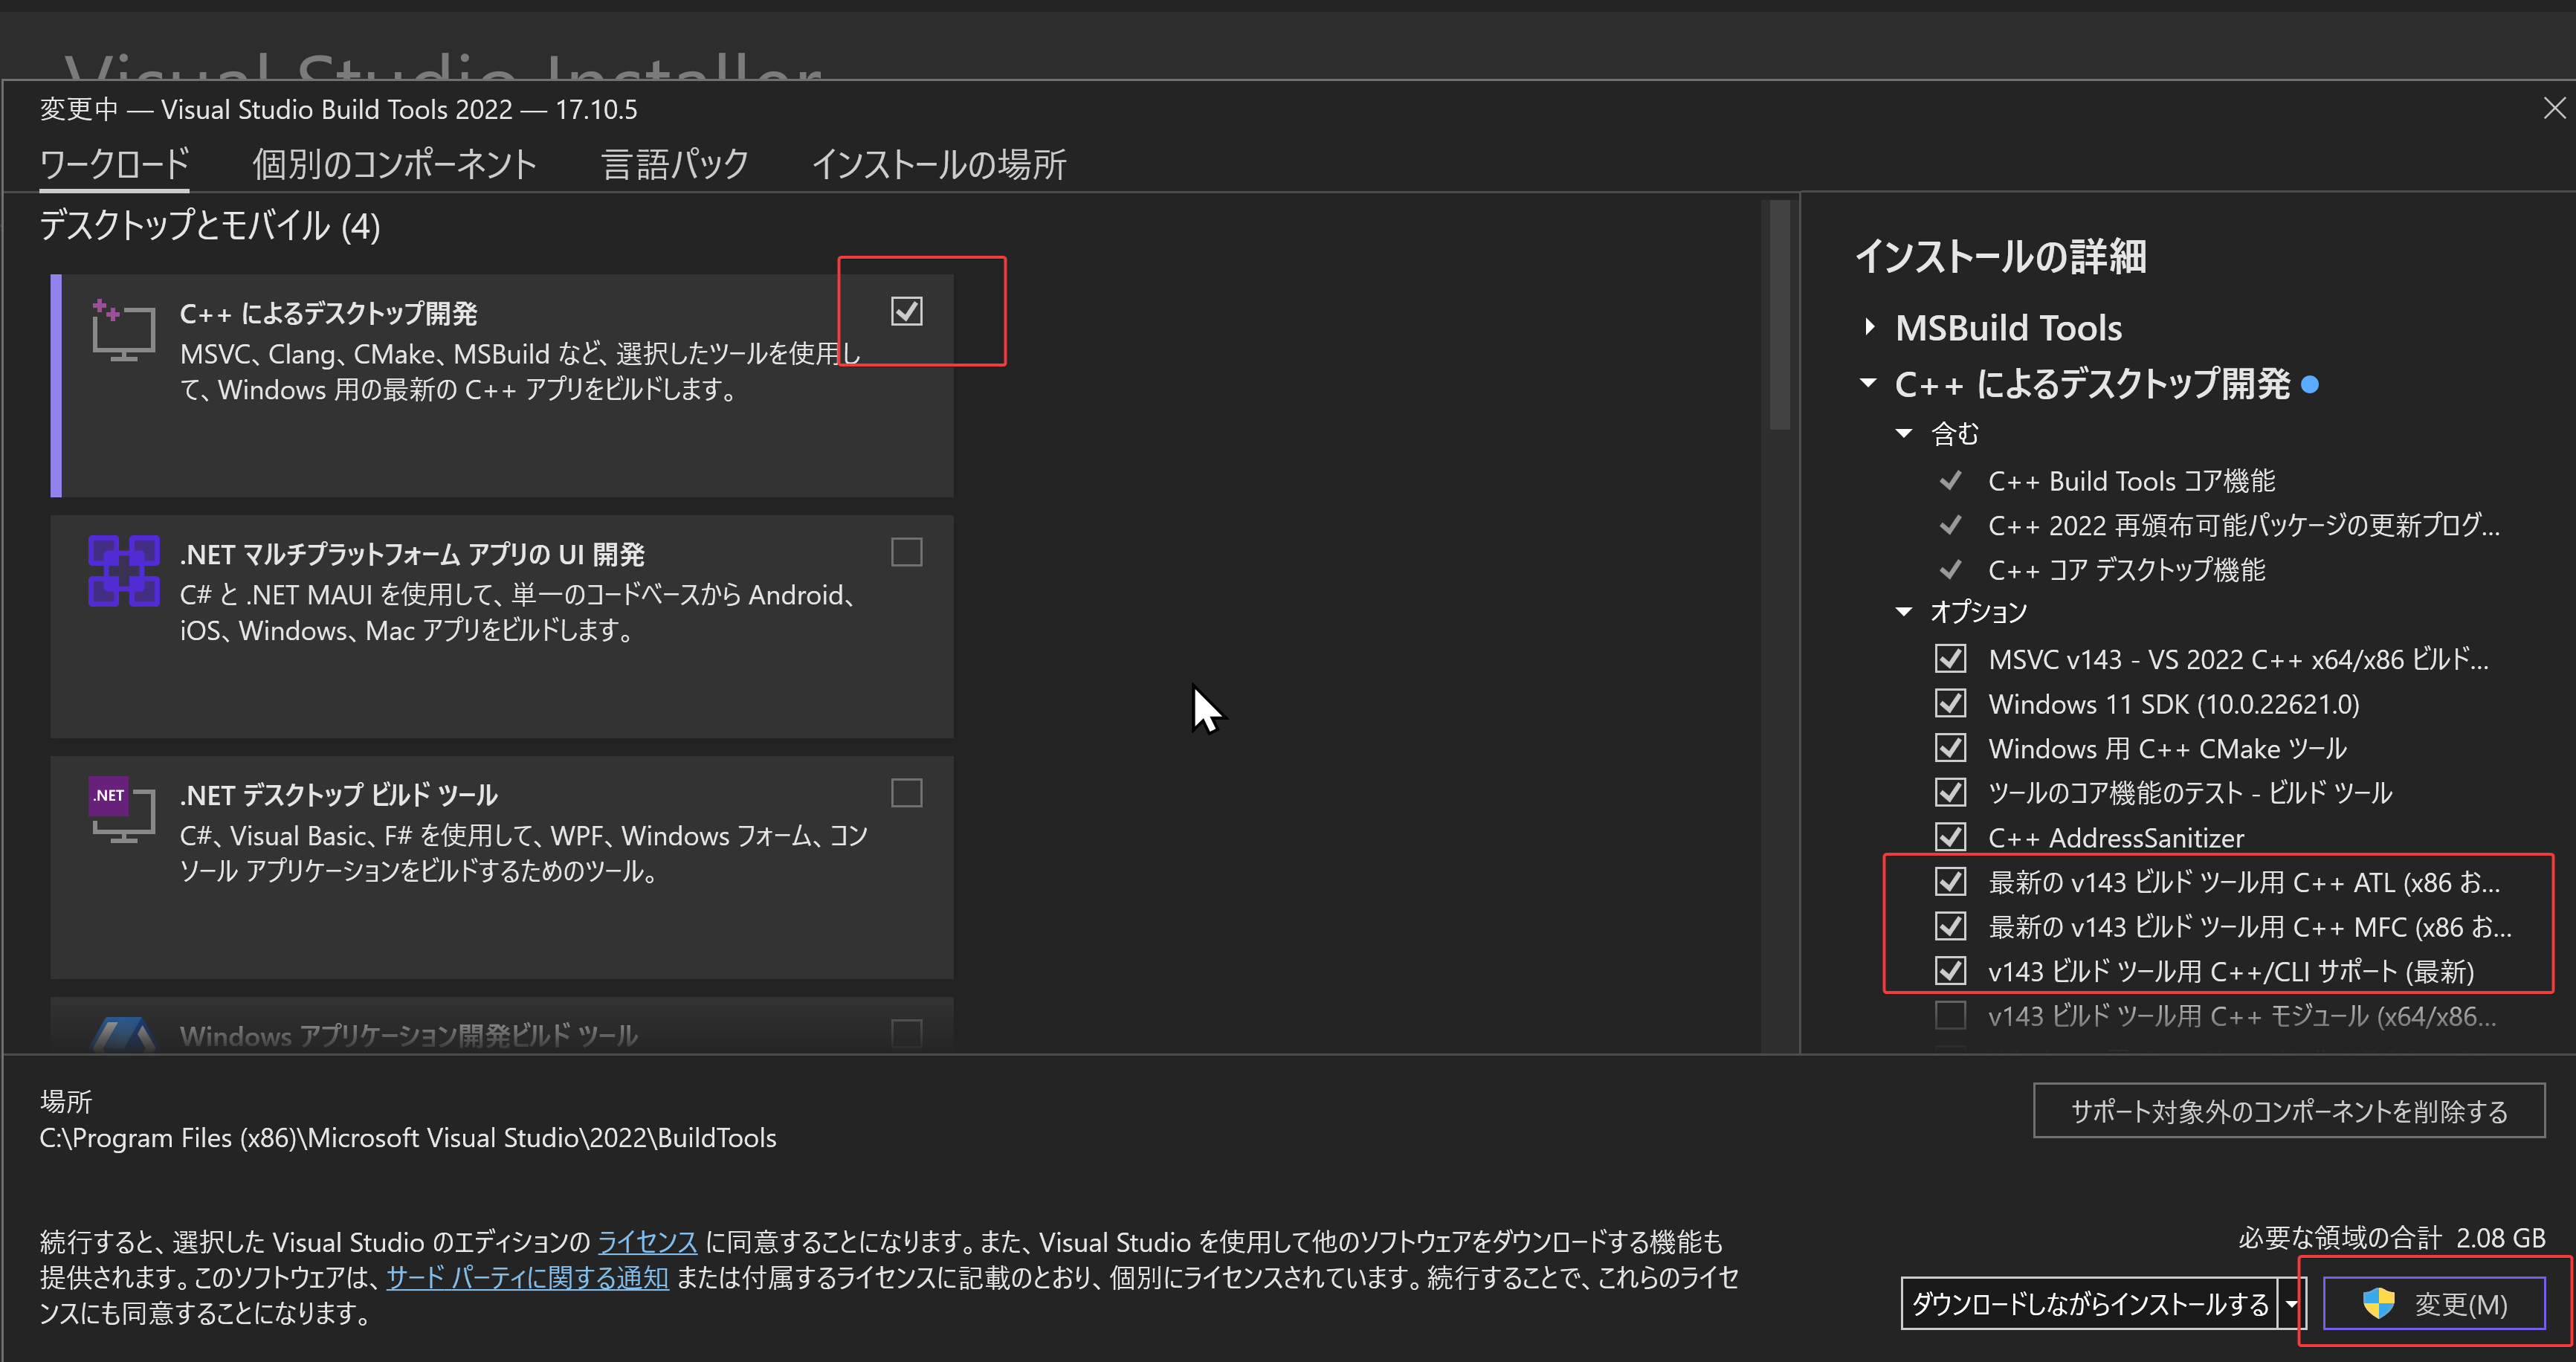
- 「C++ によるデスクトップ開発」をクリック.そして,画面右側の「インストール」の詳細で「v143 ビルドツール用 C++/CLI サポート(最新)」,「ATL」,「MFC」をチェックする.その後,「変更」をクリック.
- Visual Studio Installer の起動
Visual Studio のインストール(Windows 上)
- Windows で,管理者権限でコマンドプロンプトを起動(手順:Windowsキーまたはスタートメニュー >
cmdと入力 > 右クリック > 「管理者として実行」)。次のコマンドを実行
- 管理者権限でコマンドプロンプトを起動(手順:Windowsキーまたはスタートメニュー >
cmdと入力 > 右クリック > 「管理者として実行」)。 - インストールコマンドの実行
winget install Microsoft.VisualStudio.2022.Community --scope machine --override "--add Microsoft.VisualStudio.Workload.NativeDesktop Microsoft.VisualStudio.ComponentGroup.NativeDesktop.Core Microsoft.VisualStudio.Component.VC.CLI.Support Microsoft.VisualStudio.Component.CoreEditor Microsoft.VisualStudio.Component.NuGet Microsoft.VisualStudio.Component.Roslyn.Compiler Microsoft.VisualStudio.Component.TextTemplating Microsoft.VisualStudio.Component.Windows.SDK.Latest Microsoft.VisualStudio.Component.VC.Tools.x86.x64 Microsoft.VisualStudio.Component.VC.ATL Microsoft.VisualStudio.Component.VC.ATLMFC"
winget install Microsoft.VisualStudio.2022.Community --scope machine Microsoft.VCRedist.2015+.x64
インストールされるコンポーネントの説明:
NativeDesktop:C++によるデスクトップアプリケーション開発のためのワークロード一式NativeDesktop.Core:C++デスクトップ開発に必要な基本コンポーネント群VC.CLI.Support:マネージドコードとネイティブコードの統合開発を可能にするC++/CLIサポートCoreEditor:コード編集,デバッグ,検索などの基本機能を提供するVisual StudioのコアエディタNuGet:.NETライブラリの依存関係を管理するパッケージ管理システムWindows.SDK.Latest:Windows 向けアプリケーション開発用SDK(Software Development Kit)VC.Tools.x86.x64:32ビット及び64ビット向けC++コンパイラとビルドツールVC.ATL:Windowsコンポーネント開発用のActive Template LibraryVC.ATLMFC:デスクトップアプリケーション開発用のMicrosoft Foundation Class Library
システム要件と注意事項:
- 管理者権限でのインストールが必須
- 必要ディスク容量:10GB以上
- 推奨メモリ:8GB以上のRAM
- インストール過程でシステムの再起動が要求される可能性がある
- 安定したインターネット接続環境が必要
追加のコンポーネントが必要な場合は,Visual Studio Installerを使用して個別にインストールすることが可能である.
- インストール完了の確認
winget list Microsoft.VisualStudio.2022.Communityトラブルシューティング:
インストール失敗時は,以下のログファイルを確認:
%TEMP%\dd_setup_<timestamp>.log
%TEMP%\dd_bootstrapper_<timestamp>.log
- 管理者権限でコマンドプロンプトを起動(手順:Windowsキーまたはスタートメニュー >
- Visual Studio での C++ によるデスクトップ開発,CLI のインストール(Windows 上)
- Visual Studio Installer の起動
起動方法: スタートメニューの「Visual Studio Installer」を選ぶ.
- Visual Studio Community 2022 で「変更」を選ぶ.
- 「C++ によるデスクトップ開発」をチェック.そして,画面右側の「インストール」の詳細で「v143 ビルドツール用 C++/CLI サポート(最新)」をチェックする.その後,「インストール」をクリック.
- Visual Studio Installer の起動
Gitのインストール
管理者権限でコマンドプロンプトを起動(手順:Windowsキーまたはスタートメニュー > cmd と入力 > 右クリック > 「管理者として実行」)し、以下を実行する。管理者権限は、wingetの--scope machineオプションでシステム全体にソフトウェアをインストールするために必要となる。
REM Git をシステム領域にインストール
winget install --scope machine --id Git.Git -e --silent --accept-source-agreements --accept-package-agreements
REM Git のパス設定
set "GIT_PATH=C:\Program Files\Git\cmd"
for /f "skip=2 tokens=2*" %a in ('reg query "HKLM\SYSTEM\CurrentControlSet\Control\Session Manager\Environment" /v Path') do set "SYSTEM_PATH=%b"
if exist "%GIT_PATH%" (
    echo "%SYSTEM_PATH%" | find /i "%GIT_PATH%" >nul
    if errorlevel 1 setx PATH "%GIT_PATH%;%SYSTEM_PATH%" /M >nul
)
CMakeのインストール
管理者権限でコマンドプロンプトを起動(手順:Windowsキーまたはスタートメニュー > cmd と入力 > 右クリック > 「管理者として実行」)し、以下を実行する。管理者権限は、wingetの--scope machineオプションでシステム全体にソフトウェアをインストールするために必要となる。
REM CMake をシステム領域にインストール
winget install --scope machine --id machine Kitware.CMake -e --silent
REM CMake のパス設定
set "GMAKE_PATH=C:\Program Files\CMake\bin"
if exist "%GMAKE_PATH%" (
    echo "%PATH%" | find /i "%GMAKE_PATH%" >nul
    if errorlevel 1 setx PATH "%PATH%;%GMAKE_PATH%" /M >nul
)
NVIDIA ドライバのインストール(Windows 上)
NVIDIA ドライバ
NVIDIA ドライバは,NVIDIA製GPUを動作させるための重要なソフトウェアである.このドライバをインストールすることにより,GPUの性能を引き出すことができ,グラフィックス関連のアプリ,AI関連のアプリの高速化が期待できる.
ドライバはNVIDIA公式サイトである https://www.nvidia.co.jp/Download/index.aspx?lang=jp からダウンロードできる.このサイトからダウンロードするときには,グラフィックスカードとオペレーティングシステムを選択する. なお,NVIDIA GeForce Experiance を用いてインストールすることも可能である.
【サイト内の関連ページ】
- NVIDIA グラフィックス・ボードの確認
Windows で,NVIDIA グラフィックス・ボードの種類を調べたいときは, 次のコマンドを実行することにより調べることができる.
wmic path win32_VideoController get name - NVIDIA ドライバのダウンロード
NVIDIA ドライバは,以下の NVIDIA 公式サイトからダウンロードできる.
- ダウンロードの際には,使用しているグラフィックス・ボードの型番とオペレーティングシステムを選択する.
NVIDIA CUDA ツールキット 11.8 のインストール(Windows 上)
NVIDIA CUDA ツールキットのインストール時の注意点
NVIDIAのGPUを使用して並列計算を行うためのツールセット
主な機能: GPU を利用した並列処理,GPU のメモリ管理,C++をベースとした拡張言語とAPIとライブラリ
【NVIDIA CUDA ツールキットの動作に必要なもの】
- CUDA対応のNVIDIA GPUが必要.
そのために,NVIDIA グラフィックス・ボードを確認する. Windows で,NVIDIA グラフィックス・ボードの種類を調べたいときは, 次のコマンドを実行することにより調べることができる.
wmic path win32_VideoController get name - NVIDIA ドライバのダウンロードとインストール
NVIDIA ドライバは,以下の NVIDIA 公式サイトからダウンロードできる. ダウンロードの際には,使用しているグラフィックス・ボードの型番とオペレーティングシステムを選択する.
- Windows では,インストール前に,Build Tools for Visual Studio もしくは Visual Studio をインストールしておくことが必要である.
【Windows でインストールするときの注意点】
- Windows では, NVIDIA CUDA ツールキットのインストール中は,なるべく他のウインドウはすべて閉じておくこと.
- NVIDIA CUDA ツールキットのインストールが終わったら,ユーザ環境変数 TEMP の設定を行う.
Windows のユーザ名が日本語のとき,nvcc がうまく動作しないエラーを回避するためである.
ユーザ環境変数 TEMP に「C:\TEMP」を設定するために, コマンドプロンプトで,次のコマンドを実行する.
mkdir C:\TEMP
powershell -command "[System.Environment]::SetEnvironmentVariable(\"TEMP\", \"C:\TEMP\", \"User\")"
【関連する外部ページ】
- NVIDIA CUDA ツールキットのアーカイブの公式ページ: https://developer.nvidia.com/cuda-toolkit-archive
- NVIDIA CUDA ツールキット の公式のドキュメント: https://docs.nvidia.com/cuda/cuda-installation-guide-linux/index.html
- NVIDIA CUDA ツールキットのインストールに関する,NVIDIA CUDA クイックスタートガイドの公式ページ: https://docs.nvidia.com/cuda/cuda-quick-start-guide/index.html
【関連項目】 NVIDIA CUDA ツールキット, NVIDIA CUDA ツールキット 12.6 のインストール(Windows 上), NVIDIA CUDA ツールキット 11.8 のインストール(Windows 上)
- Windows では,NVIDIA CUDA ツールキットのインストール中は,なるべく他のウインドウはすべて閉じておくこと.
- Windows で,管理者権限でコマンドプロンプトを起動(手順:Windowsキーまたはスタートメニュー >
cmdと入力 > 右クリック > 「管理者として実行」)。 - 次のコマンドを実行
次のコマンドは,NVIDIA GeForce Experience,NVIDIA CUDA ツールキット 11.8 をインストールするものである.
wmic path win32_VideoController get name winget install --scope machine Nvidia.CUDA --version 11.8 powershell -command "[System.Environment]::SetEnvironmentVariable(\"CUDA_HOME\", \"C:\Program Files\NVIDIA GPU Computing Toolkit\CUDA\v11.8\", \"Machine\")" - NVIDIA CUDA ツールキットのインストールが終わったら,ユーザ環境変数 TEMP の設定を行う.
Windows のユーザ名が日本語のとき,nvcc がうまく動作しないエラーを回避するためである.
ユーザ環境変数 TEMP に「C:\TEMP」を設定するために, コマンドプロンプトで,次のコマンドを実行する.
mkdir C:\TEMP
powershell -command "[System.Environment]::SetEnvironmentVariable(\"TEMP\", \"C:\TEMP\", \"User\")"
SuiteSparse,Metis のインストール(ソースコードを用いたインストール)(Windows 上)
Boost のインストール
Eigen のインストール
SuiteSparse,Metis のインストール(ソースコードを用いたインストール)(Windows 上)
次のページに記載の手順を行う.
https://github.com/jlblancoc/suitesparse-metis-for-windows
前もって,SuiteSparse, Metis をインストールするディレクトリを決めておく
このページでは,いずれも,c:\suitesparse 下にインストールするものとして説明する.
- Windows で,管理者権限でコマンドプロンプトを起動(手順:Windowsキーまたはスタートメニュー >
cmdと入力 > 右クリック > 「管理者として実行」)。.コマンドプロンプトを管理者として実行: 別ページ »で説明
- SuiteSparse の作業ディレクトリを削除する(以前作業したときのものが残っていたら削除したいため)
c:
cd c:\
rmdir /s /q suitesparse-metis-for-windows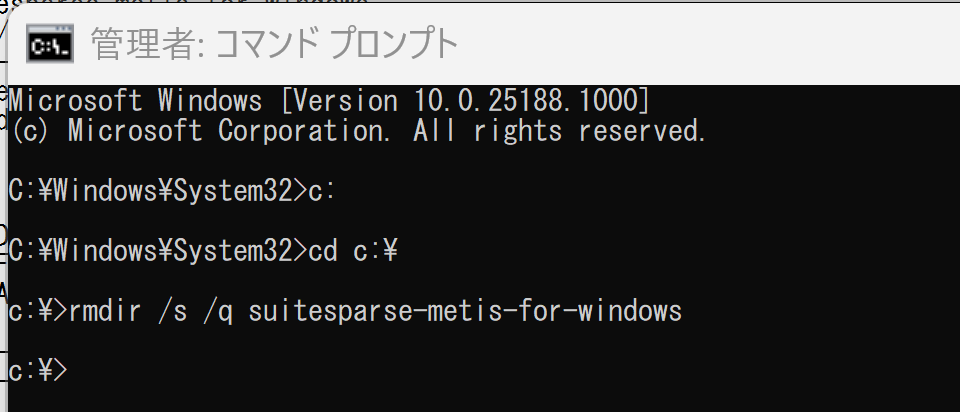
- ソースコードをダウンロード,環境変数 SP_ROOTにダウンロードしたディレクトリを設定
cd c:\
git clone --recursive https://github.com/jlblancoc/suitesparse-metis-for-windows
powershell -command "[System.Environment]::SetEnvironmentVariable(\"SP_ROOT\", \"c:\suitesparse-metis-for-windows\", \"Machine\")"
- cmake の実行
cmake でのオプションについて
cmake のオプションの 「Visual Studio 17 2022」のところは, 使用する Visual Studio のバージョンにあわせること. Visual Studio 2022 のときは,「Visual Studio 17 2022」. Visual Studio 2019 のときは,「Visual Studio 16 2019」
cmake の実行手順例は次の通り
cd c:\
cd suitesparse-metis-for-windows
rmdir /s /q build
mkdir build
cd build
del CMakeCache.txt
rmdir /s /q CMakeFiles\
cmake .. -G "Visual Studio 17 2022" -A x64 -T host=x64 ^
    -DCMAKE_BUILD_TYPE=Release ^
    -DBUILD_SHARED_LIBS=ON ^
    -DCMAKE_INSTALL_PREFIX="C:/suitesparse"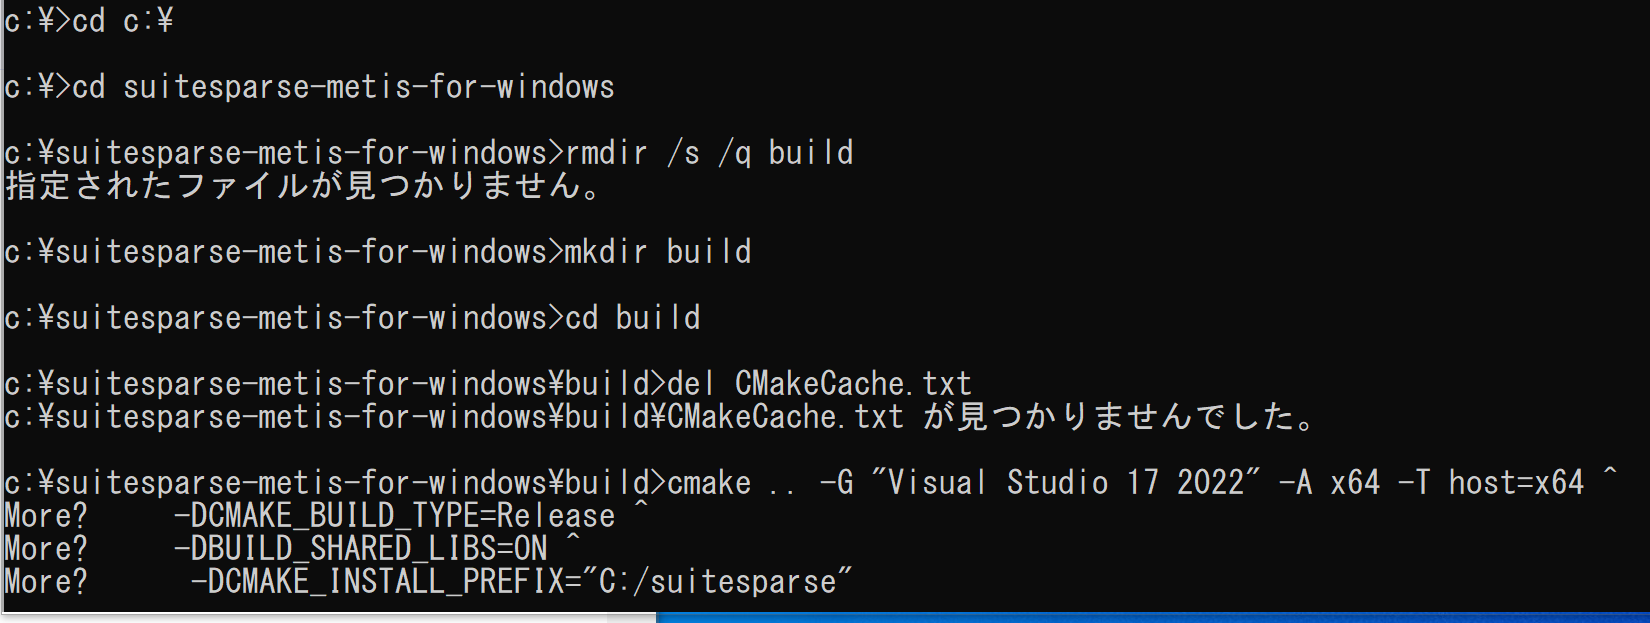
- 実行結果の確認
エラーメッセージが出ていないこと.
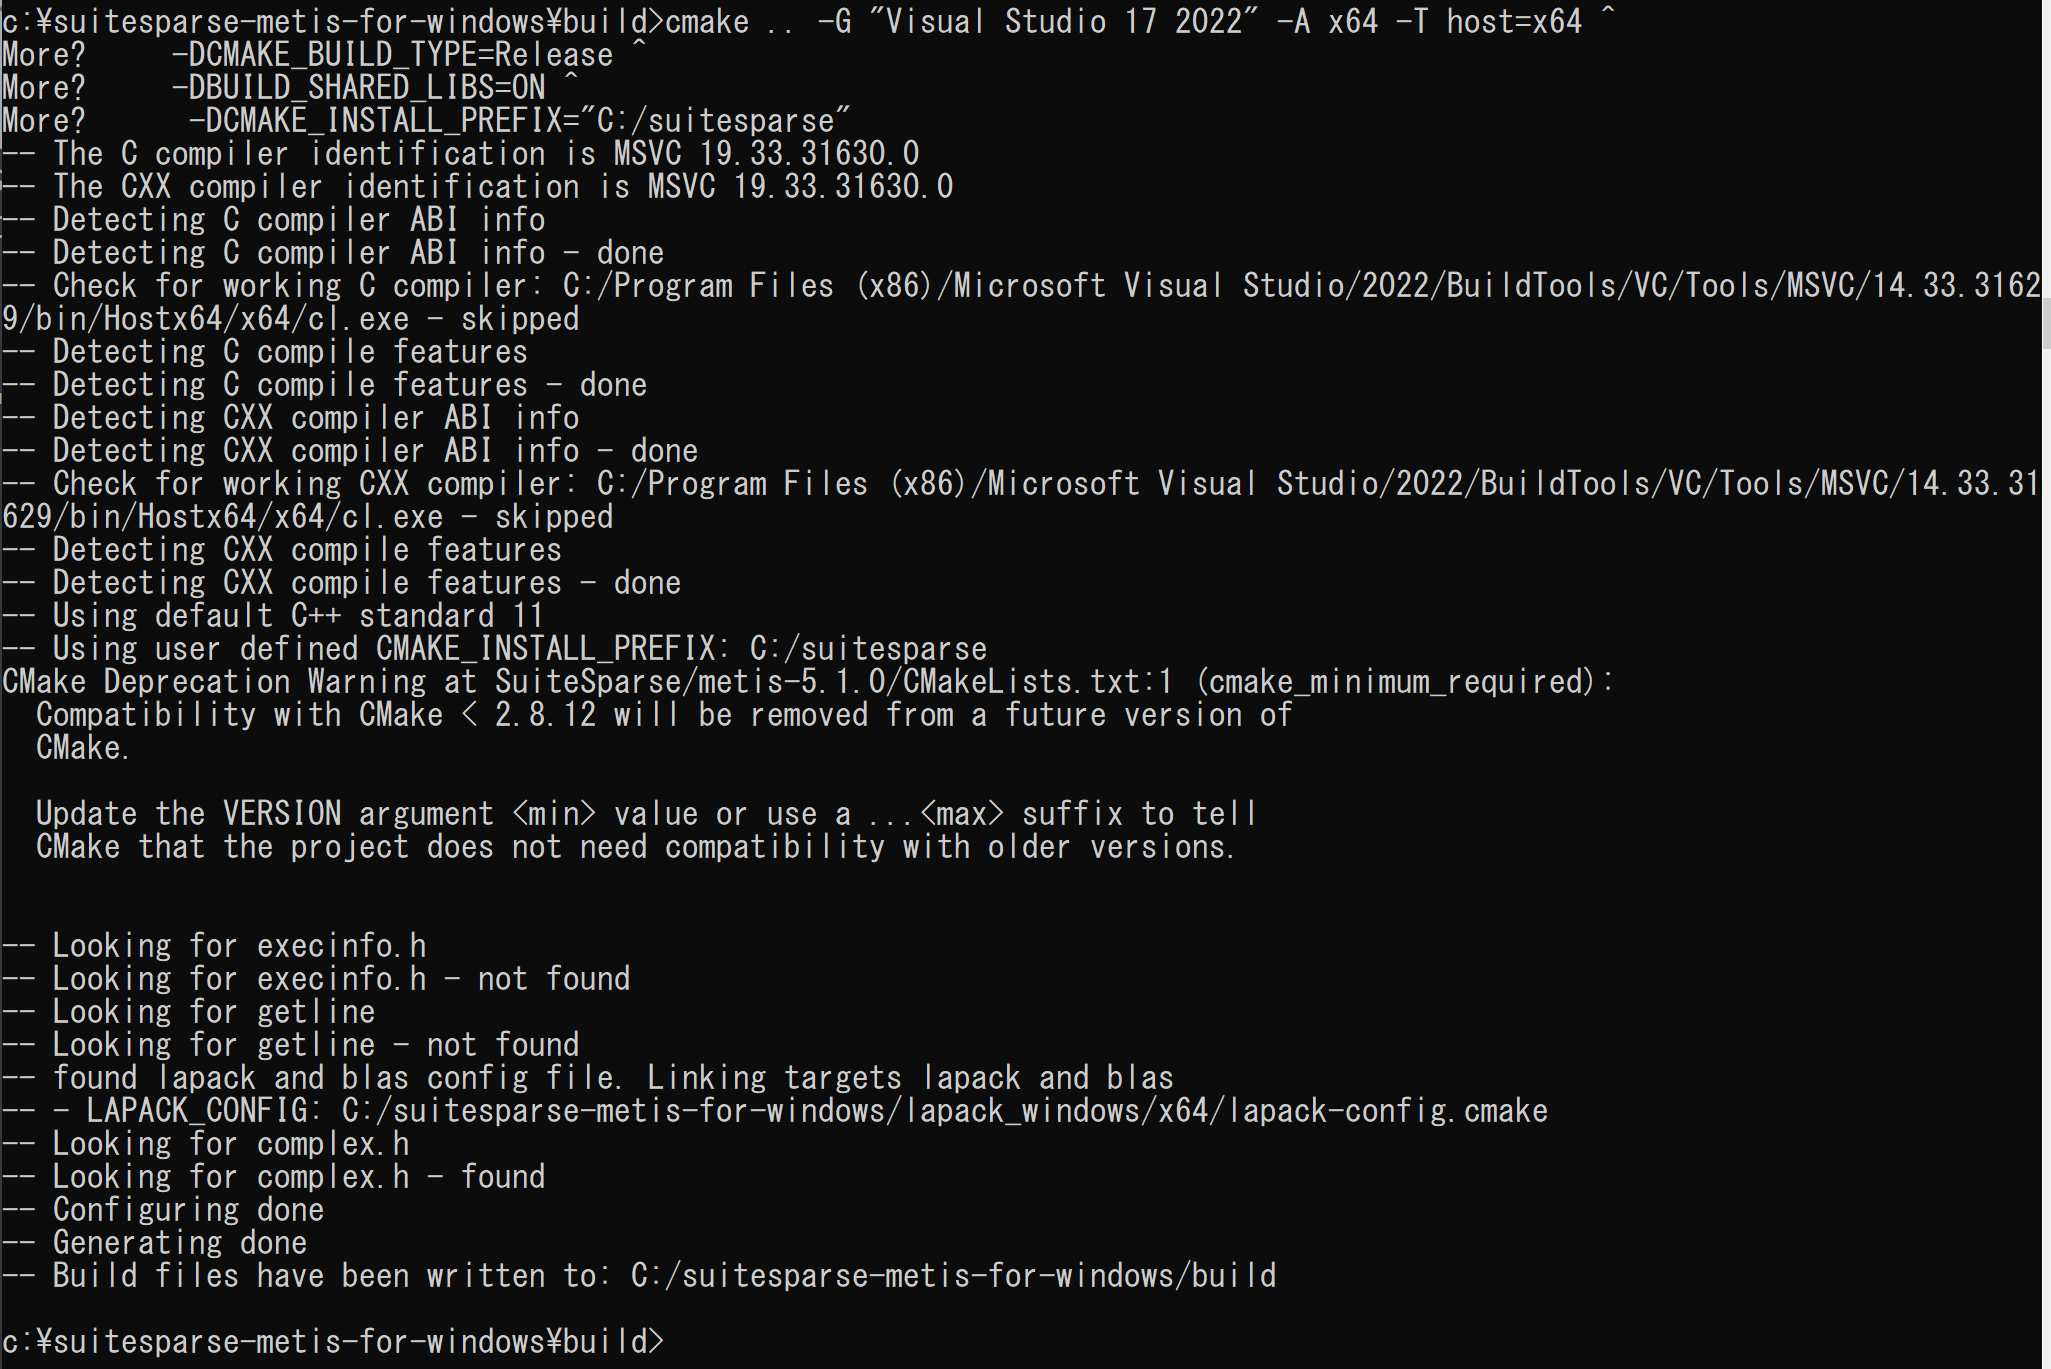
- インストールの実行
cmake --build . --config RELEASE cmake --build . --config RELEASE --target INSTALL - 実行結果の確認
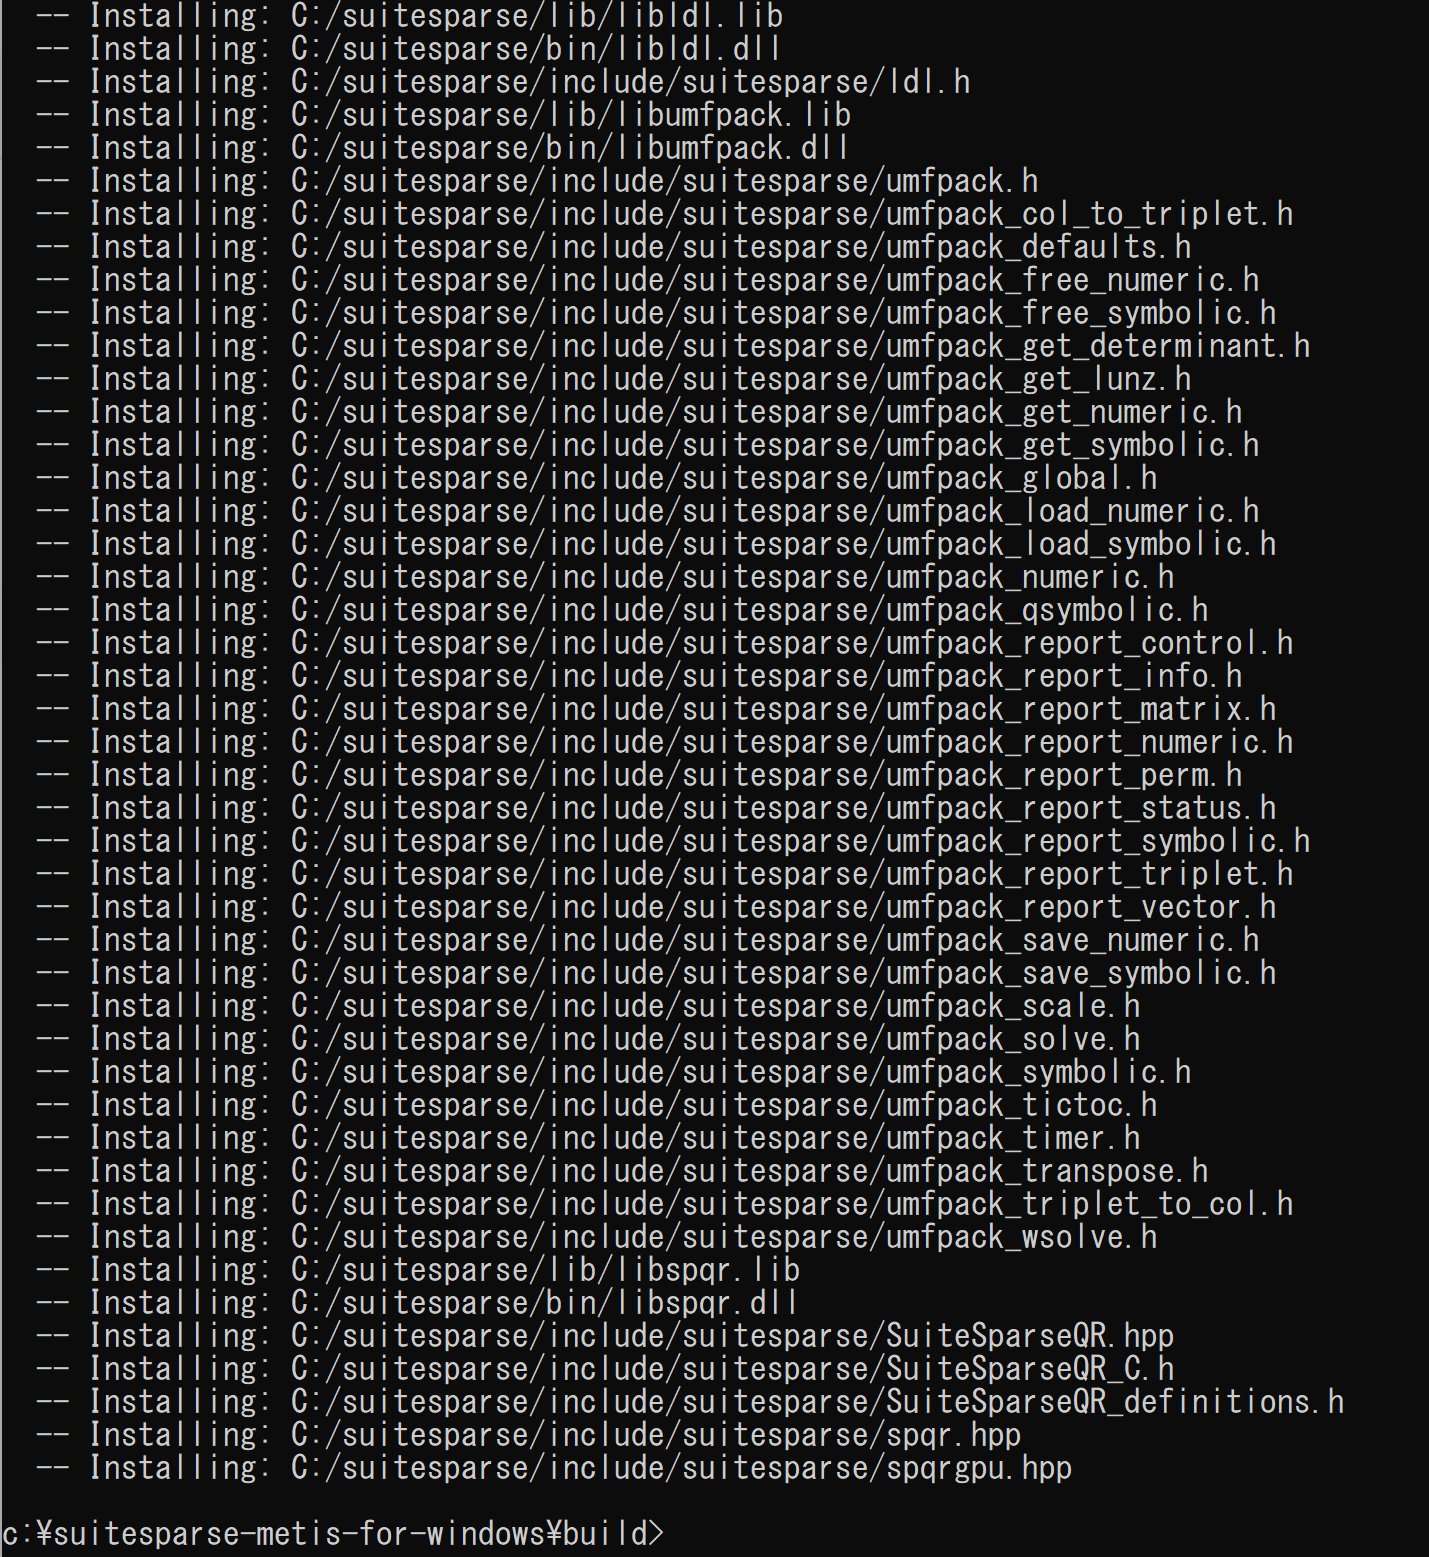
- Windows の システム環境変数 Pathに,次を追加することにより,パスを通す.
- C:\suitesparse\lib\lapack_blas_windows
- C:\suitesparse\lib
- C:\suitesparse\bin
次のコマンドを実行
powershell -command "$oldpath = [System.Environment]::GetEnvironmentVariable(\"Path\", \"Machine\"); $oldpath += \";C:\suitesparse\lib\lapack_blas_windows\"; [System.Environment]::SetEnvironmentVariable(\"Path\", $oldpath, \"Machine\")"
powershell -command "$oldpath = [System.Environment]::GetEnvironmentVariable(\"Path\", \"Machine\"); $oldpath += \";C:\suitesparse\lib\"; [System.Environment]::SetEnvironmentVariable(\"Path\", $oldpath, \"Machine\")"
powershell -command "$oldpath = [System.Environment]::GetEnvironmentVariable(\"Path\", \"Machine\"); $oldpath += \";C:\suitesparse\bin\"; [System.Environment]::SetEnvironmentVariable(\"Path\", $oldpath, \"Machine\")"
- Windows の システム環境変数 SUITESPARSE_ROOT に,c:\suitesparse を設定
次のコマンドを実行
powershell -command "[System.Environment]::SetEnvironmentVariable(\"SUITESPARSE_ROOT\", \"c:\suitesparse\", \"Machine\")" - Windows の システム環境変数 METIS_ROOT に,c:\suitesparse を設定
次のコマンドを実行
powershell -command "[System.Environment]::SetEnvironmentVariable(\"METIS_ROOT\", \"c:\suitesparse\", \"Machine\")"
gflags, glog, Ceres ソルバ(Ceres Solver)のインストール(ソースコードを使用)(Windows 上)
gflags のインストール(ソースコードを使用)(Windows 上)
- Windows で,管理者権限でコマンドプロンプトを起動(手順:Windowsキーまたはスタートメニュー >
cmdと入力 > 右クリック > 「管理者として実行」)。.コマンドプロンプトを管理者として実行: 別ページ »で説明
- gflags のインストール
gflags の GitHub のページ: https://github.com/gflags/gflags
cmake のオプションの 「Visual Studio 17 2022」のところは, 使用する Visual Studio のバージョンにあわせること. Visual Studio 2022 のときは,「Visual Studio 17 2022」. Visual Studio 2019 のときは,「Visual Studio 16 2019」
C:
cd /d c:%HOMEPATH%
rmdir /s /q gflags
git clone https://github.com/gflags/gflags
cd gflags
rmdir /s /q a
mkdir a
cd a
del CMakeCache.txt
rmdir /s /q CMakeFiles\
cmake .. -G "Visual Studio 17 2022" -A x64 -T host=x64 ^
    -DCMAKE_BUILD_TYPE=Release ^
    -DCMAKE_INSTALL_PREFIX="C:/gflags" ^
    -DBUILD_STATIC_LIBS=ON ^
    -DBUILD_SHARED_LIBS=ON
cmake --build . --config RELEASE
cmake --build . --config RELEASE --target INSTALL
エラーメッセージが出ていないことを確認
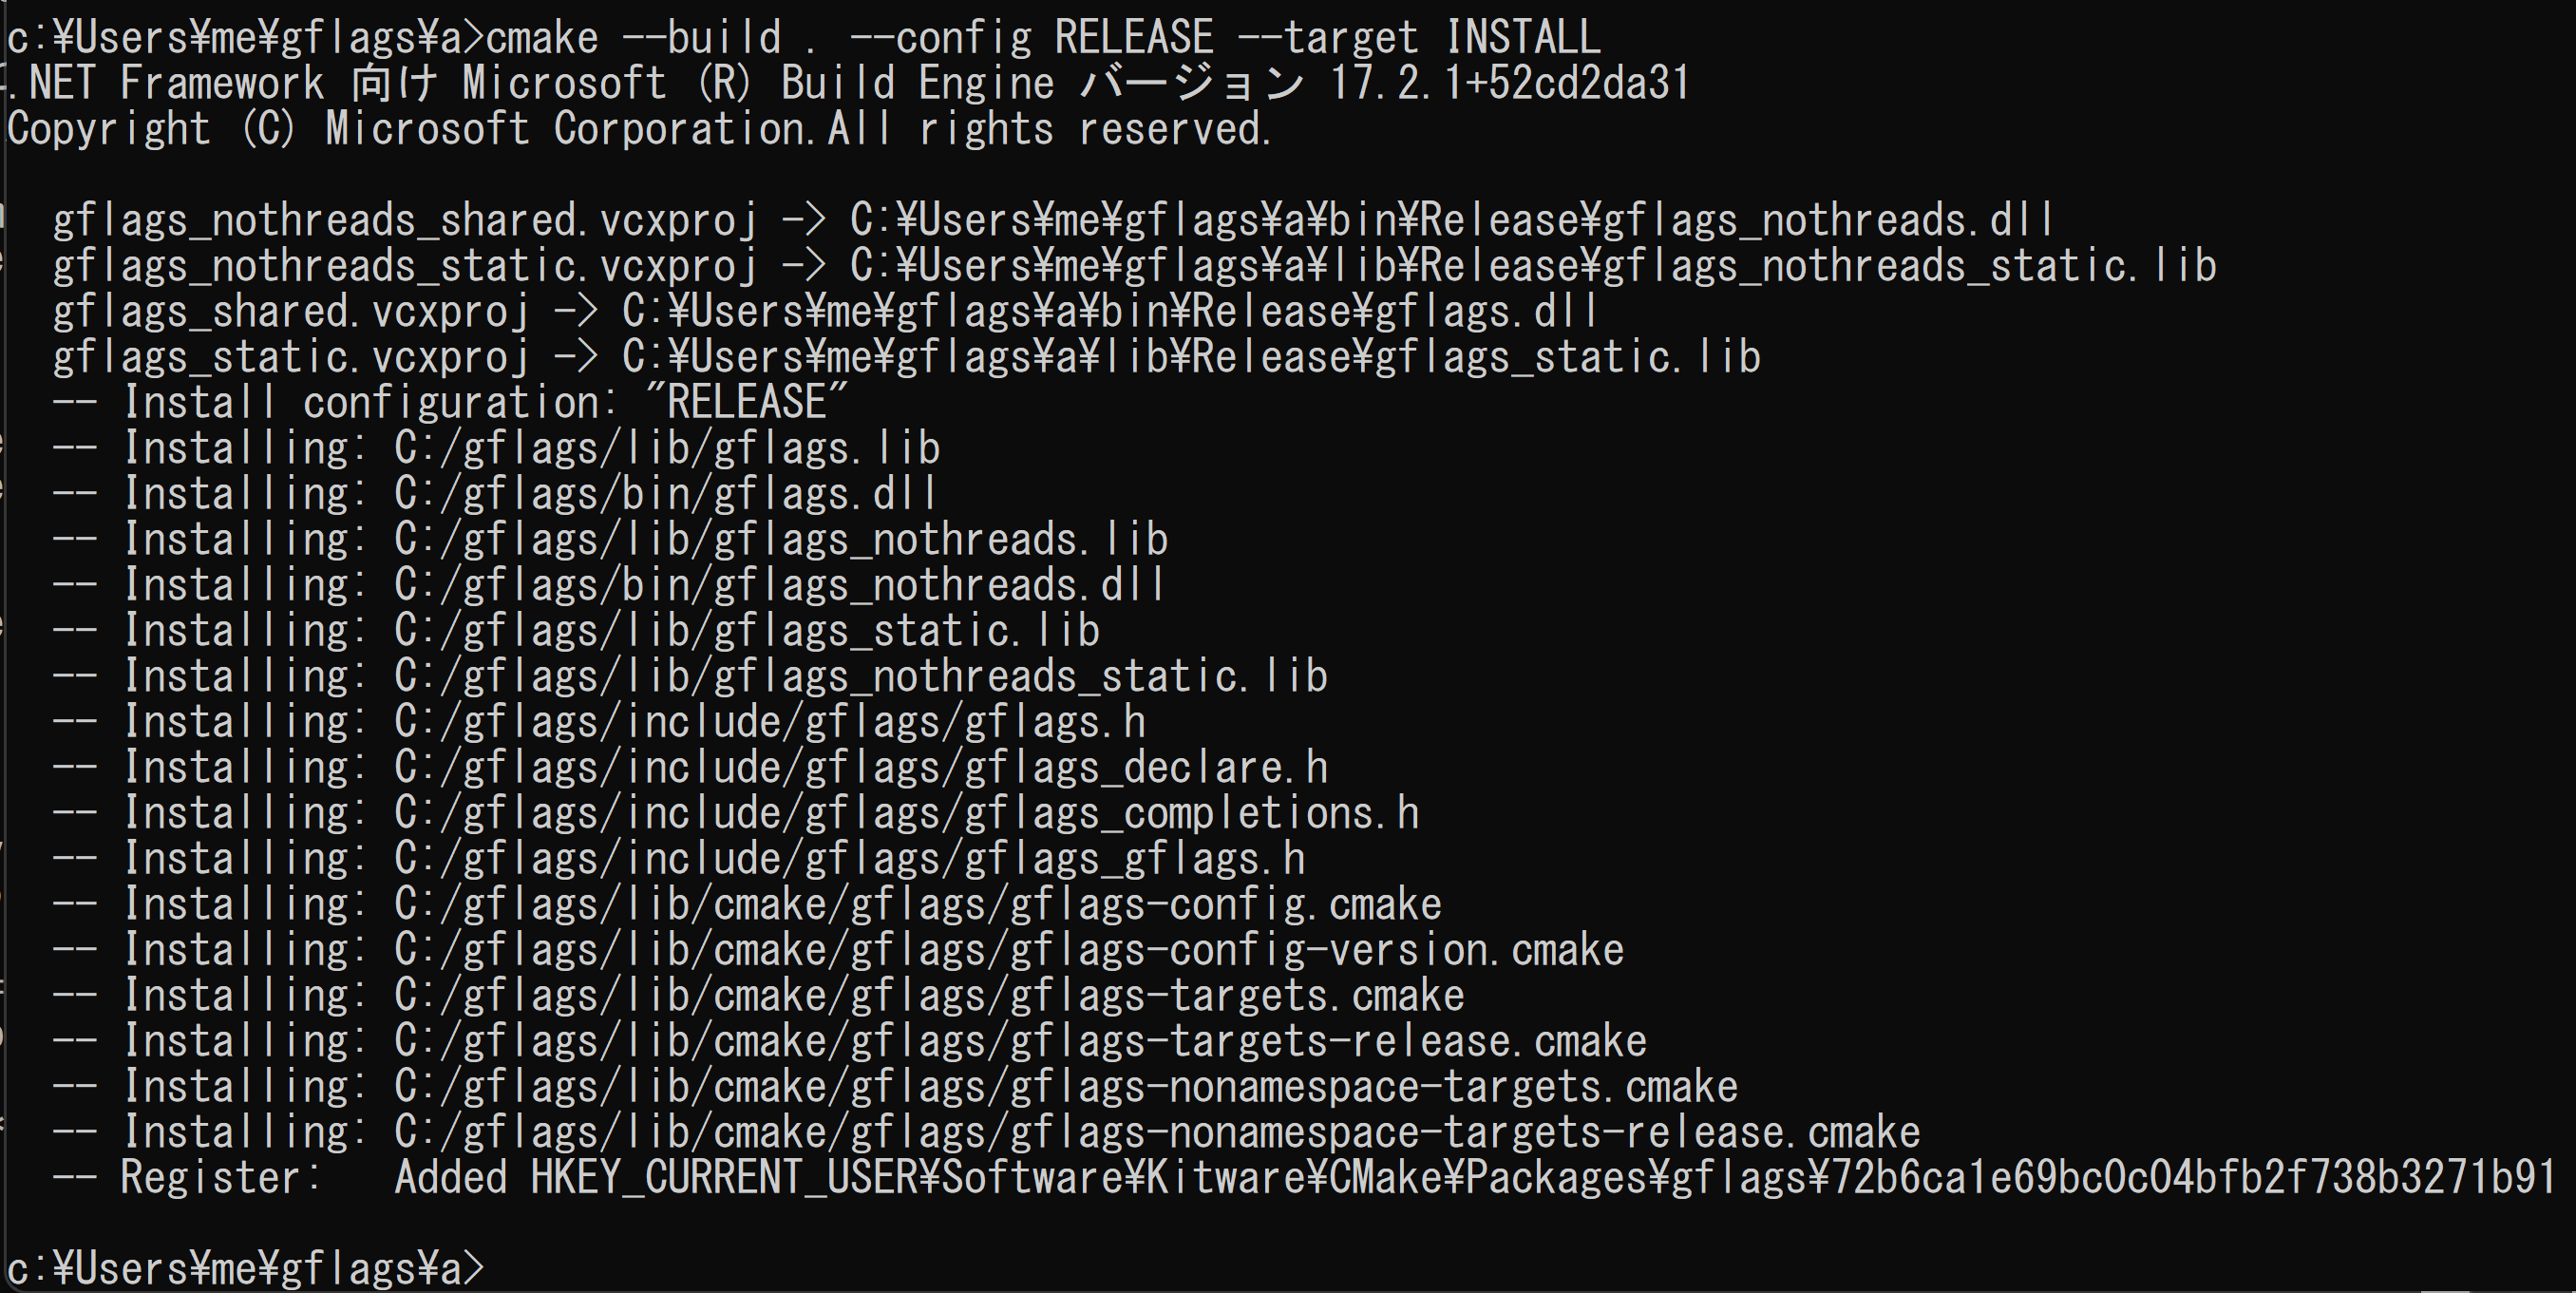
- Windows の システム環境変数 GFLAGS_ROOT に,c:\gflags を設定
次のコマンドを実行
powershell -command "[System.Environment]::SetEnvironmentVariable(\"GFLAGS_ROOT\", \"c:\gflags\", \"Machine\")"
glog のインストール(ソースコードを使用)(Windows 上)
glog のインストールの前に,gflags のインストールが終わっていること.
- Windows で,管理者権限でコマンドプロンプトを起動(手順:Windowsキーまたはスタートメニュー >
cmdと入力 > 右クリック > 「管理者として実行」)。.コマンドプロンプトを管理者として実行: 別ページ »で説明
- glog のインストール
glog の GitHub のページ: https://github.com/google/glog
cmake のオプションの 「Visual Studio 17 2022」のところは, 使用する Visual Studio のバージョンにあわせること. Visual Studio 2022 のときは,「Visual Studio 17 2022」. Visual Studio 2019 のときは,「Visual Studio 16 2019」
C:
cd /d c:%HOMEPATH%
rmdir /s /q glog
git clone https://github.com/google/glog
cd glog
rmdir /s /q build
mkdir build
cd build
del CMakeCache.txt
rmdir /s /q CMakeFiles\
cmake .. -G "Visual Studio 17 2022" -A x64 -T host=x64 ^
    -DCMAKE_BUILD_TYPE=Release ^
    -DCMAKE_INSTALL_PREFIX="C:/glog"
cmake --build . --config RELEASE
cmake --build . --config RELEASE --target INSTALL
エラーメッセージが出ていないことを確認
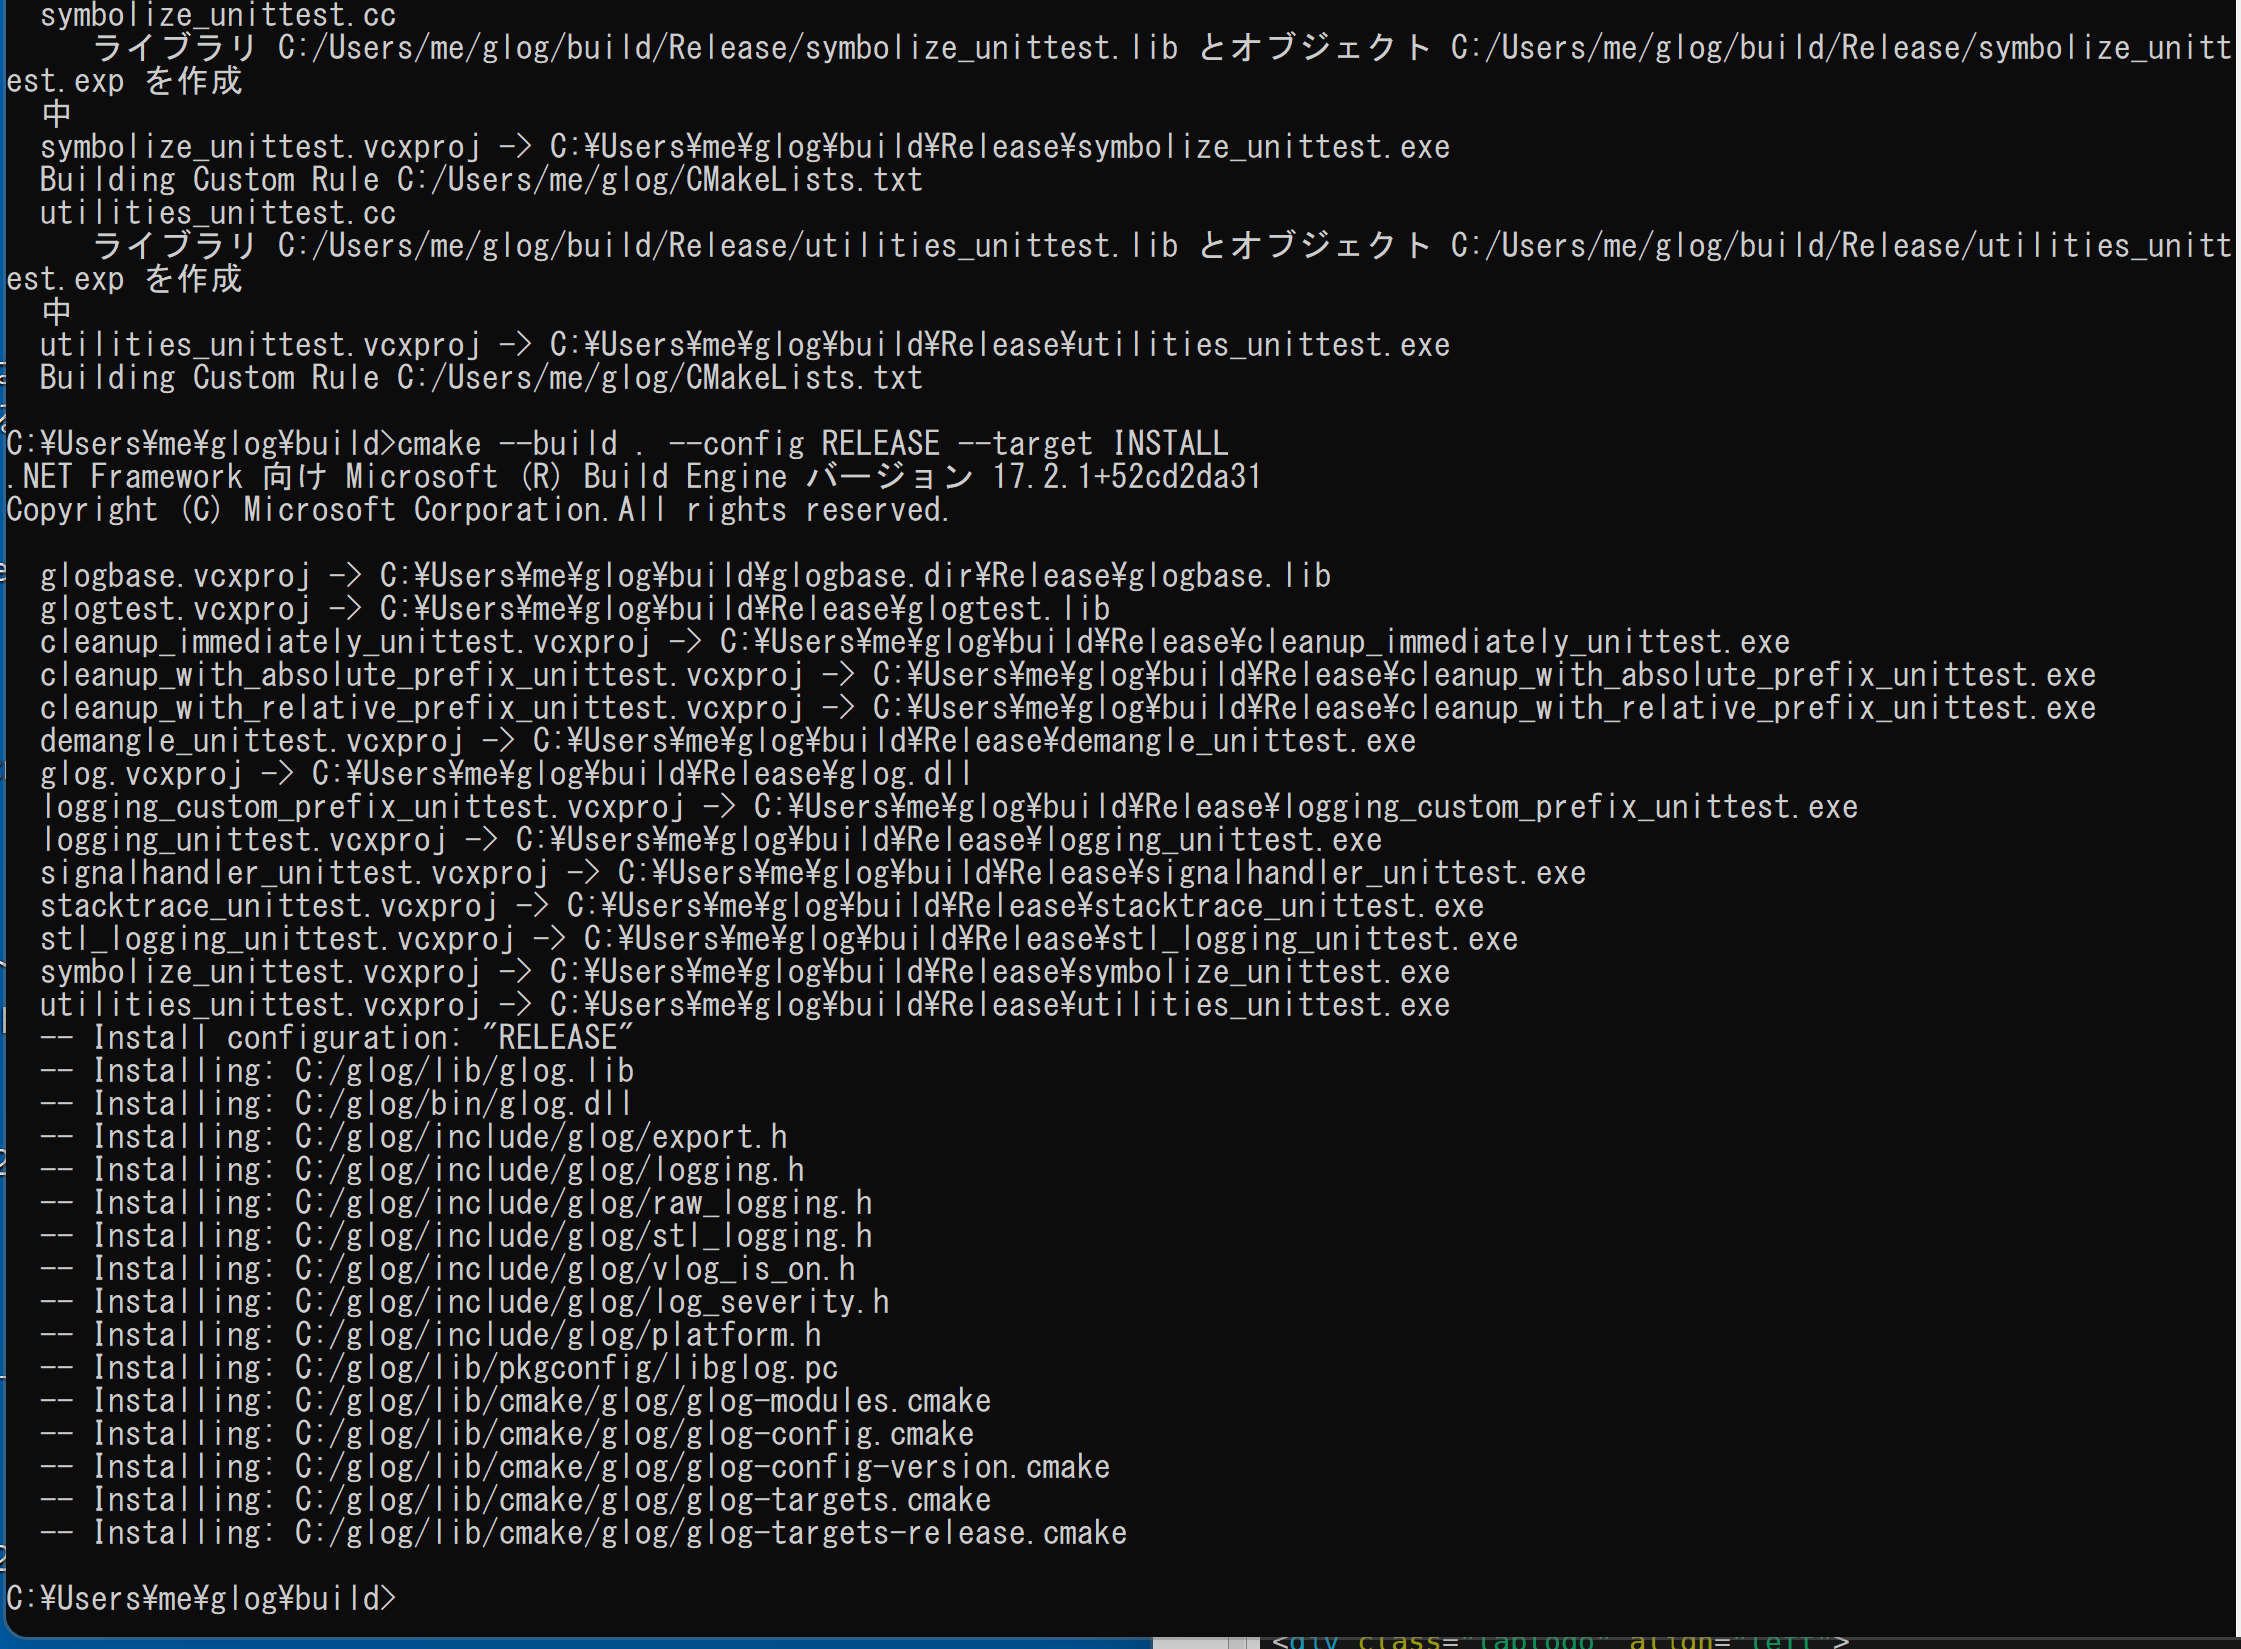
- Windows の システム環境変数 GLOG_ROOT に,c:\glog を設定
次のコマンドを実行
powershell -command "[System.Environment]::SetEnvironmentVariable(\"GLOG_ROOT\", \"c:\glog\", \"Machine\")"

(オプション)OpenBLAS のインストール
Ceres ソルバ(Ceres Solver)のインストール(ソースコードを使用)(Windows 上)
次のページに記載の手順を行う.
http://ceres-solver.org/installation.html
前もって,Ceres ソルバ(Ceres Solver)をインストールするディレクトリを決めておく
このページでは,c:\ceres 下にインストールするものとして説明する.
- Windows で,管理者権限でコマンドプロンプトを起動(手順:Windowsキーまたはスタートメニュー >
cmdと入力 > 右クリック > 「管理者として実行」)。.コマンドプロンプトを管理者として実行: 別ページ »で説明
- Ceres ソルバ(Ceres Solver)の作業ディレクトリを削除する(以前作業したときのものが残っていたら削除したいため)
C:
cd /d c:%HOMEPATH%
rmdir /s /q ceres-solver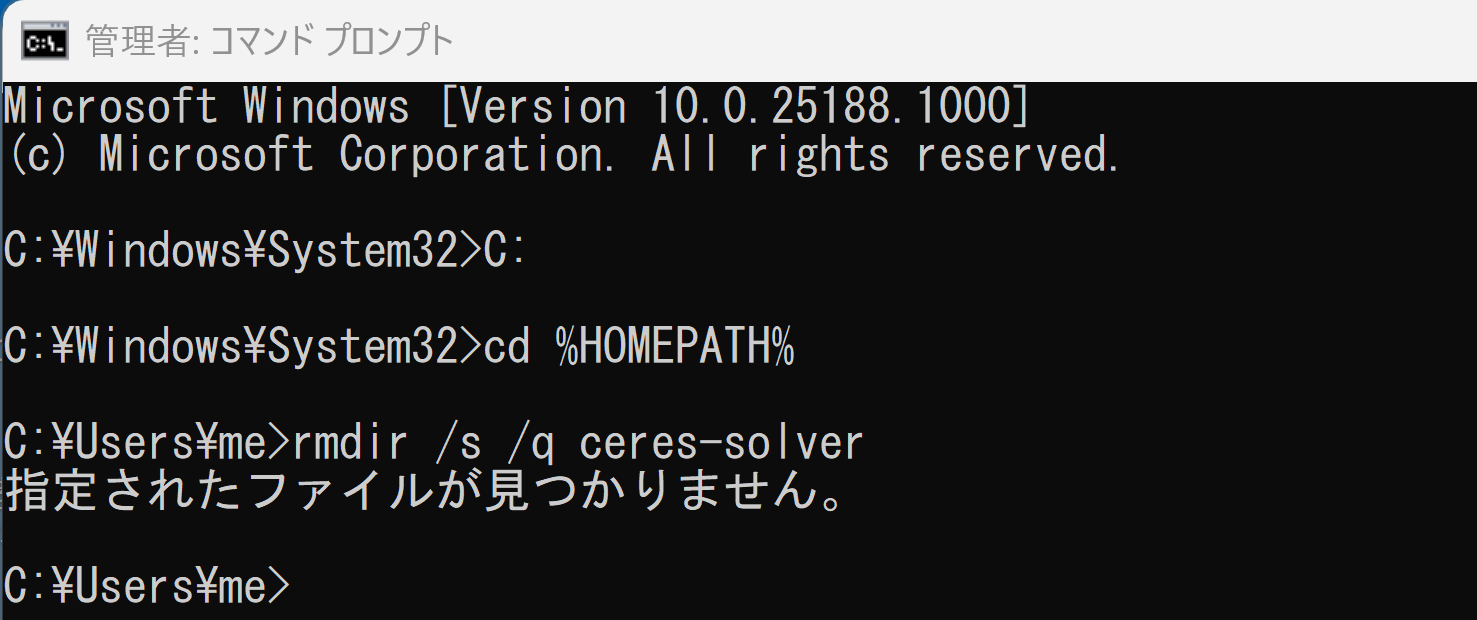
- Ceres ソルバ(Ceres Solver)のバージョンの確認
次のページで確認
- Ceres ソルバ(Ceres Solver)のソースコードをダウンロード
「-b 2.1.0」でバージョン指定している.
cd /d c:%HOMEPATH%
git clone --recursive -b 2.1.0 https://github.com/ceres-solver/ceres-solver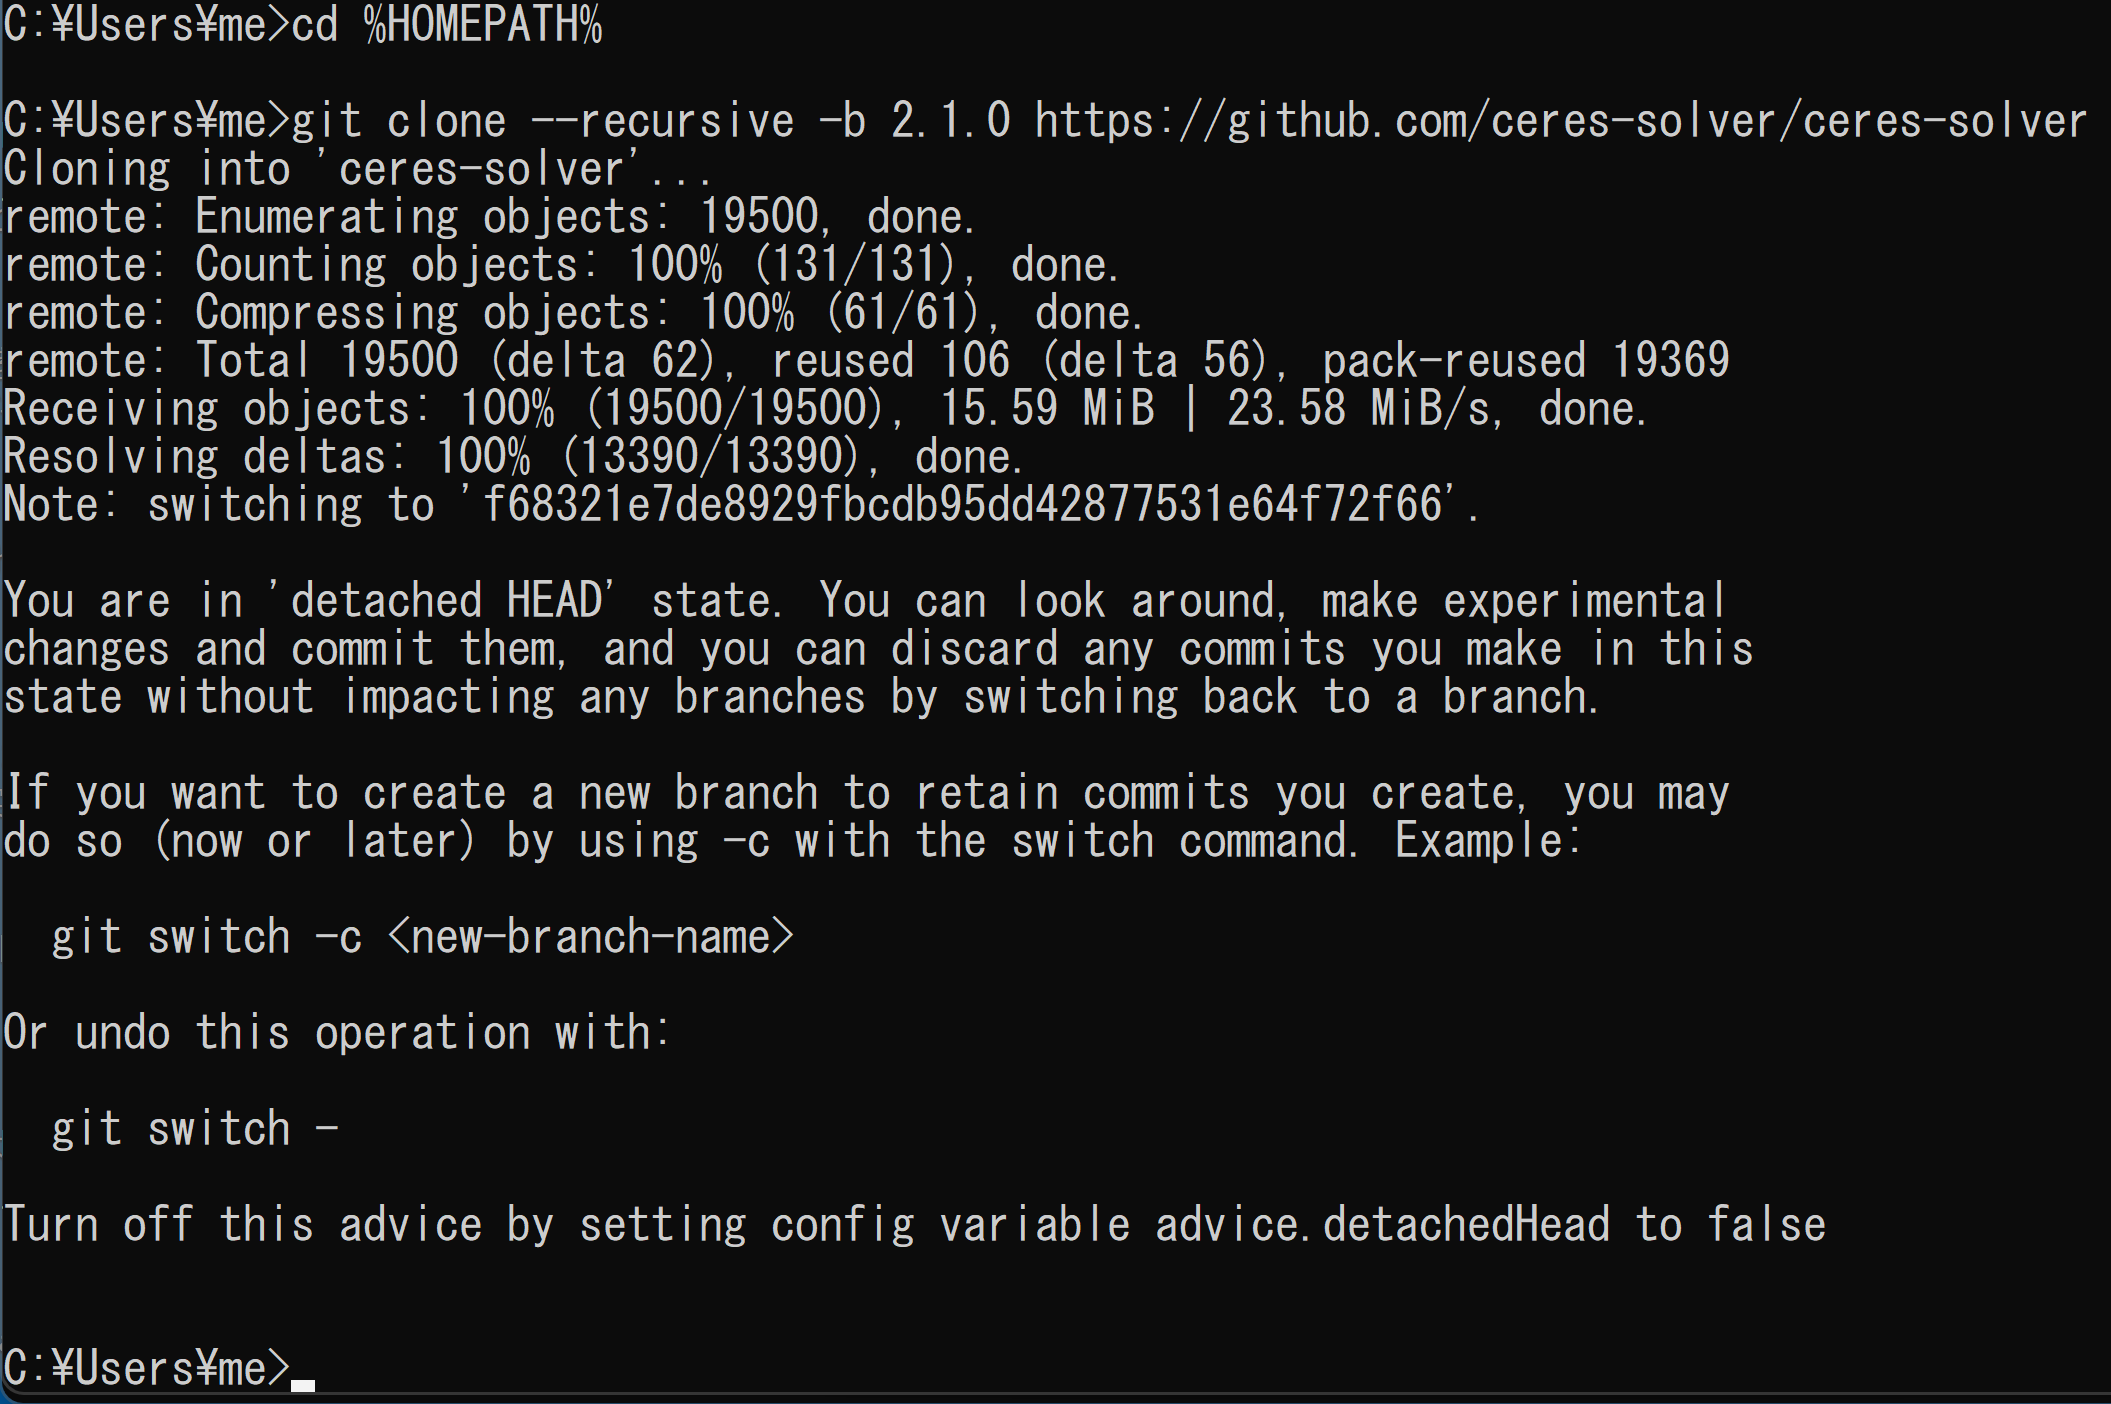
- cmake の実行
cmake でのオプションについて
cmake のオプションの 「Visual Studio 17 2022」のところは, 使用する Visual Studio のバージョンにあわせること. Visual Studio 2022 のときは,「Visual Studio 17 2022」. Visual Studio 2019 のときは,「Visual Studio 16 2019」
cmake の実行手順例は次の通り
cd /d c:%HOMEPATH%
cd ceres-solver
rmdir /s /q a
mkdir a
cd a
del CMakeCache.txt
rmdir /s /q CMakeFiles\
cmake .. -G "Visual Studio 17 2022" -A x64 -T host=x64 ^
    -DCMAKE_BUILD_TYPE=Release ^
    -DCMAKE_INSTALL_PREFIX="%CERES_ROOT%" ^
    -DBUILD_SHARED_LIBS=ON ^
    -Dglog_DIR="%GLOG_ROOT%" ^
    -Dgflags_DIR="%GFLAGS_ROOT%" ^
    -DBLAS_openblas_LIBRARY="%OpenBLAS_ROOT%\lib\openblas.lib" ^
    -DSuiteSparse_DIR="%SUITESPARSE_ROOT%" ^
    -DMETIS_INCLUDE_DIR="%SUITESPARSE_ROOT%\include" ^
    -DMETIS_LIBRARY_RELEASE="%SUITESPARSE_ROOT%\lib\metis.lib" ^
    -DCXSparse_INCLUDE_DIR="%SUITESPARSE_ROOT%\include\suitesparse" ^
    -DCXSparse_LIBRARY="%SUITESPARSE_ROOT%\lib\libcxsparse.lib" ^
    -DSuiteSparse_AMD_INCLUDE_DIR="%SUITESPARSE_ROOT%\include\suitesparse" ^
    -DSuiteSparse_CAMD_INCLUDE_DIR="%SUITESPARSE_ROOT%\include\suitesparse" ^
    -DSuiteSparse_CCOLAMD_INCLUDE_DIR="%SUITESPARSE_ROOT%\include\suitesparse" ^
    -DSuiteSparse_CHOLMOD_INCLUDE_DIR="%SUITESPARSE_ROOT%\include\suitesparse" ^
    -DSuiteSparse_COLAMD_INCLUDE_DIR="%SUITESPARSE_ROOT%\include\suitesparse" ^
    -DSuiteSparse_Config_INCLUDE_DIR="%SUITESPARSE_ROOT%\include\suitesparse" ^
    -DSuiteSparse_SPQR_INCLUDE_DIR="%SUITESPARSE_ROOT%\include\suitesparse" ^
    -DSuiteSparse_AMD_LIBRARY="%SUITESPARSE_ROOT%\lib\libamd.lib" ^
    -DSuiteSparse_CAMD_LIBRARY="%SUITESPARSE_ROOT%\lib\libcamd.lib" ^
    -DSuiteSparse_CCOLAMD_LIBRARY="%SUITESPARSE_ROOT%\lib\libccolamd.lib" ^
    -DSuiteSparse_CHOLMOD_LIBRARY="%SUITESPARSE_ROOT%\lib\libcholmod.lib" ^
    -DSuiteSparse_COLAMD_LIBRARY="%SUITESPARSE_ROOT%\lib\libcolamd.lib" ^
    -DSuiteSparse_Config_LIBRARY="%SUITESPARSE_ROOT%\lib\suitesparseconfig.lib" ^
    -DSuiteSparse_SPQR_LIBRARY="%SUITESPARSE_ROOT%\lib\libspqr.lib"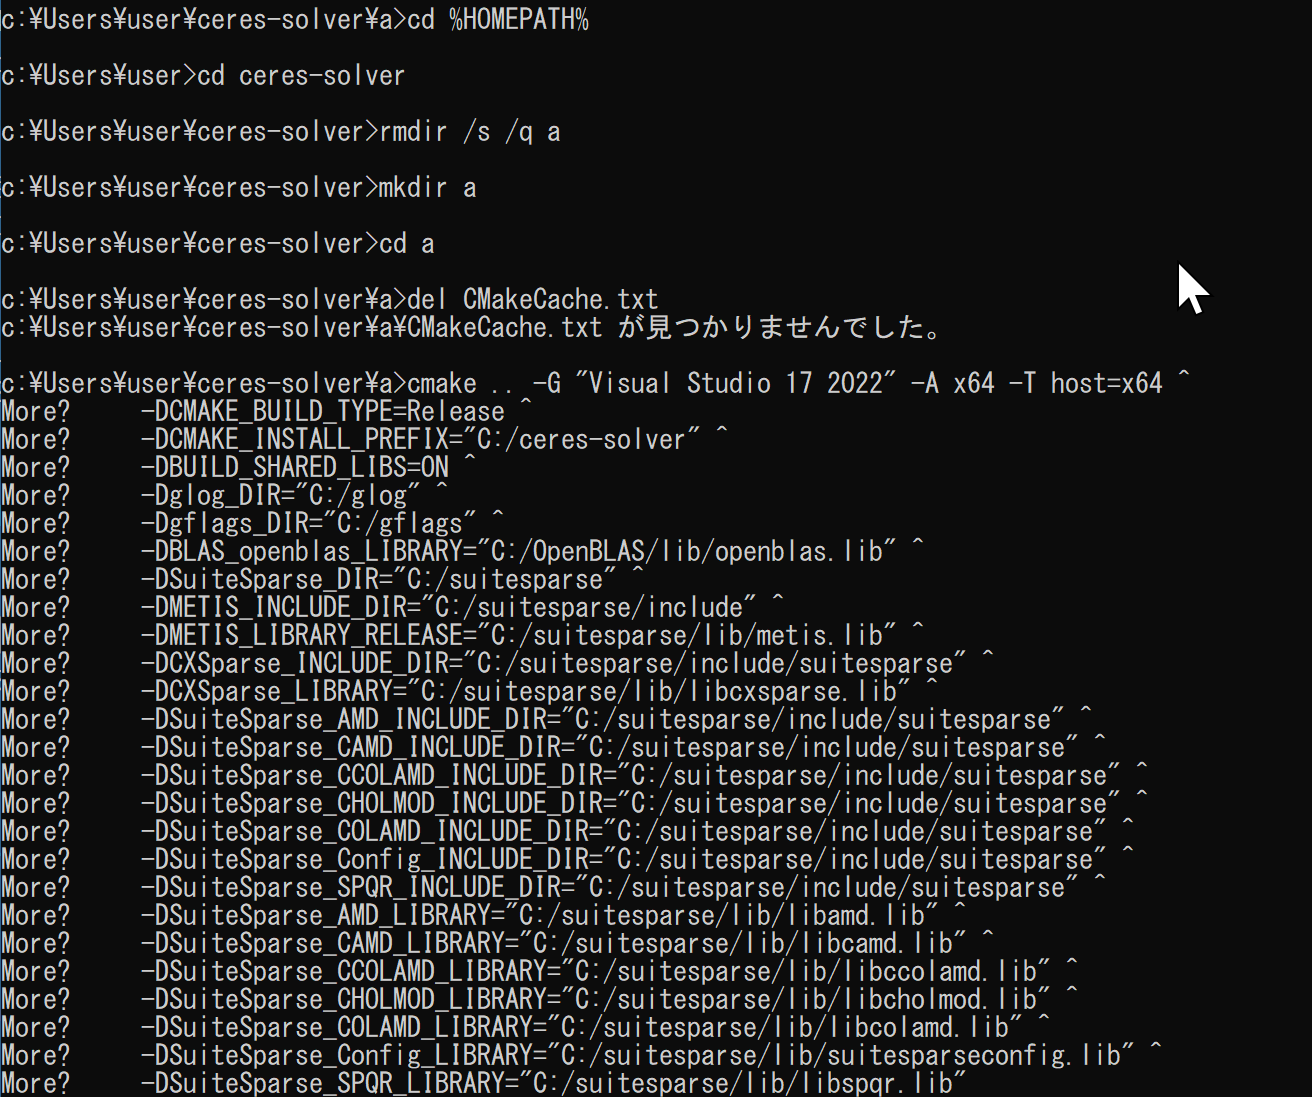
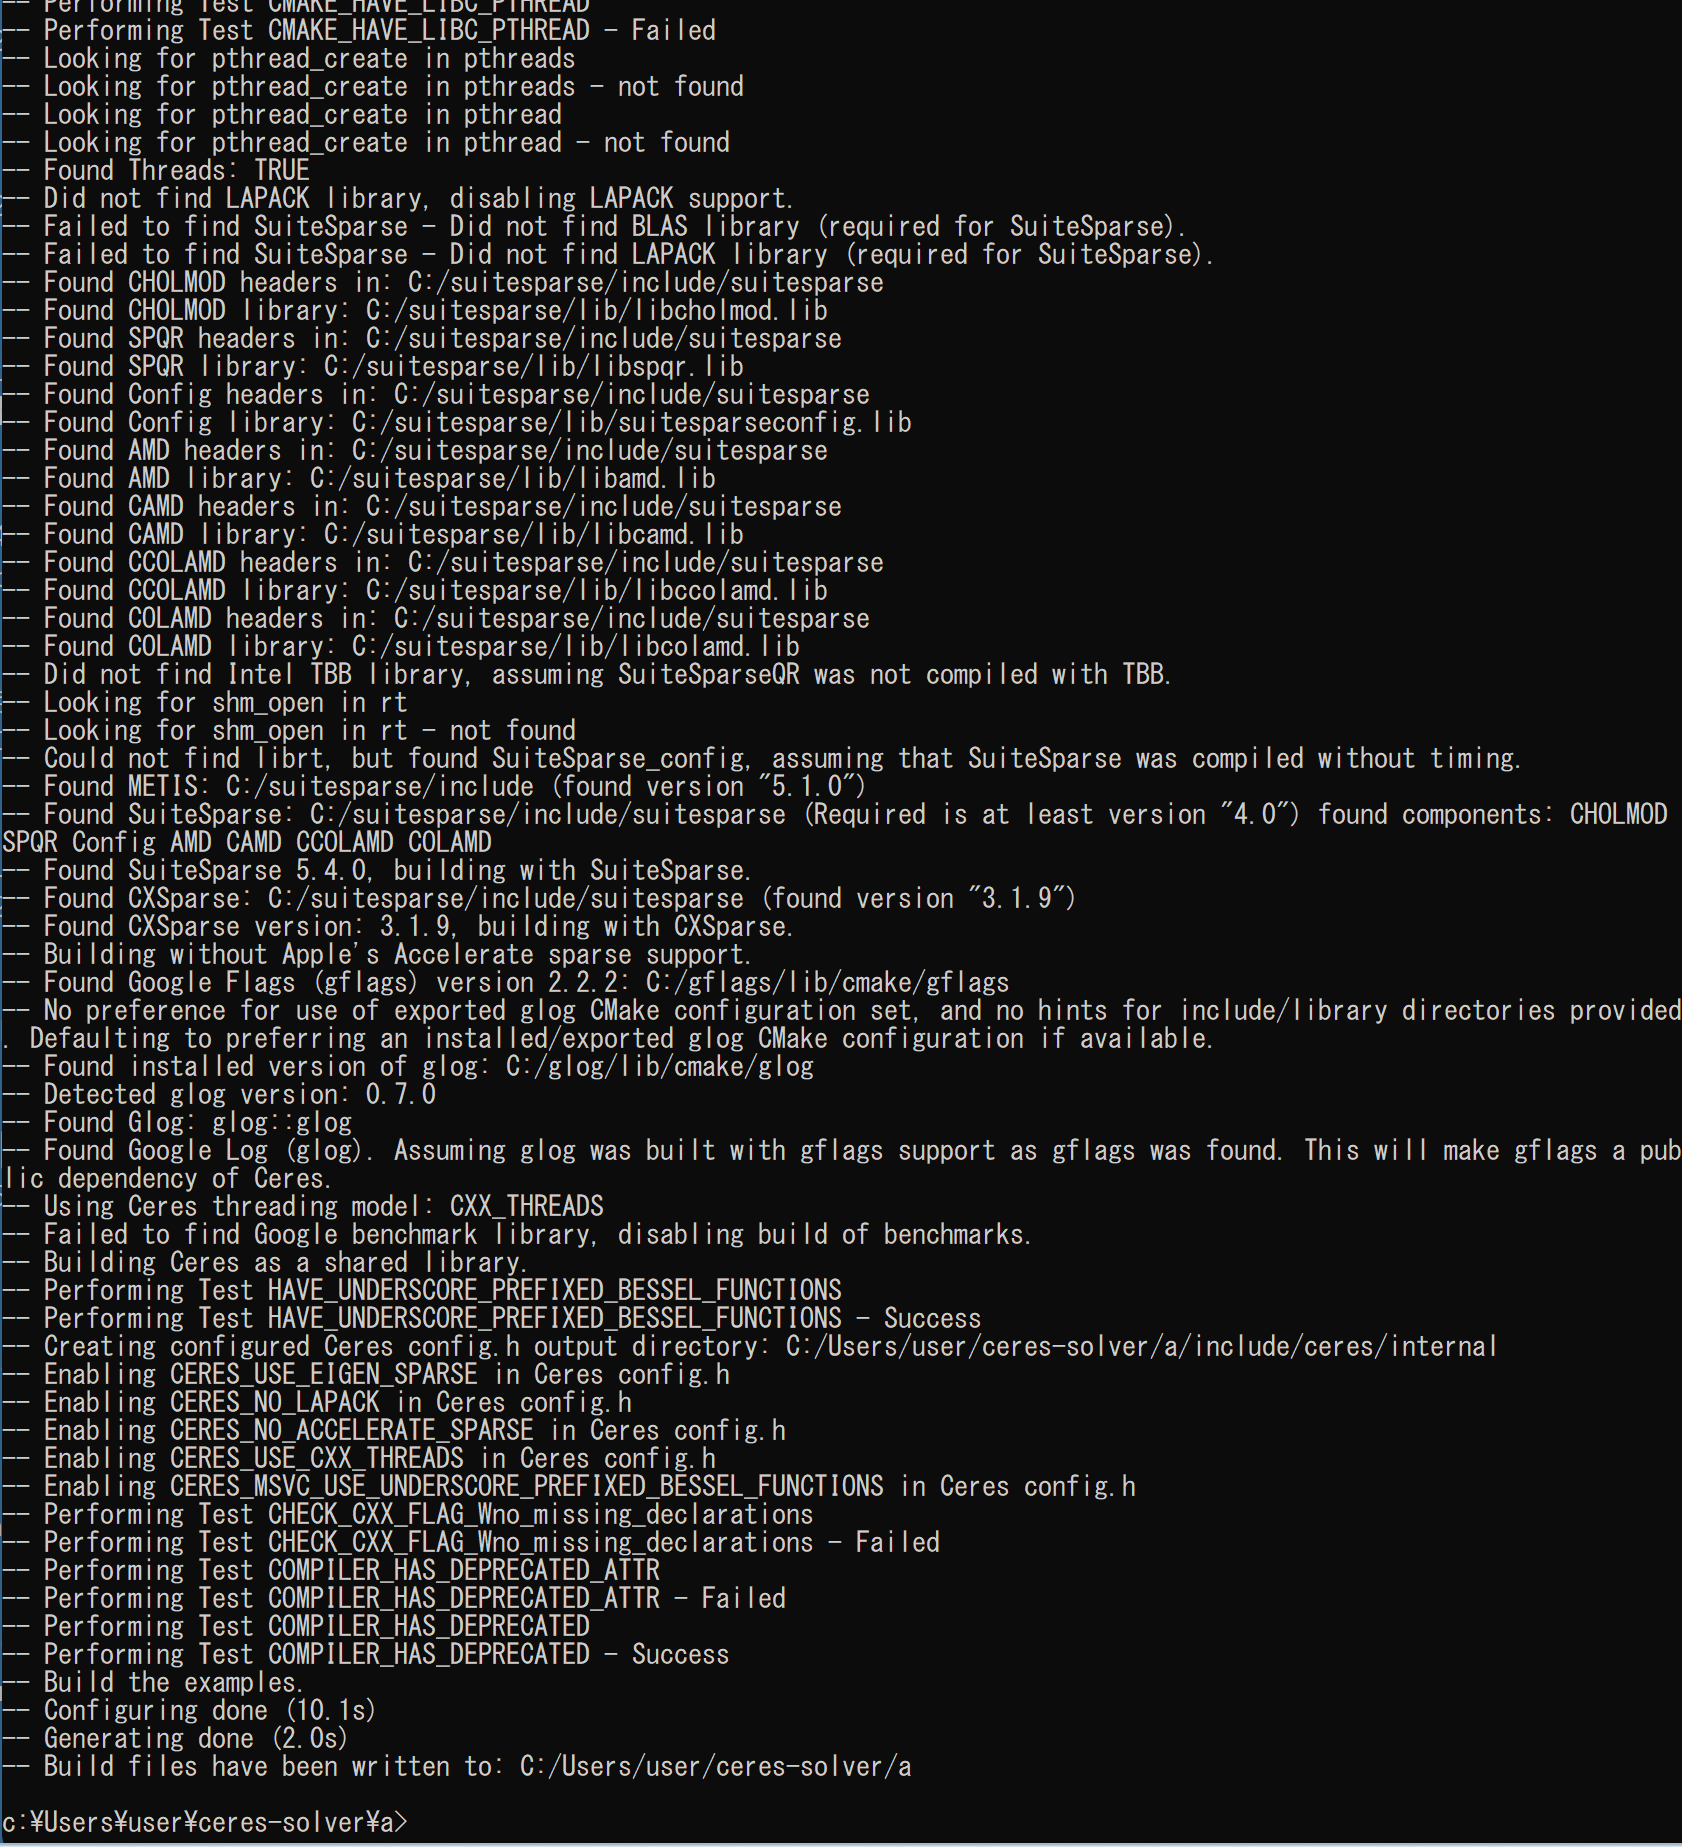
- 実行結果の確認
エラーメッセージが出ていないこと.
- インストールの実行
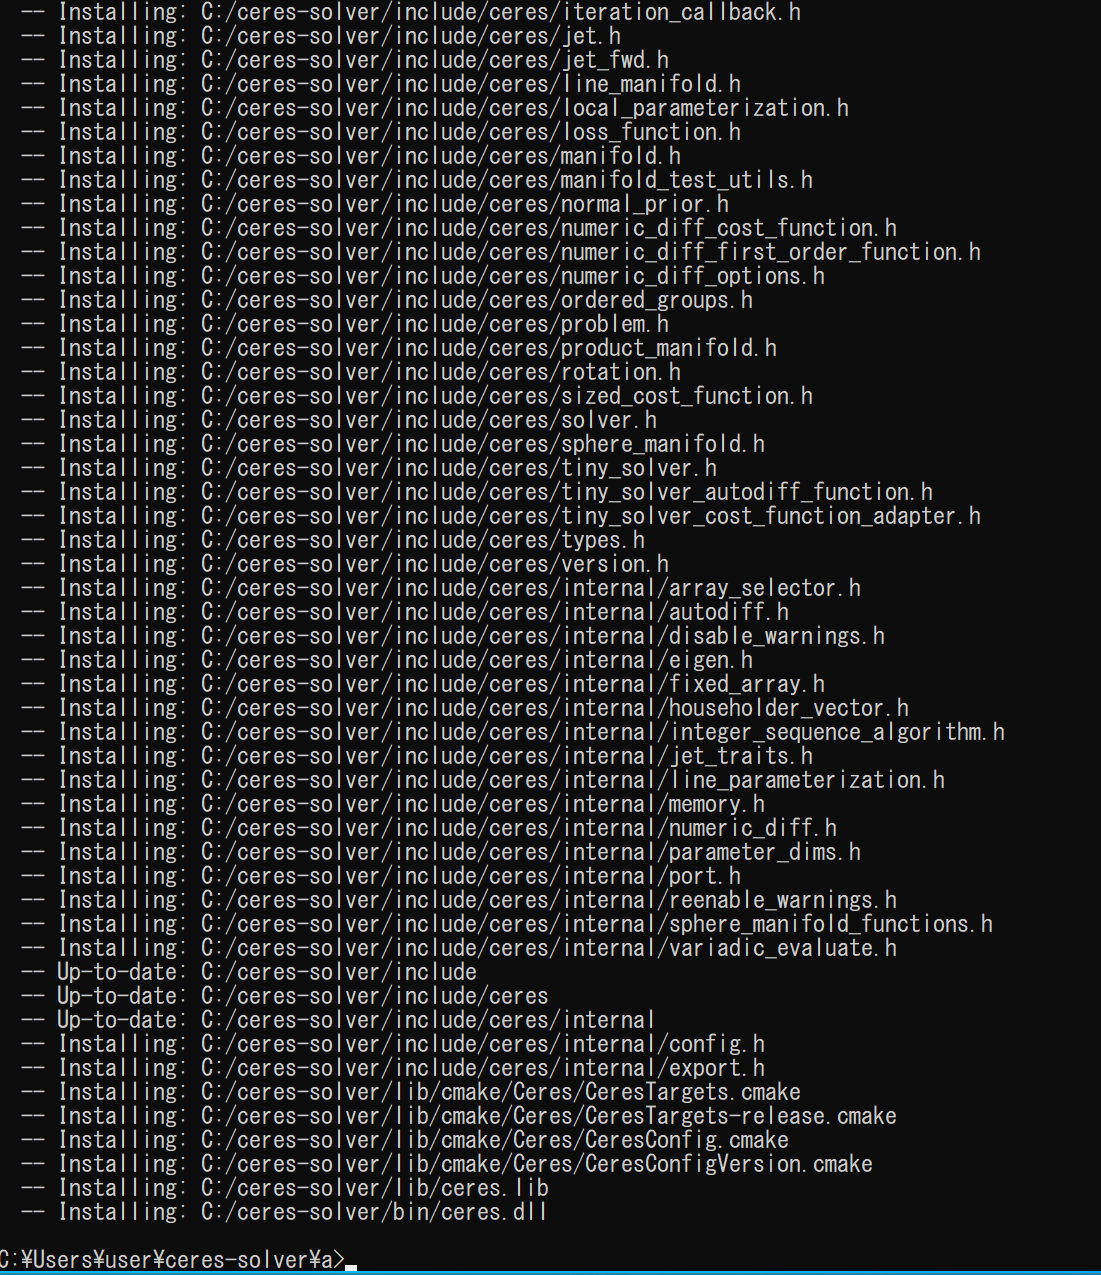
cmake --build . --config RELEASE cmake --build . --config RELEASE --target INSTALL - 実行結果の確認
エラーメッセージが出ていないこと.
- Windows の システム環境変数 CERES_ROOT に,c:\ceres-solver を設定
次のコマンドを実行
powershell -command "[System.Environment]::SetEnvironmentVariable(\"CERES_ROOT\", \"c:\ceres-solver\", \"Machine\")"
- Windows の システム環境変数 Pathに,次を追加することにより,パスを通す.
- C:\gflags\bin
- C:\glog\bin
- C:\ceres-solver\bin
- C:\ceres-solver\lib
次のコマンドを実行
powershell -command "$oldpath = [System.Environment]::GetEnvironmentVariable(\"Path\", \"Machine\"); $oldpath += \";C:\gflags\bin\"; [System.Environment]::SetEnvironmentVariable(\"Path\", $oldpath, \"Machine\")"
powershell -command "$oldpath = [System.Environment]::GetEnvironmentVariable(\"Path\", \"Machine\"); $oldpath += \";C:\glog\bin\"; [System.Environment]::SetEnvironmentVariable(\"Path\", $oldpath, \"Machine\")"
powershell -command "$oldpath = [System.Environment]::GetEnvironmentVariable(\"Path\", \"Machine\"); $oldpath += \";C:\ceres-solver\bin\"; [System.Environment]::SetEnvironmentVariable(\"Path\", $oldpath, \"Machine\")"
powershell -command "$oldpath = [System.Environment]::GetEnvironmentVariable(\"Path\", \"Machine\"); $oldpath += \";C:\ceres-solver\lib\"; [System.Environment]::SetEnvironmentVariable(\"Path\", $oldpath, \"Machine\")"
【まとめ】 依存ライブラリ準備後,Ceres Solverをクローン,cmakeでビルド,環境変数を設定.
![[kaneko lab.]](https://www.kkaneko.jp/info/logo_png.png)